Crochet by AlisowMeDououglh
PUMPKINS
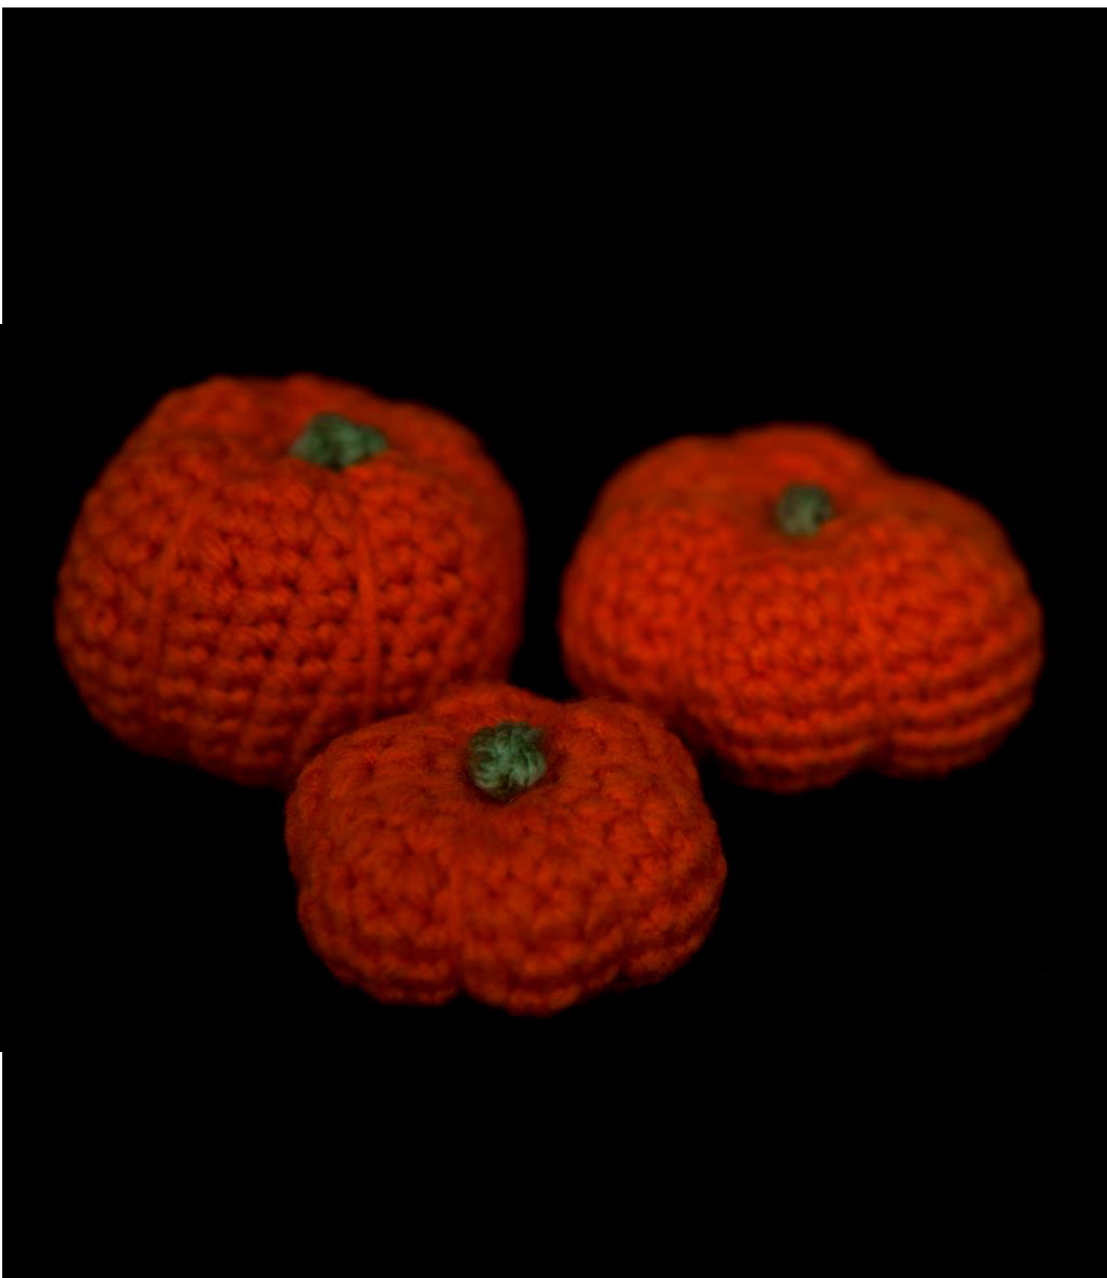
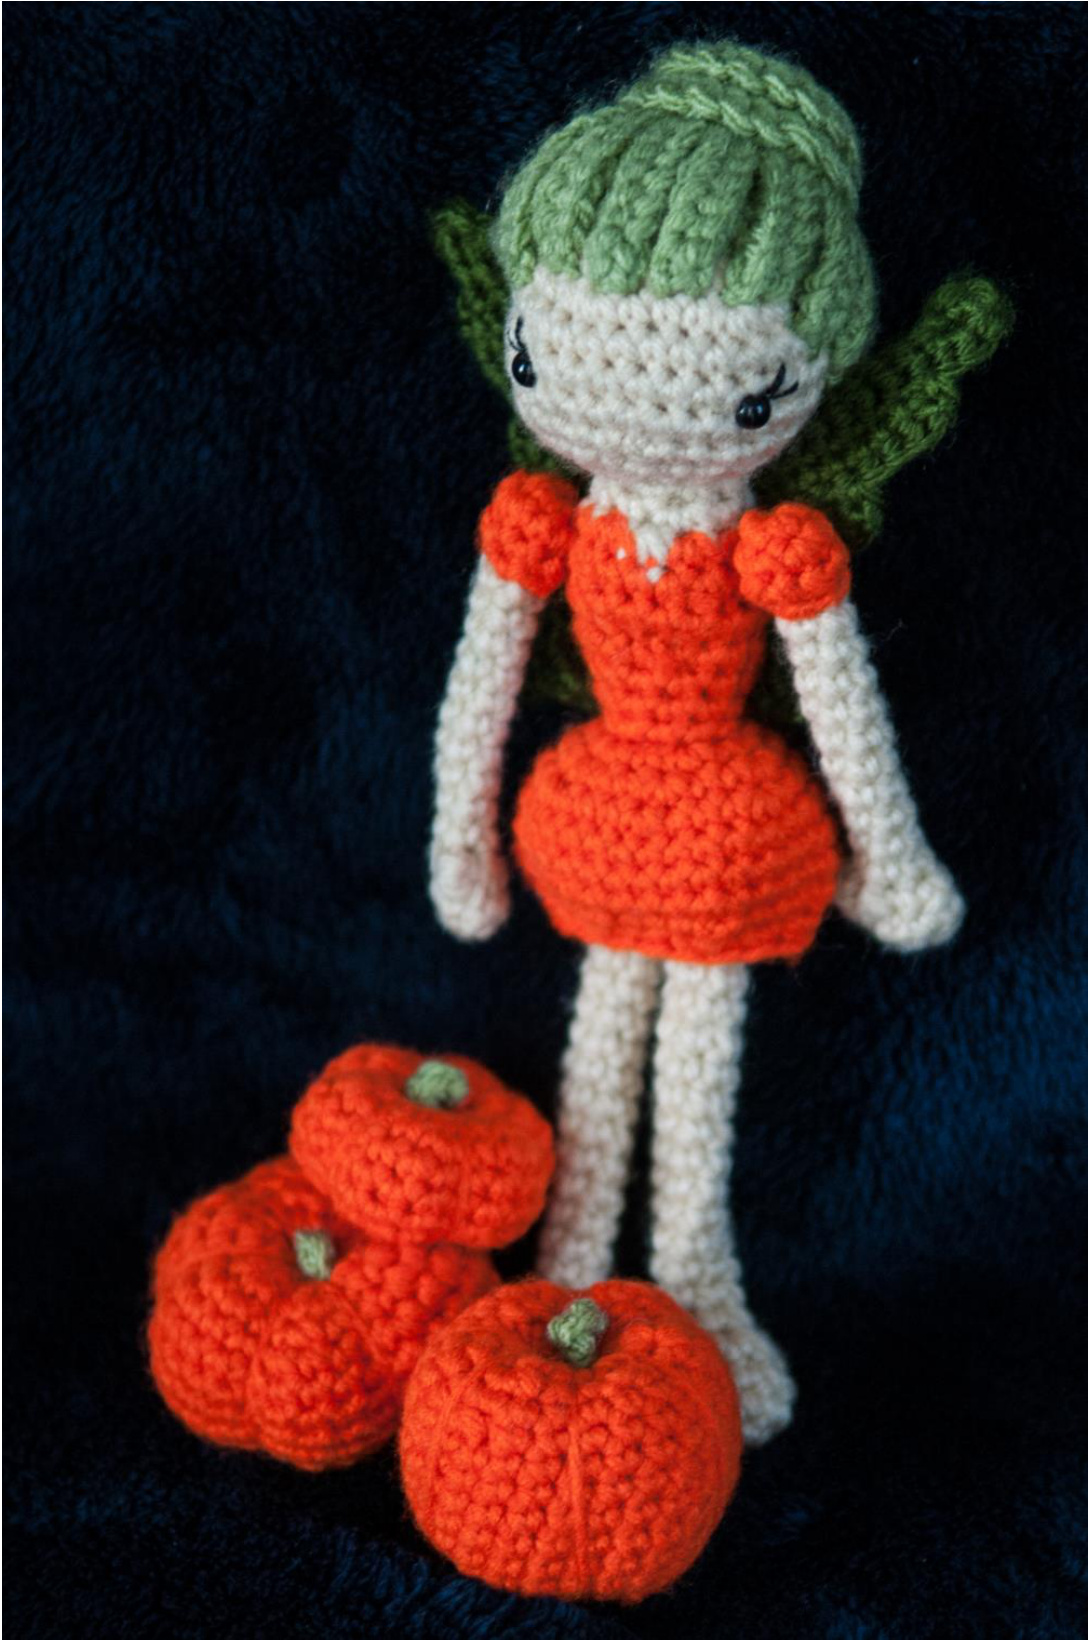
Three free patterns for pumpkin accessories to go with your Pumpkin Fairy, to decorate your house for fall or to accessorize your Thanksgiving table! Note: Fairy pattern not included, but available for purchase. Visit my website for purchase options.
Matorials:
Abbreviatious:
Orange Worsted Weight Yarn Light Green Worsted Weight Yarn Size G (4mm) Crochet Hook Polyester Fiberfill Tapestry Needle Scissors Stitch Marker ch - chain sC - single crochet sl - slip st - stitch(es) tog - together FLO - front loops only Note: These patterns are worked in the round - do not join rounds unless otherwise indicated - use a stitch marker to mark the first stitch of each round. Stuff pieces with polyester fiberfill as you go.
Tall Punpkiv (make 1)
Round 1: Start with a magic ring using orange yarn. Ch 1 (counts as sc), 5 sc in ring, join with sl st. (6) Round 2: (2 sc in next st) 6 times. (12) Round 3: (2 sc in next st, sc in next st) 6 times. (18) Round 4: (2 sc in next st, sc in next 2 st) 6 times. (24) Round 5: (2 sc in next st, sc in next 3 st) 6 times. (30) Rounds 6-9: Sc in next 30 st. (30) Round 10: (Sc in next 4 st, Sc2tog in FLO, sc in next 4 st) 3 times. (27) Round 11: (Sc in next 7 st, sc2tog in FLO) 3 times. (24) Round 12: (Sc in next 3 st, sc2tog in FLO, sc in next 3 st) 3 times. (21) Round 13: (Sc in next 5 st, sc2tog in FLO) 3 times. (18) Round 14: (Sc in next st, sc2tog in FLO) 6 times. (12) Fasten off, leaving very long tail for sewing.
Wide Pumupkinv (make 1)
Round 1: Start with a magic ring using orange yarn. Ch 1 (counts as sc), 5 sc in ring, join with sl st. (6) Round 2: (2 sc in next st) 6 times. (12) Round 3: (2 sc in next st, sc in next st) 6 times. (18) Round 4: (2 sc in next st, sc in next 2 st) 6 times. (24) Round 5: (2 sc in next st, sc in next 3 st) 6 times. (30) Round 6: (2 sc in next st, sc in next 4 st) 6 times. (36) Rounds 7-9: Sc in next 36 st. (36) Round 10: (Sc in next 2 st, Sc2tog in FLO, sc in next 2 st) 6 times. (30) Round 11: (Sc in next 3 st, sc2tog in FLO) 6 times. (24) Round 12: (Sc in next st, sc2tog in FLO, sc in next st) 6 times. (18) Round 13: (Sc in next st, sc2tog in FLO) 6 times. (12) Round 14: (Sc2tog in FLO) 6 times. (6) Fasten off, leaving very long tail for sewing.
Suall Puapkiv (make 1)
Round 1: Start with a magic ring using orange yarn. Ch 1 (counts as sc), 5 sc in ring, join with sl st. (6) Round 2: (2 sc in next st) 6 times. (12) Round 3: (2 sc in next st, sc in next st) 6 times. (18) Round 4: (2 sc in next st, sc in next 2 st) 6 times. (24) Rounds 5-7: Sc in next 24 st. (24) Round 8: (Sc in next st, sc2tog in FLO, sc in next st) 6 times. (18) Round 9: (Sc in next st, sc2tog in FLO) 6 times. (12) Round 10: (Sc2tog in FLO) 6 times. (6) Fasten off, leaving very long tail for sewing.
Stous
Starting Chain: With light green, leave a long tail. Then chain 3. (3) Row 1: Turn, sc in 2nd chain from hook, sc in next ch st. (2) Fasten off, leaving long tail for sewing.
Fiuiskig
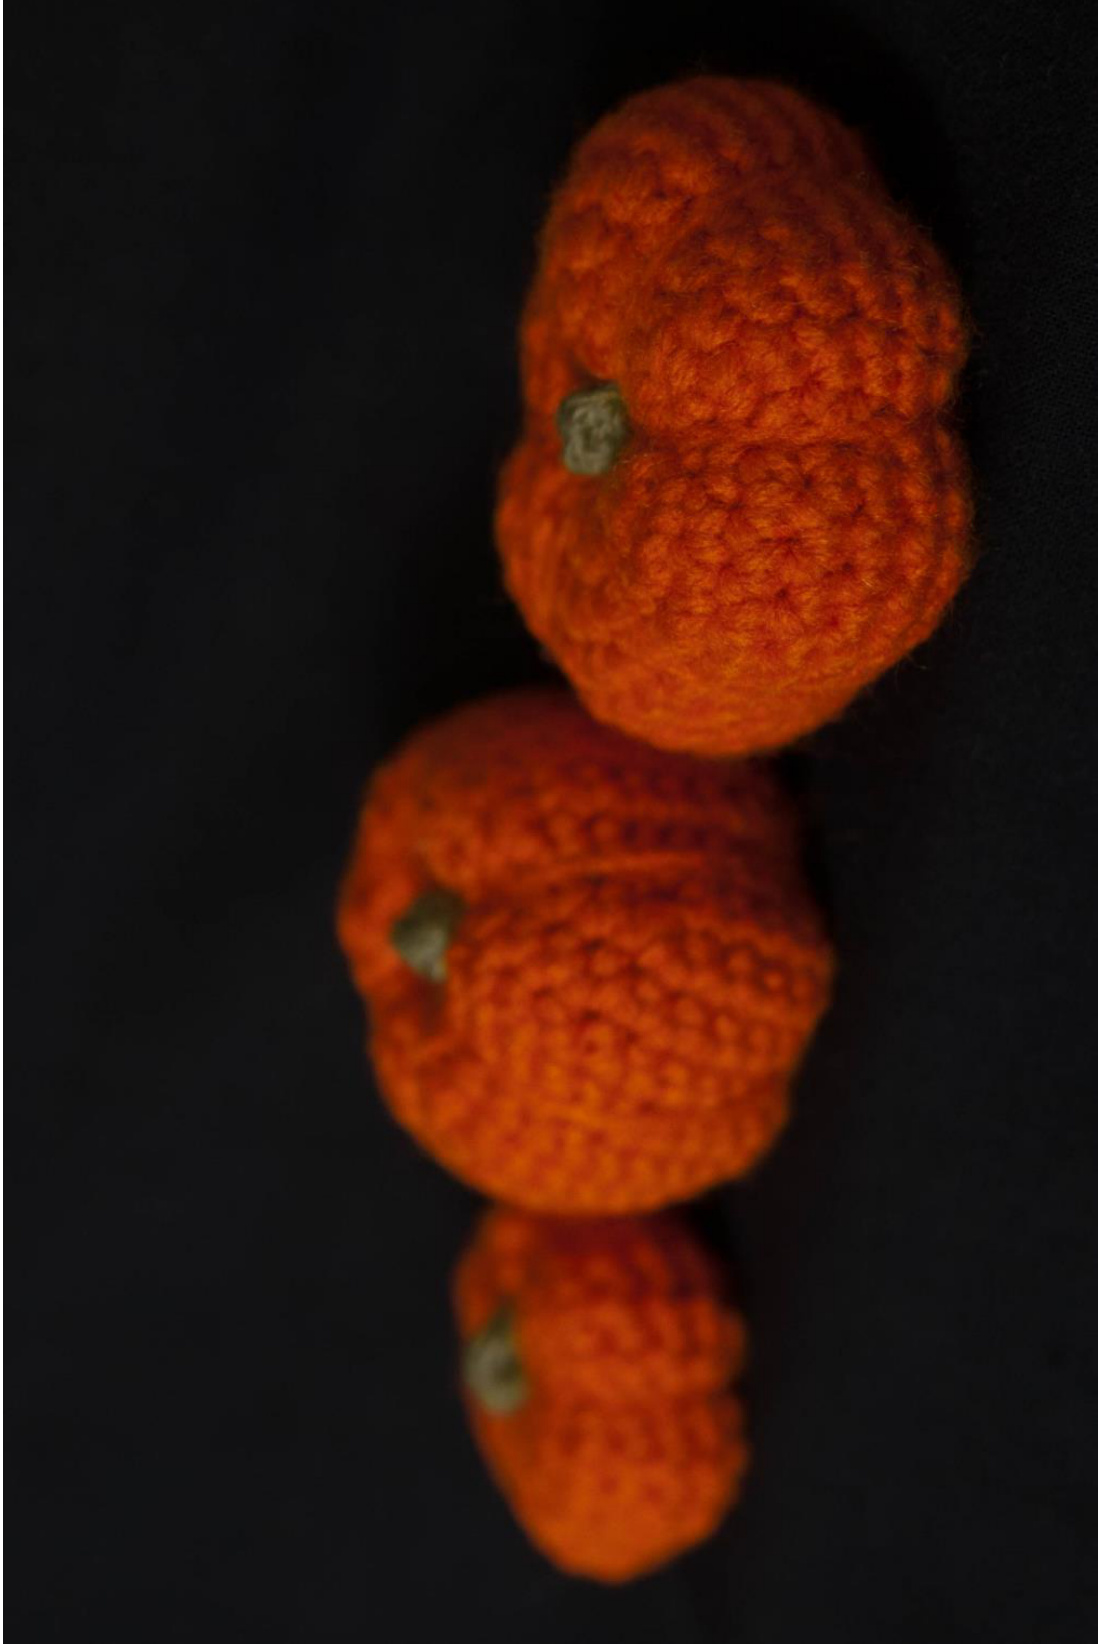
For each pumpkin, after stuffing lightly, use a yarn needle and the long tail to stitch closed the final 6 stitches. DO NOT CUT YARN SHORT. Then insert yarn needle through the center of the enclosure and out the opposite side through the original magic ring. Pull tight. Again, insert yarn needle into the center of the final stitches and out the magic ring on the opposite side. Pull snugly. Insert yarn needle into the center of the final stitches and out through the magic ring on the opposite side, pulling snugly each time, five more times. Each time, position the yarn around the outside of the pumpkin, forming even spokes. It helps to work on opposite sides each time to keep the stuffing dividing evenly as diagramed below.

Tie off orange yarn and weave end in through pumpkin. Using a yarn needle and one of the long tails from stems, stitch through the enclosure end of the pumpkin and back out one stitch away. Tie the two tails together tightly and weave in ends through body, pulling tightly to draw the knot into the body. Note: Fairy pattern not included, but available for purchase. Visit my website for purchase options.

@ 2014 Allison McDonough, All rights reserved


