This is a free pattern from Phoenixknits for Christmas 2015
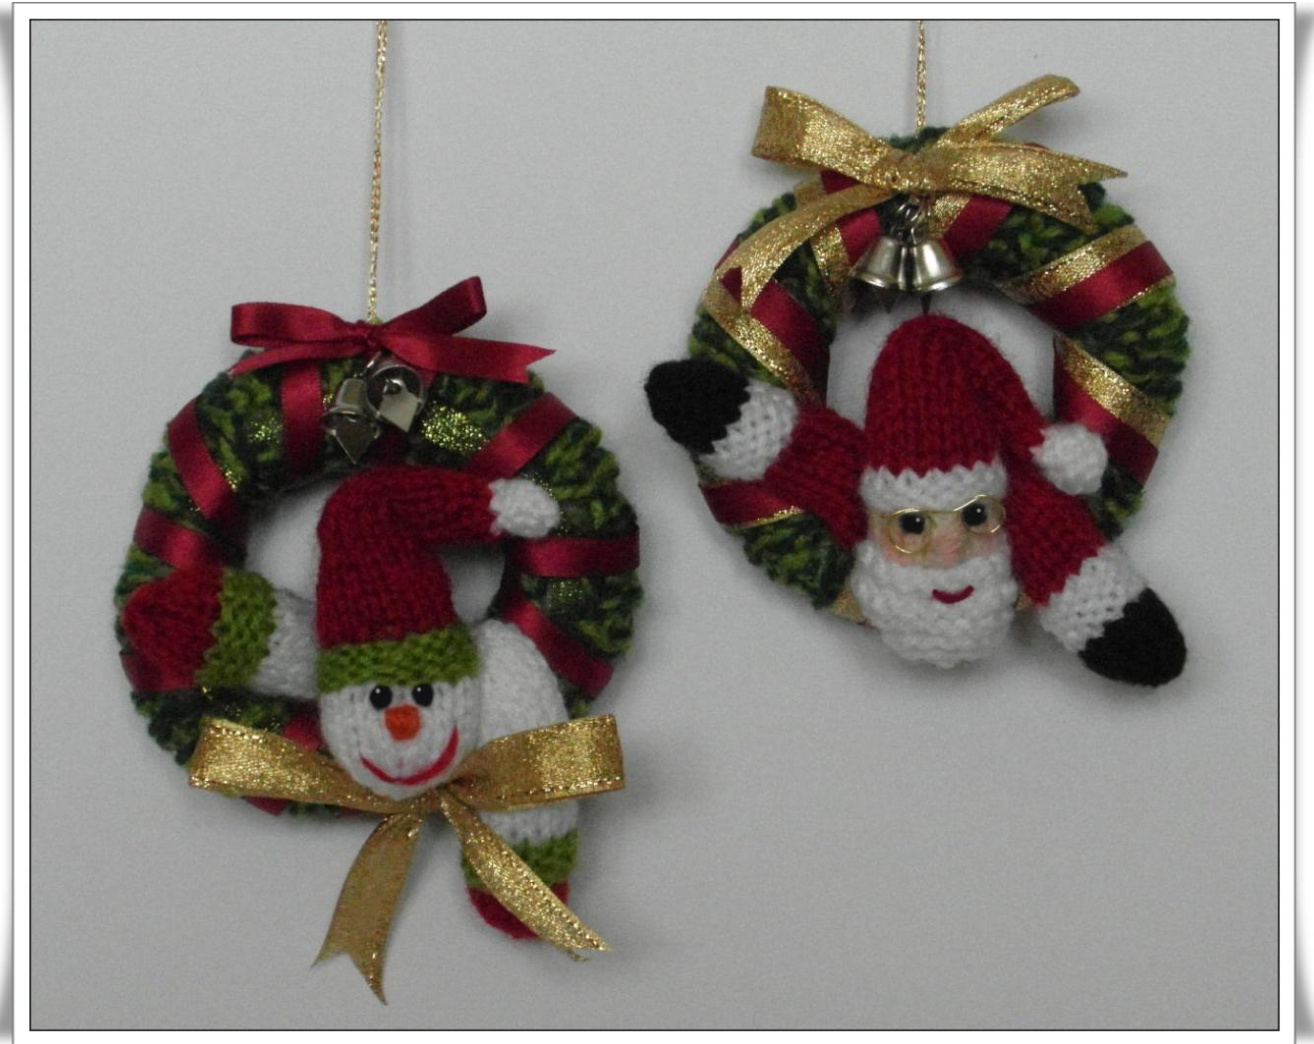
Only 3 % inches wide, these make great Christmas tree decorations. These little decorations are quick and easy to make. They take only scraps of DK yarn to complete. Please take the time to read through the pattern before you start - especially the ABBREVIATIONS - aS not all designers use the same methods - Thank you. Materials needed Scraps of DK/8ply/11 wpi yarns in the following colours. Light green Dark green White Red Black Orange Pale pink or flesh 3mm needles used throughout Fuse or florists wire for glasses (optional) Trimmings, ribbons, bows, bells etc Fibrefill
Abbreviations
K = knit P = purl Ss = stockinet stitch (knit one row - purl one row) Gs = garter stitch (every row knit) K2tog = knit or purl the next two stitches together to decrease. Inc1 = knit into the front and the back of the next stitch to increase. Please note, if you use any other method than this, you stitch count may not work out. TURN = work the stated amount of stitches then turn your work around ignoring any stitches that remain on the left hand needle for the time being.
Let's get knitting!
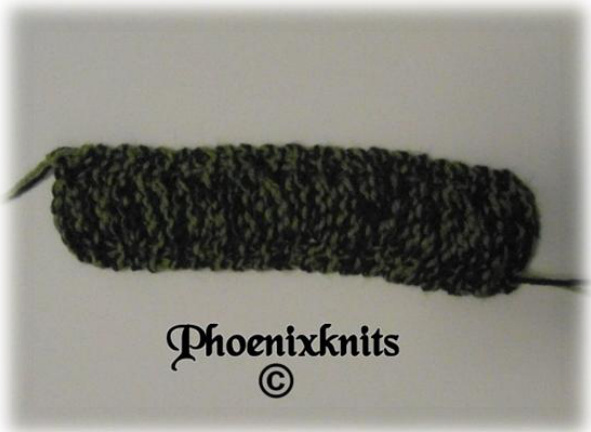
The wreath (make the same for Santa and Snowman) Use two strands of green. One light green and one dark green together. TIP- pull the yarn tight on the first stitch after you turn, as this helps to avoid making a little hole. Cast on 8sts K one row Row 1. K6, TURN Row 2. K4, TURN Row 3. K Row 4. K Repeat the last 4 rows until your work measures 7 inches - unstretched. K one row Cast off
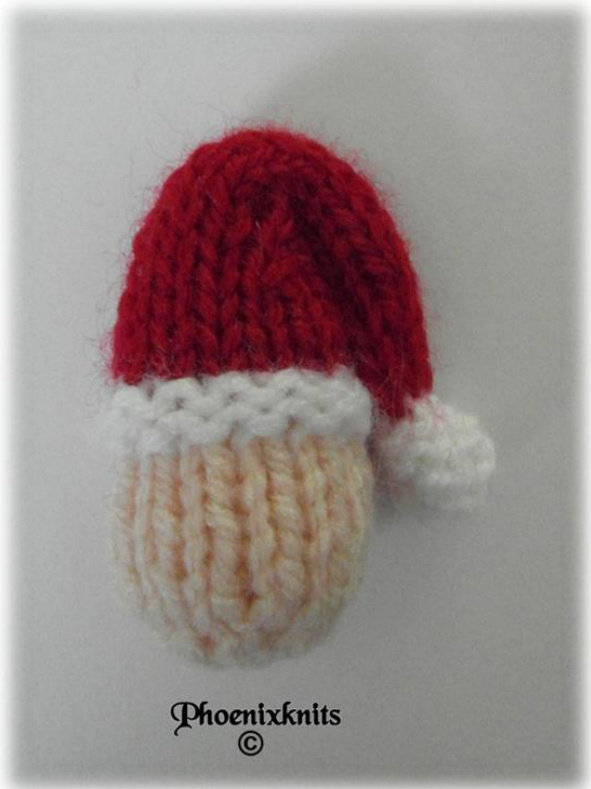
Santa
Head and hat (made as one piece) Starting at the lower head and using flesh/pale pink. Cast on 7sts Next row, p Next row, (inc1) into every stitch to the end of the row (14sts) Next row, p Next row, k1, inc1, k10, inc1, k1 (16sts) Starting with a p row Ss 3 rows Break with red Change to white Knit 2 rows Next row, p Break with white Change to red Starting with a p row Ss 5 rows Next row, (k2, k2tog) to the end of the row (12 sts) Starting with a p row Ss 3 rows Next row, (k2, k2tog) to the end of the row (9 sts) Starting with a p row Ss 5 rows Next row, (k1, k2tog) to the end of the row (6sts) Starting with a p row Ss 5 rows Change to white Ktwo rows Next row PURL Next row KNIT Break the yarn and draw through these 6sts. Beard Using white yarn Cast on 10 sts Gs 6 rows Next row, k2tog, k6, k2tog (8sts) Next row, k Next row, k2tog, k4, k2tog (6sts) Next row, k Next row (k2tog) 3 times (3sts) Break the yarn and draw through these 3 sts. Arms (make two) Using red Cast on 12 sts Starting with a p row Ss 11 rows Change to white K two rows Next row, p (knit side of work) Next row, k (purl side of work) Change to black Starting with a k row Ss 4 rows Next row, (k2tog) to the end of the row (6sts) Break the yarn and draw through these 6sts.
Snowman
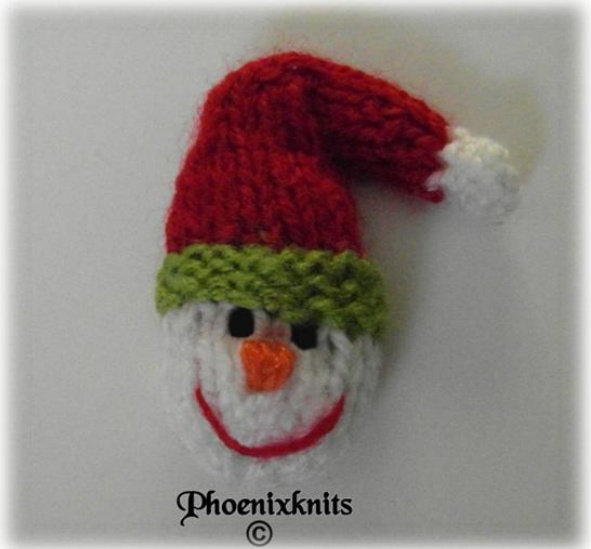
Head and hat (made as one piece) Starting at the lower head, and using white Cast on 7sts Next row, p Next row, (inc1) into every stitch to the end of the row (14sts) Next row, p Next row, k1, inc1, k10, inc1, k1 (16sts) Starting with a p row Ss 3 rows Break white Change to green K two rows Next row, p Break green Change to red Starting with a p row Ss 5 rows Next row, (k2, k2tog) to the end of the row (12 sts) Starting with a p row Ss 3 rows Next row, (k2, k2tog) to the end of the row (9 sts) Starting with a p row Ss 5 rows Next row, (k1, k2tog) to the end of the row (6sts) Starting with a p row Ss 5 rows Break red Change to white K two rows Next row, k (purl side of work) Next row, p (knit side of work) Break the yarn and draw through these 6sts. Arms (make two) Using white Cast on 12 sts Starting with a p row Ss 11 rows Change to green K two rows Next row, p (knit side of work) Next row, k (purl side of work) Change to red Starting with a k row Ss 4 rows Next row, (k2tog) to the end of the row (6sts) Break the yarn and draw through these 6sts.
Making up
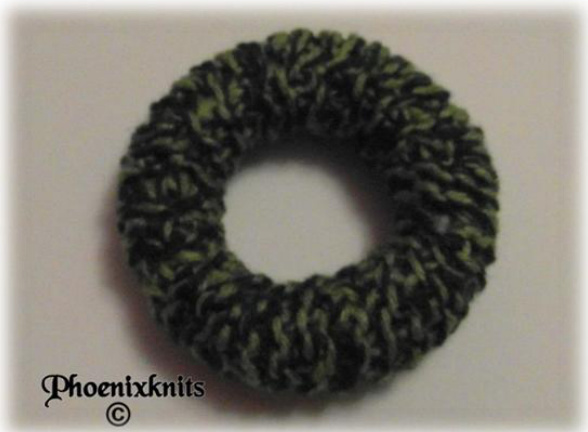
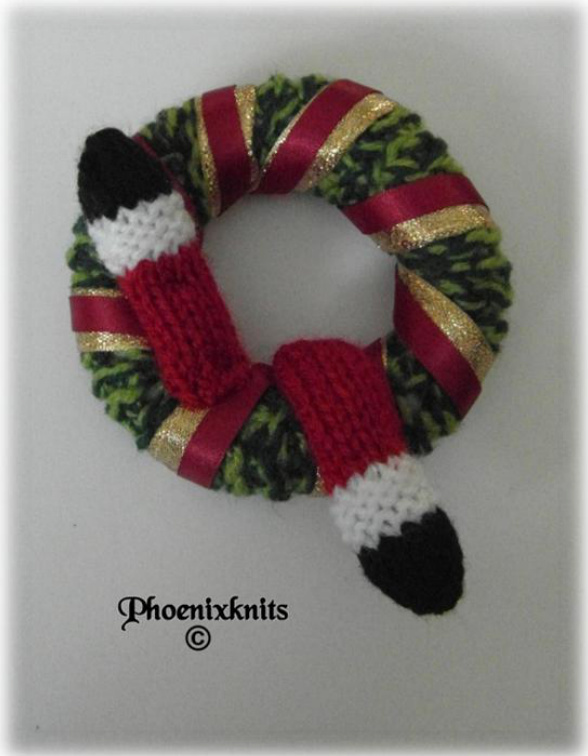
The wreath
Join the row ends and stuff, join the cast on and cast off ends together.
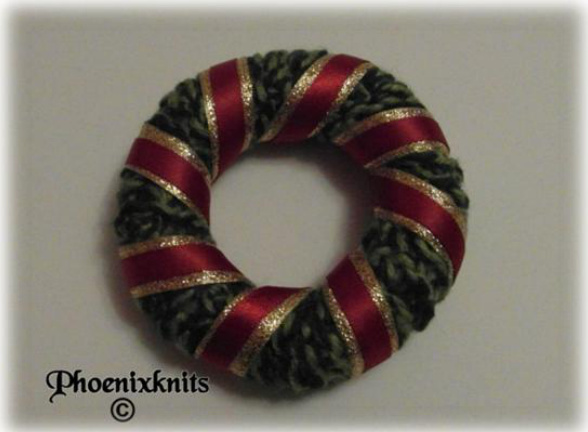
Wrap ribbon all around
Santa
Head Sew a gathering stitch along the cast on edge and draw up. Join the row ends of the head and the hat STUFF AS YOU GO.
Beard Attach the cast on edge of the beard 4 rows down from the brim of the hat, sew in the ends. Arms Draw up the cast off edge Join the row ends of the hand and arm - stuff, then, over sew the cast on edge.

Attach the arms to the wreath from the back then catch over at the front.
Attach the head in between the two arms.
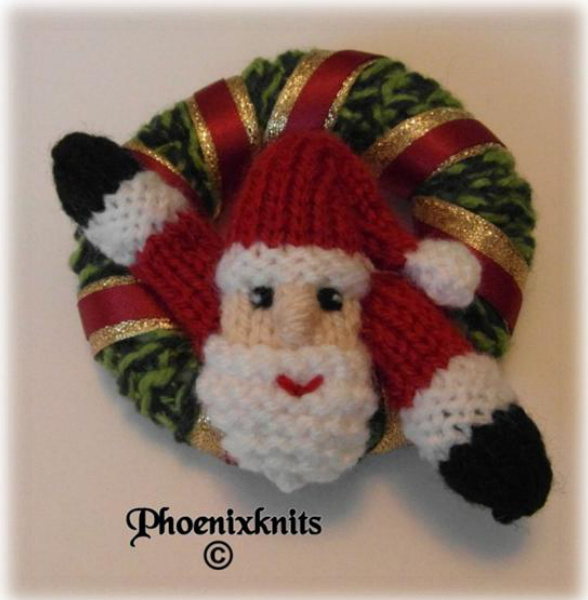
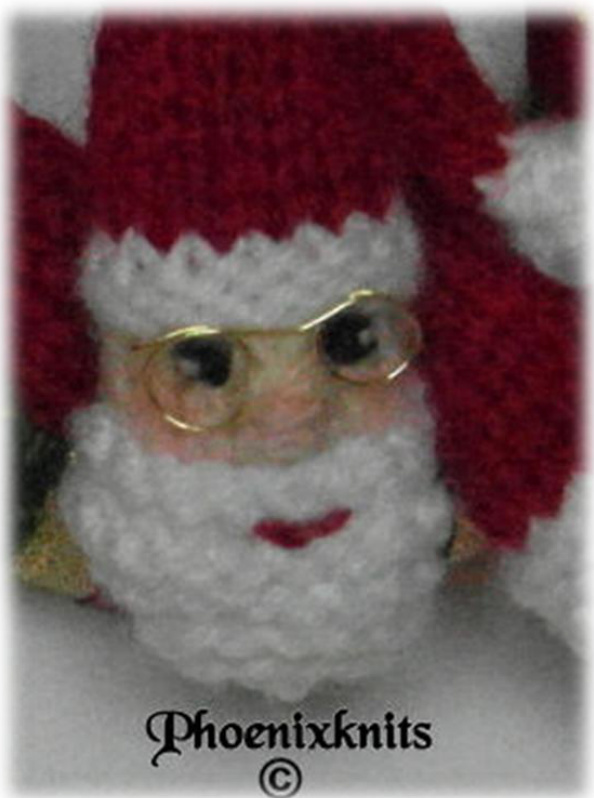
Make a nose by over sewing little stitches in flesh yarn from just under the white of the hat down for about % of an inch. Embroider two little eyes and a smiley mouth. You can now add a hanging string and any further decorations you wish to add. Glasses Using florist or thick fuse wire and a 10mm needle or round pencil of similar size, wrap the wire around as shown in the picture 1 below, then bend them as shown in pictures 2.
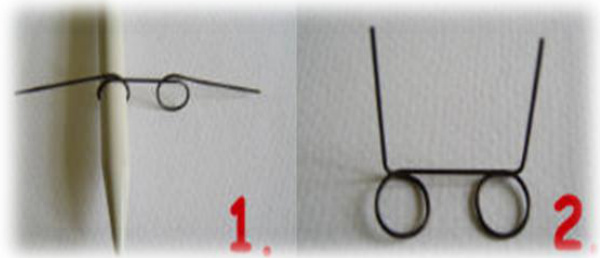
Bend the shanks horizontally and insert one each side of the head.
Snowman Head and arms Make the head and arms up the same way as you did for the Santa, but use orange yarn for nose.
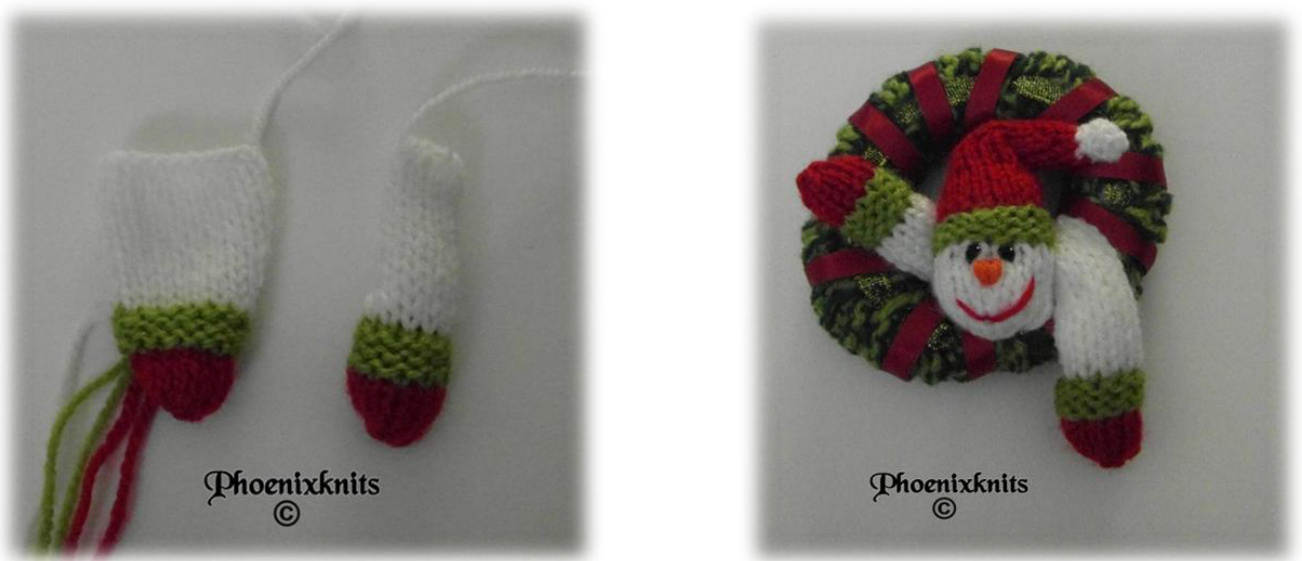
Attach the arms and head onto the wreath as for the Santa. Add hanging cord and any further decorations you like. All Done :o) The boring bit, sorry but has to be said. Make this toy for family, friends and for charity, and craft fairs but please do not go into mass production for personal profit. Please do not rewrite, copy or sell the pattern, the text, or graphics in any form this includes putting it on CD's. Please do not put the pattern on the Internet for free download as it is covered by section 77 of the Copyright, Designs and Patents act of 1988, identifying Phoenixknits as the sole owner and author of this pattern. Thank you for respecting my work :O) All rights reserved Phoenixknits 2015


