Mini Squares
(This is a very non professional tutorial by a non english speaker, so, if you have any doubts, please contact me at http://www.ravelry.com/people/Solange or feitoamaoblog@gmail.com)
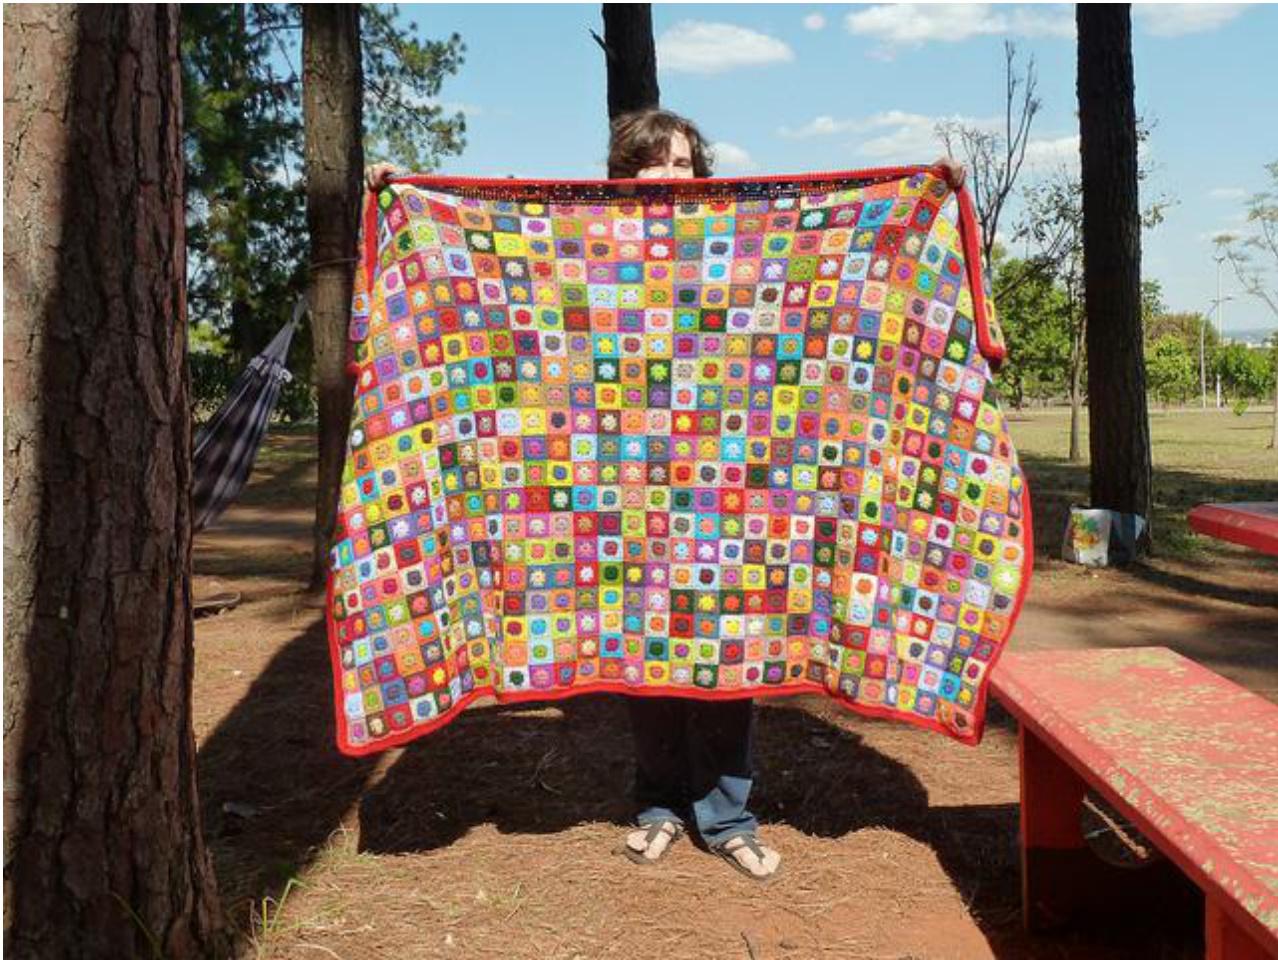
First, there's a method in the madness ;D I have the attention span of a kitten but love big and colorful projects, so I came with a strategy: divide and conquer!

Working in batches of nine mini squares (trying to avoid repeat colors and to balance light/dark), weave the ends, and seam them in a bigger square. (I like to use this method) You could use any yarn, but in my blanket I use worsted acrylic and a 4,5mm hook. When I have 70 big squares, I put then together (10 by 7 big squares or 630 mini squares). If you need a pattern of an individual mini square, it's just the first two rows of a solid granny square, each row in a different color! (video and a chart of a solid granny square).


