Lanyard for MP3-player (or keys etc.)
My daughter turns 6 and is getting an MP3 player for her birthday. I feel that the normal storebought lanyards are too long for a rather shortish girl so I wanted to figure out to make one myself. I experimented with the click lock from a regular lanyard and this is the quite pleasing result. I've created a small photo series for this because not everyone can visualize the procedure.
Materials:

I've used regular cotton yarn (8/4, fingerring weight) normally suited for crochet hook 3-3,5 mm/knitting needles $3\;\mathsf{m m}$ (US knitting needles $2^{1}/{2})$ but I've used a size crochet hook size 2 mm for this to create a firmer fabric that is less likely to stretch too much.
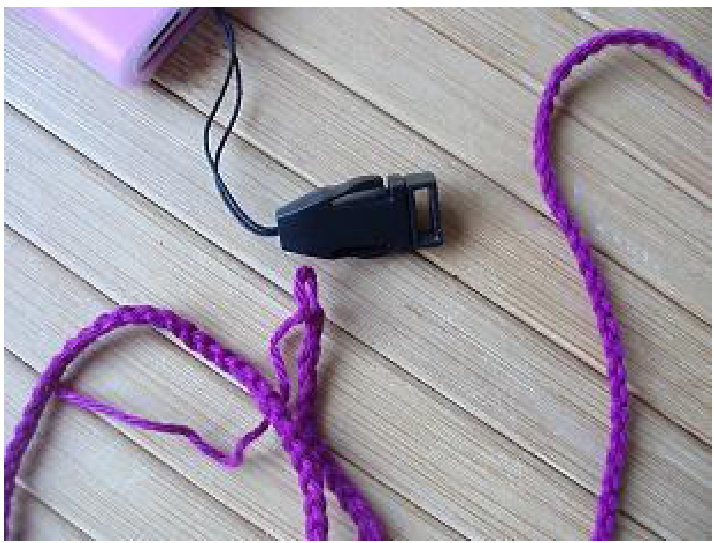
First, measure the circumference of the head. Crochet a chain that is long enough, when held together as a ring, to go over the head, but preferable not too long as it probably will stretch a bit during use (but of course length is up to you $\circledast$ ). Mine is about 60 cm / 23.5 inches. Next, pull the click lock part over the chain through the small rectangular opening which is around $0.7\;\mathsf{c m}/\,0.25$ inches wide. Form a ring with this click lock on the chain and, if you prefer the look of this example lanyard in the photos, be careful not to twist the chain when closing the ring with a ch. I've found, however, that if you like the “flat" look of many store-bought lanyards then you actually should twist the chain one round and assemble it like this; then the lanyard will lie more flat against your chest.
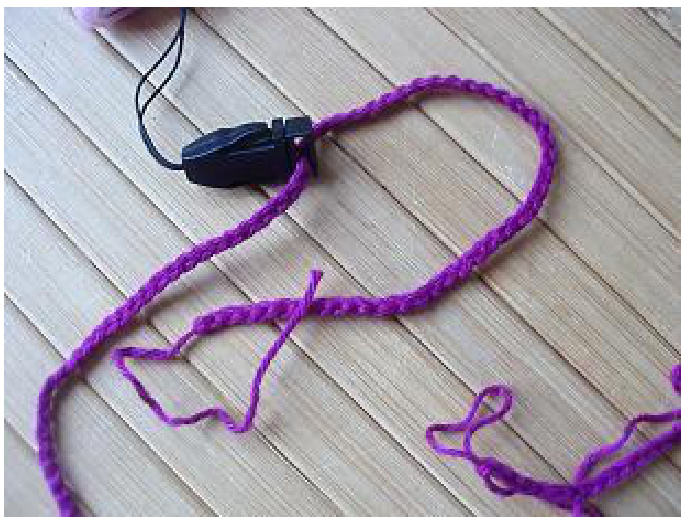
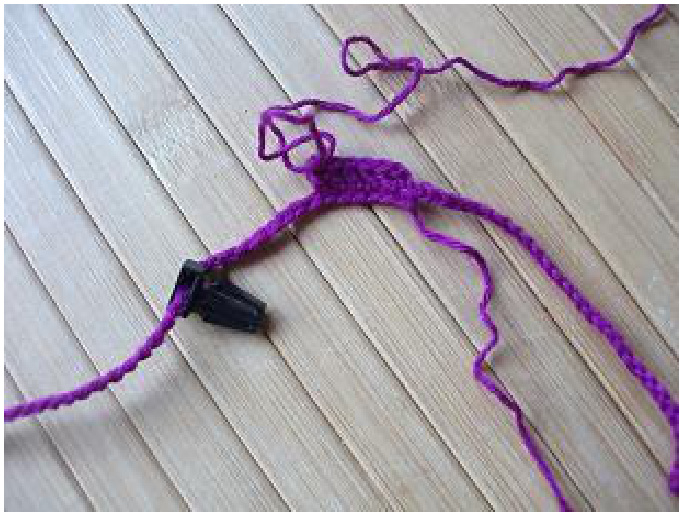
Now crochet 3ch which works as the first stitch. Crochet 1 dc (US) / 1 tr (UK) in every st on the round. All the while you are going to push the click lock in front of you... After crocheting almost all the way around it should look something like this. Now simply slide the click lock onto the wider part, it should slide quite easily - the idea is that the click lock should fit snugly onto the crocheted lanyard but absolutely not tight...
It is possible to sew the two ends together almost invisibly so the click lock with the player is not stopped by a seam and there is no bulky "knot" on the lanyard.
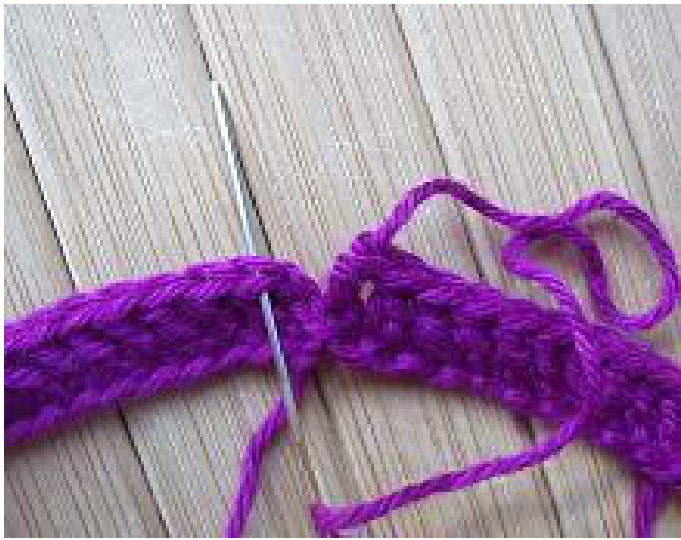
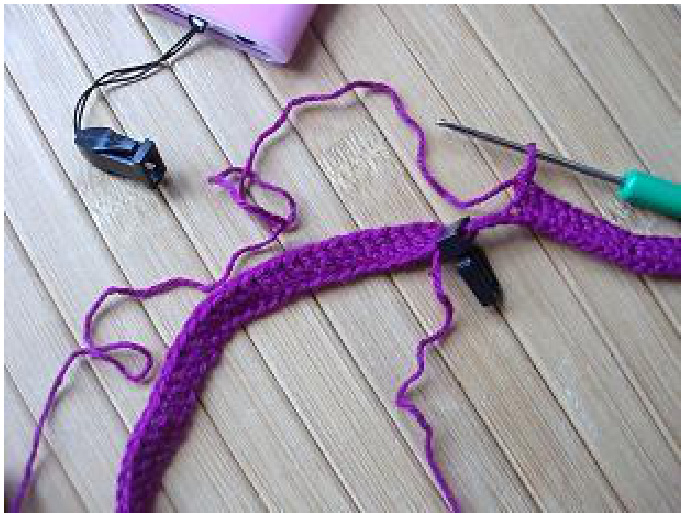
It should look like this. It may be commonly known to you but if not I'll just show you here how to sew the two ends together; Insert the needle through the top of the three ch from the beginning of this round. The needle should go under both sides of the "V". After pulling the yarn through you go back with the needle into the loop where you've pulled the yarn end through.

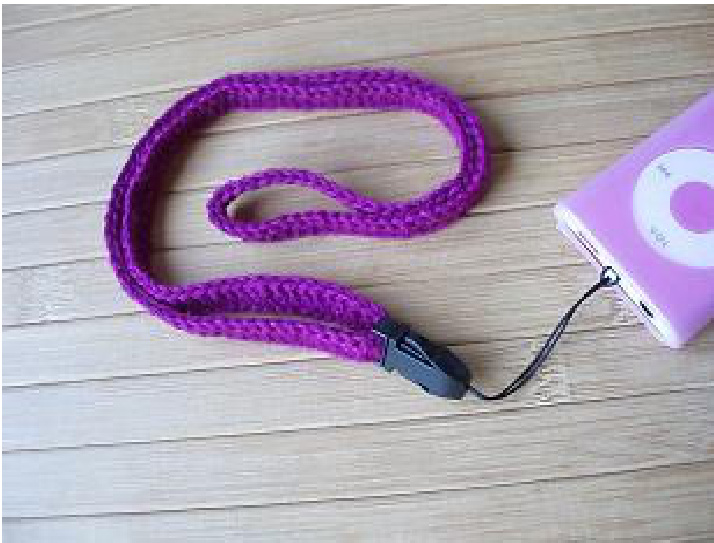
And the finished lanyard looks like this. Here you can see how the strap looks like if you do not twist the chain when assembling in a ring.


