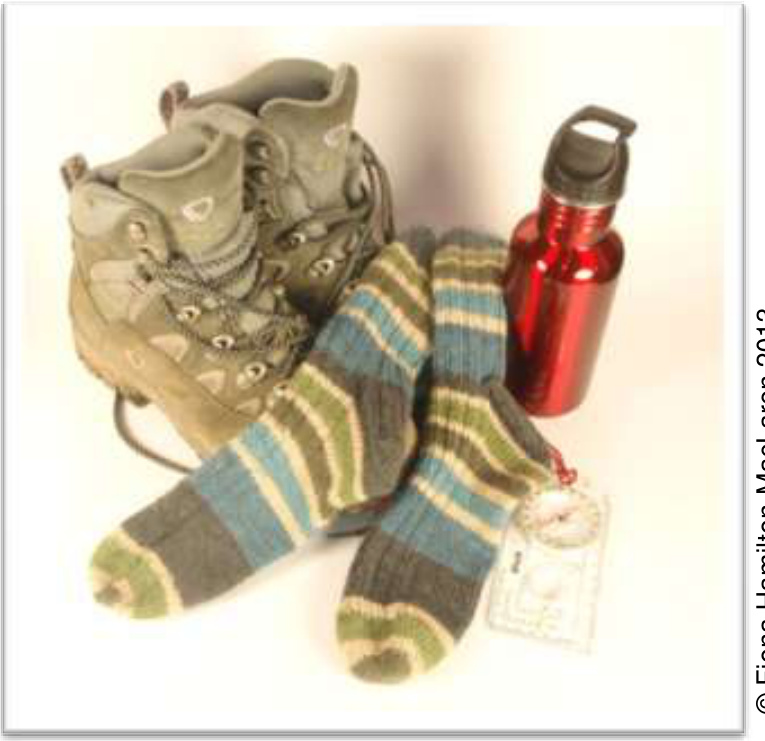
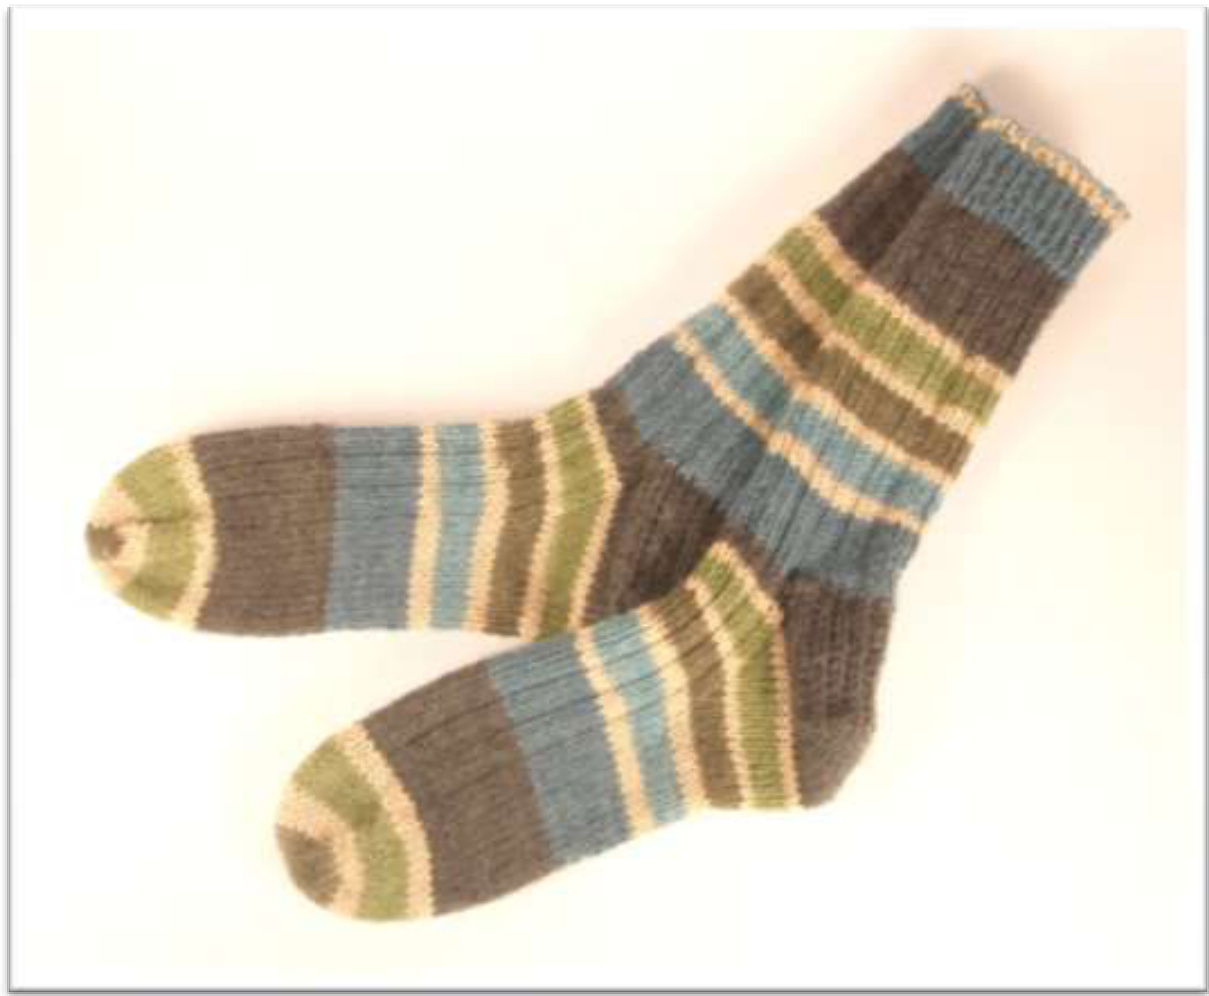
These socks are made for walking
Try these for a first pair of socks, using thicker yarn makes the socks faster to knit. The pattern makes a pair of socks suitable for wearing in work or walking boots as they are a little thicker than 4 ply socks This pattern uses the heel flap and turn method to create the heel. Yarw: 100g 6 ply sock yarn; shown in Regia 6 ply, World college series. Needles: 3.0mm, either double pointed needles or circulars for working in the round.
Notions: Tapestry needle, stitch markers. Skills: Cast on, knit, purl, knitting in the round, decreasing stitches, weaving in ends, grafting stitches. Gauge: 28sts and 32 rows over 10cm in stocking stitch. Siziwg: Pattern gives stitch counts for extra small small, medium, large, extra large) adult sizes. Abbreviations: kknit k2tog knit two stitches together ppurl pm place stitch marker p2tog purl two stitches together Rnd round sl slip stitch purlwise onto right needle without knitting it sm slip marker from left needle to right ssk slip two stitches knitwise, knit these two stitches together sts stitches cast ow: Cast on 40(44, 48, 52, 56)sts using the long tail cast on. This method of casting on gives a decent amount of stretch so the sock will fit over your heel. Join for knitting in the round, placing a stitch marker to show the start of the round.
cuff:
A ribbed cuff helps to hold the top of the sock in place on the leg. Rnd 1: \*k1, p1; repeat from \* around. Repeat round 1 10(12, 12, 15, 15) times. The leg is worked in 3 x 1 ribbing to help the sock fit snugly on the leg. Rnd 2: \*k3, p1; repeat from \* to end of round. Repeat round 2 for 45(50, 55, 60, 65)rounds or until leg is desired length.
Heel flap:
The heel flap is worked flat over the first 19(21, 23, 25, 27) stitches of the round. The rest of the stitches can be stored on spare dpns or a spare circular needle. Row 1: \*sl1, k1; repeat from \* over a total of 16(18, 20, 22, 24)sts, sl1, k2tog. Turn work Row 2: sl1, p17(19, 21, 23, 25). Turn work Row 3: \*sl1, k1; repeat from \* to end of row. Turn work Repeat rows 2 and 3 a total of 10(11, 12, 13, 14) times- 21(23, 25, 27, 29) rows total.
Heel turw:
Short rows are used to create the heel turn- a cup shaped section of knitting that sits under the heel and changes the direction of your knitted tube. Row 1: \*sl1, p10(11, 13 14, 15), p2tog, p1. Turn work. Row 2: \*sl1, k5(5, 7, 7, 7), ssk, k1. Turn work. Look carefully at the stitches on the needle. You will see a small gap between the decrease from row one and the following stitch. Row 3: \*sl1, p to one stitch before the visible gap, p2tog, p1. Turn work. Row 4: \*sl1, k to one stitch before the visible gap, ssk, k1. Turn work. Repeat rows three and four until all stitches have been worked.
Gusset decreases:
Stitches are picked up along the edges of the heel flap to convert back to knitting in the round. Pick up and knit one stitch in each of the slipped stitches along the edge of the heel flar Pick up an extra stitch in the space between the heel flap and the top of the foot to avoid a gap. Place a stitch marker (marker 2). Work across the stitches for the top of the foot in the ribbed pattern as established. Place a stitch marker (marker 3). Pick up a stitch in the space between the top of the foot and the heel flap to avoid a gap. Pick up and knit one stitch in each of the slipped stitches along the edge of the heel flar Knit half the stitches from the heel. Place a stitch marker. This is now the start of the round. Arrange the stitches on your needle(s) as you feel most comfortable. Decreases are worked to reduce the stitch count for a better fit on the foot. Rnd 1: sm, k to marker 2, sm, work in ribbed pattern as established to marker 3, sm, k to end of round. Rnd 2: sm, k to 3sts before marker 2, k2tog, k1, sm, work in ribbed pattern as established to marker 3, sm, k1, sk, k to end of round. inds one and two until the stitch count is back to the cast on figure- 40(44, 48, 52, 56)sts. Foot: The patterning from the leg continues down the foot until it is the right length. : to marker 2, sm, work in ribbed pattern as established to marker 3, sm, k to end of rour Repeat until foot is 5cm less than desired length, removing markers apart from start of round marker on your final round. Toe: The toe closes the sock. Set up: Remove centre sole marker, k 10(11, 12, 13, 14), place marker for start of round, k20(22, 24, 26, 28), place a second marker, k to end. Rnd 1: k around Rnd 2: \*sm, k1, ssk, k to 3sts before next marker, k2tog, k1; repeat from \* around. Repeat rounds one and two until 34(40, 42, 44)sts remain. Repeat round two only until 18(20, 22, 24)sts remain.
Finishing:
Cut the yarn leaving at least a 15cm tail. Graft the toe closed using Kitchener stitch. Weave in all ends. Make a second sock to match the first,
Make it your way:
:lf-striping or self-patterning yarn to create colourful socks, or a solid yarn for plain socks If you choose a self patterning yarn, start the second sock in the same place on the patterning sequence to make matching socks, or start anywhere for fraternal socks- same yarn but nonmatching stripes. Alter the ribbing to make the sock the way you want it. Try no ribbing, knit one purl one, knit two purl two or broken rib.
This pattern and all images are copyright, held by Fiona Hamilton-MacLaren, 2013. You are welcome to make copies of this pattern for personal use. Socks made from this pattern can be used for personal use, gifting or sold for charity only. Please do not sell socks made from this pattern for personal profit.


