Nate's Afghan
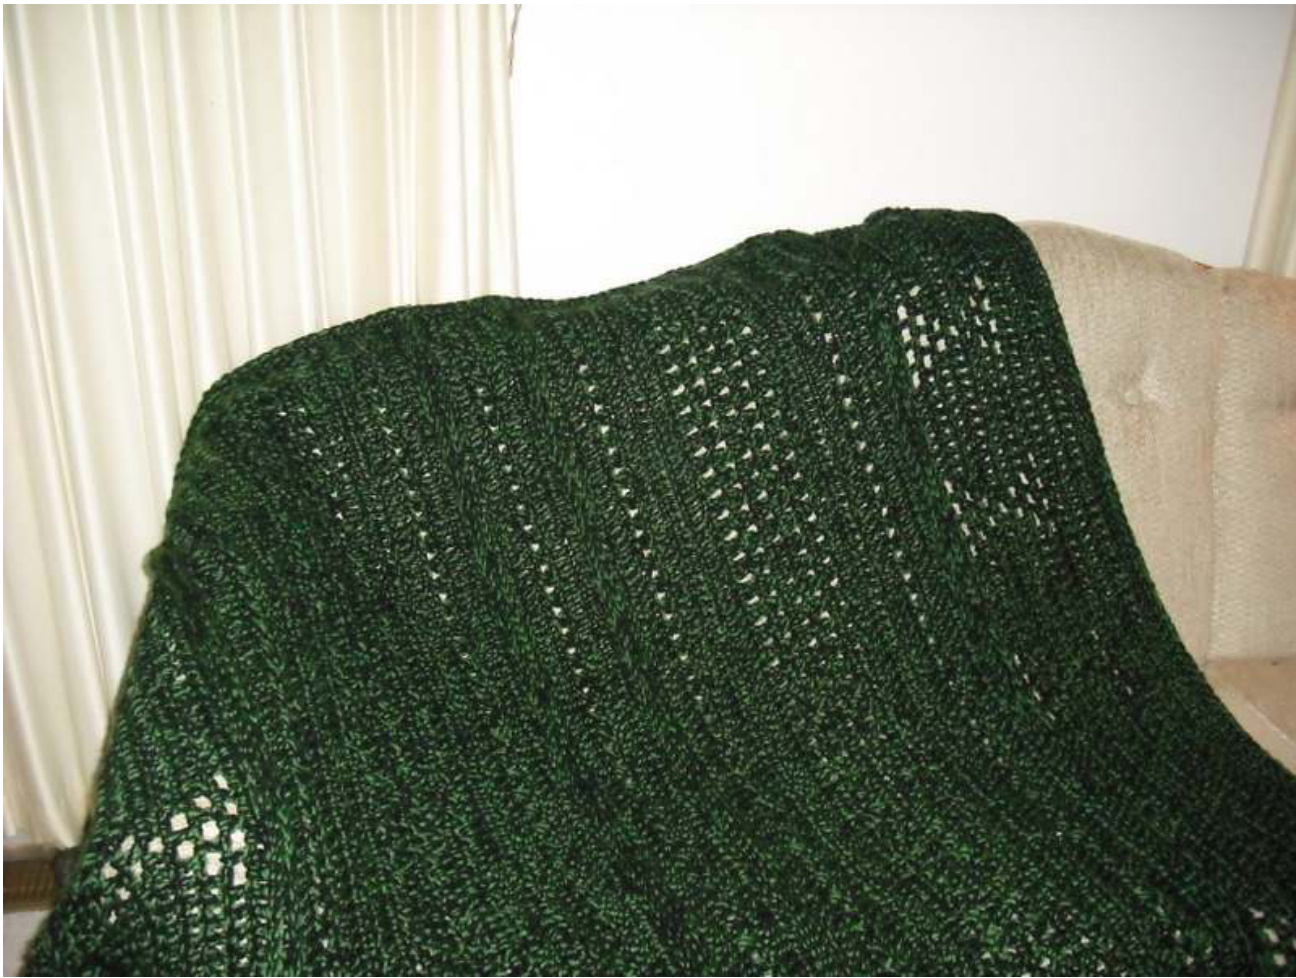
I made this as a gift for my son. I wanted to make a warm, masculine afghan that I could finish quickly. Afghan is worked holding two strands of yarn together. You could certainly use a single strand of yarn with a smaller hook, but your afghan would be smaller. Size: mine turned out to be about 54 inches square. Difficulty: advanced beginner Materials: WW yarn in two colors. I used approximately 1500 yards of yarn (a little over 4 skeins of Carons Simply Soft and just under 4 skeins of Bernat Super Value) SizeNhook Yarnneedle Abbreviations used: FDC- foundation double crochet DC- double crochet Ch-chain BPDC back post double crochet FPDC front post double crochet St- stitch Sc- single crochet ss-slip stitch Special stitch: DC two together: wrap yarn around hook once, insert into first stitch, pull up a loop, wrap yarn around hook, pull yarn through 2 loops on hook, wrap yarn around hook, insert hook into next stitch, pull up a loop, wrap yarn around hook,pull yarn through 2 loops on hook, wrap yarn around hook, pull yarn through remaining three loops on hook (if you usually do this stitch differently, do it your own way, it will look fine) Pattern: NOTE: Ch 2 always counts as the first stitch Every row has 112 stitches Turn at the end of every row Ridges created by FPDC and BPDC should always be on the front of the afghan. FDC 112 (or make 112 DC into a chain., Ihate working into a chain, so I like to use the FDCmethod) To begin with a chain, ch 114, and dc into 2nd ch from hook and into each chain for a total of 112 dc in the first row. If you prefer, you can start with 115 chains and dc into the third chain from the hook to start. I like to start in the second chain to avoid the space created by the ch 3. Row 2 and 3: Ch 2, dc to end Row 4: (begin mesh pattern) Ch 2, Dc in next 6 stitches, \*\*ch1, skip a stich, DC in next stitch, ch 1 skip a stitch, DC in next stitch, ch 1, skip a stitch, DC in next st, ch 1, DC in next 8 stitches\*\* Repeat \*\* to \*\* to the end. (yes the beginning has 7 DC, but you end with 8 DC) You should have 8 mesh sections in this row, each with 4 ch 1 spaces. For rows 5 to 10 . Count the ch 1 spaces as a stitch, and work the DC's into the space into the space. Row 5: Ch 2, Dc in next 8 stitches, including the first ch 1 space of the previous row, \*\* ch 1, skip a stitch, DC into ch 1 space, Ch 1, skip a stitch, DC into Ch 1 space, ch 1, skip a stitch, DC in next 10 stitches, including last ch 1 space of previous row\*\*, repeat to section in between \*\*'s to end, there will be 8 DC in the last solid section. You will have 3 ch 1 spaces in each mesh section. Row 6: Ch 2, DC in next 9 stitches, \*\*ch 1, skip a stitch, DC into ch 1 space of previous row, ch 1, skip a stitch, DC into ch 1 space of previous row, ch 1, DC into next 12 stitches,\*\* repeat stitches between \*\*'s to the end. The row will end with 9 DC's. There will be 2 ch 1 spaces in each mesh section. Row 7: Ch 2, DC into next 10 stitches, \*\* ch 1, skip a stitch, DC into ch 1 space of previous row, ch 1, skip a stitch, Dc into next 14 stitches\*\* Repeat stitches between \*\*'s to end. The row will end with 10 DC's. You will have 1 ch space in each mesh section. Row 8: repeat row 6 pattern (you won't have as many ch 1 spaces to work into, but the pattern is the same) (2 ch 1 spaces in each mesh section) Row 9: Repeat Row 5 (3 ch 1 spaces in each mesh section) Row 10: repeat row 4 (4 ch 1 spaces in each mesh section) Row 11: Ch 2, DC across : Ch 2, BPDC across (this will create a ridge on the front side of the afghan) Row 13: Ch 2, FPDC across Row 14: Ch 2, DC across Row 15: Ch 2, \*\*Skip a stitch, DC in next stitch, Working around stitch just made, DC in skipped stitch\*\* (crossed double crochet made) Repeat stitches between \*\*'s to 2nd last stitch from the end, DC in last stitch Row 16-18: Ch 2, Dc across Row 19: Ch 2, \*\*DC two together, ch 1, \*\* Repeat stitches between \*\*'s to last stitch, DC in last stitch. Row20-23: repeat row 18, using the ch 1 space as a stitch. Row 24-26: Ch 2, Dc across Row: 27: repeat row 15 Row 28-29: Ch 2, DC across Row 30: Repeat row 12 (BPDC row) Row 32: ch 2, Dc across Row 33: repeat row 15 (crossed doubles) Row 34 and 35: Ch 2, DC across Row 36: repeat row 12 (BPDC row) Row 37: repeat row 13 (FPDC row) Row 38: ch 2, DC across Row 39: repeat row 15 (crossed doubles) Row 40 to 42: Ch 2, dc across Row 43-47: Repeat rows 19-23 Row 48 - 50: Ch 2, Dc across Row 51: Repeat row 15 (crossed doubles) Row 52 and 53: Ch 2, DC across Row 54: Repeat row 12 (BPDC row) Row 55: Repeat row 13 (FPDC row) Row 56: Ch 2, DC across Row 57 - 63: repeat rows 4 to 10 (mesh pattern) Row 64 -66: Ch 2, Dc across This finishes the main body of the afghan. I finished mine with 2 rows of sc worked around the entire thing. You could quit now if you want. If you paln to add a border, don't cut the yarn, just continue onto the border. SC border: Ch 1, turn, sc across. Place 3 stitches in the corner and continue single crocheting along the side of the afghan, evenly placing stitches into ends of the rows. When you get to the corner, place 3 stitches in the corner stitch, sc across the end, and continue around the e=next side, placing 3 stitches in each corner. Join round with a slip stitch, ch 1 and go around again. Fasten off and weave in ends. I try to get the same number of sc's down each side, so that the finished afghan looks nice and even. I don't think one more or less makes much difference, but a few extra stitches down one side as compared with the other side can make the afghan look lop-sided.


