Stocking
www.knitables.co.uk
Christmas
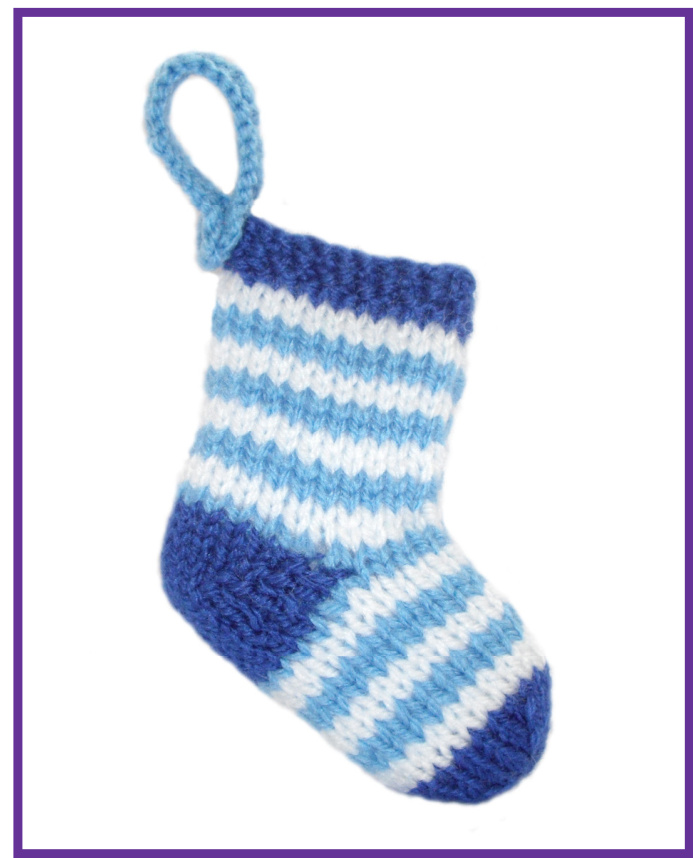
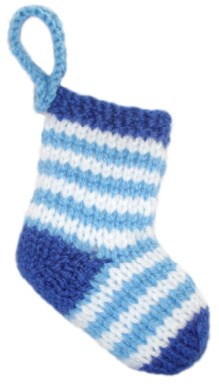
I hope you have fun knitting this delightful stocking, which has been designed to have many uses. It could be made into a Christmas tree decoration or it could be filled with chocolates, sweets or small treats and given as a gift or party favour. It is also ideal for charity fundraising.
Materials
Happy knitting! Sarah Double knitting wool (various colours) Knitting needles size 314mm (UK size 10) Sewing needle Good quality washable toy stuffing
Abbreviations
K P st(s) beg tog inc dec K2tog P2togyb yf sl st-st g-st m-st B&T Purl Stitch(es) Beginning Together Increase by knitting into the front and back of the stitch Decrease by knitting two stitches together tog Knit two stitches together tog Purl two stitches together Yarn back (take yarn to the back before working the next stitch) Yarn forward (bring yarn to the front before working the next stitch) Slip 1 stitch (stitch is passed from the left needle to the right needle without being knited, slip purl-wise) Stocking stitch (1 row knit, 1 row purl) Garter stitch (every row knit) Moss stitch ( knit 1 stitch, purl 1 stitch) Break yarn, leaving a long end. Thread through remaining stitches on needle, draw up tightly and fasten off.
Casting off
Always cast off knit wise unless otherwise stated.
Working in stripes When knitting different coloured stripes, carry yarns up side of work.
Embroidered stitches
Thread sewing needle with yarn and knot end of yarn. Take needle through the stuffed toy and bring it out at the position required. Pull yarn to draw the knotted end right inside the stuffing. Now work the embroidered stitches. Insert the needle back into the toy at the same place and bring the needle point back up at the opposite end of the stitch. Loop the yarn around the needle and pull the needle through. Repeat the procedure to make a row of chain stitches.
Twisted cords
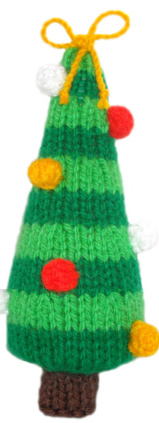
To make a twisted cord from a single length of yarn, cut a strand of yarn four times as long as the measurement required. Knot one end round a door knob, chair leg or hook and knot a loop in the other end to fit around the index finger of your right hand. Now keeping the yarn taught, twist your finger round and round in a clockwise direction. Keep twisting until when relaxed, the strand of yarn begins to curl back on itself. Fold cord at centre, bringing ends together. Allow yarn to twist tightly and knot ends. The bow on the tree is made from a twisted cord.
Rows worked in double yarn
There are occasions where one or more rows are worked using double yarn, changing back to a single strand of yarn for subsequent rows. When changing from double to single yarn, treat the two loops on each stitch on the previous row as one stitch when working the next row.
Toy safety
These characters have been designed for young children, so please ensure that attached pieces are sewn on very securely and seams are tightly finished off If a twisted cord is tied in a bow, sew through bow so that it can not be undone if pulled. Use only new, hygienic, washable stuffing that conforms to current safety standards.
Size
Finished height: Approximately 12cm Raising funds for Bobath Children's Therapy Centre Wales and Marie Curie Cancer Care
Stocking
Stocking
With dark blue cast on 26 sts Row 1 (K1, P1) repeat to end (m-st) Row 2 (P1, K1) repeat to end Row 3 (K1, P1) repeat to end Rows 4 - 5 Change to white, beg with a K row, st-st 2 rows Rows 6 -7 Change to light blue, beg with a K row, st-st 2 rows Rows 8 - 17 Change to white and continue in 2 row alternating stripes of white and light blue. Beg with a K row and st-st 10 rows Shape Heel Row 18 Change to light blue, K 1 row Row 19 In light blue P6, change to dark blue P13, yb, Sl 1, yf, turn Row 20 Sl 1, K12, yf, Sl 1, yb, turn Row 21 Sl 1, P11, yb, Sl 1, yf, turn Row 22 Sl 1, K10, yf, Sl 1, yb, turn Row 23 Sl 1, P9, yb, Sl 1, yf, turn Row 24 Sl 1, K8, yf, SI 1, yb, turn Row 25 SI 1, P7, yb, Sl 1, yf, turn Row 26 SI 1, K7, yf, Sl 1, yb, turn Row 27 Sl 1, P8, yb, Sl 1, yf, turn Row 28 Sl 1, K9, yf, Sl 1, yb, turn Row 29 Sl 1, P10, yb, Sl 1, yf, turn Row 30 Sl 1, K11, yf, Sl 1, yb, turn Row 31 Sl 1, P12, yb, Sl 1, yf, turn Row 32 Sl 1, K13, yf, Sl 1, yb, turn Row 33 Sl 1, change to light blue P to end Row 34 Change to white, K5, K2tog, K12, K2tog, K5 (24 sts) Row 35 Purl Rows 36 - 43 Change to light blue and continue in 2 row alternating stripes of light blue and white. Beg with a K row and st-st 8 rows
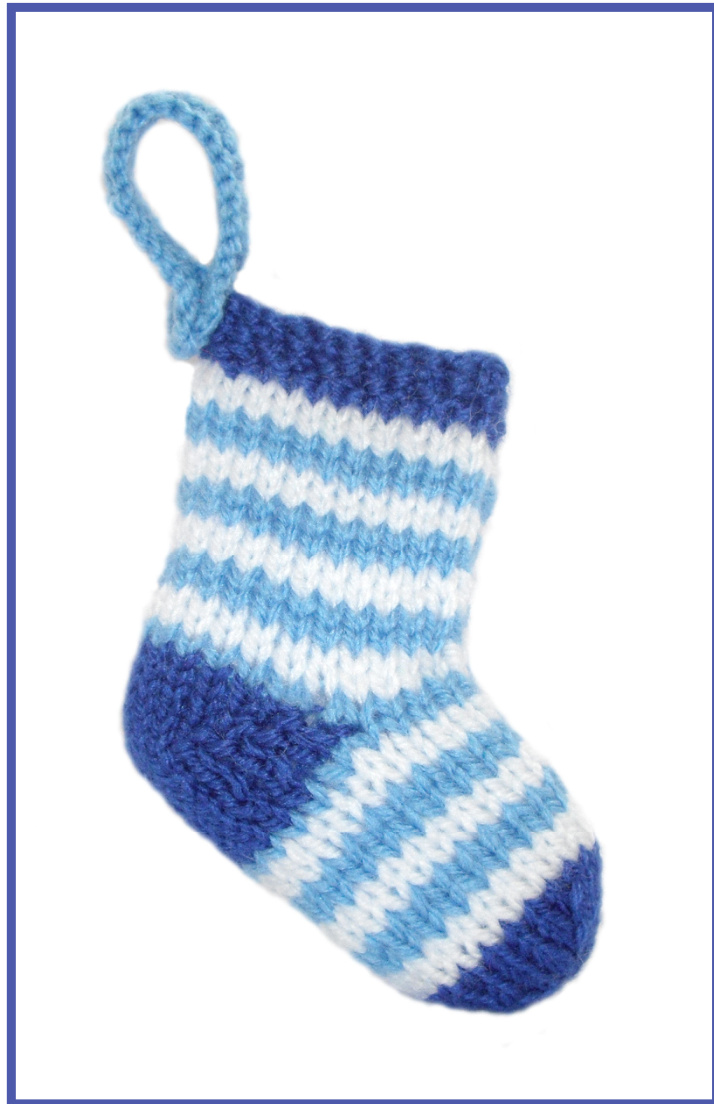
Shape Toe Row 44 - 45 Change to dark blue, beg with a K row, st-st 2 rows Row 46 K3, K2tog, K4, K2tog, K2, K2tog, K4, K2tog, K3 (20 sts) Row 47 Purl Row 48 K3, K2tog, K2, K2tog, K2, K2tog, K2, K2tog, K3 (16 sts) Row 49 Purl Row 50 K4, K2tog, K4, K2tog, K4 B & T
Hanging Loop
Cast on 26 sts. Moss st 2 rows. Cast off. Join the side edges of stocking, working up from gathered toe. Attach the hanging loop.


