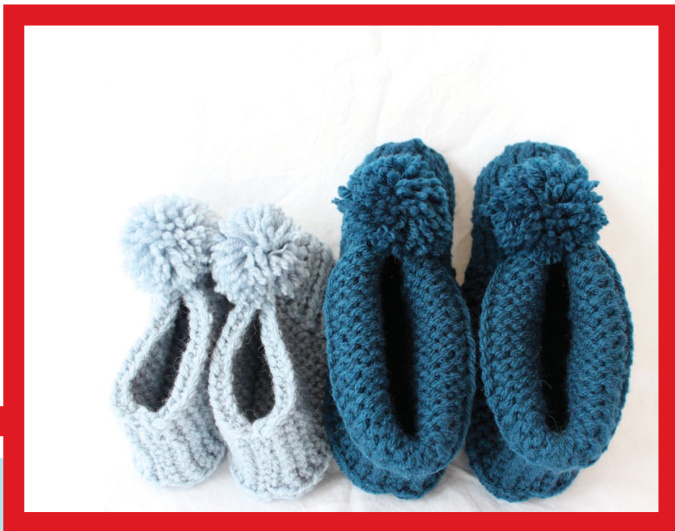
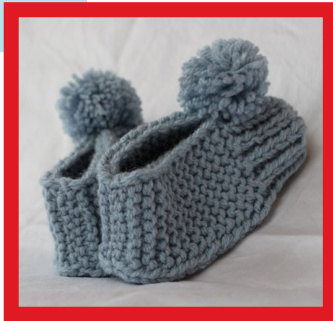
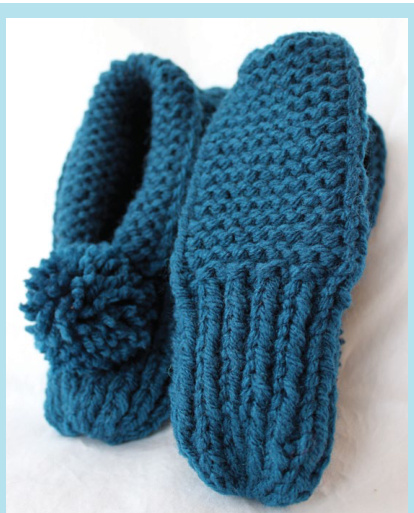
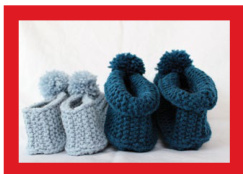
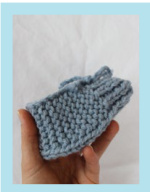
This slipper is worked back and forth on straight needles holding two strands of yarn and working them as one. The foot is worked in garter stitch and the toe is ribbed. The heel and toe are seamed and a pompon decorates the toe.
Skills Used: cast on, knit, k2tog, knit through back loop (ktbl), purl, slip stitch purl-wise, ssk, make a pompom, seaming.
Materials & Equipment:
yarn: 100 g knitting worsted weight yarn (tightly spun recommended) needles: one pair 5mm needles darning needle scissors Tension: 14 sts and 14 rows over 4 inches (in garter stitch)
"To save time, take time to check gauge"
Abbreviations:
kknit k1 tbl knit one through back loop k2tog knit two stitches together (a right leaning decrease) Ppurl p-wise purl-wise; insert needle from right to left (or from front to back of stitch) and place on right needle. rib knit the knits and purl the purls (ribbing); columns of stitches will be visible ridge two rows of knitting in garter stitch (garter stitch is knitting every row) RS right side (public side) ssk slip two stitches as if to knit, one at a time, to right needle. Place left needle tip in the fronts of these two stitches and knit them together (or the following left leaning decrease may be substituted -"slip 1, knit 1, pass slip stitch over"'.) sts stitches WS wrong side wyif with yarn in front
TODDLER'S SLIPPER
Cast on 25 sts with doubled yarn. Hint: leave extra yarn for seaming. WS rows: \*K1 tbl, k7, pl, k7, pl, k7, wyif slip last st p-wise. RS rows: K1 tbl, k to last st, wyif slip last st p-wise.\* Repeat between \* \* for 1l ridges or 3 inches. End with a WS row. RS row: \*P1, kl across row. WS row: Kl, pl across row.\* Repeat between \* \* 3 times more. (8 rows in total or 1 3/4 inches)
Decrease Toe:
Row 1: Rib 6, k2tog, k1, ssk, rib 3, k2tog, kl, ssk, rib 6. (21 sts)
Finishing:
Cut yarn leaving a 16" length, draw through sts on needle, slip off. Pull up tight, fasten, sew up top of slipper (the ribbing section) and back of slipper. Weave in ends and attach pompom. Make a second slipper.
CHILD'S SLIPPER
Cast on 27 sts with doubled yarn. Hint: leave extra yarn for seaming. WS rows: \*K1 tbl, k8, pl, k7, pl, k8, wyif slip last st p-wise. RS rows: K1 tbl, k to last st, wyif slip last st p-wise.\* Repeat between \* \* for 14 ridges or 4 inches. End with a WS row. RS row: \*P1, kl across row. WS row: Kl, pl across row.\* Repeat between \* \* 4 times more. (10 rows in total or 2 inches)
Decrease Toe:
Row 1: Rib 7, k2tog, kl, ssk, rib 3, k2tog, kl, ssk, rib 7. (23 sts)
Finishing:
Cut yarn leaving a 16" length, draw through sts on needle, slip off. Pull up tight, fasten, sew up top of slipper (the ribbing section) and back of slipper. Weave in ends and attach pompom. Make a second slipper. ① Joan Janes, 2011. A single working copy for personal use is allowed. Otherwise, no part of this pattern may be reproduced in any form without the written consent of the author. joan@littleredmitten.ca
WOMEN'SMEDIUM SLIPPER
(folded over cuff option in parentheses)
Cast on 29 (37) sts with doubled yarn. Hint: leave extra yarn for seaming. WS rows: \*K1 tbl, k8 (12), pl, k9, pl, k8 (12), wyif slip last st p-wise. RS rows: K1 tbl, k to last st, wyif slip last st p-wise.\* Repeat between \* \* for 18 ridges or 5 inches (after 17 ridges, cast off 4 sts at beginning of next two rows for a fold-over cuff.) End with a WS row. RS row: \*P1, kl across row. WS row: Kl, pl across row.\* Repeat between \* \* 5 times more. (12 rows in total or 3 inches)
Decrease Toe:
Row 1: Rib 7, ssk, k1, k2tog, rib 5, ssk, kl, k2tog, rib 7. Row 2: Rib 7, p3, rib 5, p3, rib 7. Row 3: Rib 6, k2tog, k1, ssk, rib 3, k2tog, k1, ssk, rib 6. (21 sts)
Finishing:
Cut yarn leaving a 16" length, draw through sts on needle, slip off. Pull up tight, fasten, sew up top of slipper (the ribbing section) and back of slipper. For cuff version, tack folded-over cuff to back of slipper Weave in ends and attach pompom, tacking down front cuffs if desired. Make a second slipper.
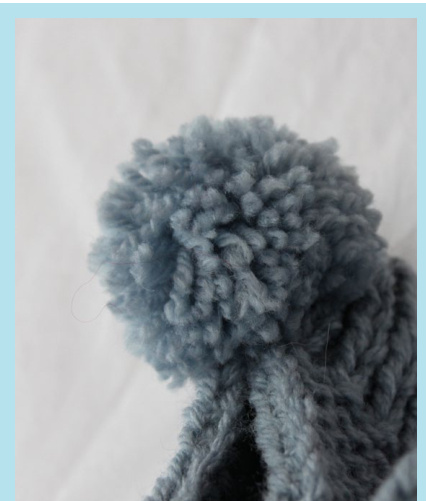
POMPOMS:
If you want to make your own pompon maker, cut two cardboard circles with a diameter of 2 1/4". Cut out centre circles to a diameter of 7/8" or 1". To make pompon, cut 4-6 long strands of yarn (approx. 36"). Thread all strands into a large yarn needle. Holding cardboard circles together, wrap yarn through centre and over edge with needle always entering centre from same direction. Add more yarn as necessary. The fuller the centre hole is with yarn, the thicker the pompom. Insert scissors between cardboard circles and cut yarn around entire circumference. Cut a 10" piece of yarn for tying pompom. Gently separate discs and wrap 10" piece of yarn around centre of pompom: it is helpful if cardboard circles are still loosely attached. Pull tightly and tie knot (I like a surgeon's knot which is a normal knot with the yarn run through an extra time). Wrap one more time and knot again. Hold pompon with all strands aimed out of top of fist. Trim, but do not cut the two ends that are holding pompon together: use them for attaching the pompom. Attach to top of slipper toe.
A Bit of Local History:
Monarch Knitting Ltd. was a 4-storey spinning and knitting mill which operated in St. Thomas from 1908 until the late 1940s. It vwas the largest manufacturer of yarns in Canada, and the largest employer of female labour in St. Thomas. In the 1950s, it became Parkspin Ltd., a spinning mill with a popular salesroom/factory outlet. In 1964, Earl and Lavina Shave, whose family founded the Mary Maxim Company, moved to St. Thomas to take over operation of the company. Why do I call these Parkspin Slippers? An early version of this slipper pattern was available in the Parkspin Salesroom, and was one of my first knitting projects ...and my first real summer job veas working at the big old spinning machines in this mill. Oh dear, I just put myself in a paragraph about local history!
O Joan Janes, 2011. A single working copy for personal use is allowed. Otherwise, no part of this pattern may be reproduced in any form without the written consent of the author. joan@littleredmitten.ca


