Dante's Purse A Recipe
By Kirsten Kapur for Through the Loops!
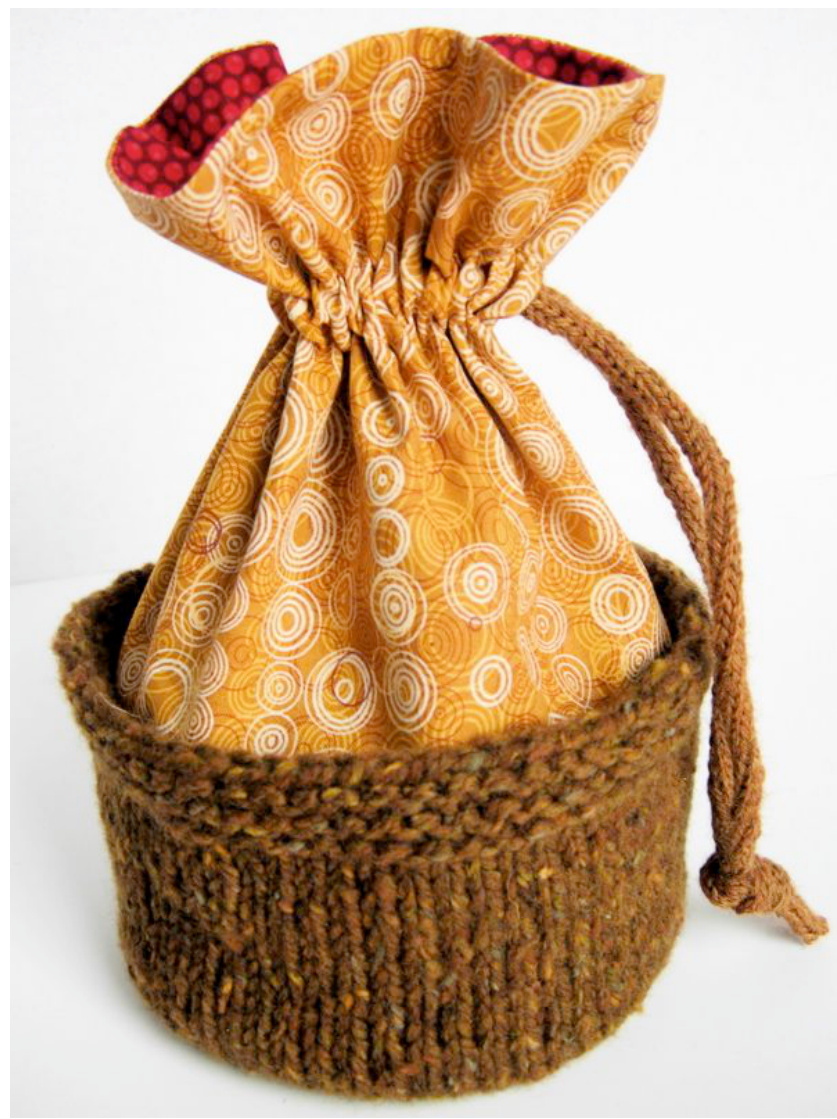
Dante's Purse is a fun to make project bag. Jump in and start digging through your yarn and fabric stashes to find the materials. Be brazen in your choices, or subdued. It's all about the joy of the hunt. This pattern is designed to work with any weight yarn, although the heavier the yarn, the more stable the base. Also, work with needles a little smaller than called for on the ball band. The tighter the base is knit, the firmer it will be.
Materials
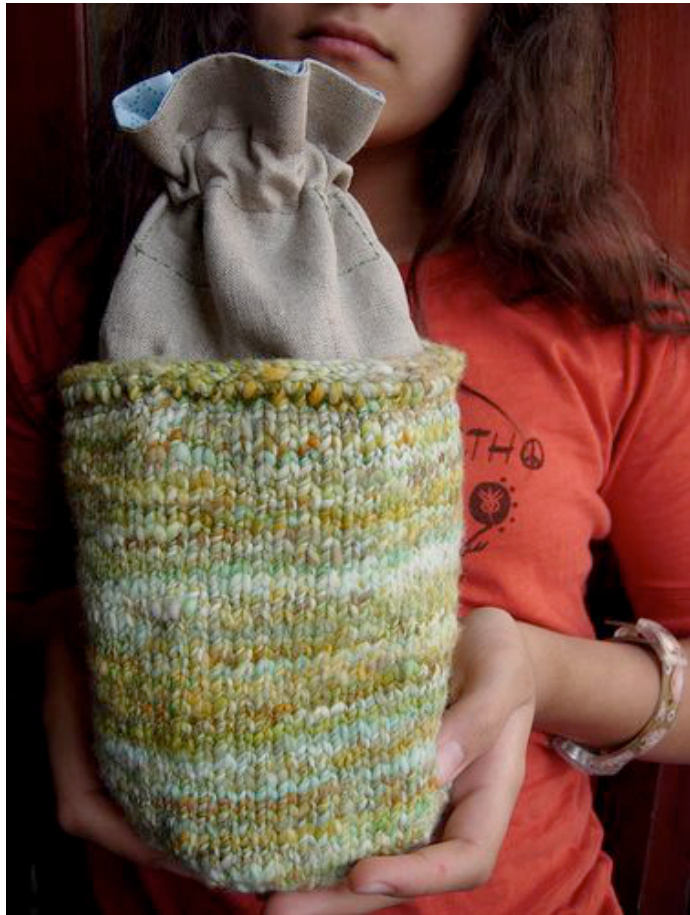
Yarn: For the base: This pattern will work with any yarn, but I recommend chunky or bulky weight for a firm base. For the I-cord drawstring: Sport or fingering weight works best. Needles: For the base: Use DPN's, magic loop or two circulars, whichever is your preferred method for knitting in the round. Choose needles one or two sizes smaller than called for on the ball band. You want the fabric to be knit tightly. For the I-cord drawstring: Two DPN's in an appropriate size for the I-cord yarn. Fabric: Two fabrics of your choice. I've used cotton prints for the one pictured above, and linen for the handspun bag pictured later in this pattern. Wool flannel, corduroy or even silk would work equally well. Choose one for the shell and one for the lining. Other: Sewing machine, thread, scissors, 4 place markers, tapestry needle, ruler, compass, paper.
Make Base
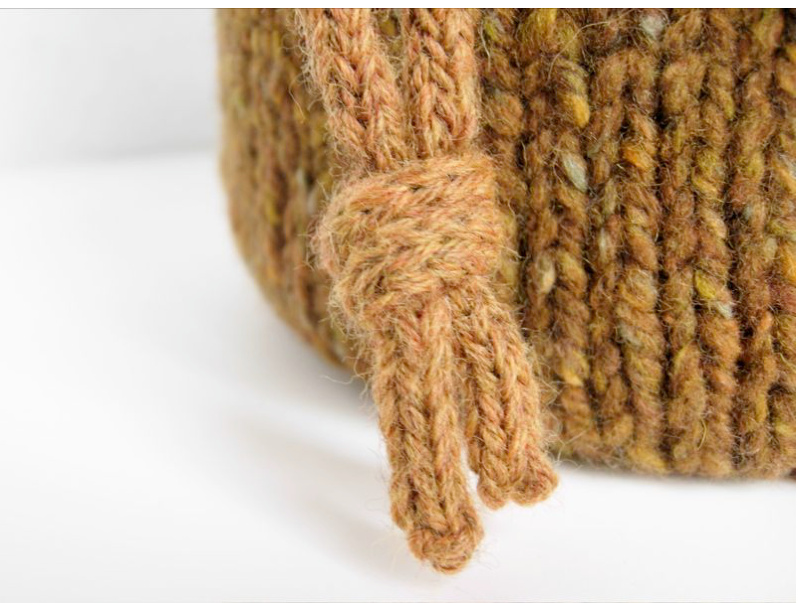
Using the base yarn cast on 4 stitches. Place a marker after each stitch. First Round: Join and work in the round knitting into the front and back of each stitch. (8 stitches total) Next Round: Kf&b into the stitch after each place marker, knit all the other stitches, 4 stitches increased. Continue to increase in this way, knitting into the front and back of the stitch after each place marker and knitting the other stitches on every row until the base is the desired size. The base of the bag above measured $6^{\circ}$ in diameter. Once the base is the desired size stop increasing and knit in the round until the sides are the 1' less than desired height. The two projects shown in this pattern have very different height bases. This is entirely up to you. Work in garter stitch (alternating knit and purl rounds) for 1". Bind off. Alternatively, you may work the sides until they are $^{1}\!/\!_{2}\!\cdot\!,$ less than desired height and do an I-cord bind off, eliminating the garter stitch. (See photo at right.) Block your finished base by wetting it thoroughly, squeezing out the excess water in a towel and placing over a form of similar size and shape to dry. I usually dig through my Tupperware, pots, pans and dishes for this. Set base aside.
Make I-cord Drawstring
Using the DPN's, cast on 4 stitches with the drawstring yarn. Row 1: Knit 4, push all 4 stitches to opposite end of DPN so that the working yarn is at the far end of the row. Row 2: Draw yarn tightly across back of4 stitches to the first stitch on the needle and knit all 4 stitches, slip all 4 stitches to end of DPN. Repeat row 2 until I-cord measures approximately $26^{\circ}$ Cut yarn leaving about a 4” tail, pull tail through the 4 live stitches and weave in ends. Set I-cord aside.
Make Bag
Cut Out Pieces
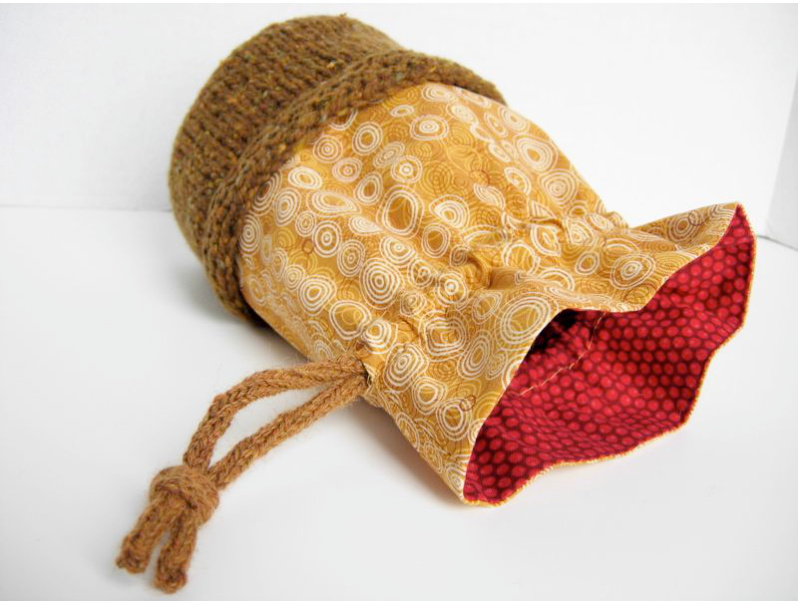
Measure the diameter of your base. Multiply this number by pi (3.14) to find the circumference of the base. This number will be the circumference of your bag. Look at your knitted base and decide on the height that you think works best with your base. The fabric bag will go all the way to the bottom of the knitted base, so include that in you measurement. Also, be aware that when you pull the drawstring to cinch it in, it will look quite a bit shorter so add an inch or two to compensate for this. I advise you to play with your fabric a bit to get an idea of what will work best for you. The overall measurement of the height of the fabric bag on the gold bag pictured was 11'" before sewing. You now have three numbers: 1. The diameter of your base. 2. The circumference of your bag. 3. The height of your bag. Add $1^{\circ}$ to the diameter of your base and draw a circle this size on a piece of paper using the compass. The extra 1" will give you $^{1\!}/\!_{2}\!:$ seams all the way around. Using this template cut out one base from each of the two fabrics. Set aside. Add $1^{\circ}$ to the height and $1^{\circ}$ to the circumference of the bag. Again, this will create $^{1}\!/\!_{2}^{\,,\,\bullet}$ seam allowances. Cut one rectangle this size in each of your fabrics. We will call these pieces “Bag Side" and “Bag Side Lining"
Sew Bag Sides
Fold the “Bag Side” fabric in half with right sides together bringing the side seams (height edges) together. Sew together with a half inch seam leaving a $\%^{\circ}$ gap in the seam $2^{\circ}$ down from the top. This will be the opening that the drawstring will go through. Repeat this step with the “Bag Side Lining” fabric, except eliminate the $\%^{\circ}$ gap.
Press seams open.
Turn the “Bag Side” right-side out, leaving the “Bag Side Lining” inside out. Place the “Bag Side”" inside the “Bag Side Lining"” so that the right sides are together, lining up top and bottom edges. Sew together with a $^{1}\!/\!_{2}\!\cdot\!,$ seam along the top edge. (Remember to check where you left the $\%^{\circ}$ gap to be sure where the top is!) Turn right side-out, fold over along top seam and press. You now have a cylinder that is finished along the top, with the bag side fabric on the outside and the bag side lining fabric on the inside.
Attach Fabric Base to Bag Sides
\*\*This next part is the trickiest part of the project. Take your time and use a lot of pins to help ease the shapes together. \*\*
Place the two fabric base circles wrong sides together and baste $3/8^{\circ}$ in from edge. With the lining fabric on top, pin the edge of the fabric base circles to the raw edges at the bottom of the cylinder. Use lots of pins all the way around. The raw edges should be on the outside of the bag. \*\*Don't worry, this edge won't be seen when the project is completed. It is the inside of the bag that you want clean here.\*\* Sew the base to the sides with a 1/2” seam. Trim seam.
Create A Casing for the Drawstring.
Stitch around the bag $2^{\circ}$ down from the top. This should be just above the $\%^{\circ}$ opening. Stitch around the bag again, just below the $\%^{\circ}$ opening. Your fabric bag is now completed.
Sew Fabric Bag into Knitted Base
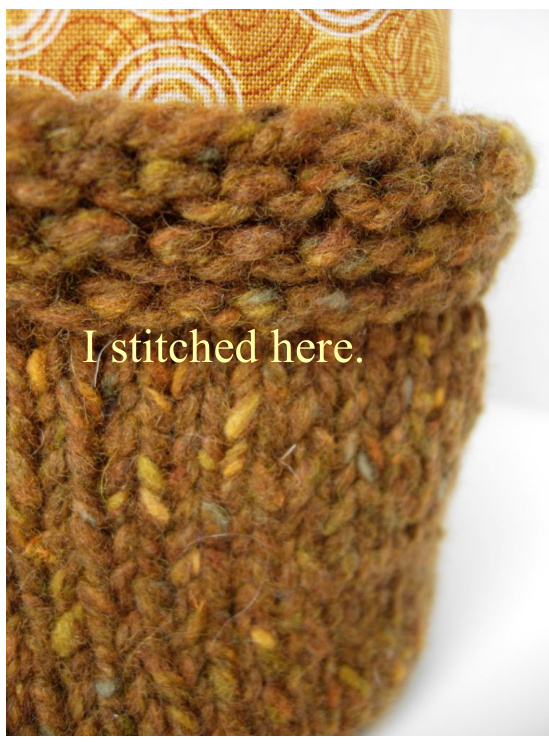
I have sewn all of my fabric bags onto the knitted base by machine. I do this by sewing in the “ditch" just below the last row of garter stitch or just below the I-cord edge. As long as the color is well matched, the thin sewing thread is barely visible on the thick knitted base. If you choose to attach your bag this way, be sure to pin the pieces into place. Also, be very careful not to let the knitting stretch out of shape when sewing by machine. Alternatively you may sew the bag in place by hand.
Finishing
Thread the I-cord through the casing. You can do this easily by pinning a safety pin to one end and using that to guide the I-cord through. Tie the ends of the I-cord together. Fin. Enjoy!