Pumpkin, written for the Glasgow Botanic Garden Pumpkin Patch 24/10/10
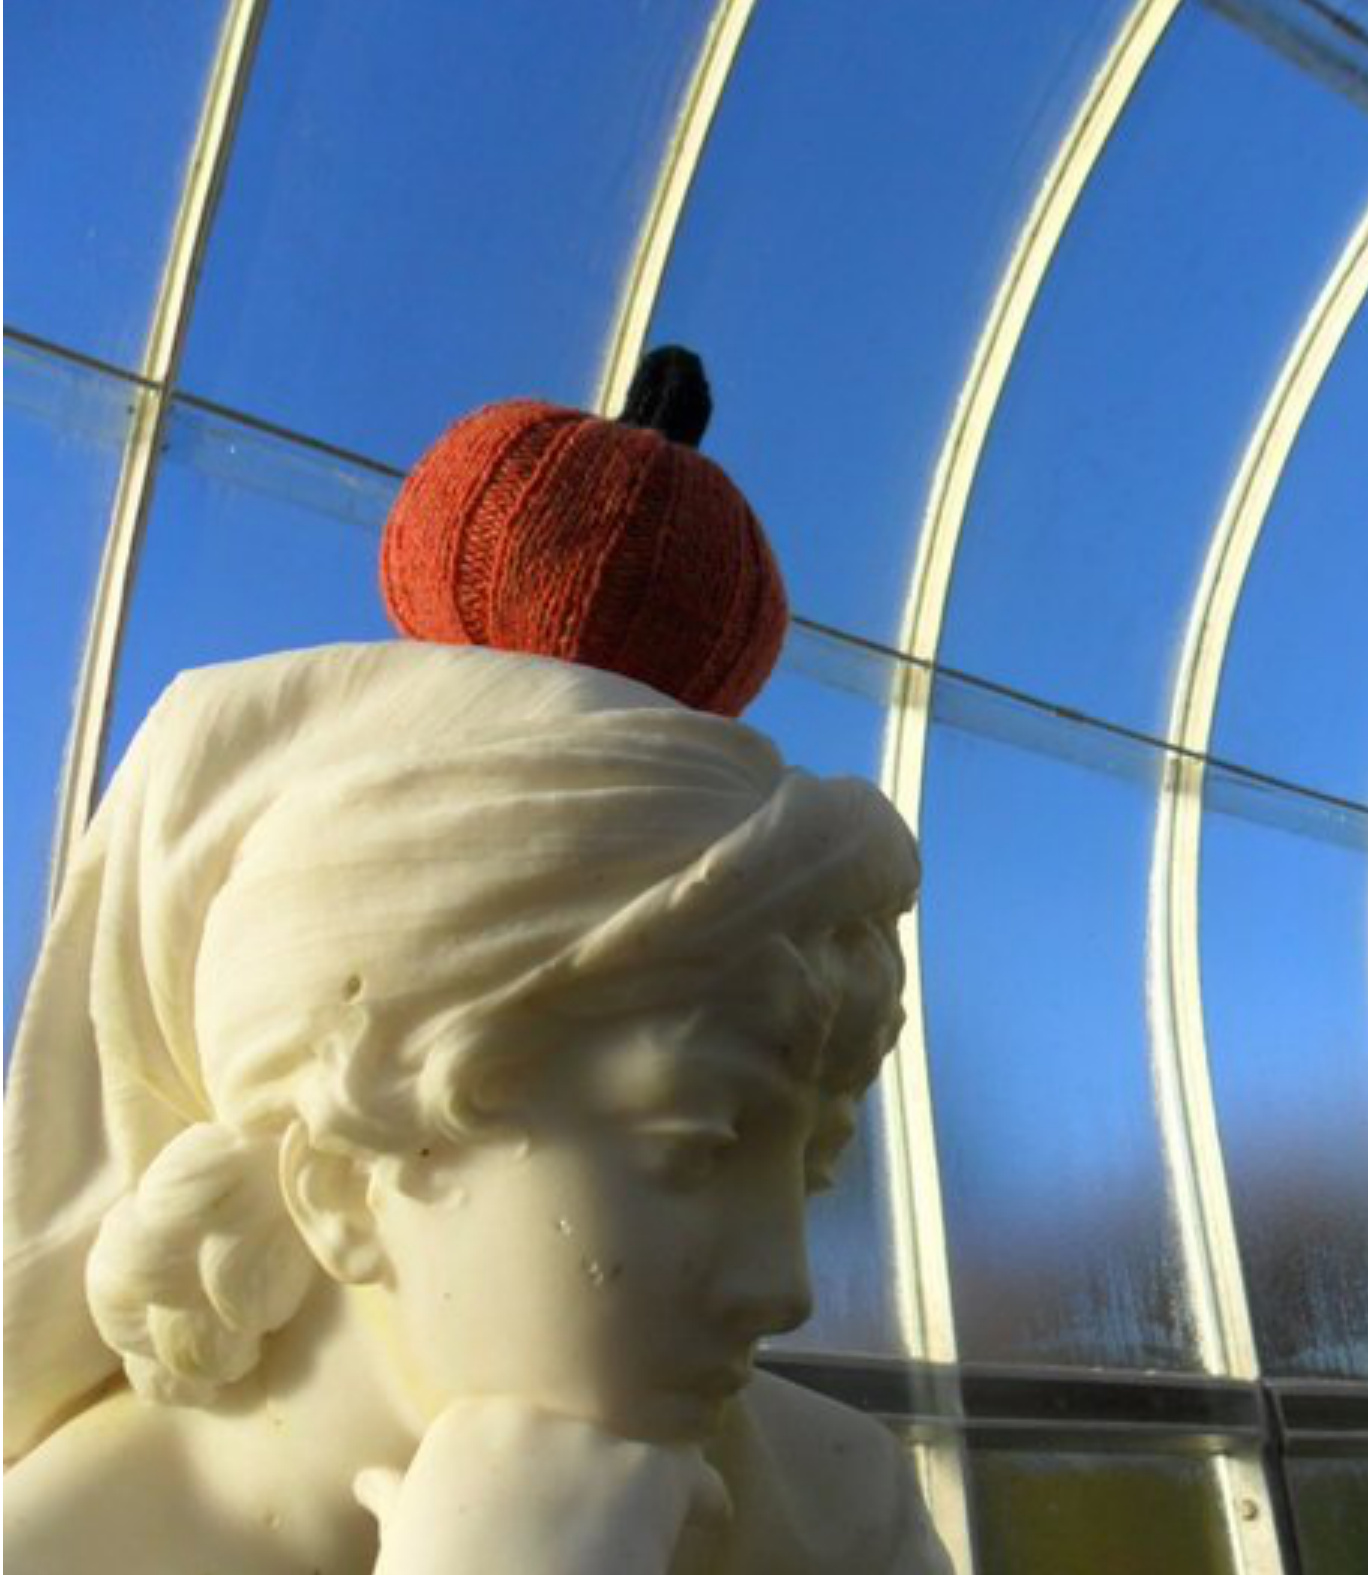
Abbreviations k=knit, p=purl, slp=slip, kfb= knit into the front, then knit into the back of the same stitch, k2tog=knit two stitches together, p2tog= purl two stitches together, psso=pass the slipped stitch over the knitted stitch Pumpkin Stalk Begin with the pumpkin stalk in green. Cast on 6 stitches and divide between 3 double pointed needles. Rnd 1,3,5,7 Knit Rnd 2 Kfb into every stitch Rnd 4 (k1, kfb) to end Rnd 6 (k2, kfb) to end Rnd 8,9, 10,11,12 (k2,p2) to end For a longer stalk you can repeat (k2,p2) for a few more rounds Body of the Pumpkin Change to orange yarn. Rnd 13 (k2tog, p2) to end Rnd 14 kfb to end Rnd 15 knit Rnd 16 kfb to end Rnd 17 (k6,p2) to end This is where you get to customise your pattern...repeating Row 17 about 40 more times will give you a normally proportioned pumpkin. Repeating Row 17 about 30 more times will give you short pumpkin and repeating the row 50 times will give you a big fat pumpkin. By varying the amount of rows you work in this section you can create different sized pumpkins from the same pattern. Base of the Pumpkin In this section you will decrease your stitches to form the base of the pumpkin. Stuff your pumpkin as you go along rather than waiting to the end and stuffing it all in one go. (Don't stuff thestalk) 1st Dec Rnd (slp 1,k1, psso, k2, k2tog,p2) to end 2nd Dec Rnd (k4, p2) to end 3rd Dec Rnd (slp 1, k1,psso, k2tog) to end 4th Dec Rnd (k2,p2) to end 5th Dec Rnd (k2tog, p2tog) to end 6th Dec Rnd knit to end Break off the yarn, leaving a long enough tail to thread the yarn through the remaining stitches and fasten off. Secure and thread the tail through the body of the pumpkin the finish off without leaving a loose end.


