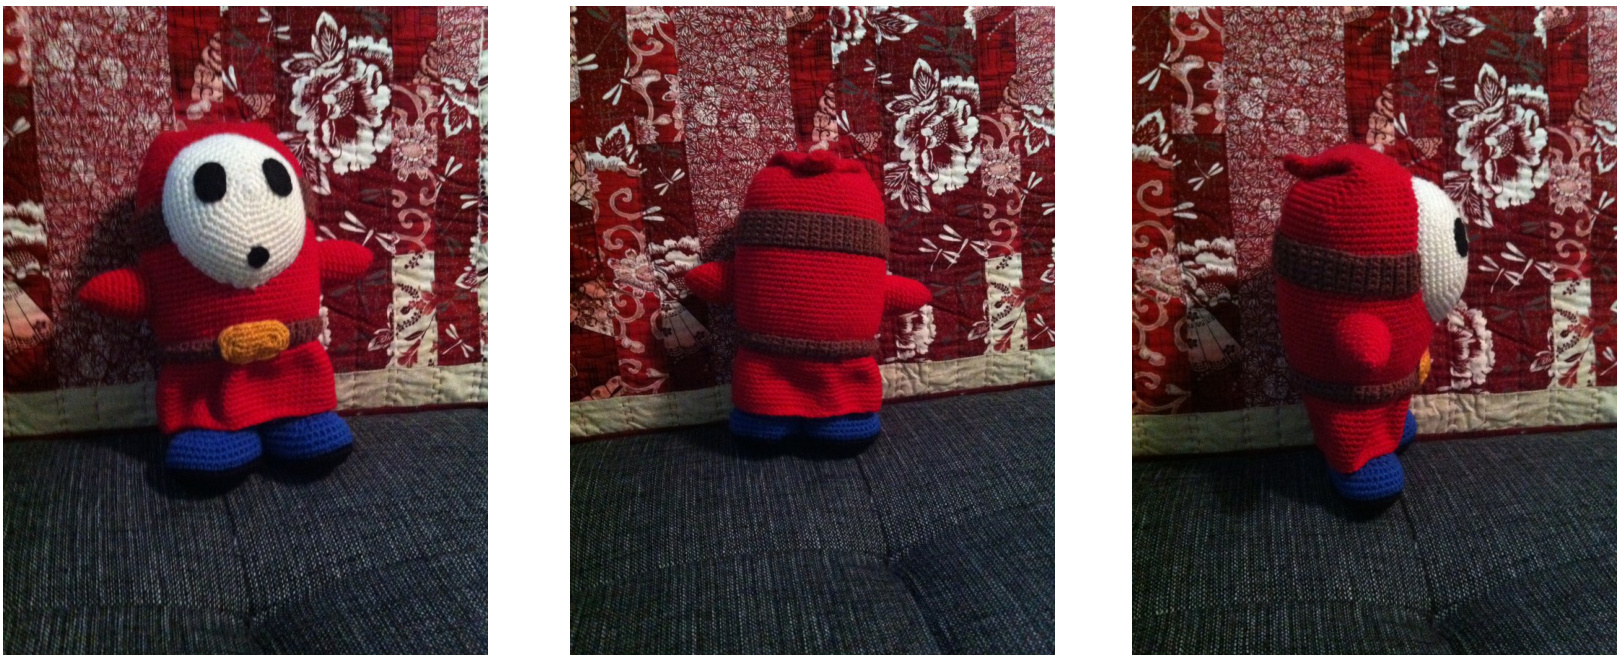
Shy Guy Amigurumi Pattern
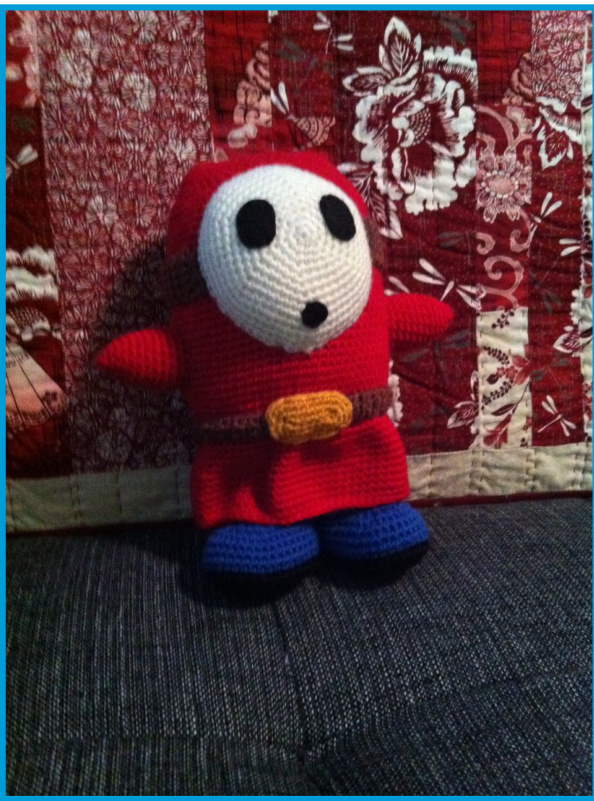
My partner had a request from one of his twitter friends to make a Shy Guy. They really love this character from Super Mario Brothers and he wanted it for his daughter. I believe it turned out well and now I'm offering this pattern for other people to make him. Unless otherwise stated, work in continuous rounds. Also, I assume that you have basic knowledge in crochet. If not there are many tutorials on YouTube. Good luck!
Materials Required:
Black, blue, brown, gold, red, and white coloured yarn Fibrefill Blackfelt 3.5mm (E) hook Yarn needle Sewing needle and thread
Shy Guy Amigurumi Pattern
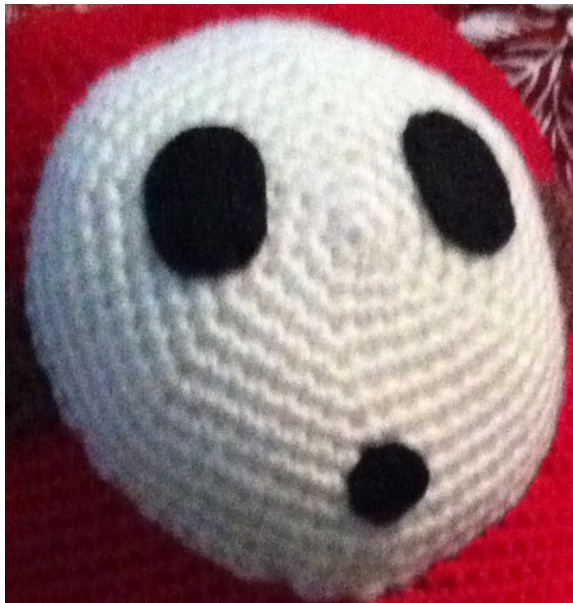
Face Mask:
Using White Rnd 1: 6 sc into magic circle (6) Rnd 2: 6inc (12) Rnd 3: \*sc, inc\* x 6 (18) Rnd 4: \*2sc, inc\* x 6 (24) Rnd 5: \*3sc, inc\* x 6 (30) Rnd 6: \*4sc, inc\* x 6 (36) Rnd 7: \*5sc, inc\* x 6 (42) Rnd 8: \*6sc, inc\* x6 (48) Rnd 9: \*7sc, inc\* x 6 (54) Rnd 10: \*8sc, inc\* x 6 (60) F/O and leave a long tail for attaching the face
Strap:
UsingBrown Row 1: ch 7 Row 2: sc in 2nd chain from hook, 5sc Row 3-50: ch 1, turn, 6sc You may need to add or reduce the number of rows for the mask strap depending on the width of the head. F/O and leave a very long tail to attach the strap to the head.
Shy Guy Amigurumi Pattern
Boots, Legs, Body & Head: (Make 2 Boots and Legs) Using Black Rnd 1: ch 7 Rnd 2: sc in 2nd ch from hook, 4sc, inc, 5sc, inc (14) Rnd 3: inc, 5sc, 2inc, 5sc, 2inc (18) Rnd 4: 2inc, 5sc, 4inc, 5sc, 2inc (26) Rnd 5: 3inc, 7sc, 6inc, 7sc, 3inc (38) Rnd 6: 38sc Switch to Blue Rnd 7: 38sc in back loop only Rnd 8-10: 38sc Begin stuffing the piece. Continue stuffing as the piece is worked. Rnd 11: 11sc, 8dec, 11sc (30) Rnd 12: 9sc, 6dec, 9sc (24) Rnd 13: 8sc, 4dec, 8sc (20) Rnd 14: 8sc, 2dec, 8sc (18) Rnd 15-20: 18sc F/O and leave a long enough tail to sew the 2 legs together. Create a second leg and leave the yarn attached. When sewing the 2 legs together ensure that boots are facing the same direction. Weave the yarn through 2 stitches only. Rnd 21: 36sc Rnd 22: 4sc then switch to red. In front loop only sc, inc, \*5sc, inc\* x 5 (42) Rnd 23: 4sc in front loop only then crochet through both loops 2sc, inc, \*6sc, inc\* x 5 (48) Rnd 24: \*7sc, inc\* x6 (54) Rnd 25: \*8sc, inc\* x 6 (60)
Shy Guy Amigurumi Pattern
Rnd 26: \*9sc, inc\* x6 (66) Rnd 27: \*10sc, inc\* x 6 (72) Rnd 28-56: 72sc Rnd 57: \*10sc, dec\* x 6 (66) Rnd 58: \*9sc, dec\* x 6 (60) Rnd 59: \*8sc, dec\* x 6 (54) Rnd 60: \*7sc, dec\* x6 (48) Stop stuffing at this point. The rest of the piece is the fold in the robe on top of the head. Rnd 61: \*10sc, dec\* x 4 (44) Rnd 62: 44sc Rnd 63: \*9sc, dec\* x 4 (40) Rnd 64: 40sc Rnd 65: \*8sc, dec\* x4 (36) Rnd 66: 36sc Rnd 67: \*7sc, dec\* x 4 (32) Rnd 68: 32sc Rnd 69: \*6sc, dec\* x 4 (28) Rnd 70: 28sc Rnd 71: \*5sc, dec\* x4 (24) Rnd 72: 24sc Rnd 73: \*4sc, dec\* x4 (20) Rnd 74: 20sc Rnd 75: \*3sc, dec\* x4 (16) Rnd 76: 16sc Rnd 77: \*2sc, dec\* x 4 (12) Rnd 78: 12sc Rnd 79: \*sc, dec\* x 4 (8) F/O and leave a long tail to sew fold in robe to top of head. Page 4
Shy Guy Amigurumi Pattern
Attach red yarn between Rnd 22 and Rnd 23 to extend robe down. The first round with be single crochet to the surface of the doll. Rnd 1-12: 72sC Rnd 13:72ss F/O and weave in tails. Arm: (Make 2) Using Red Rnd 1: 6sc in magic circle (6) Rnd 2: 6sc Rnd 3: 6inc (12) Rnd 4: 12sc Rnd 5: \*3sc, inc\* x 3 (15) Rnd 6-7: 15sc Rnd 8: \*4sc, inc\* x 3 (18) Rnd 9-12: 18sC F/O and leave a long enough tail sew arm to the body
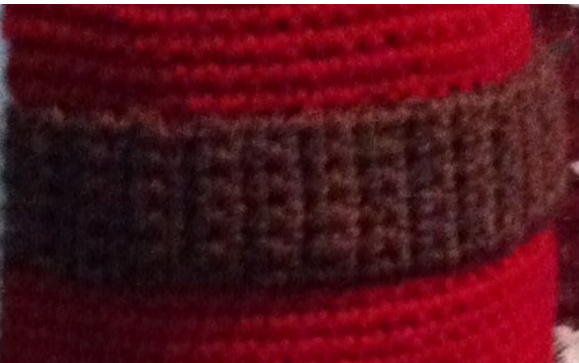
Belt Strap:
UsingBrown Row 1: ch 6 Row 2: sc in 2nd chain from hook, 4sc Row 3-72: ch 1, turn, 5sc You may need to add or reduce the number of rows for the belt strap depending on the width of the body. F/O and leave a very long tail to attach the strap to the body.
Shy Guy Amigurumi Pattern
Belt Buckle:
UsingGold Rnd 1: ch 7 Rnd 2: sc in 2nd ch from hook, 4sc, inc, 5sc, inc (14) Rnd 3: inc, 5sc, 2inc, 5sc, 2inc (18) Rnd 4: 2inc, 5sc, 4inc, 5sc, 2inc (26) F/O and leave a long enough tail to attach the belt buckle to the belt and body.
Shy C Guy Amigurumi Pattern
Assembly:
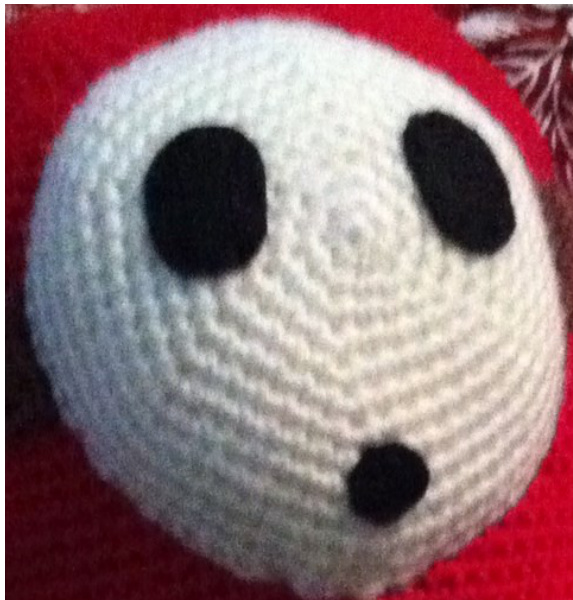
1) Cut out the shapes from black felt for the eyes and mouth of the Shy Guy. The eyes will be large ovals and the mouth will be a smaller circle. Sew the eyes and mouth onto the face. 2) Attach the face to the body with the tail from the face. I just weaved in and out of each piece with the tail. Stuff the face portion lightly to give it some definition.
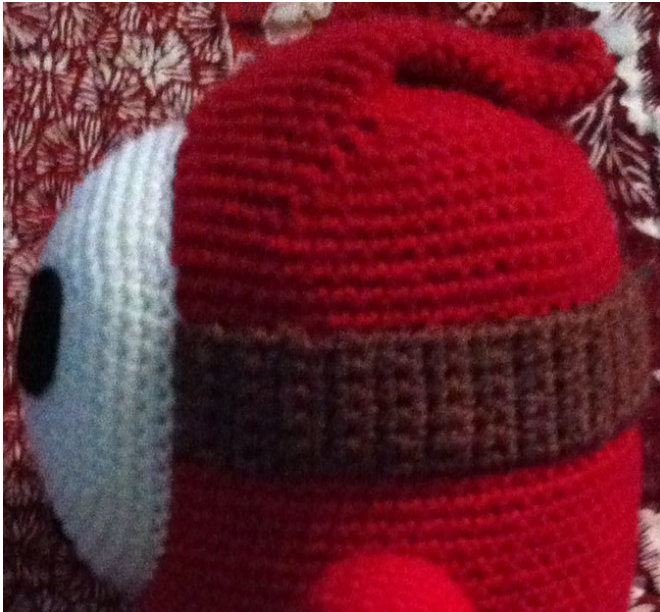
3) Attach the strap to the head using the tail from the strap. Ensure the that ends of the strap are positioned in the middle of the face on either side. I used a whip stitch to sew the strap down all around the head. 3) Using the tail from the top of the head sew down the robe flap as seem in the picture. It may require flattening the stuffing out of this piece before sewing it down properly. 4) Attach the arms to the body with the tails from each piece. I used a whip stitch again. Pin all the limbs in the desired position before attaching.
Shy Guy Amigurumi Pattern
5) Attach the belt to the waist of the body. This will hide the surface crochet used to create the bottom of the robe. I used a whip stitch to attach the belt strap all around the body. 6) Attach the buckle over the belt. Ensure that it is centered when looking at Shy Guy face on. I used a whip stitch and the tail from the buckle to sew it all the way around. Now it's complete! Hope you enjoyed making this!
And just in case for legal reasons.. Shy Guy is a copyright of Nintendo Entertainment. This crochet pattern is an original pattern by Edward Yong (January 2015). Please do not claim this pattern as your own. If you wish to share this pattern, you may link to this pattern but please do not reprint it on your site. You may keep a copy for your own personal use but you may not sell or distribute it, or sell items made from this pattern. Page 8


