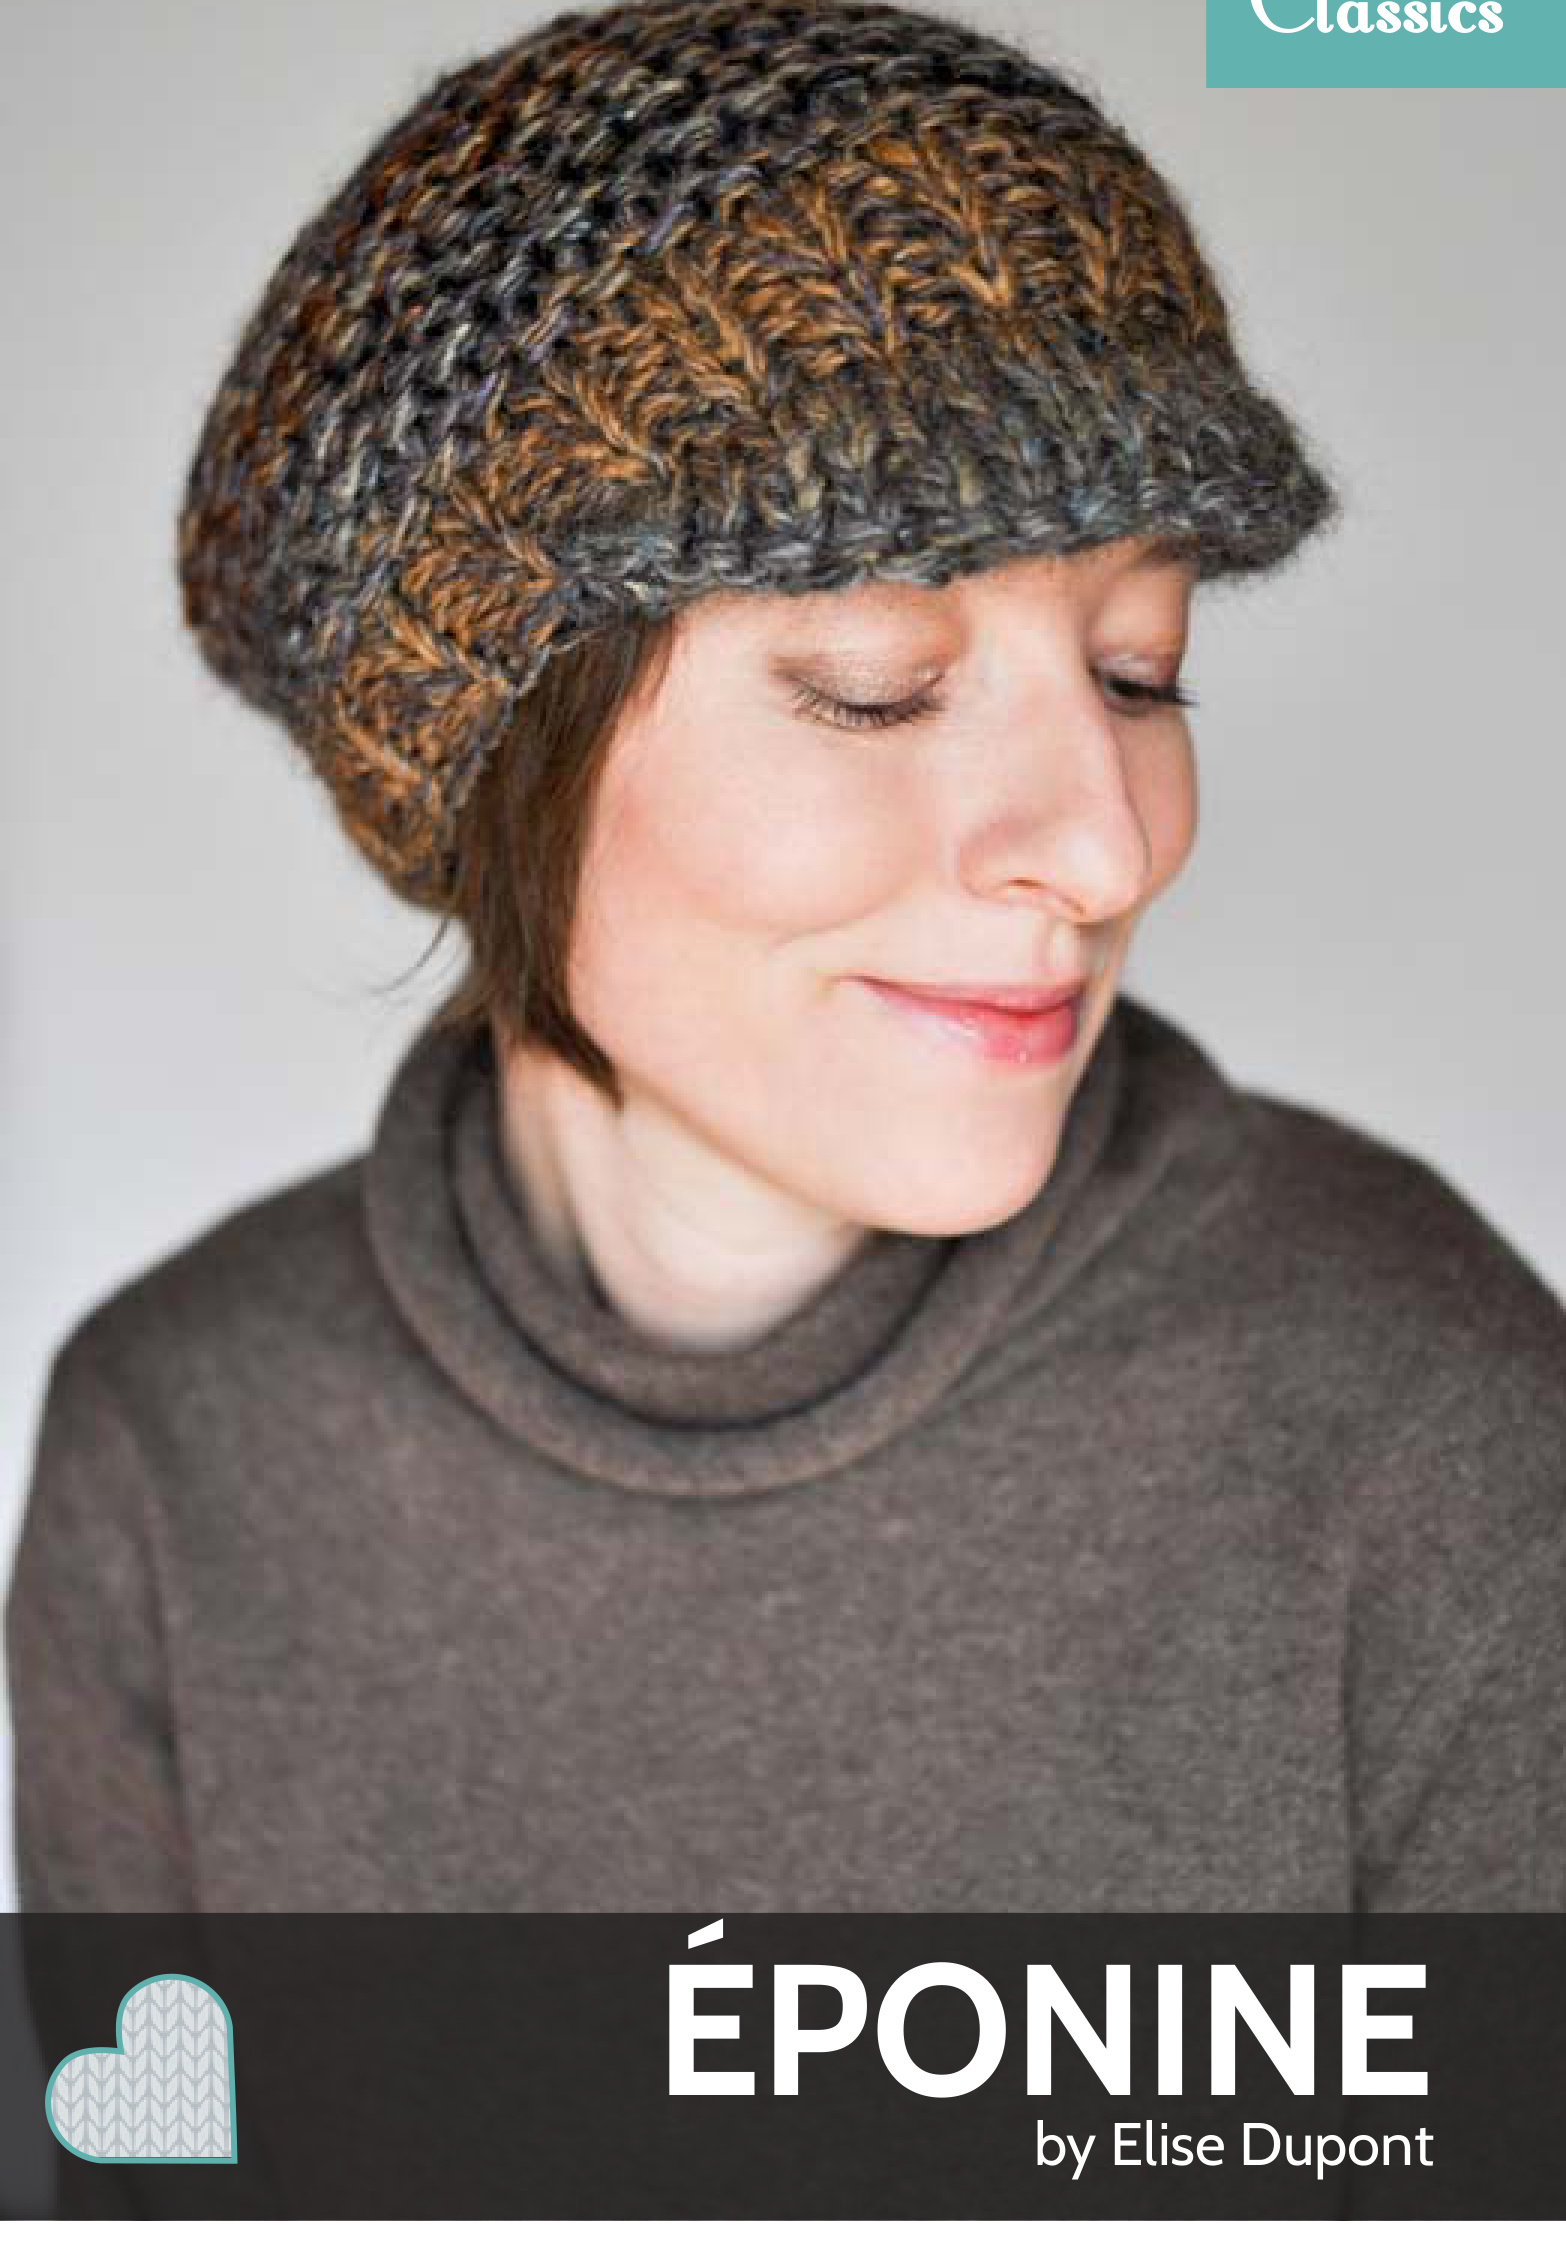
Eponine
Eponine is a character from "Les Miserables' by Victor Hugo. Gavroche, her brother, is an archetype of the "street kid" in Paris in the 19th century. This pattern takes only one evening of your time. Its beret shape will give you an androgynous look. You can play with the colors, mixing 3 different shades together. The colors will then blend. Do not forget to check the style & yarn advice at the end of the pattern to help you.
Size
One size only, to fit a 50 to 60 cm / 19.7 to 24" head circumference. You can easily adapt the size.
Gauge
10 sts = 10 cm / 4" in stockinette stitch with the smaller needles (A).
Skill level
Materials
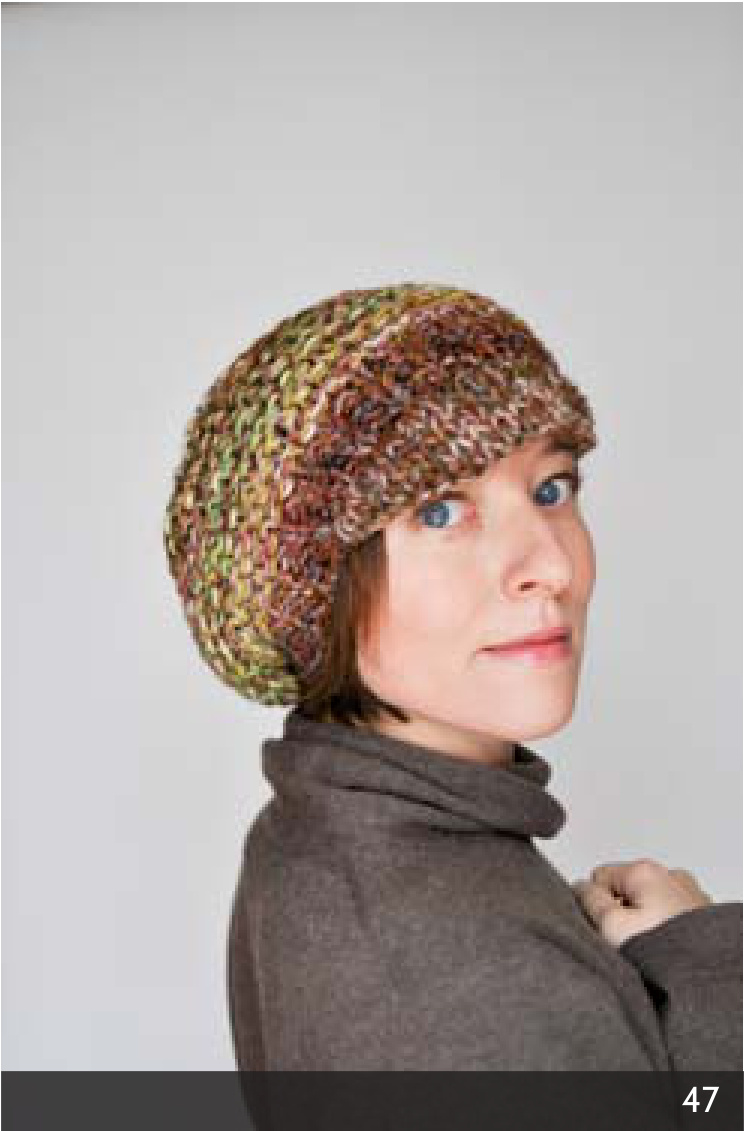
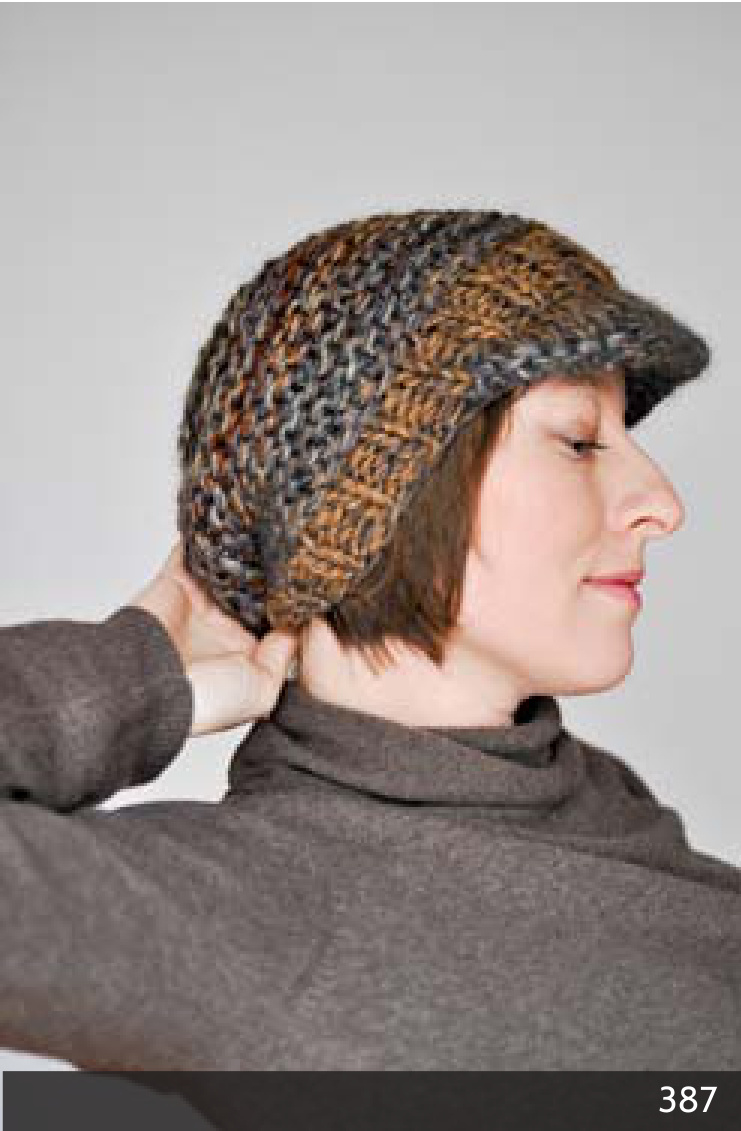
· Yarn: Aran weight 330yards / 300metres of Aran yarn. 3 skeins of 100metres / 110yards to be able to knit the 3 ends of wool together. The model is shown in Noro Silk Garden 47 (lot E) et 387 (lot A). · Other: 2 markers.
. Needles:
9mm / US 13 (A) & 10mm / US 15 (B) circular needles at least 32" / 80cm long. Adjust needle size if necessary to obtain the correct gauge. You will need one smaller pair (C) to pick up the visor stitches.
Instructions //VISOR
Holding 3 strands together, cast on 19 sts with the smaller circular needle (A). Row 1 (RS): sl 1 st as if to purl with yarn in back, K16, wrap and turn (W&T). Row 2 (WS): P15, W&T. Row 3: K13, W&T. Row 4: P11, W&T. Row 5: K9, W&T. Row 6: P7, W&T. Row 7: K7, \*work wrapped st (see techniques below), K1\* (repeat from \* to \* 2 more times), turn. Row 8: sl1 st as if to purl with yarn in back, K12, \*work wrapped st (see techniques below), K1\* (repeat from \* to \* 2 more times), turn. Row 9: sl 1, K12, W&T. Row 10: P7, W&T. Row 11: K7, work wrapped st, K1, W&T. Row 12: P9, work wrapped st, P1, W&T. Row 13: K11, work wrapped st, K1, W&T. Row 14: P13, work wrapped st, P1, W&T. Row 15: K to the last 2 sts, work wrapped st, K1. Row 16: slip 1 st, P to the last 2 sts, work wrapped st, P1. The visor is now ready to be attached to the hat. I would recommend to use a very small pair of needles (C) to pickup sts along the CO border. On the CO edge, with the smaller needle, pickup 19 sts (see techniques below):
Turn the work (WS facing). Put the tail at the center (you can cut it if you want, it will be hidden between both sides of the visor once folded).
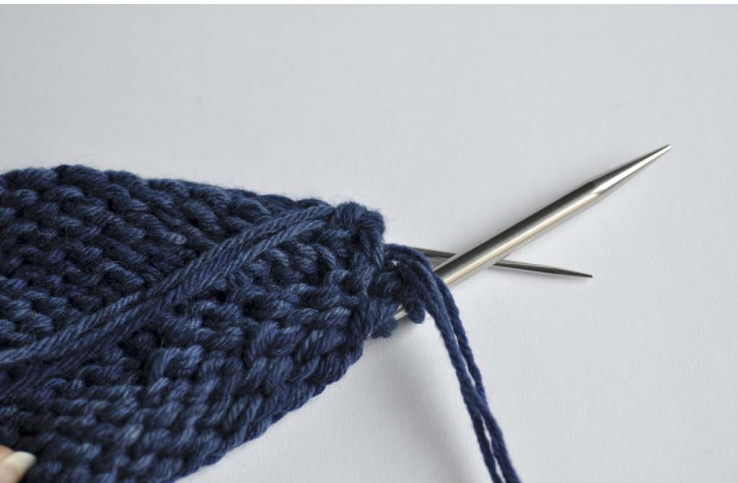
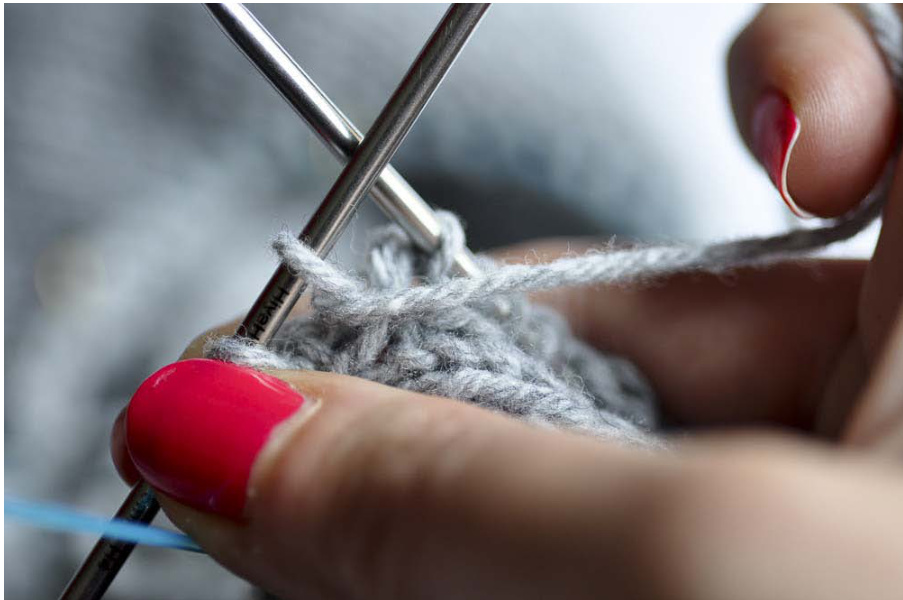
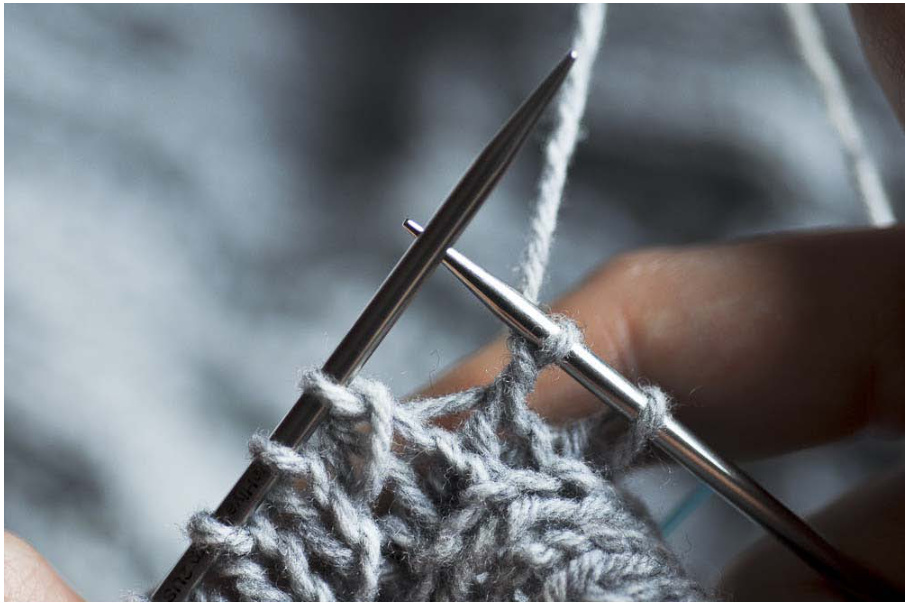
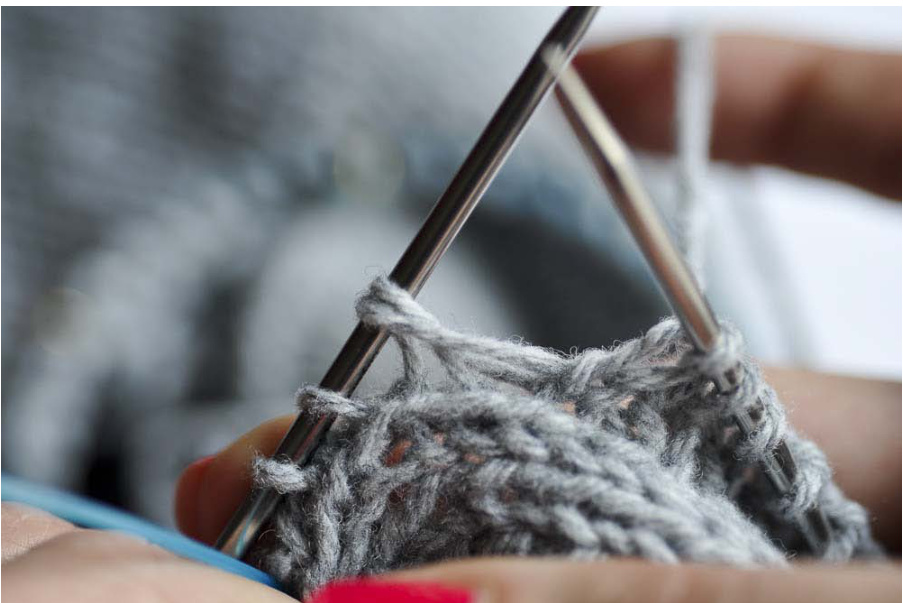
Fold at the center and place the 2 needles side by side. The main needle (A) is the one you used to knit until now. The second needle (C), the smallest, must be placed behind.
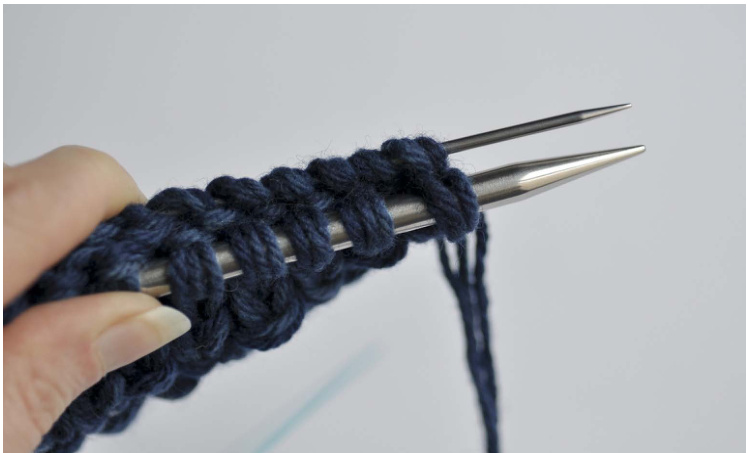
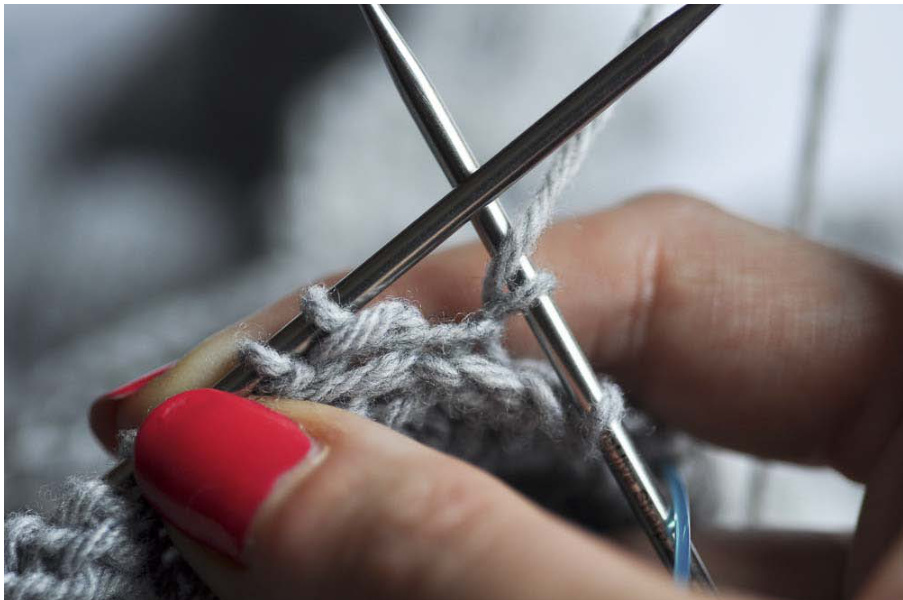
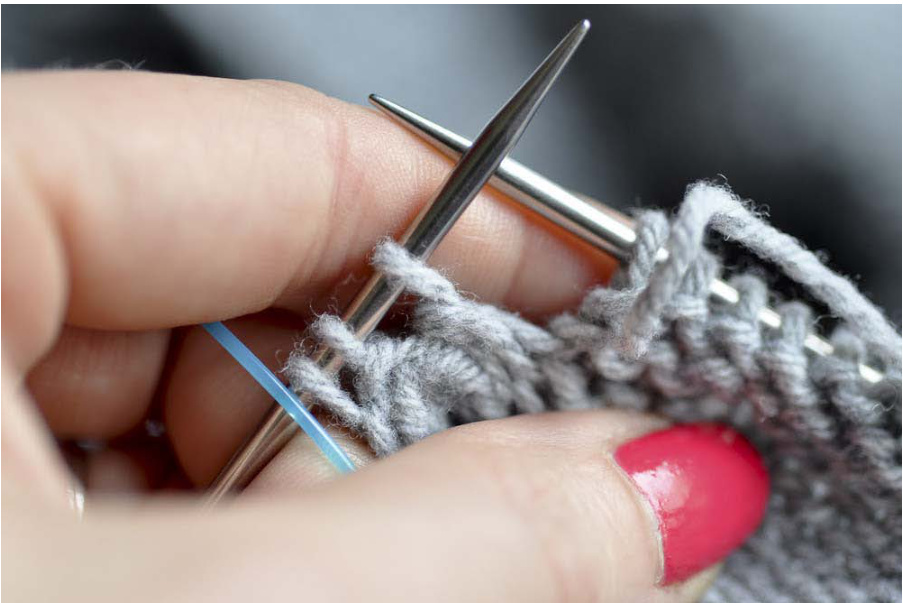
Insert the tip of the other end of the A needle inside the first st of the front needle, then inside the first st on the back needle. Wrap the yarn around both needles as if to knit together these twostitches.
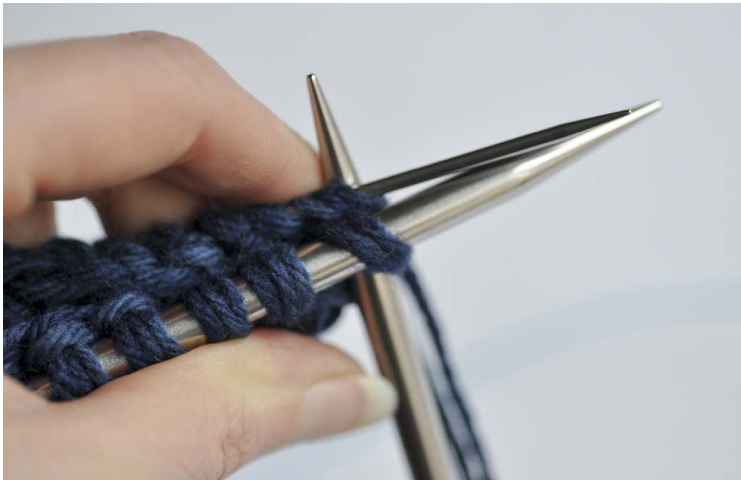
Repeat the last step until you have “knit together' all left hand sts. You should have 19 sts. You will not need the needle C anymore. At the end of the round, do not turn at the end of the round. CO 23 sts (l recommend the "backwards loop cast-on"). You can add or remove multiples of 2sts if needed (forexample:CO21stsor25sts). From now on you will be working the crown of the hat in round. Place a marker at the end of the 23 sts, being careful not to twist the sts, and keep on working with needle A.
I/GLOSSARY
K: knit P: purl M1: make one (increase) W&T (wrap and turn): see techniques below RS: right side WS: wrong side sl : slip pm : place marker
// CROWN
\*K1, P1\* (repeat from \* to \* until the end). Next row, K3O, pm (this is the new beg. of the round). You can remove the other marker as you pass it. Switch to the bigger needles (B). Row 1: Knit round Switch to garter stitch for 2O rounds: Row 2: \*K7, M1\* (repeat from \* to \* until the end). Row3:Purl Row 4: Knit Repeat rows 3 and 4 for a total of 10 garter stitch ridges (20 rounds in total). Nextrow: \*P1, K1\* (repeat from \* to \* until the end). Repeat this last round 5 more times. Cut the yarn, thread the tail through the remaining live stitches, and pull tightly to close the hole. If you think the visor is too thick,you can“break the fiber”with an iron. Place the visor on a towel, spray a littlebitofwater,coveritwithadishtowel andpress for5secondswithaniron. Weave in ends (you can check my video here: http://www.youtube.com/watch?v=uTj4wfjc1Ts even if it is in French, the video is very selfexplanatory).

// ELISE DUPONT
Elise is a designer living in Paris, France. She works a lot to find the best fit based on body shapes, for real life women. She also likes to play with colors. You can find her patterns on elisedupont.fr and on ravelry. com.
// THANK YOU
To Lydia, Ymalcolm and Aurelie for their generous help. To my man, and his unconditional support from the start. And thank you to all the knitters who have knit my patterns and encouraged me in every possibleway.
I/ APROBLEM?
If something in the instructions is puzzling you or if you have a problem, check this page: http://elisedupont.fr/en/support-errors/ For any questions you can email me at: elise.dupont@gmail.com
//COPYRIGHT
The entire contents of this pattern and the knitted designs to which it refers are subject to copyright. In purchasing this pattern you agree to print and use this pattern only for your personal, non-commercial use. You may not distribute or sell electronic or paper copies of this pattern, nor may you sell any items produced using the directions in this pattern.

@ Elise Dupont 2014.
Style & yarn advice // YARN CHOICE
Try to avoid smooth and“round” yarn (for example merino). This pattern is best using 1-ply or hairy and soft yarn. Use Aran weight yarn. Aran yarn is usually 18sts for 4 inches / 10 cm, with 7 to 8 US/4.5 to 5mm needles. The sample is shown in Noro Silk Garden. If you find it too expensive or not your style, here are some possible replacement ideas: Nepal or Alaska or Big Delight or Drops Loves You IV (Drops) Lett-Lopi (Istex) Kid Classic (Rowan) Fado or Super Tweed (Fonty) Eco Duo (Cascade Yarns)
//PLAYWITHCOLORS
This patterns allows you to play with colors, as you will be working with 3 strands held together. Here are some of the possibilities: combine together 3 yarns with variegated yarn but at different start points (as in the samples shown) combine 2 solid colors with one variegatedthread mix 3 tone on tone threads to get a heathered effect The possibilities are endless, unleash your imagination.
Techniques
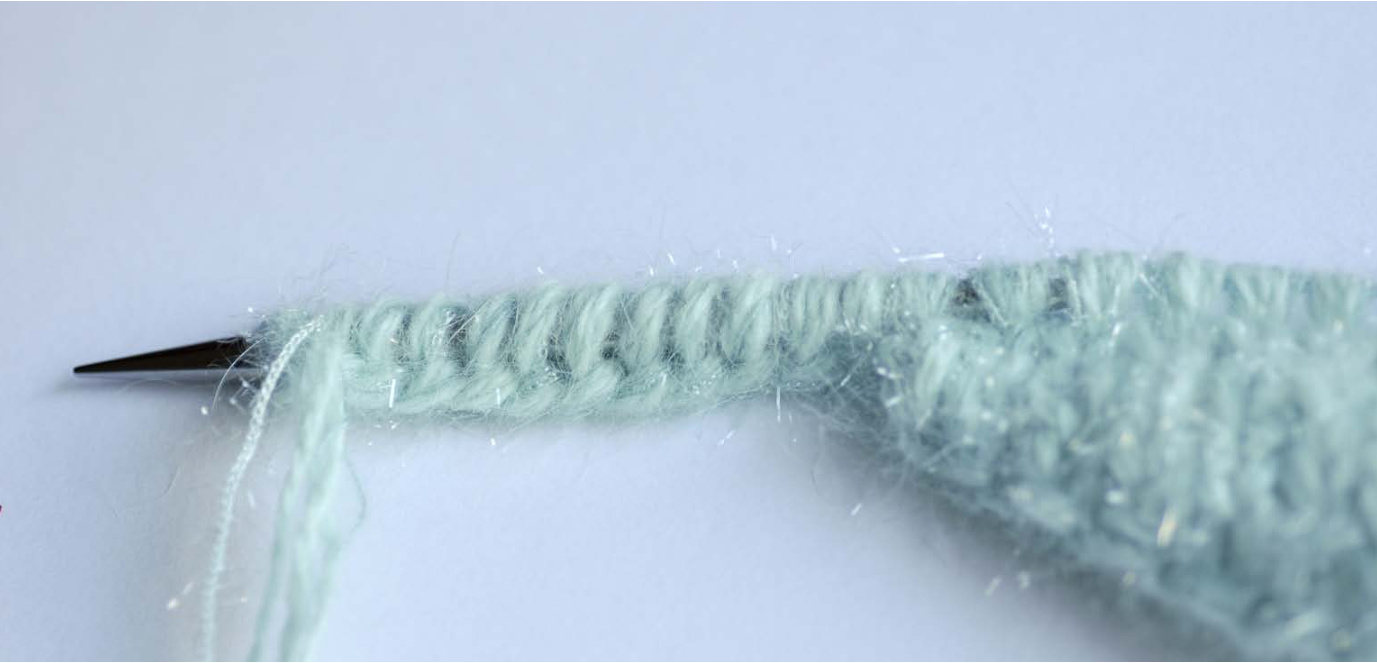
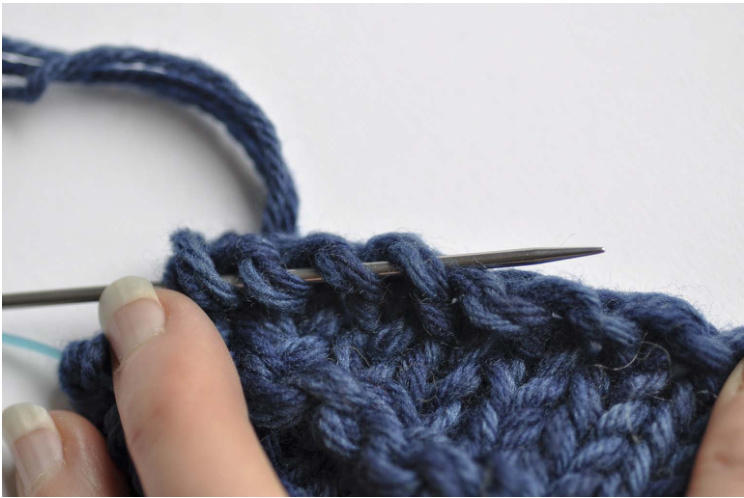
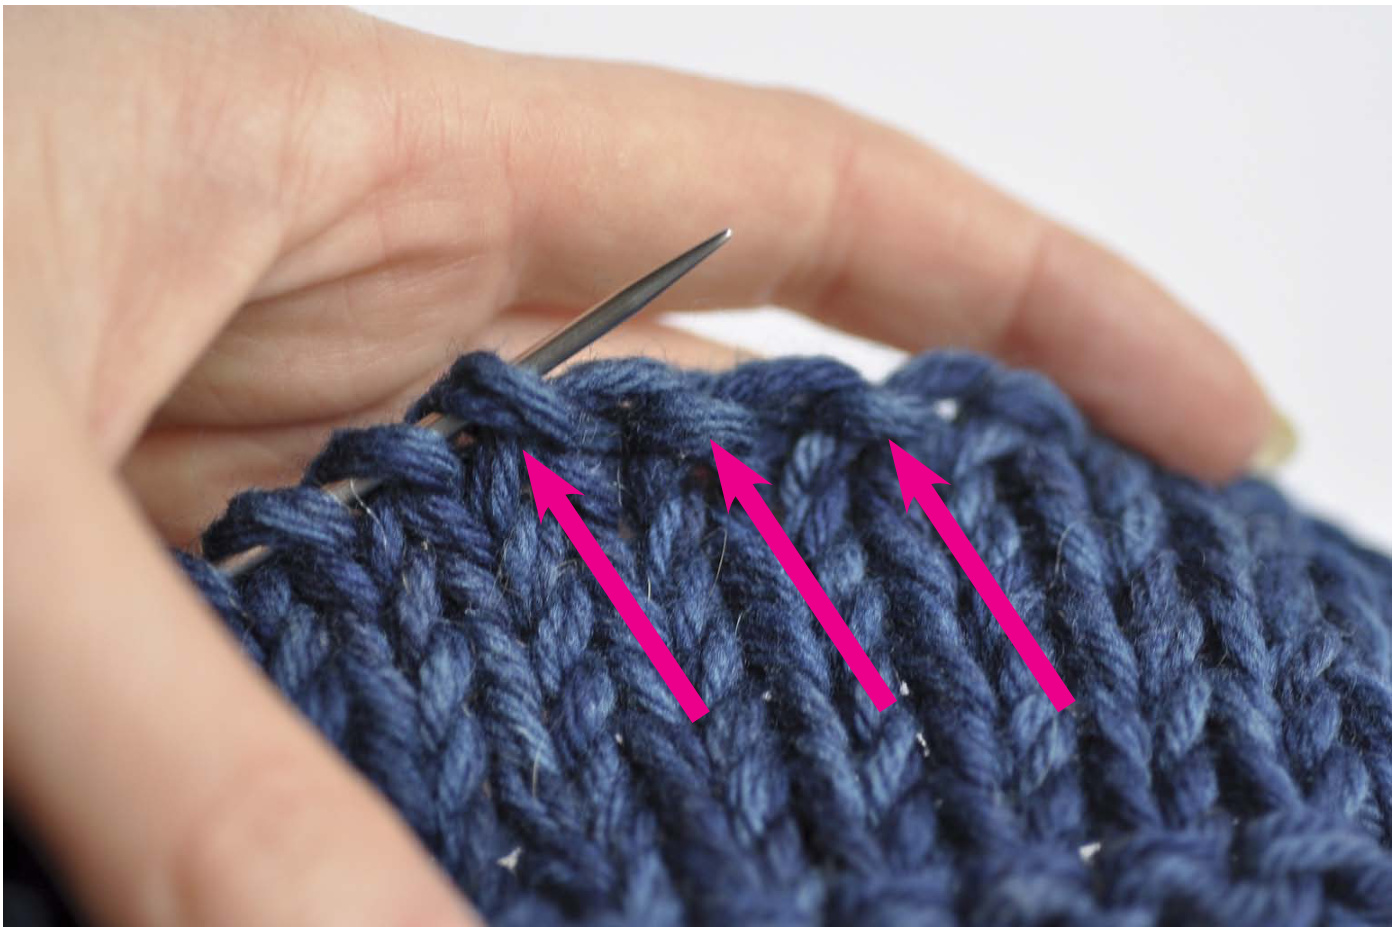
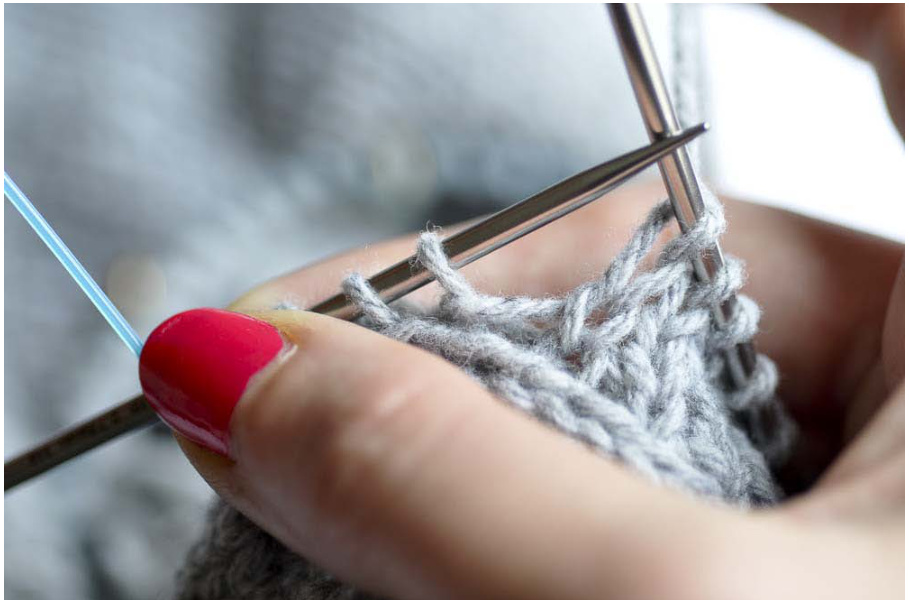
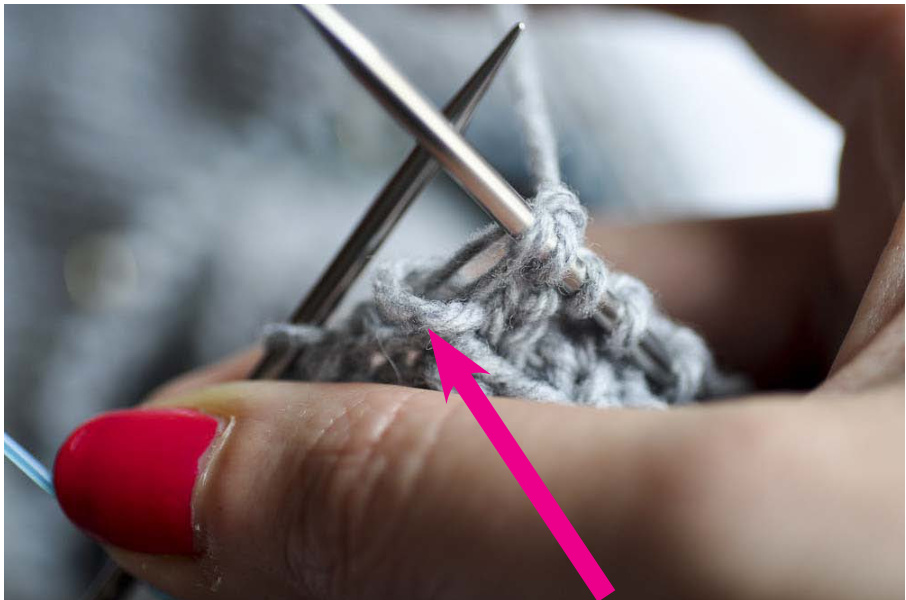
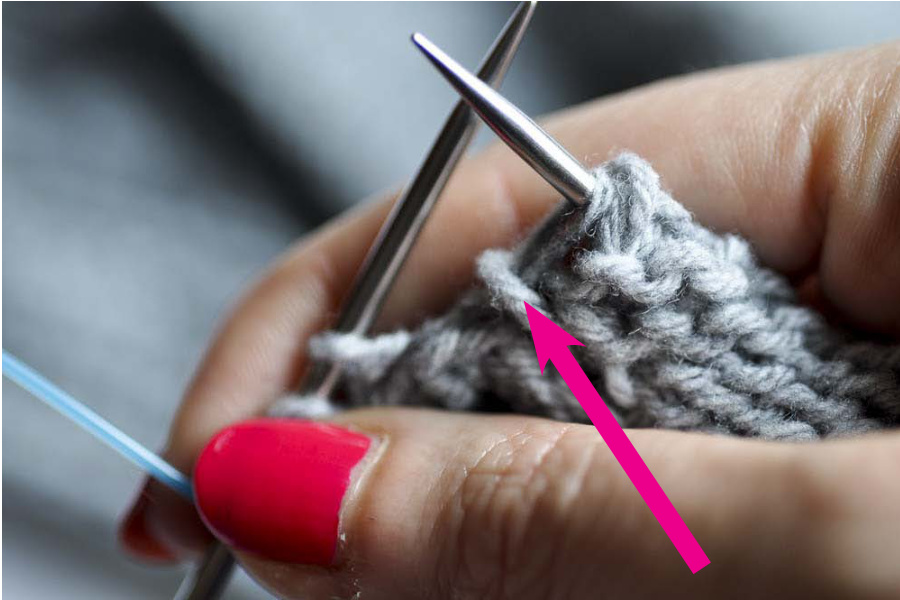
// PICKINGUP THEVISORSTITCHES
You can easily identify the border stitches by the bottom "bump":
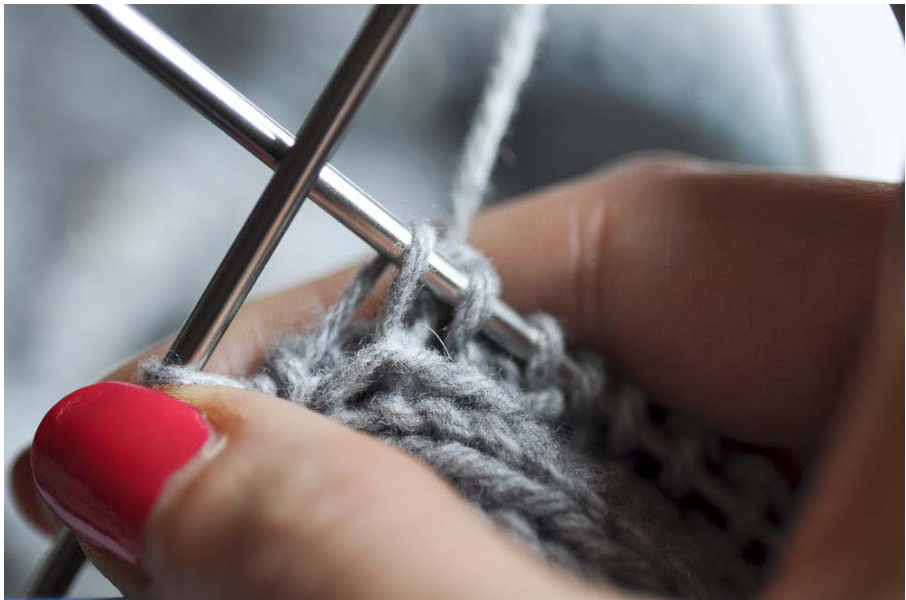
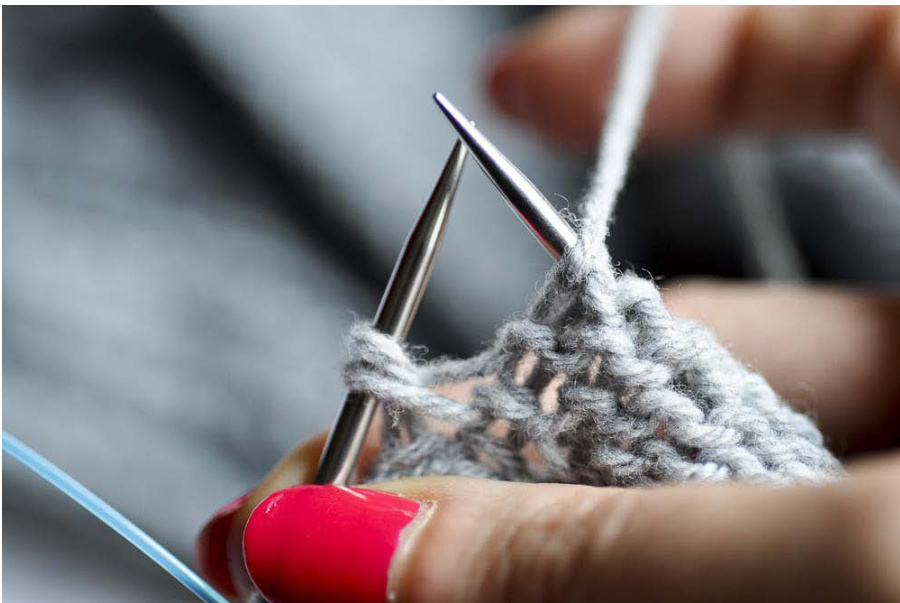
//WRAP AND TURN (RIGHT SIDE)
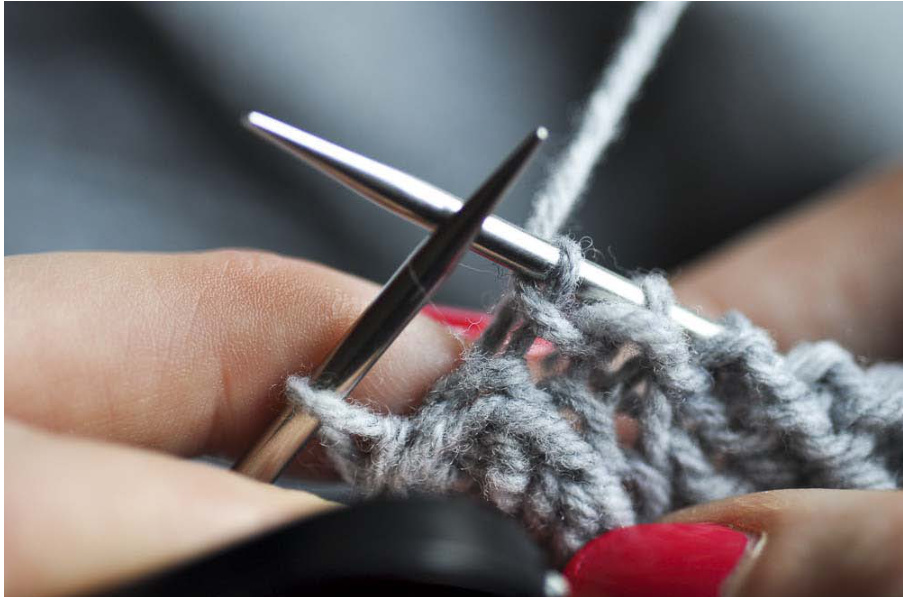
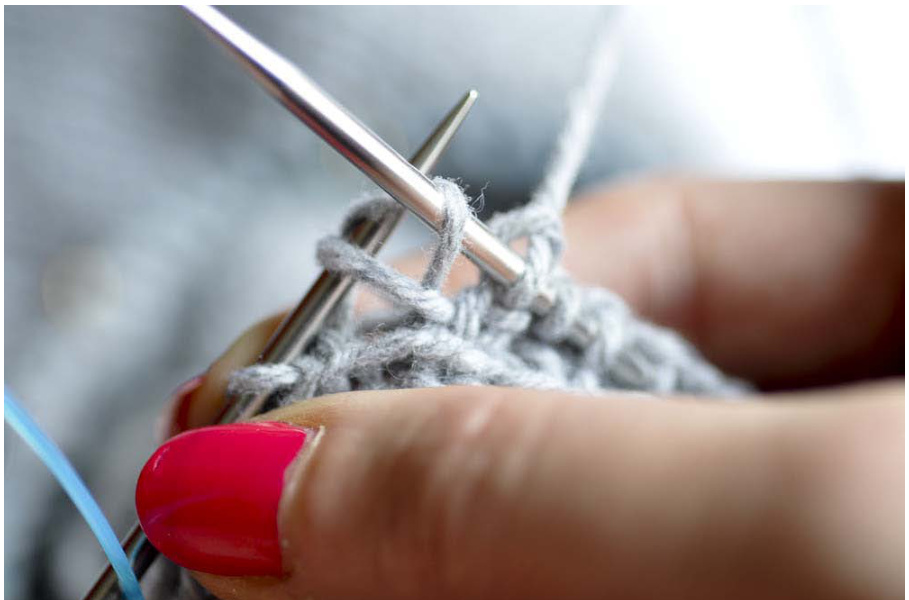
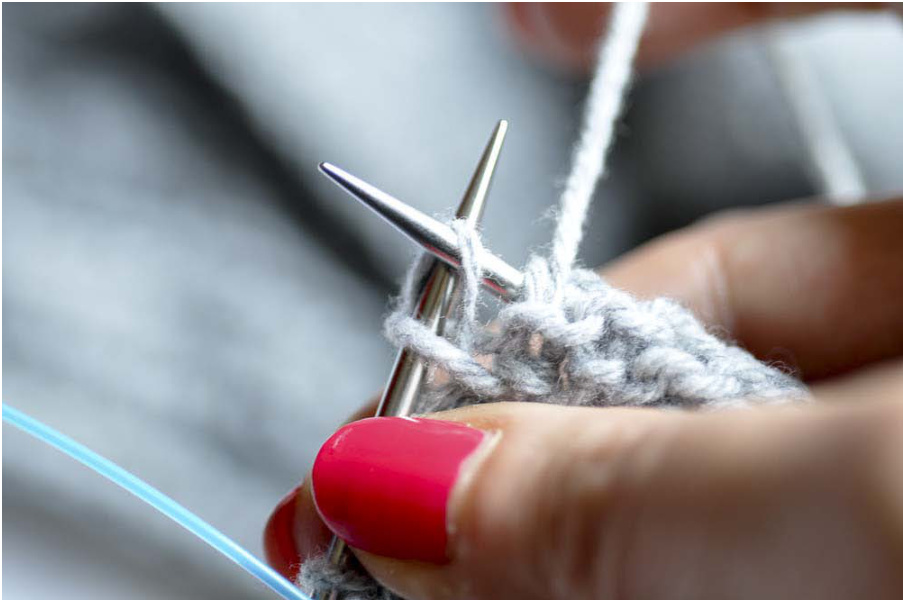
Slip the st to right-hand needle as if to purl:
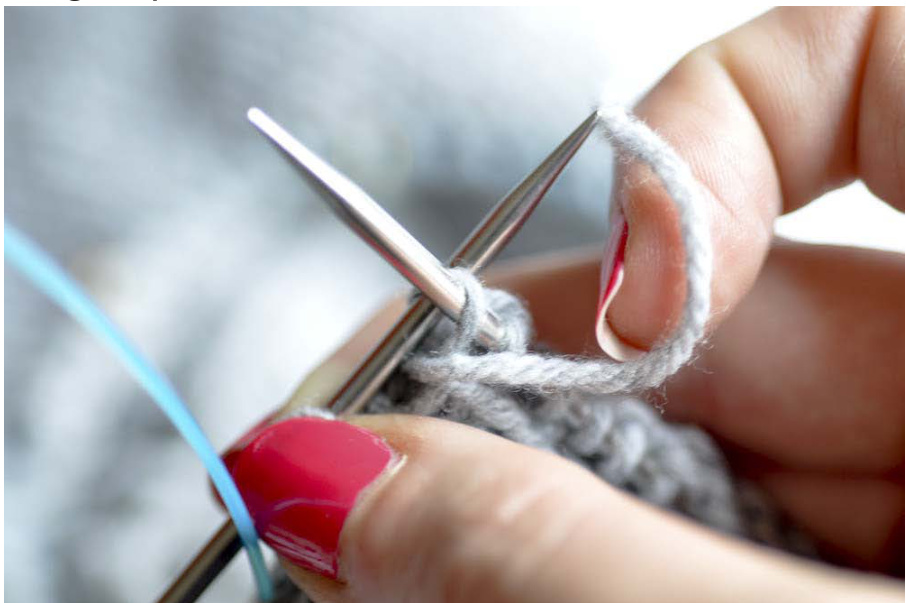
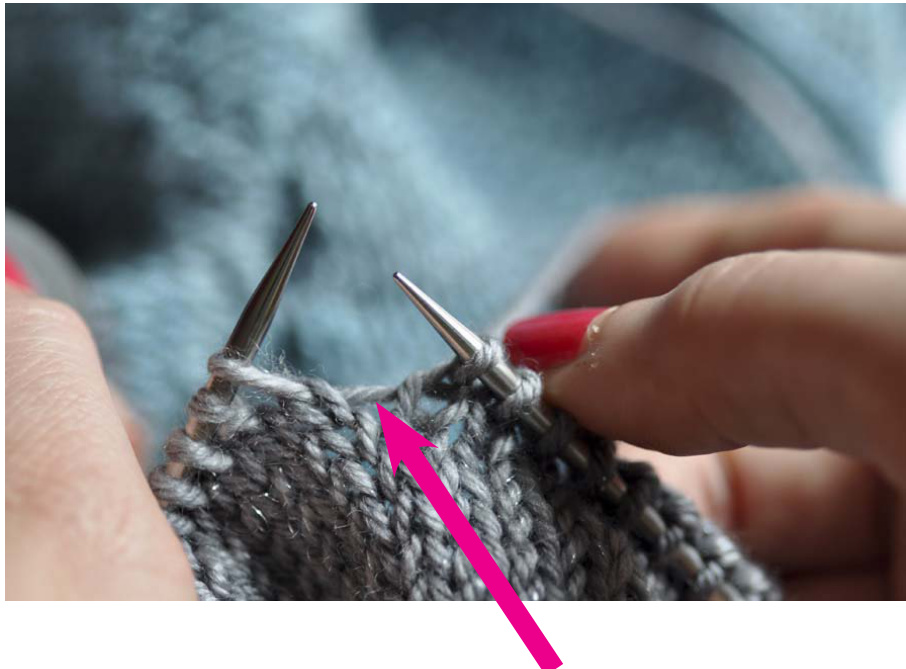
Slip the stitch back onto the left-hand needle;
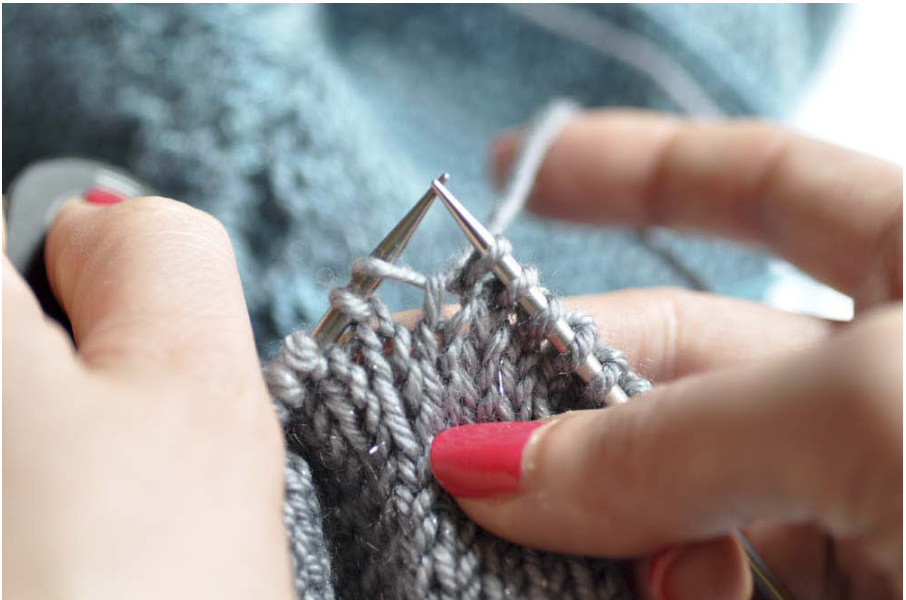
Turn the work, you can now go on with the WS:
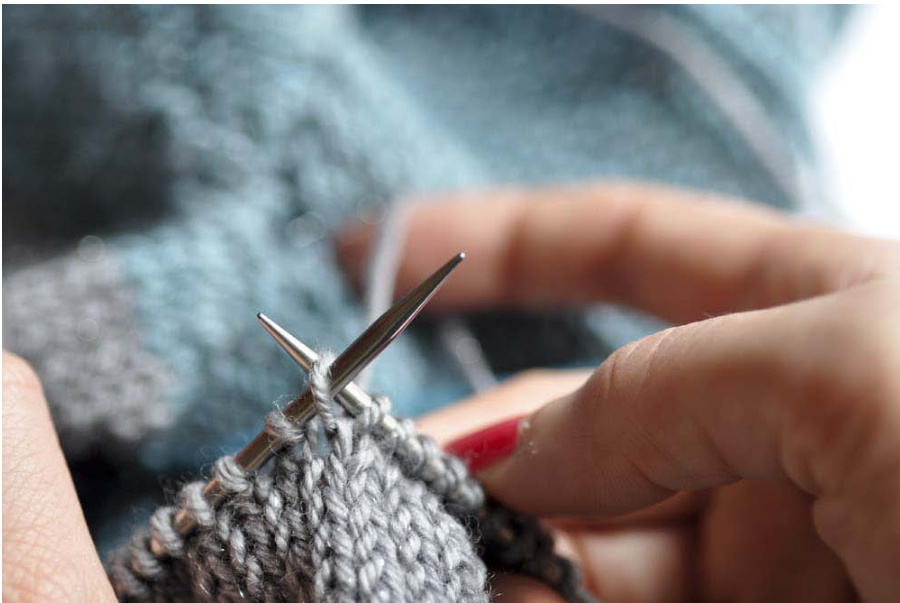
//WRAP ANDTURN (WRONGSIDE)
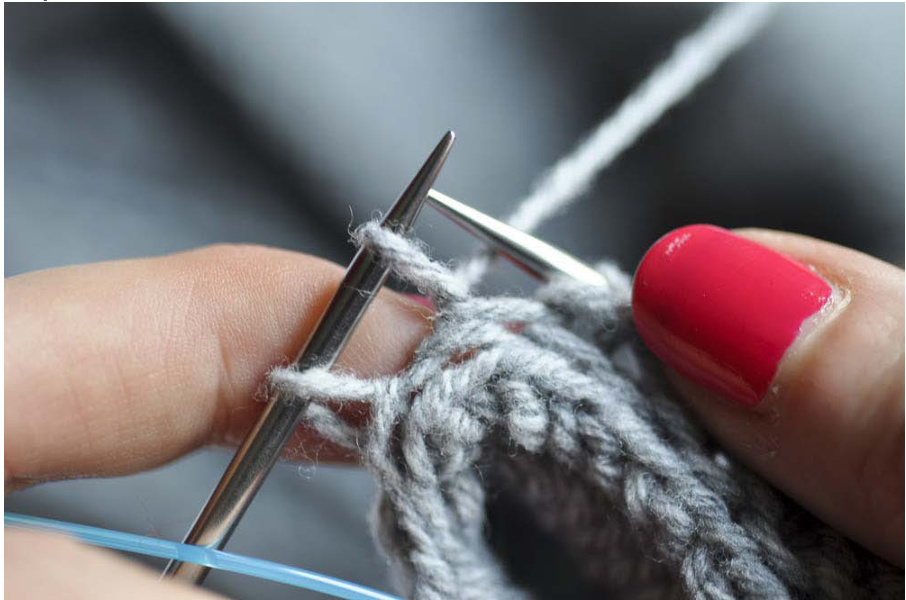
Slip the st to right-hand needle as if to purl and bring the yarn to the back:
Slip the stitch back onto the left-hand needle:
Turn the work, you can now go on with the RS:
//WORKWRAPPEDST(RIGHT SIDE)
The wrapped st is on the left-hand needle:
Slip the st as if to purl, to the right-hand needle. Notice the little bump below
Knit the st together with the bump:
//WORKWRAPPEDST(WRONGSIDE)
The wrapped st is on the left-hand needle:
Slip the st as if to purl, to the right-hand needle. Notice the little bump below.
Purl the st together with the bump:
// M1L: MAKE ONE LEFT
ne strand of yarn which runs between the stitch just worked and the next stitch
Insert the left hand needle from front to back into the strand:
Knit this stitch through the back loop:
// BACKWARDSLOOPCAST-ON
Place the yarn attached to the ballin your left hand, slipping it around your thumb:
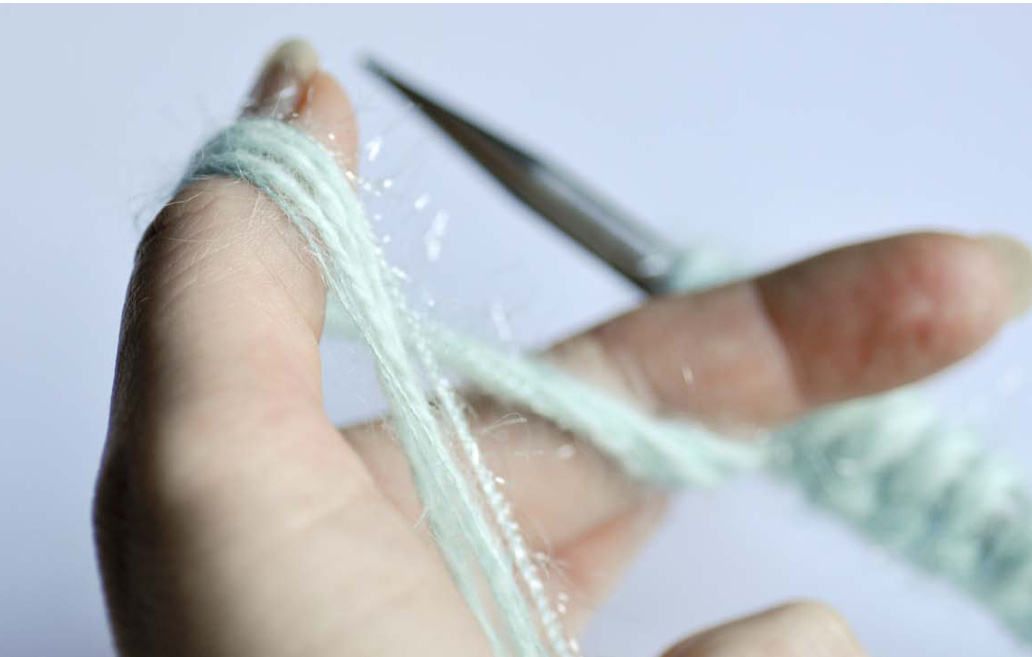
Slip the needle tip inside the loop:
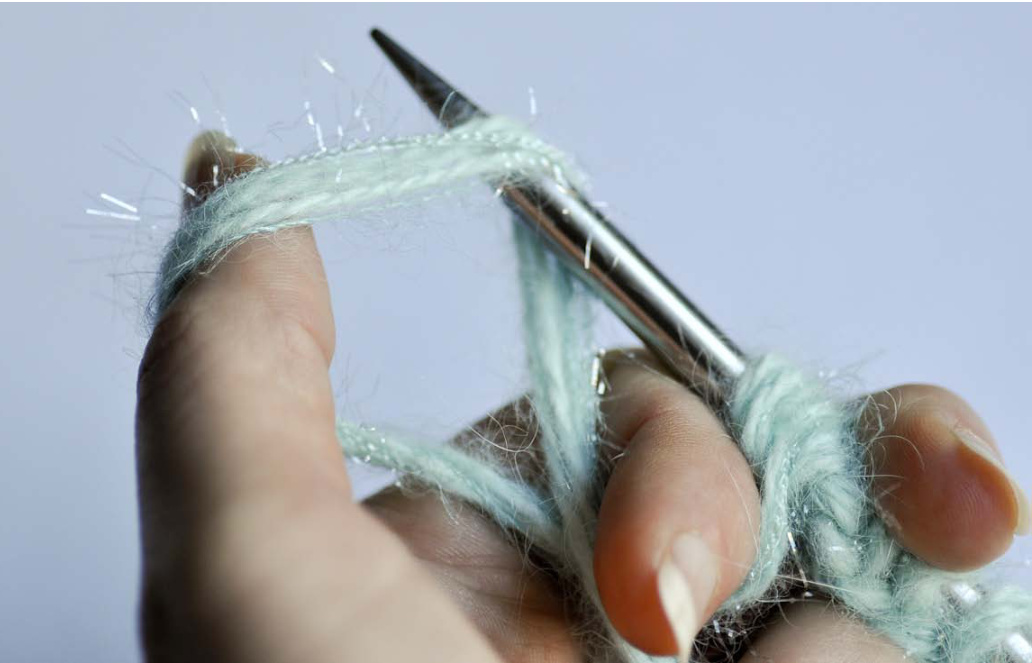
The loop looks like this:
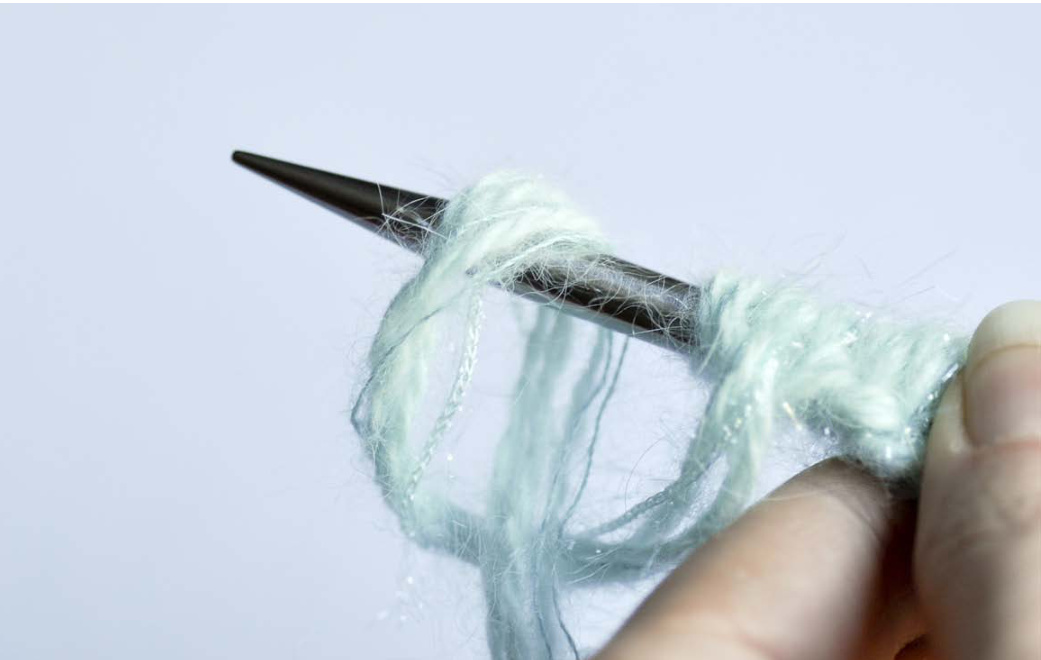
Pull gently on the yarn to tighten the new stitch on the needle.