bracelet / pecklace with beads
What you need :
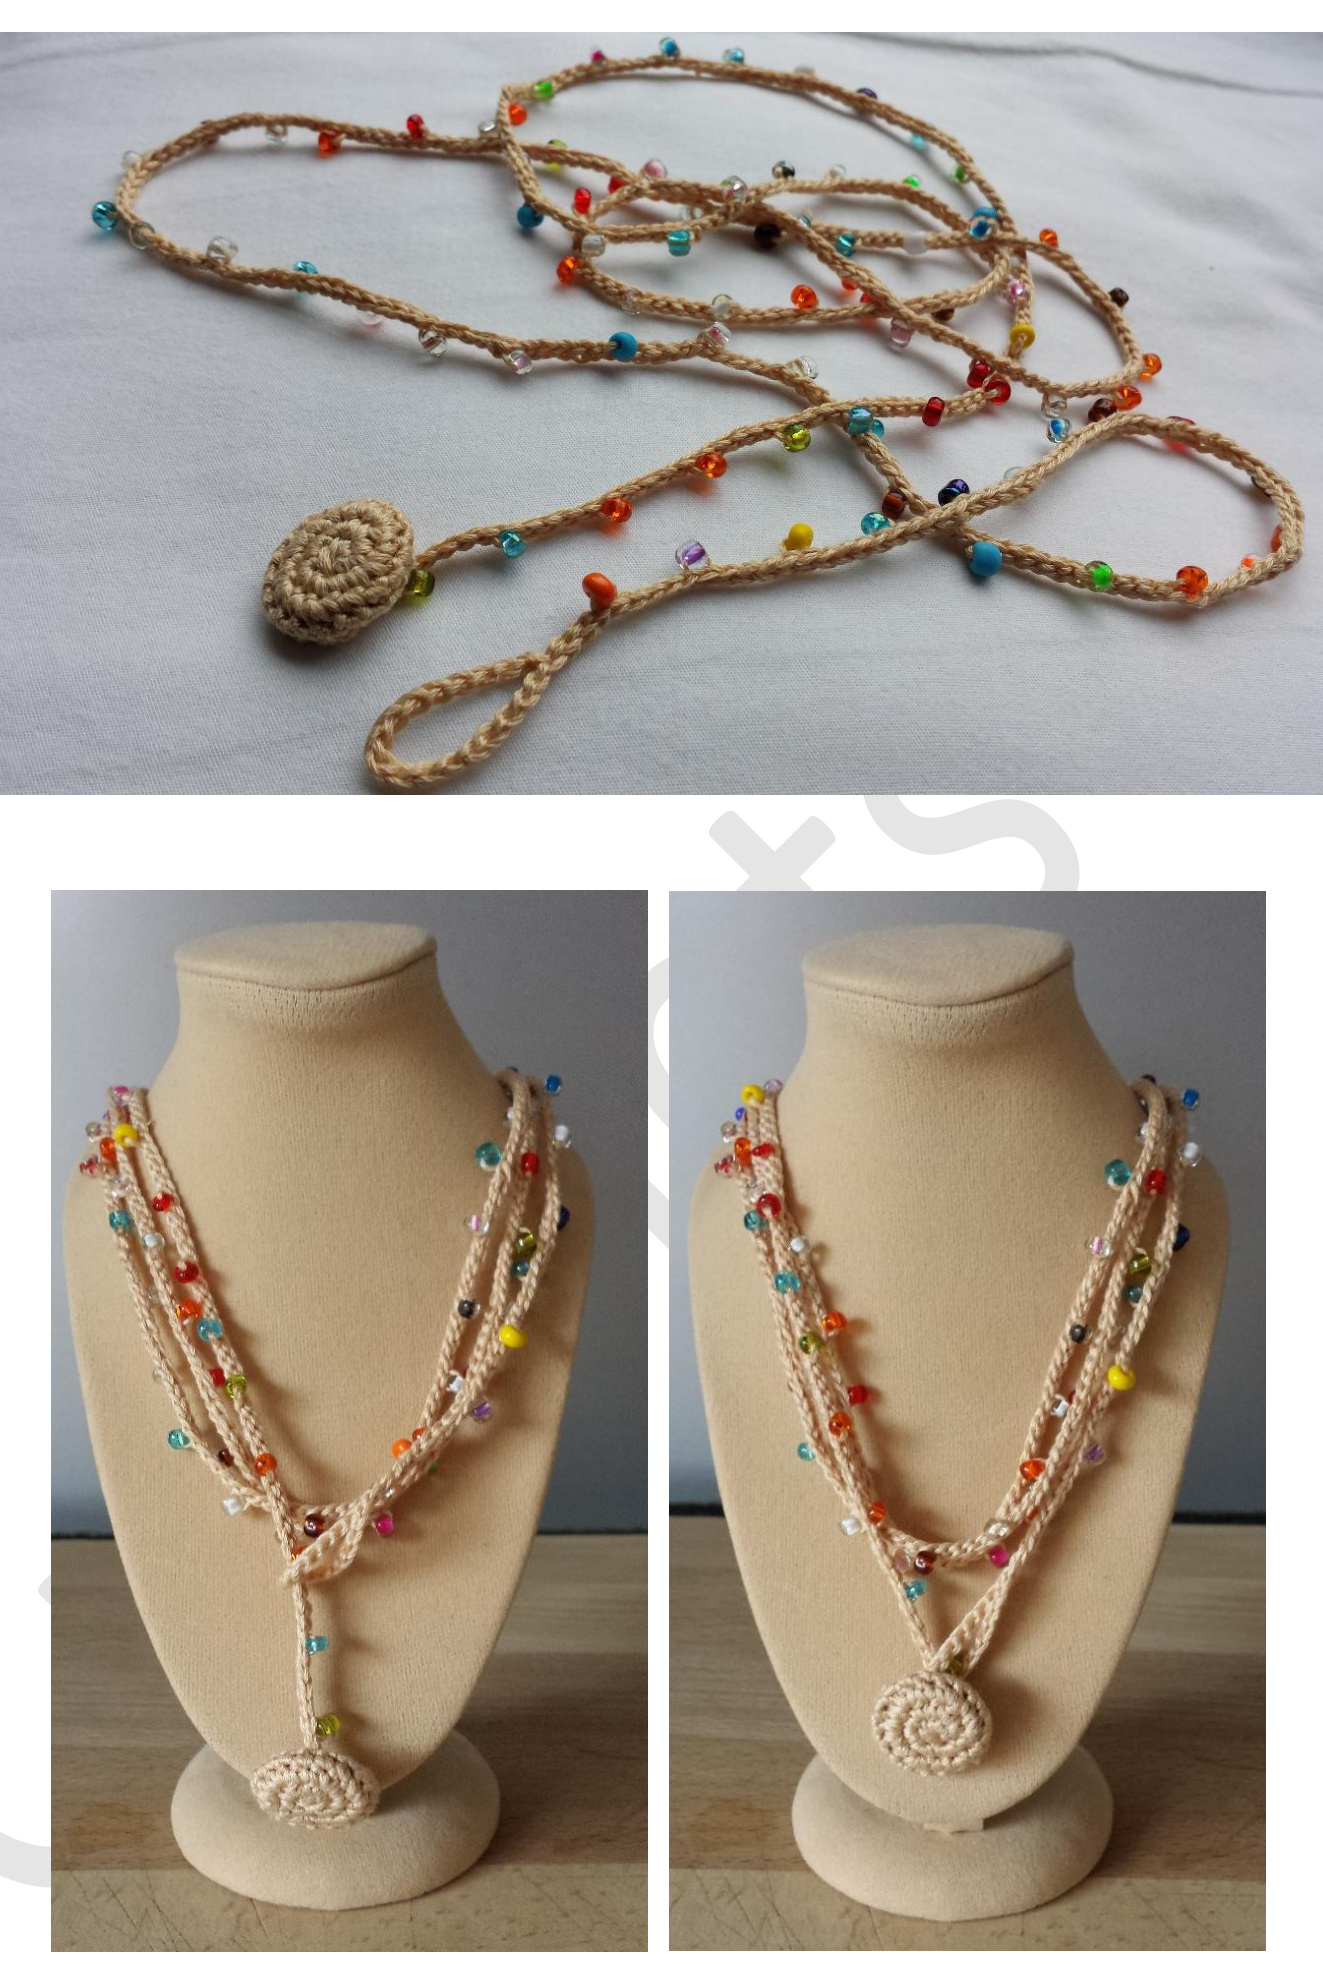
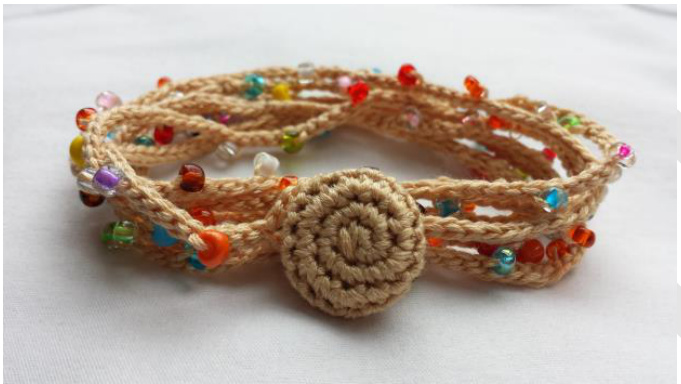
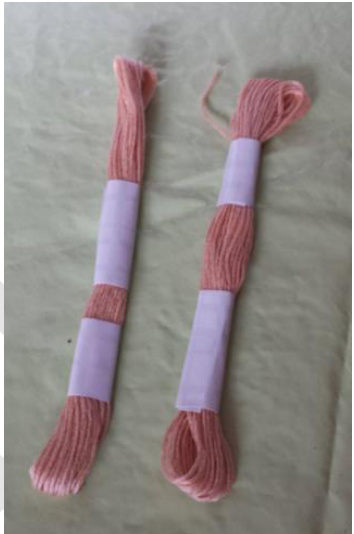
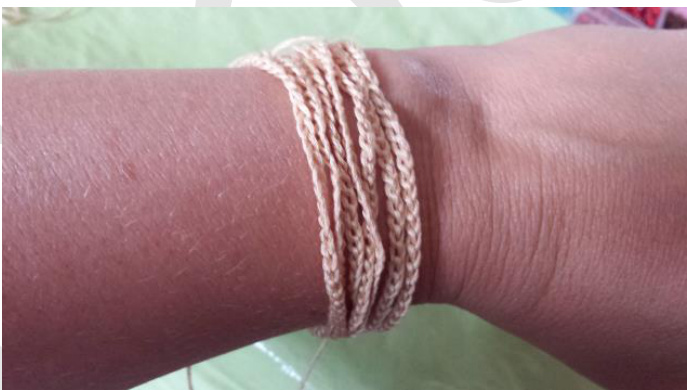
ou can choose : vou can either use thicker or thinner cotton You can see 1 Cotton : you can choose : you can either use thicker or thinner cotton. You can see the result in these pictures : 0 the lightbrown I made with embroidery cotton and hook size 2.
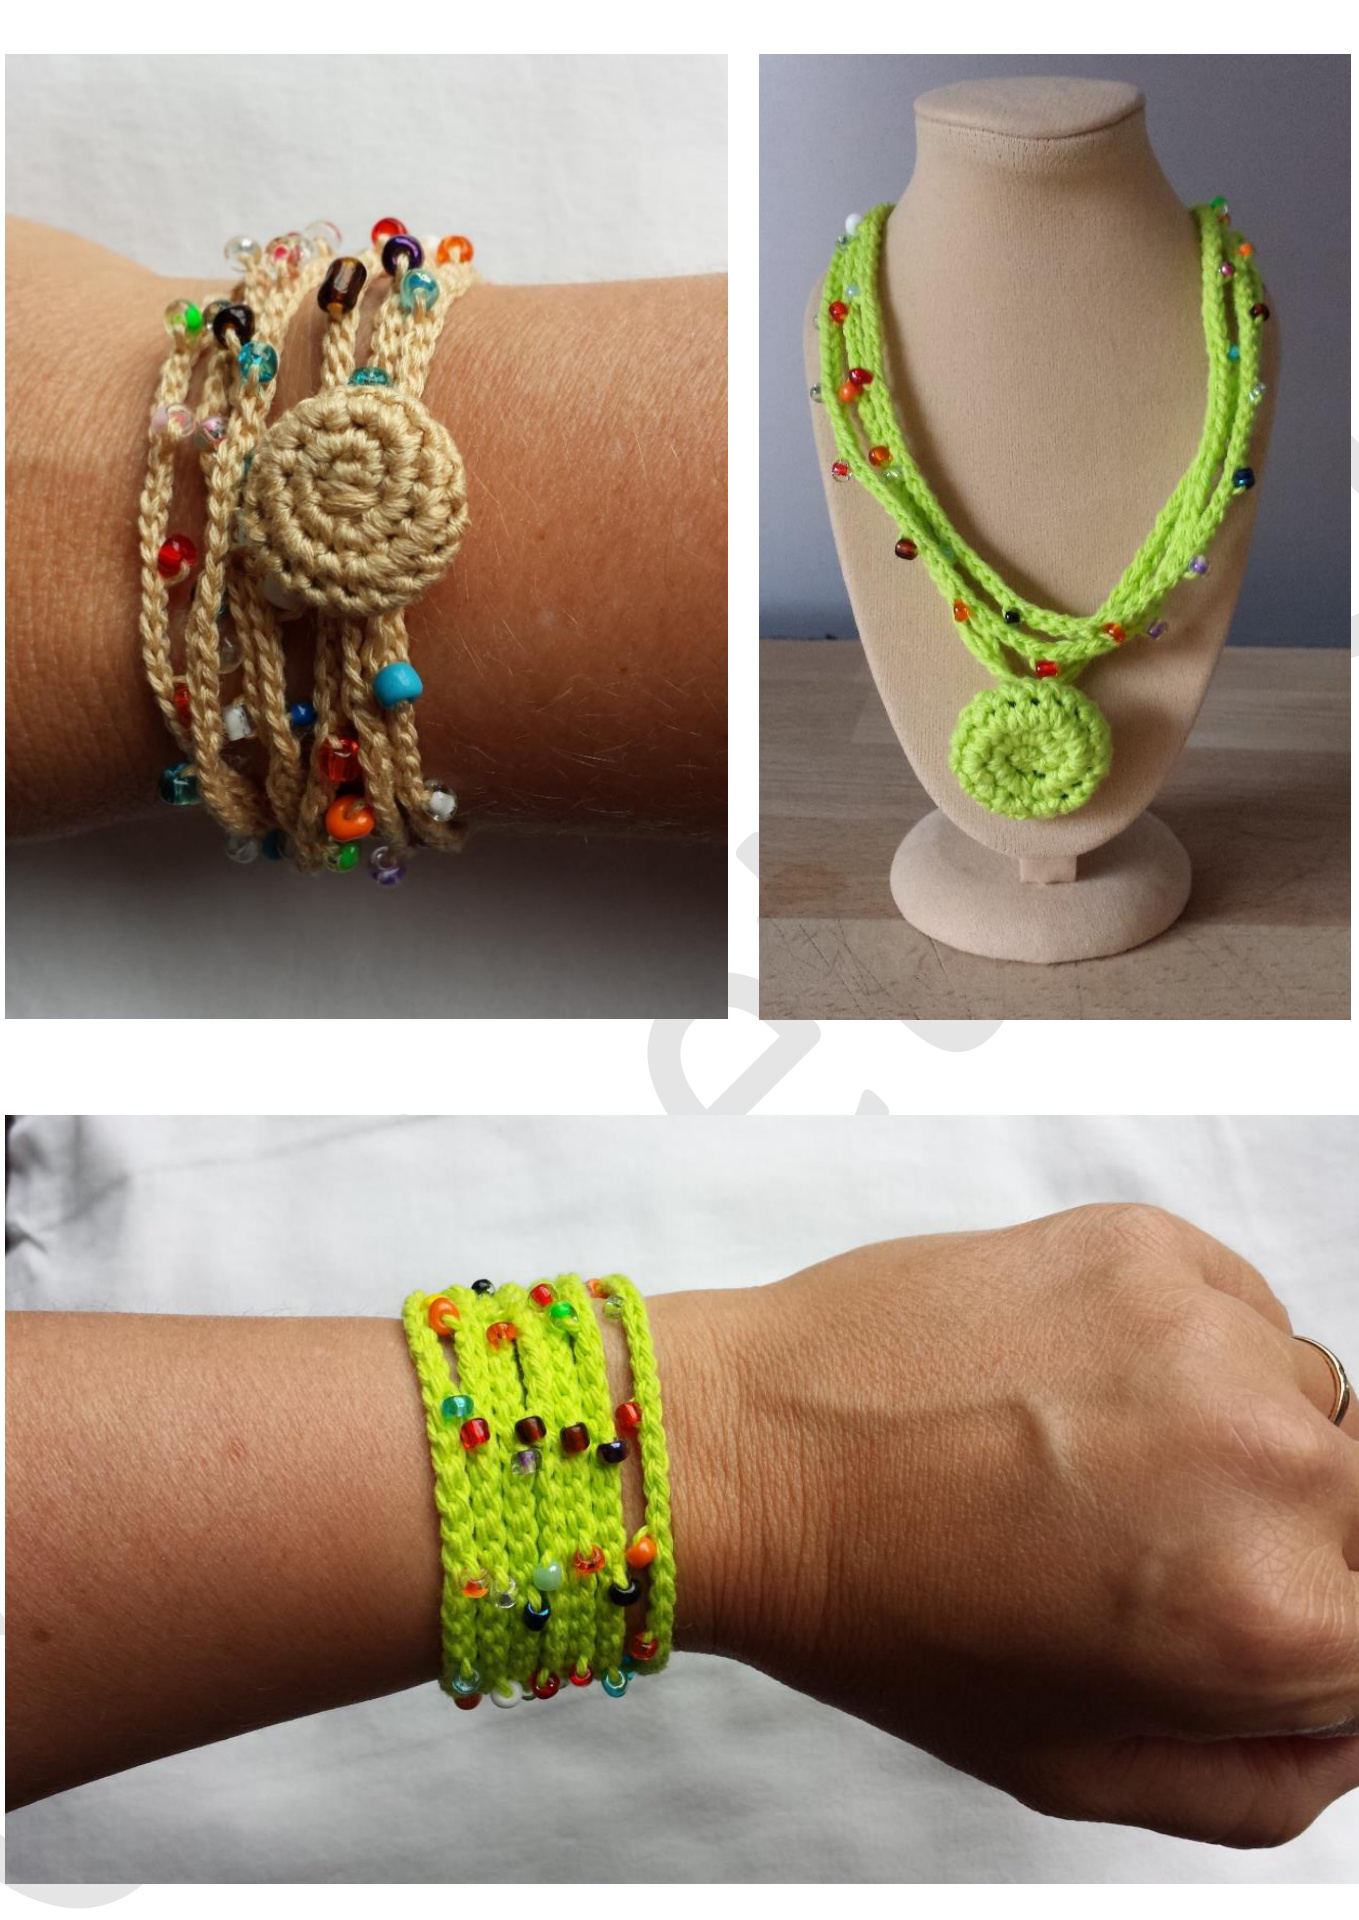
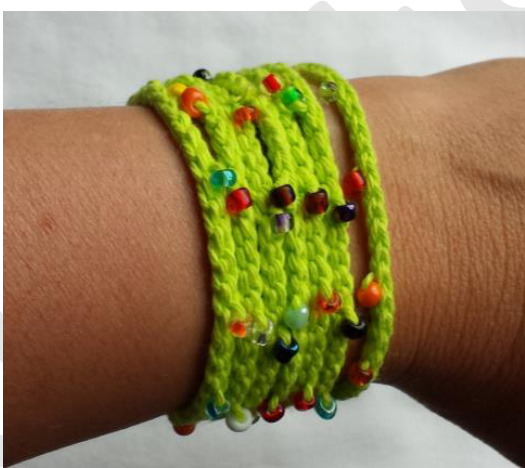
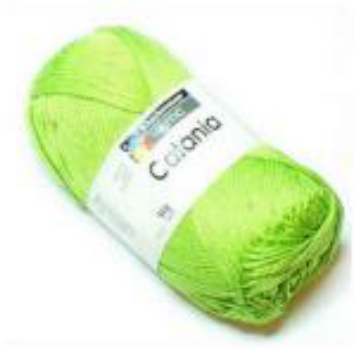
the limegreen I made with catania and hook size 3.
scissors tapestry neelde button beads, pearls
Abbreviations :
ch = chain sl st = slip stitch sc = single crochet sc2tog = single crochet next 2 stitches together
Tips :
First read the whole pattern. If you can not (yet) manage a magic circle, you can do : 2 ch - 6 sc in the second chain from the hook. Watch a few videos on my blog : http://crochets4u.blogspot.be/
Pattern :
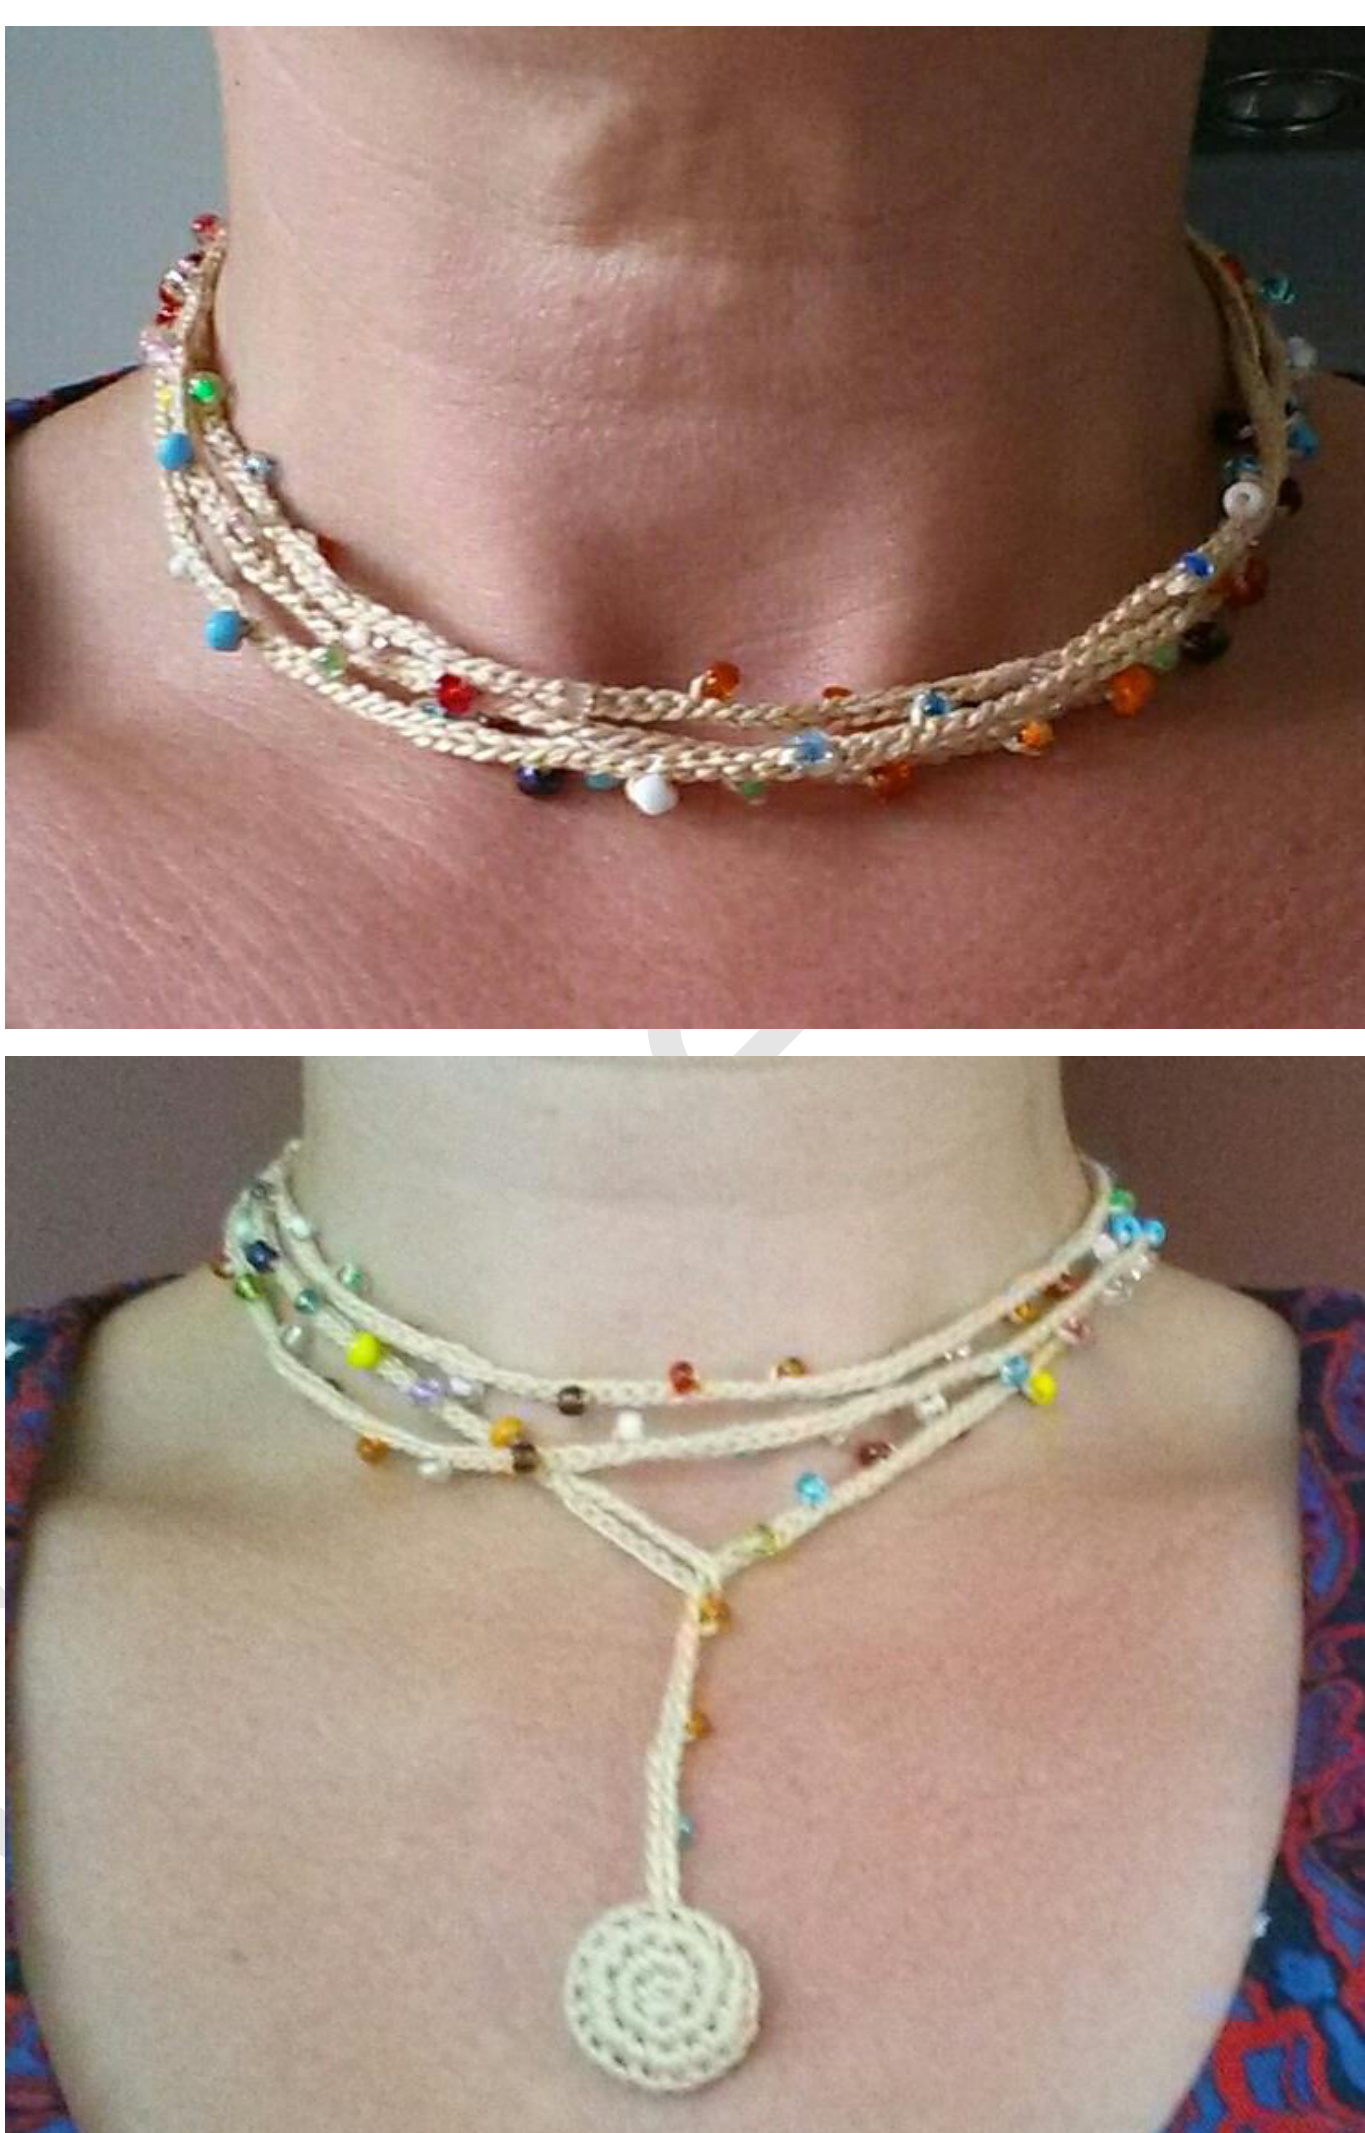
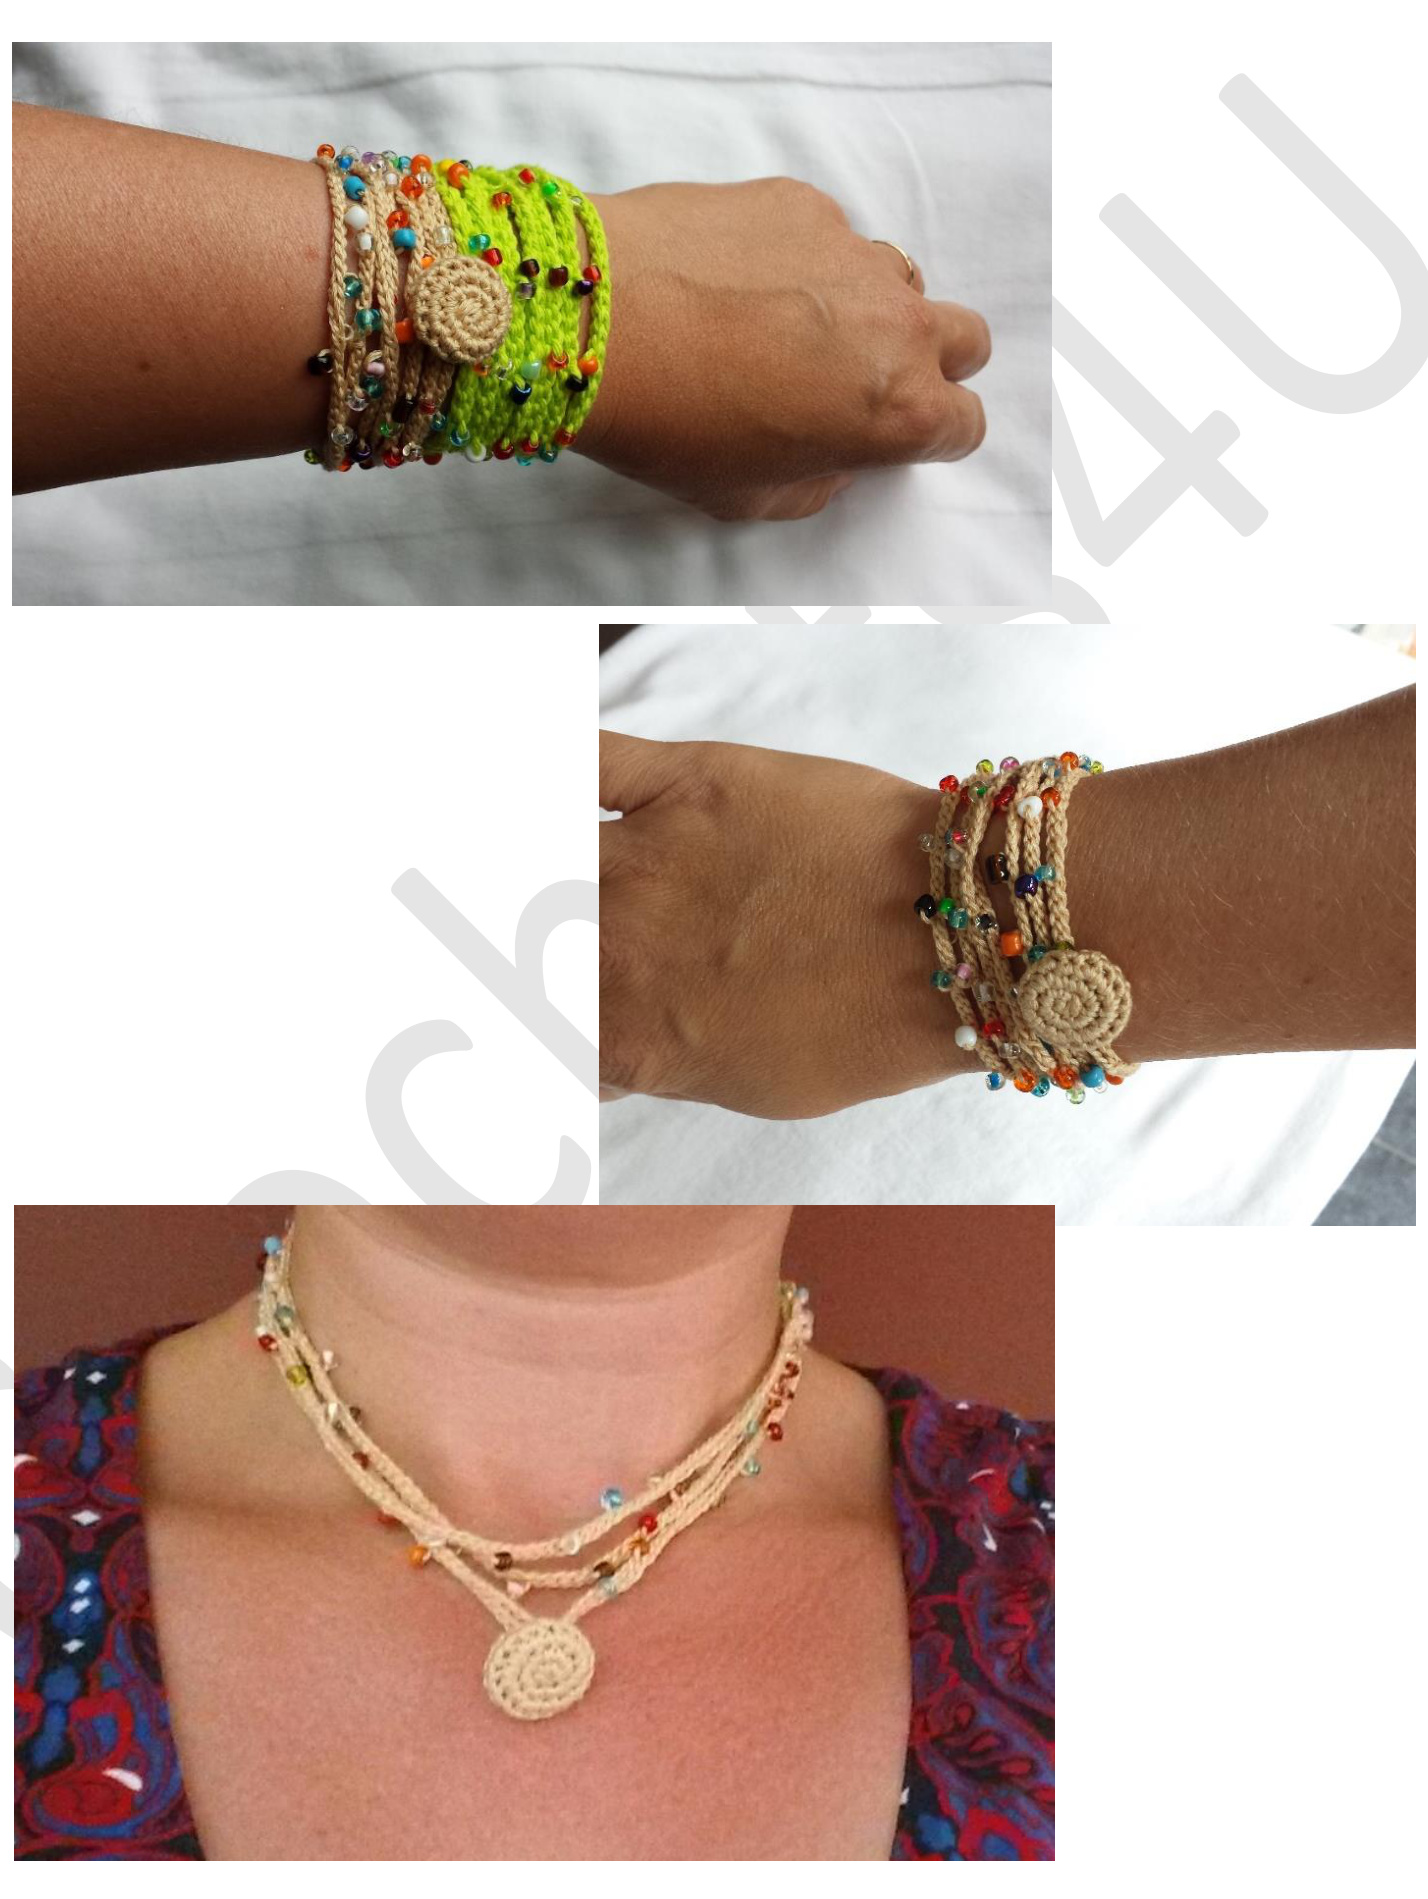
You can decide for yourself how long you want the bracelet / necklace to be. I made mine so I could wrap them 7 times around my wrist. You can choose to make it longer or shorter.
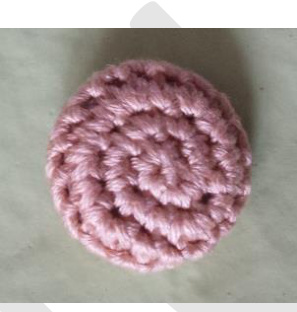
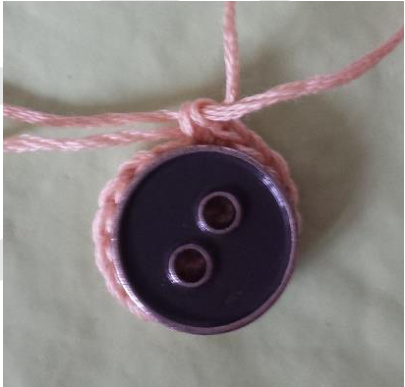
button :
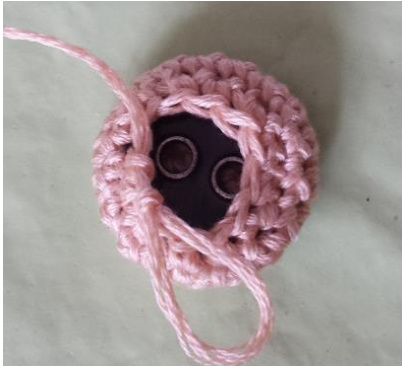
For the button there are 2 options : you can either use a nice button or you nd an existing button : 1. 6 sc in magic circle 2. 2 sc in each sc (12 sc) 3. \*1 sc - 2 sc in next sc\* 6x (18 sc) The circle should match the button exactly. If it doesn't, have a look at the bottom of this page. 4. 18 sc 5. 18 sc 6. \* 1 sc- sc2tog \* 6x(12 sc) Put the button inside 7. with the button insde : \*sc2tog\* 6 x Cast off Your button doesn't match the circle ? Read this : If you button is larger, then increase an extra row. In row 4 you crochet : \*2 sc - 2 sc in next sc\* 6x (24 sc) Row 5 and 6 : 24 sc Row 7 : \* 2 sc - sc2tog \* 6 x(18 v) Continue as in example.
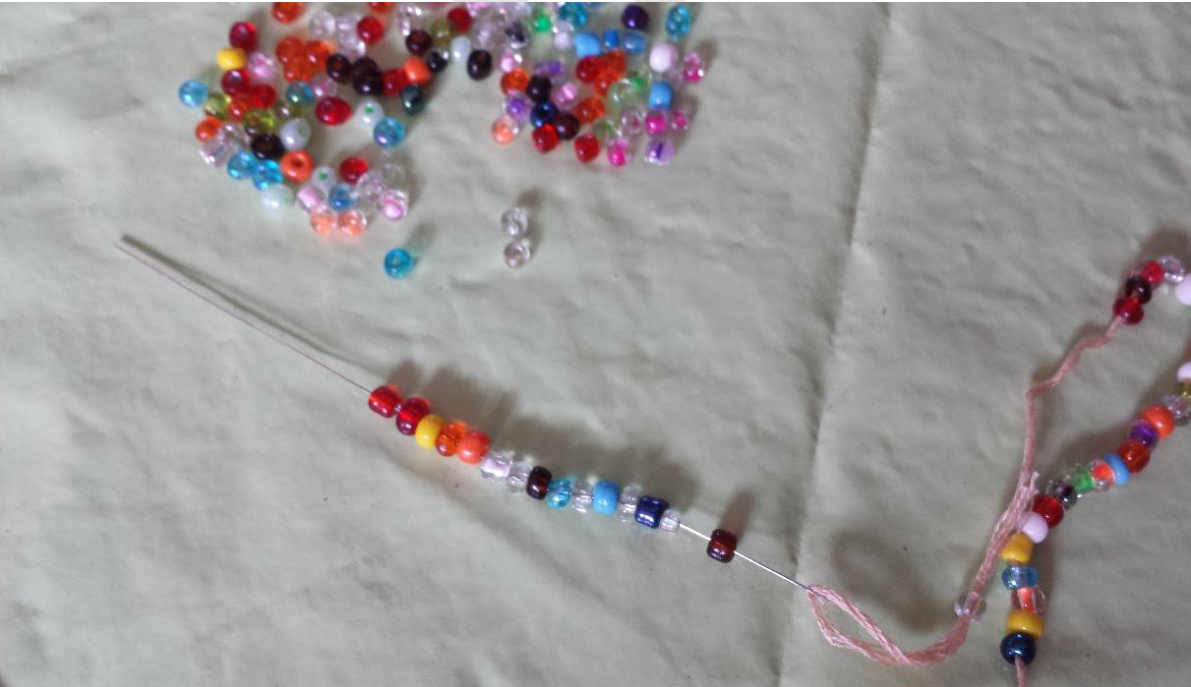
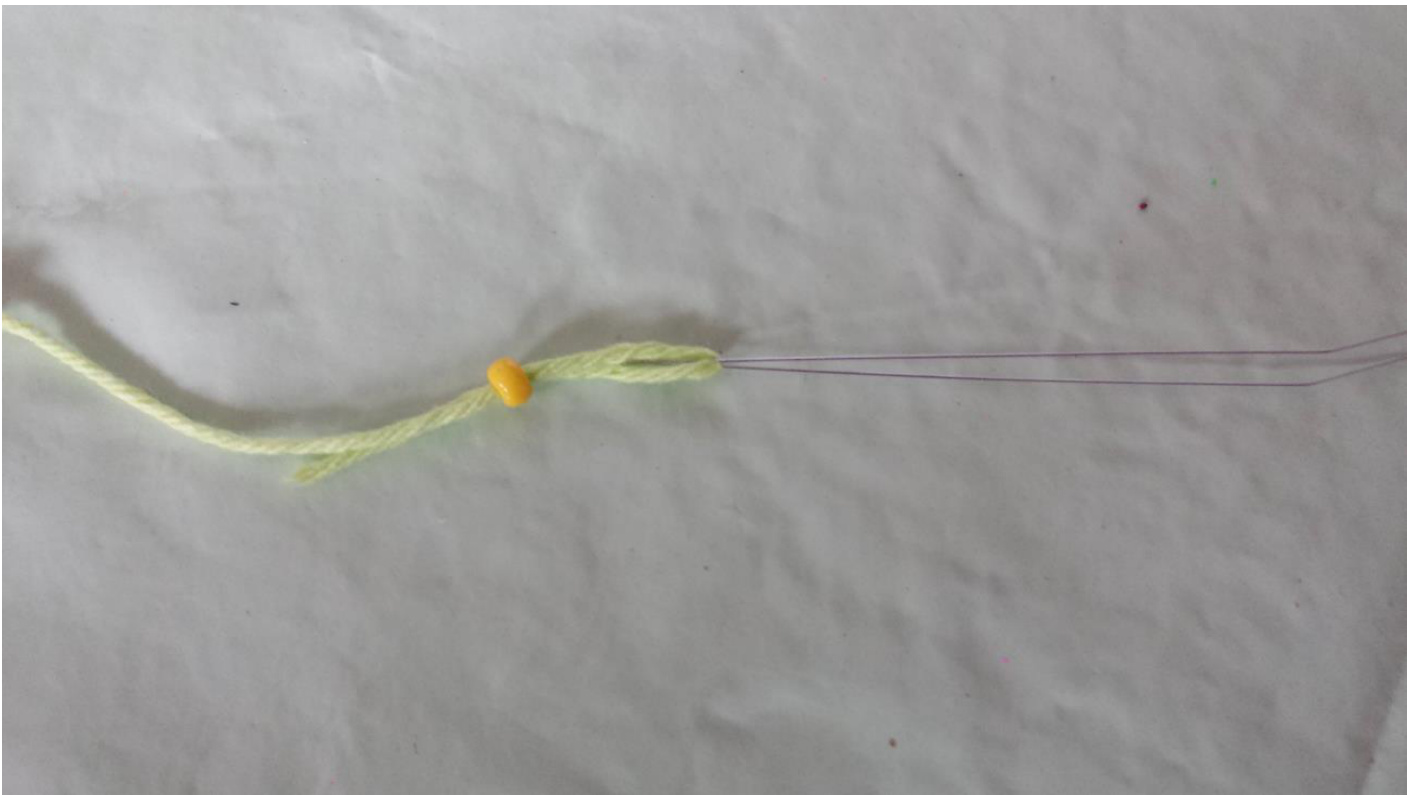
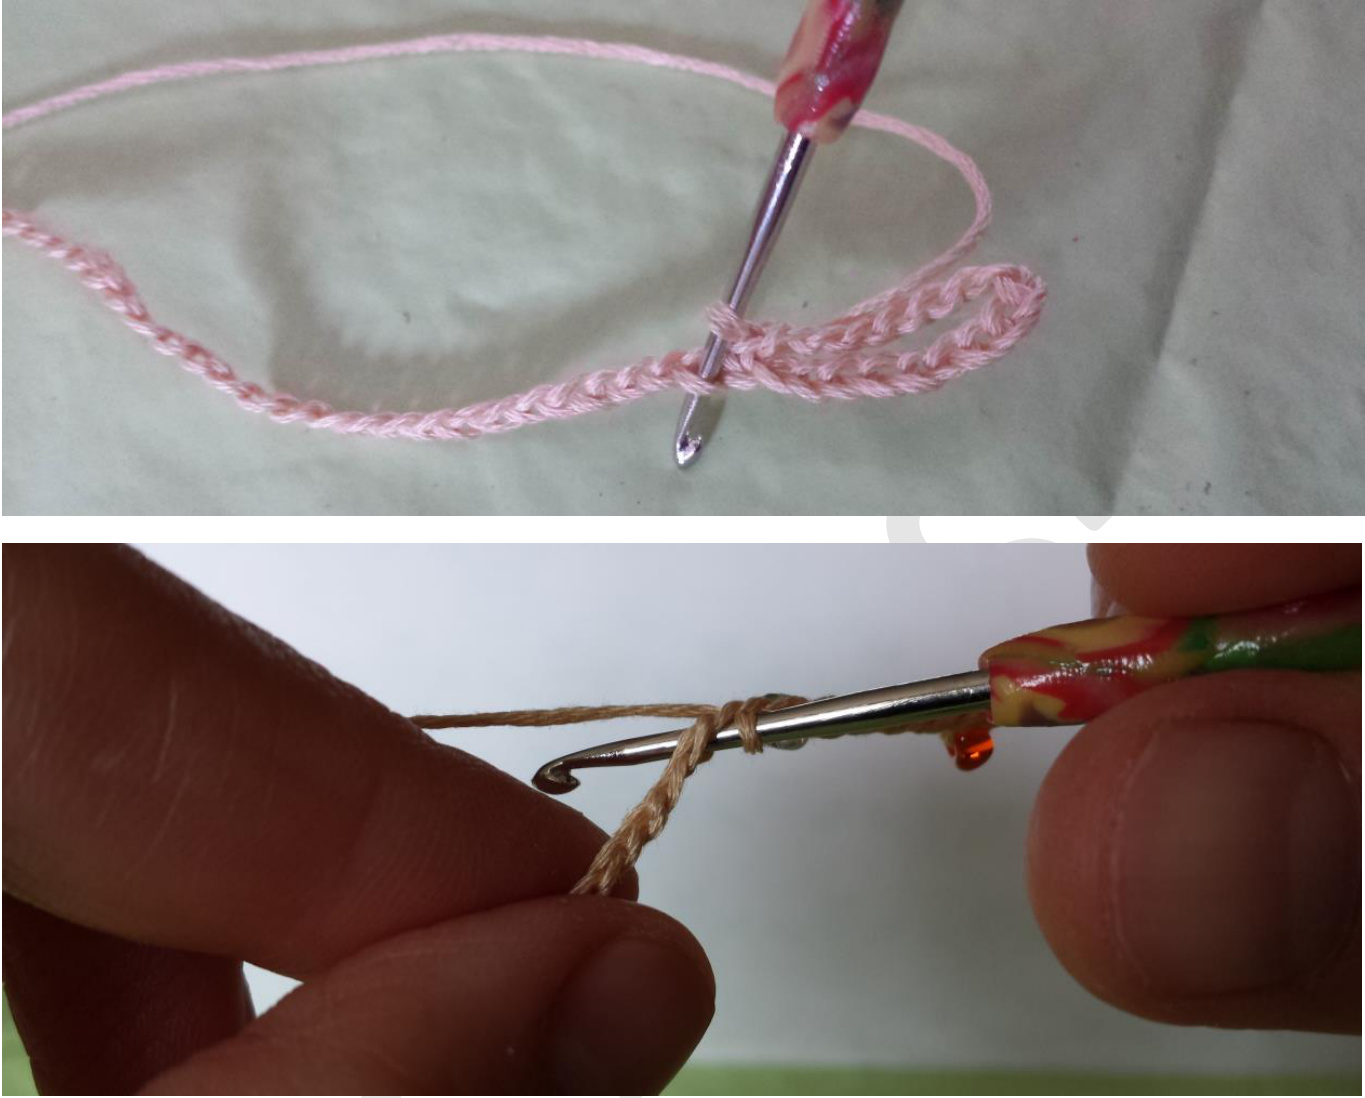
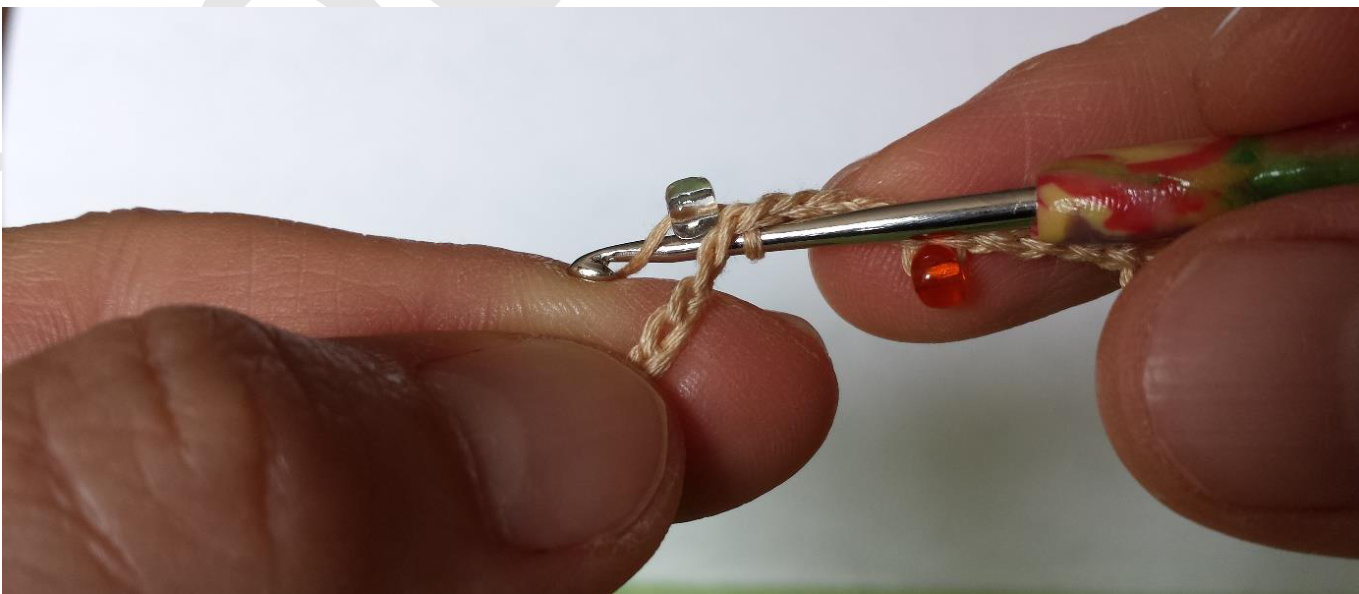
String the beads on the thread. This can be done in several ways: you could use a very thin needle. If you haven't got one, you can use a threader. You need to take it apart though, as in the picture below. Then you can use the "needle" to string the beads on the thread, as in the right hand side picture.
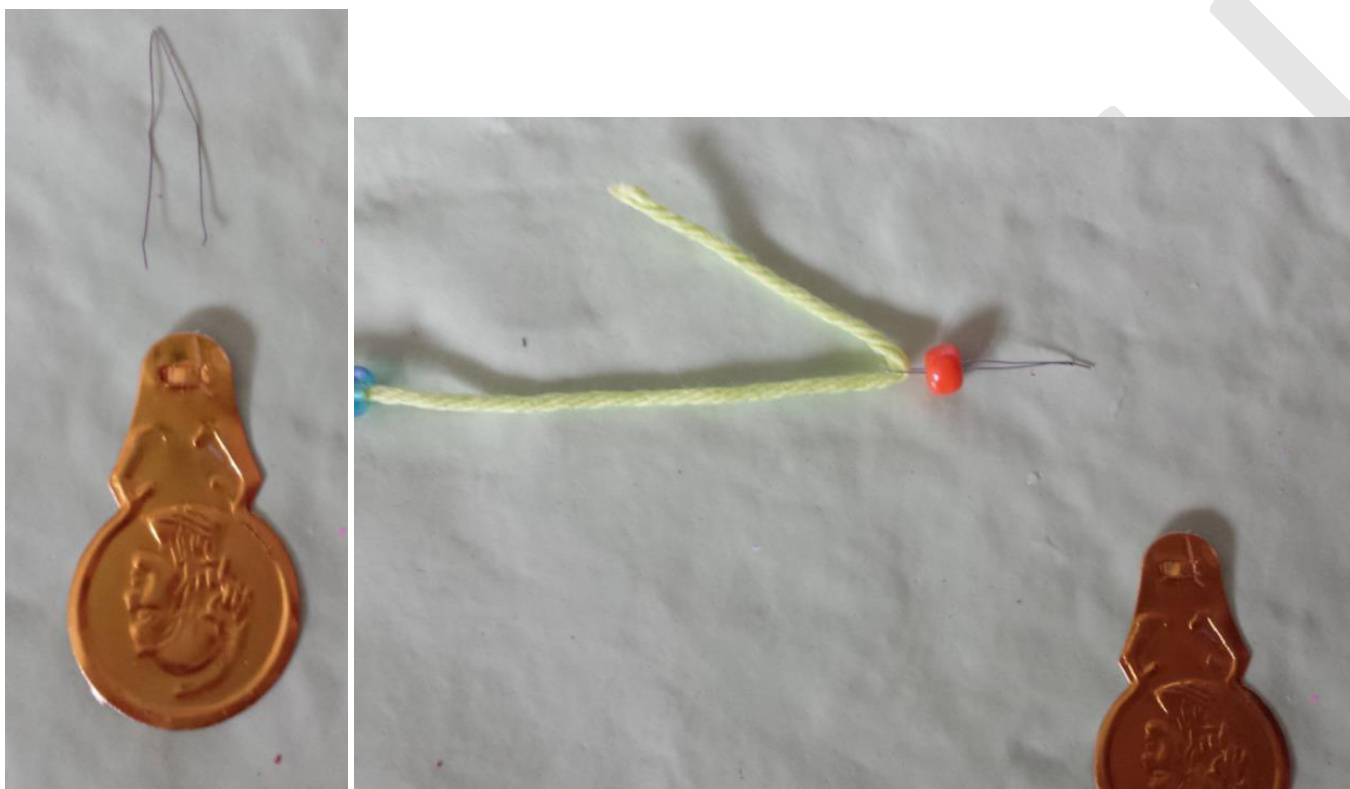
There are also special threaders. As in this picture (mine is a bit bent, my fault) :
Make sure you string enough beads ! You'd better string 10 too many, than 1 too less. For the lightbrown bracelet with embroidery cotton, hook size 2 (can be wrapped around my wrist 7 times), I used 89 pearls. For the lemongreen bracelet with Catania, hook size 3 (can be wrapped around my wrist 7 times), I used62pearls.
Making the bracelet :
When casting on, make sure you leave +/- 20 cm, you will need this later on to sew on the button. Chain until you are satisfied with the length. Try it on.
When you are satisfied with the length, mark this stitch (in the picture below I used a blue pin) Then crochet a few more chains. As many as you need to pass the button through :
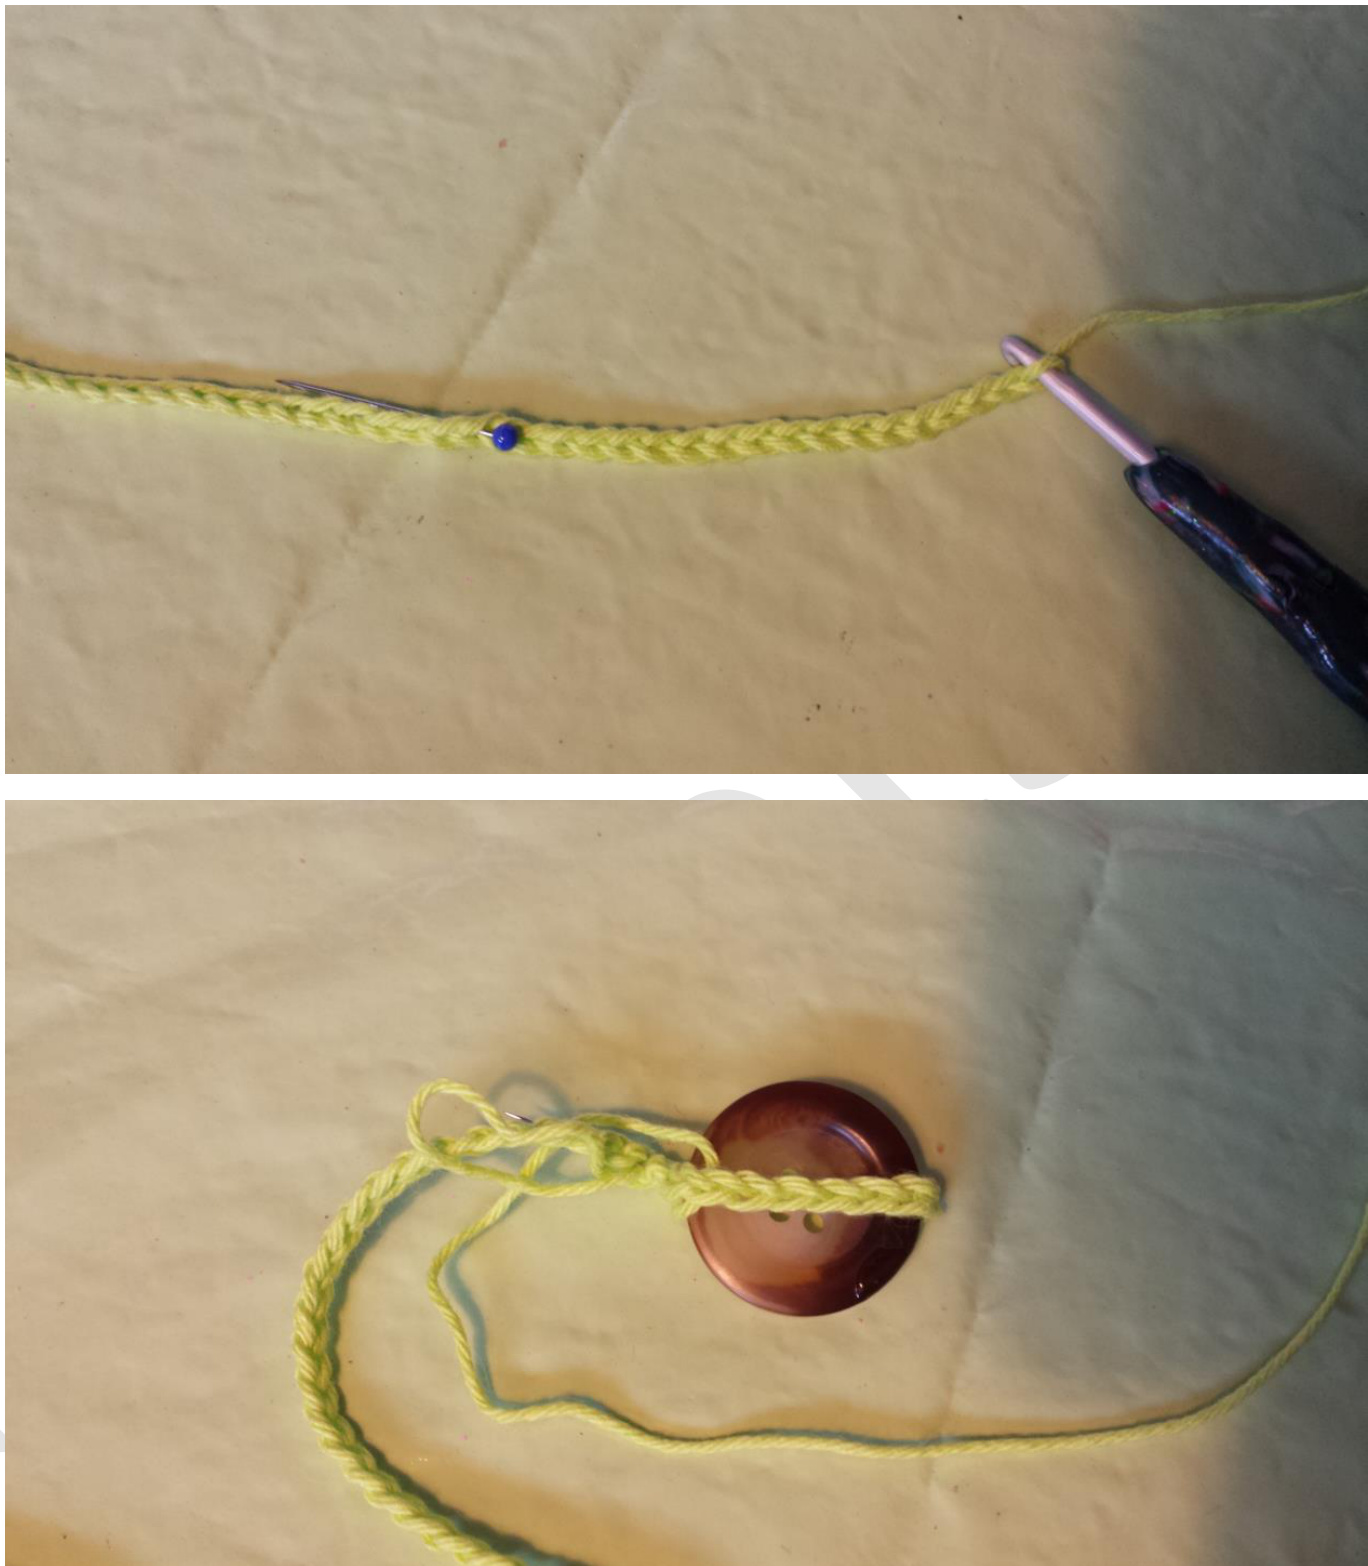
Now turn, begin in the marked stitch. Do sl st but put you crochet hook through the bottom of the stitch. This means there are 2 threads on top of needle and 1 thread on the bottom of the needle :
When you crochet a pearl, slide it up to the chain and do sl st as before :
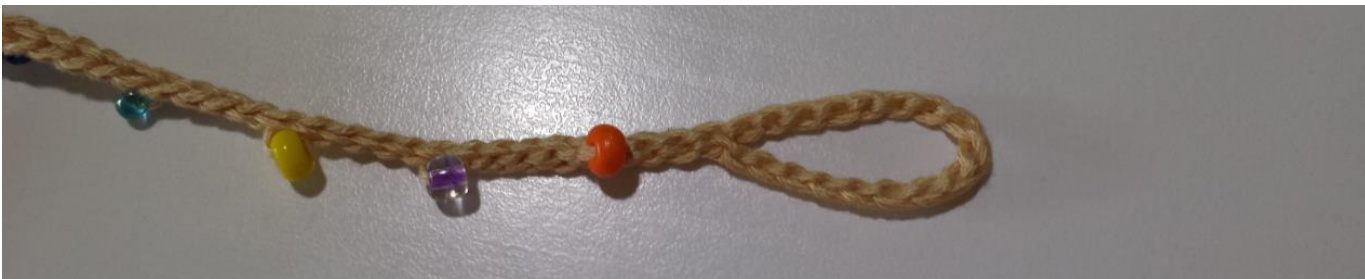
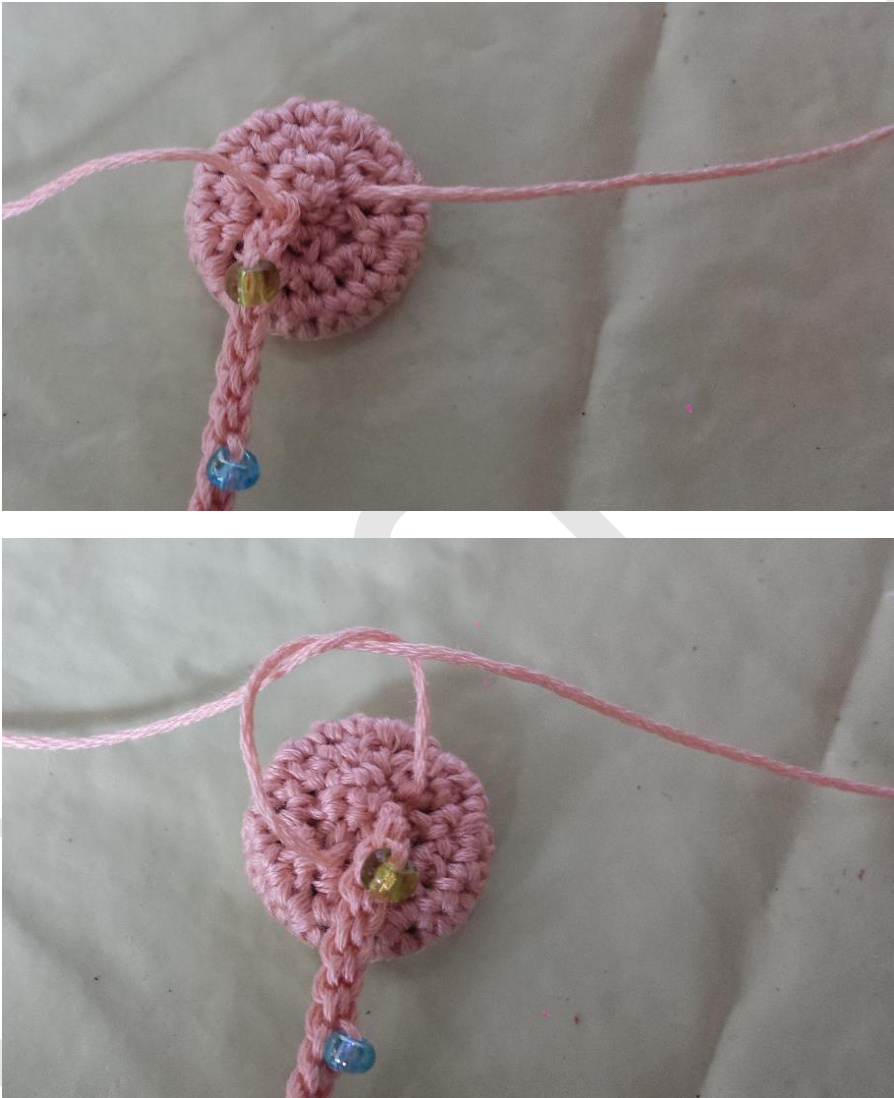
Crochet as follows : \*4 sl st - 1 sl st with pearl\* repeat untilthe end. Cast off with a long thread, to sew on the button. When sewing on the button, you can use the buttonholes : a needle, put the thread through a buttonhole and return through the other buttonhole Tie a knot.
Repeat this 3 times, weave in both ends in the button. This pattern is for personal use only : you can not make it public or sell it on as your own. Anything you make with this pattern, you can sell on. If something is not clear or you have remarks , do not hesitate to send a mail : Crochets4U@telenet.be When finished, feel free to send photos of your work and your permission to post them on my Facebookpage : https://www.facebook.com/Crochets4u. Good luck !!