4-2-2014
Materials:
Yarn(s) - I used fluffy acrylic Yarn. Crochet Hook - Size 3.0 mm Yarn Needle or Normal Needle Blue Yarn Cotton, for the nose Yarn Cotton same color as fluffy for legs Sewing thread or yarn for sewing the fabric Fiberfill 2 of 8mm Safety Eyes. If
Head
Use fluffy Yarn. Rnd 1: MR, sc 6 in MR. (6) Rnd 2: 2 sc in each sc around. (12) Rnd 3: \*sc 1, 2 sc in next sc\*, repeat around. (18) Pattern you're making a pair, you'll need 4 Safety Eyes. Small piece fabric with flowers or other print. Stitch Marker or Safety Pin Note: This pattern works in continuous rounds (instead of joined rounds). Rnd 4: \*sc 2, 2 sc in next sc\*, repeat around. (24) Rnd 5: \*sc 3, 2 sc in next sc\*, repeat around. (30) Rnd 6: \*2 sc in next sc, sc 4\*, repeat around. (36) Rnd 7: \*2 sc in next sc, sc 5\*, This pattern is not tested! So do you find a mistake in the pattern, please let me know. Visit my blog: cute-amigurumi.blogspot.nl and leave amessage. http://cute-amigurumi.blogspot.nl
Abbreviation
MR - Magic Ring sC - Single Crochet dc - Double Crochet 2-dc - Double Crochet with 2 times yarn over. 3-dc - Double Crochet with 3 times yarn over 2 sc in next sc - Increase dec 1 - Decrease Ch - Chain \* \* - Repeat Step F/O - Fasten Off repeat around. (42) Rnd 8-15: sc around. (42) Attach Safety Eyes on Rnd 9-10. Rnd 16: \*dec 1, sc 5\*, repeat around. (36) Rnd 17: \*dec 1, sc 4\*, repeat around. (30) Rnd 18: \*dec 1, sc 3\*, repeat around. (24) Start stuffing with fiberfill. Rnd 19: \*dec 1, sc 2\*, repeat around. (18) Rnd 20: \*dec 1, sc 1\*, repeat around. (12) Rnd 21: \*dec 1\*, repeat around. (6) Add on fiberfill to stuff the entire head. F/O and leave a long end for sewing to Body.
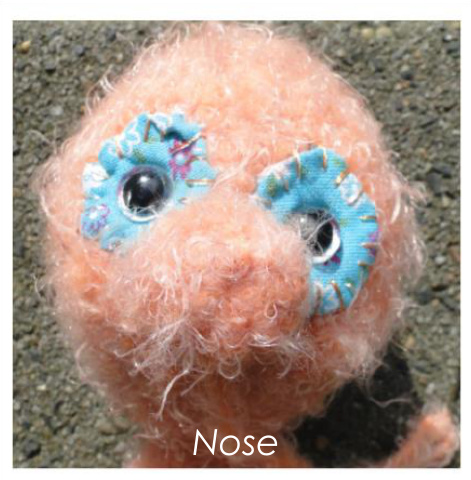
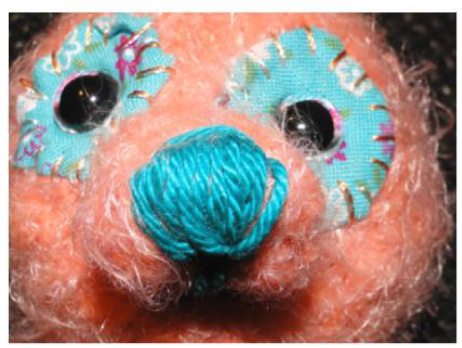
Nose
Rnd 1: MR, sc 6 in MR. (6) Rnd 2: \*sc 1, 2 sc in next sc\*, repeat around. (9) Rnd 3-4: sc around. (9) Rnd 5: \*dec 1, sc 1\*, repeat around. (6) F/O and leave long end for sewing to the head.
Body:
Rnd 1-5: Same as Head pattern (refer to top).
Rnd 9: \*sc 3, dec 1\*, repeat around. (24) Start stuffing with fiberfill. Rnd 10: \*sc 2, dec 1\*, repeat around. (18) Rnd 11: \*sc 1, dec 1\*, repeat around. (12) Rnd 12: \*dec 1\*, repeat around. (6) Add on fiberfill to stuff the entire body. F/O and leave a long end for sewing to Head.
Arms: (make 2) per dog
Rnd 1: MR, sc 6 in MR. (6) Rnd 2: \*sc 1, 2 sc in next sc\*, repeat around. (9) Rnd 3-4: sc around. (9) Rnd 5: \*dec 1, sc 1\*, repeat around. (6) Rnd 6-10: sc around. (6) Stuff a little bit of fibrefill just at the bottom of the arms. F/O and leave long end for sewing to Body.
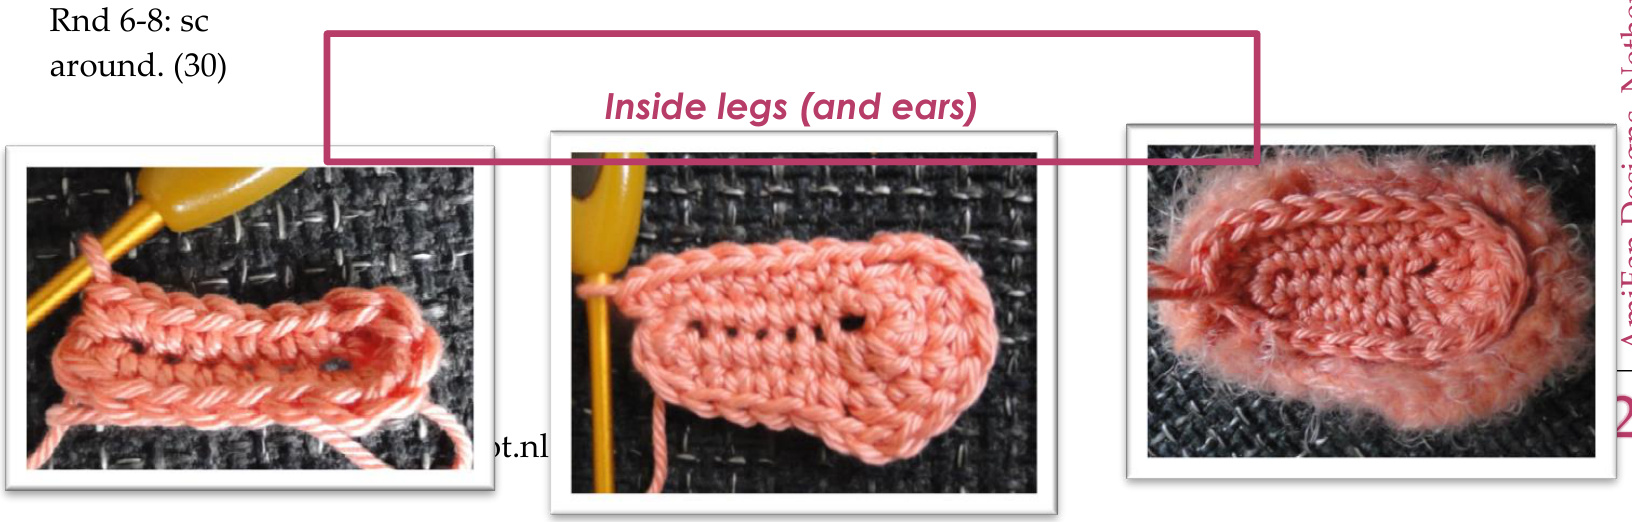
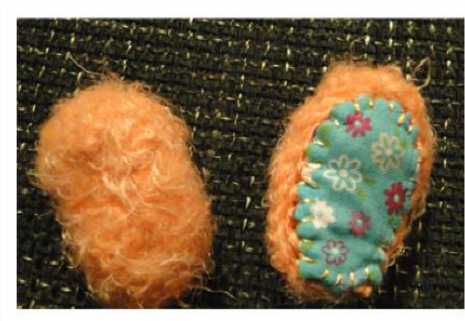
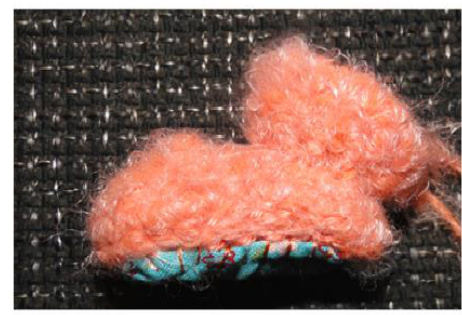
Legs: (make 2) per dog
this is inside - so use normal cotton Rnd 1: Chain of 8 (8) Rnd 2: 1, ch, 1 sc in each sc, in the 8est make 2sc, go around. (18) Rnd 3: sc 5, dc 3, dc2 in next 2 st, dc3, sc 5. (20) F/O.
this is outside - so use fluffy yarn
Rnd 1-5: Same as inside pattern Rnd 4-6: 20sc Rnd 7: \*dec 1, sc 3\*, repeat 4x around. (16) Rnd 8: \*dec 1, sc 2\*, repeat 4x around. (12) Rnd 9: \*dec 1, sc\*, repeat 4x around. (8) Rnd 10: \*dec 1\*, repeat around. F/O. and leave long end for sewing to leg
Leg upper part- use fluffy yarn
Rnd 1: Make a circle with chain of 8 (8) Don't use a magic circle! Only chain of 8st an hsc in the first of the chain. Rnd 2: 2 sc in each sc around. (16) Rnd 3-5: sc 1 repeat around. (16) Rnd 6: \*dec 1\*, repeat around. F/O and leave long end for sewing to body Ears dog 1: (make 2) Use fluffy Yarn. Go in ROws nog around! CHAIN 10 Row1: 10 sc in each chain (10) Row2: 2s in st, sc 8, 2sc in st (12) Row3: sc 12 (12) Row4: dec 1, sc 8, dec 1(10) Row5: dec 1, Sc 6, dec 1(8) Row6: dec 1, Sc 4, dec 1 (6) Row7: dec 1, Sc 2, dec 1 (4) Row8: sc in each st (4) Row10: dec 1, Sc 2, dec 1 (2) Edging: SC around work evenly with 3 SC in each point F/O and leave long end for sewing to head. Flatten. Ears dog 2: (make 2) Use fluffy Yarn. Follow Legs Patten inside exactly. http://cute-amigurumi.blogspot.nl F/O and leave long end for sewing to head. Flatten.
Tail
Rnd 1: MR, sc4 in MR. (4) Rnd 2: \*sc 1, 2 sc in next sc\*, repeat around. (6) Rnd 3: : \*sc 1, 2 sc in next sc\*, repeat around. (9) Rnd 4-5: sc 1 repeat around. (9) F/O and leave long thread
Skirt: for little girl dog
I used a loom for knitting. But you can also crochet a little skirt. I didn't made a pattern for this.
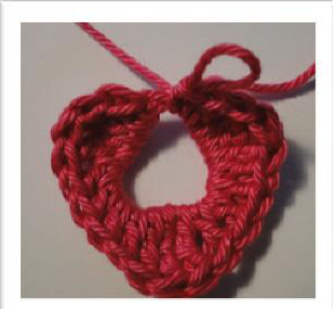
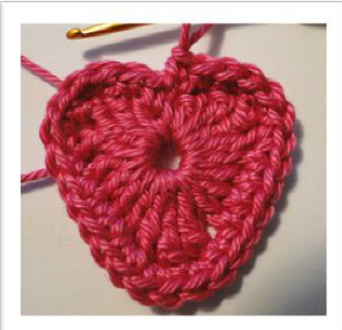
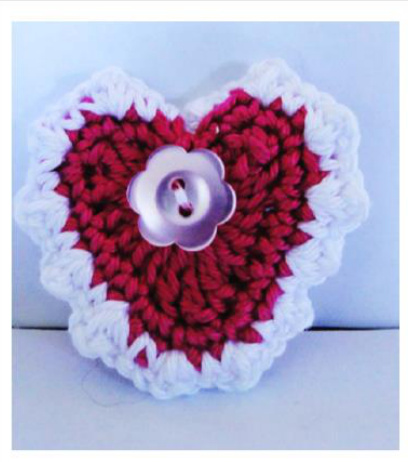
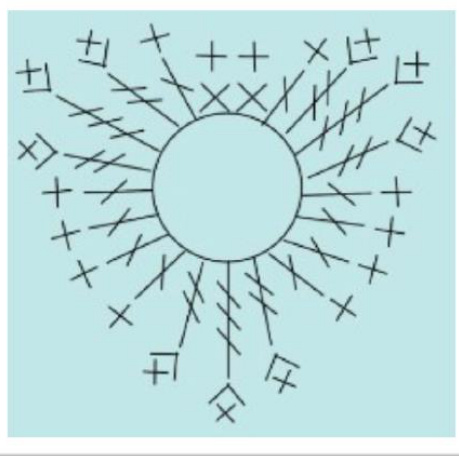
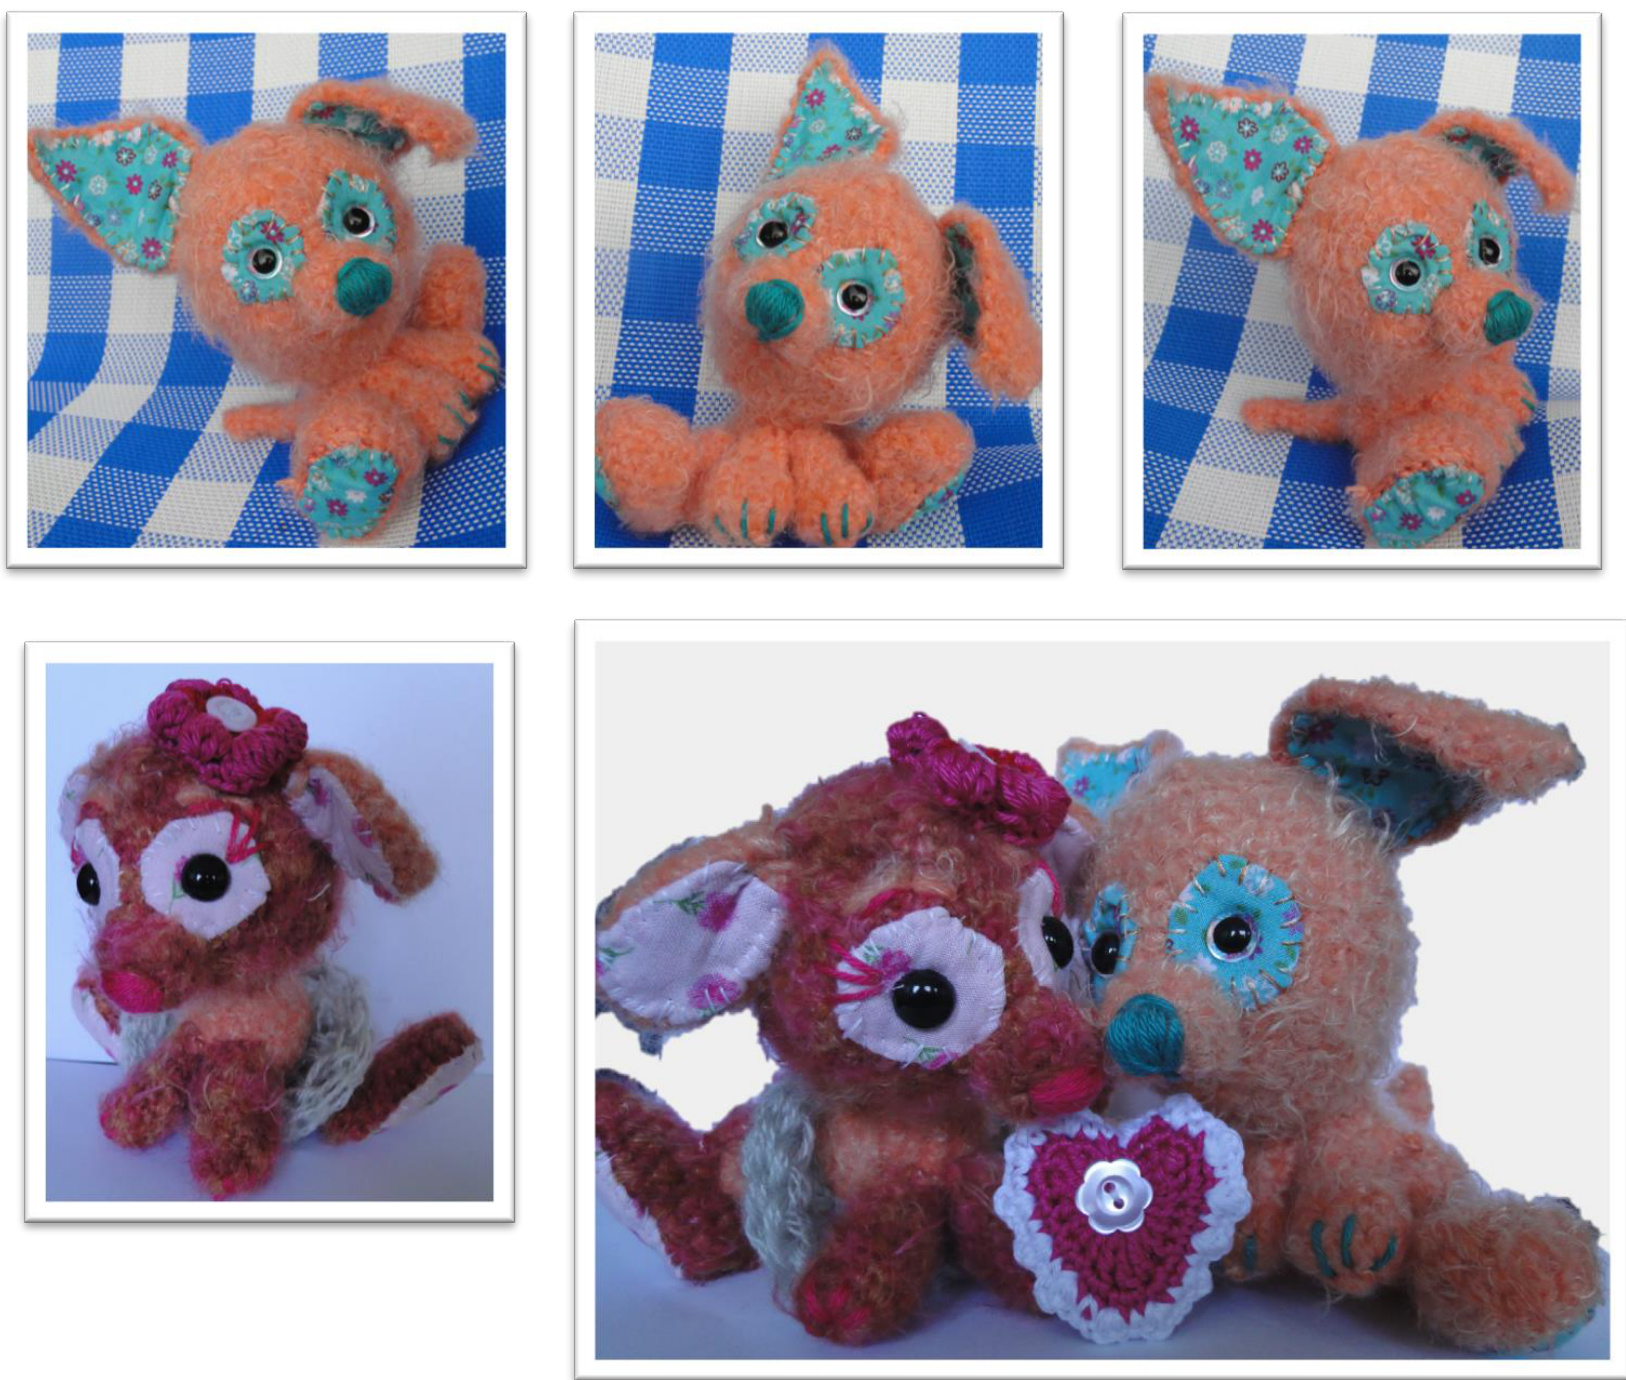
Heart make 2
Rnd 1. Make a magic circle Rnd 2. Sc 1, dc 1, 2-dc 1, 3-dc 1, dcl, dc 4, dc 1, 2-dc 1, 3-dc 1, dc1, dc 4, dc 1, 2-dc 1, 3-dc 1, dc1, dc 4, sc2 Rnd 3, sc 2, \*sc2 in st \* repeat 3x, sc 4, \*sc2 in st \* repeat 3x, sc 4, \*sc2 in st \* repeat 3x, sc 2.
F/O
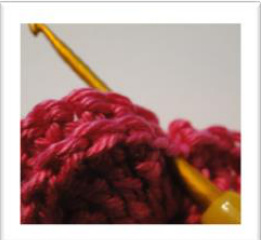
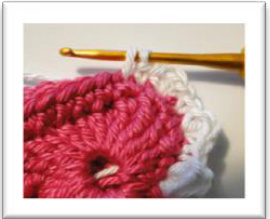
Put both hearts together en crochet around both edges, with White cotton, making a \*sc1, dsc 1, scl in sc, sc1\* repeat arround. Fill up light.
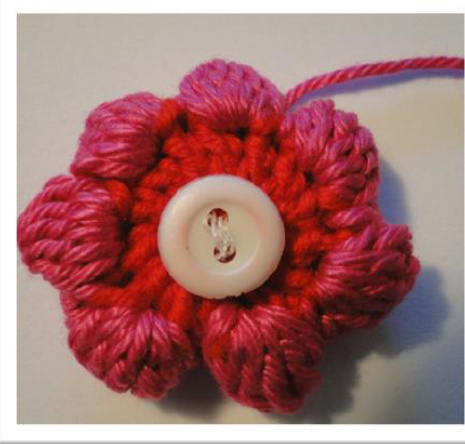
Flower: for little girl dog
See pattern: http://mamachee.com/2010/07/2 6/6-petal-puff-stitch-flower/ I made rnd 1 with dsc.
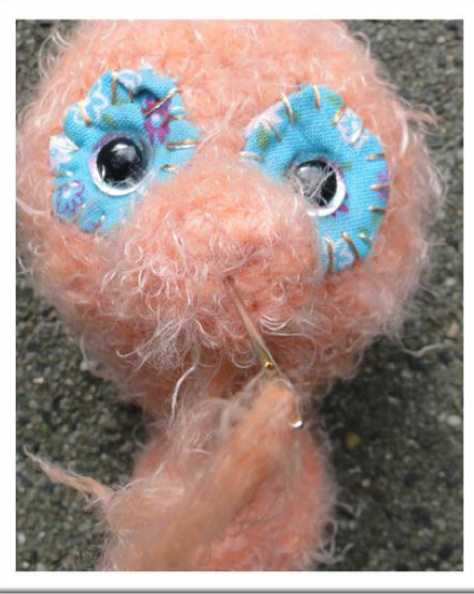
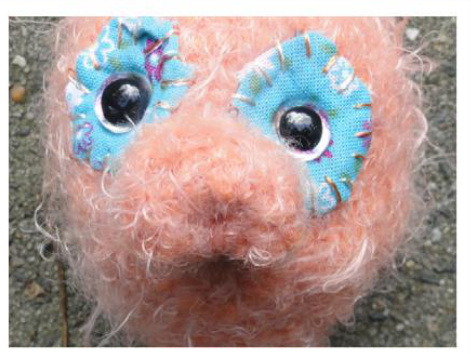
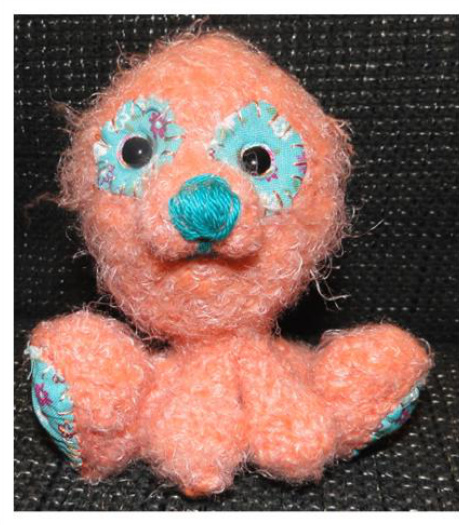
Assembling:
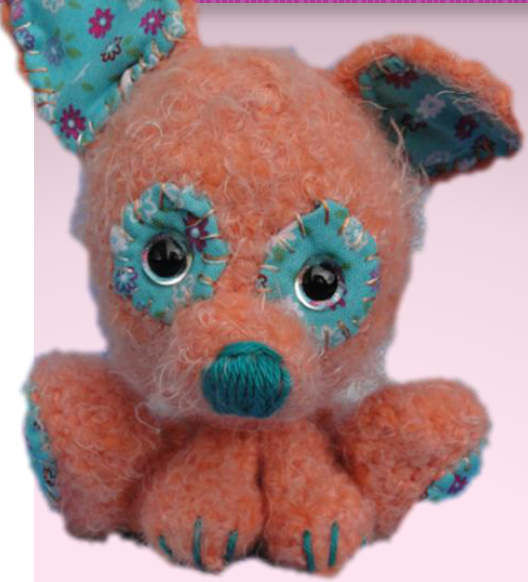
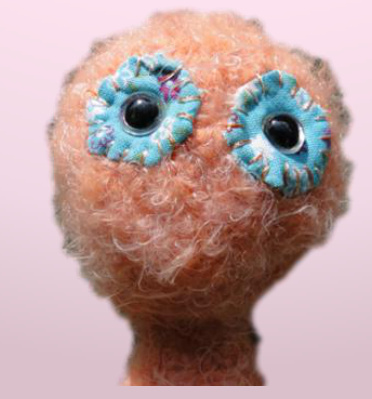
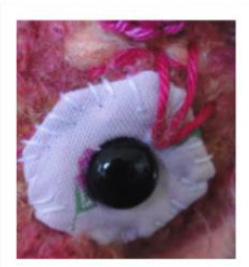
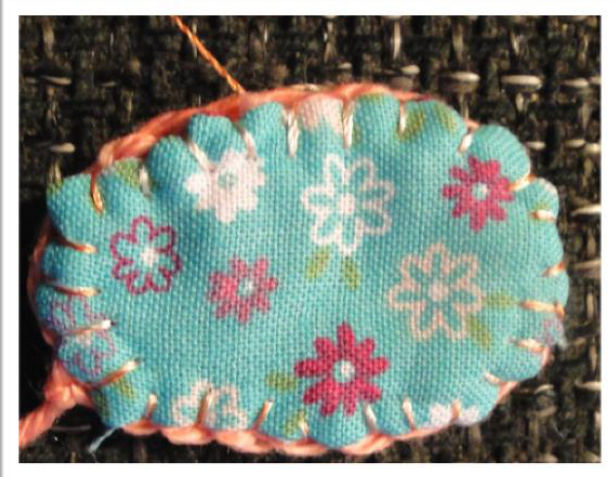
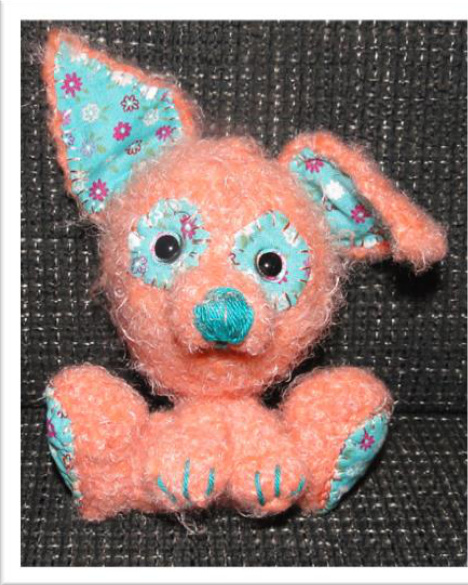
Sew a nose... see photo's >> Cut out oval shape flower fabric and use colorful Thread / Yarn to sew around the dog's Eyes.
Cut out the shape flower fabric for the ears and use colorful thread / Yarn to sew on the dog's ears. http://cute-amigurumi.blogspot.nl

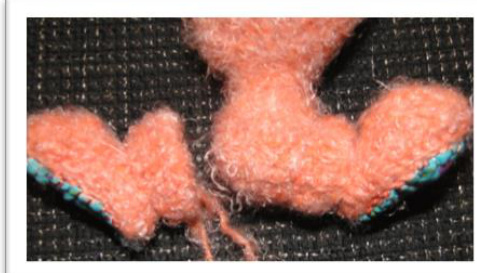
Cut out the shape flower fabric for the leg and use colorful thread / Yarn to sew on the dog's leg.
Sew the Dog's Body to dog's Head. Sew the Arms on each side of Dog's Body.
Sew the Legs upper part to the dog's legs. Sew the whole Legs to the dog's Body.
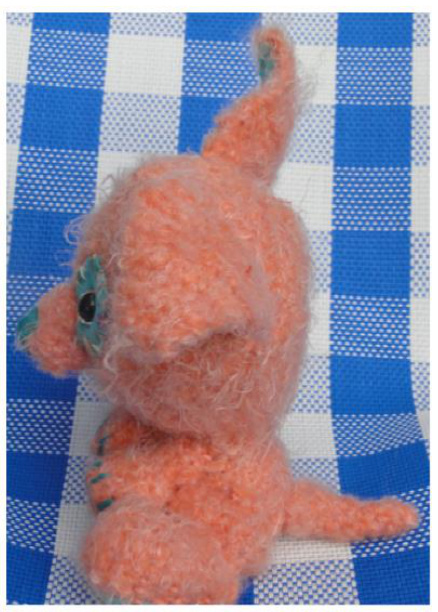
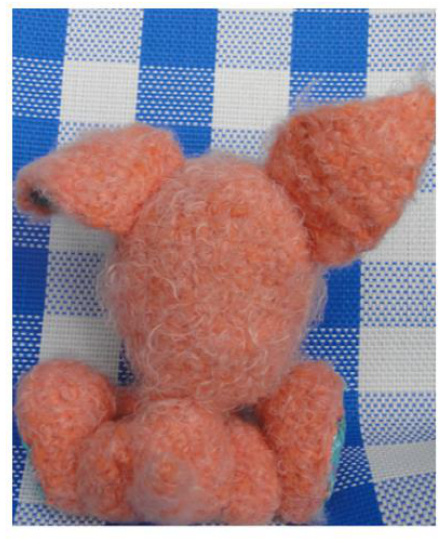
Sew the Ears to top of Dog's Head. (Make your own choice where. And if they have to stand u or hang down.) Sew on the tail at the back off the body. Sew some toes on the arms.
And dog 1 is ready!

http://cute-amigurumi.blogspot.nl
ou are allowed to link to this pattern. Please do not copy or sell this patterr Off course you can sell your finished items (based on this pattern) but please honor me as the designer. This pattern and other ones can be found at Raverly where my name is AmifanDutch and AmiFan Designs. You can also find me on my blog: cute-amigurumi.blogspot.nl If you have any questions or feedback regarding the pattern, please feel free to contact me. amifan01@gmail.com


