Pikachu hat with ear flaps
You may NOT sell my patterns ! They are for personal non-commercial use. Finished items made with my patterns you may sell.... Gauge- 20st / 12 rows=10cm Hook- no.4mm Head 53.5 Long 19cm Ear to ear 43 Inc row 6 (2.4.6.8.10.12) ABBREVIATIONS: W = work, Sk1 = skip one st, M1 = make one st (work 2 sts in next st), HDC= half double crochet Sc- single crochet
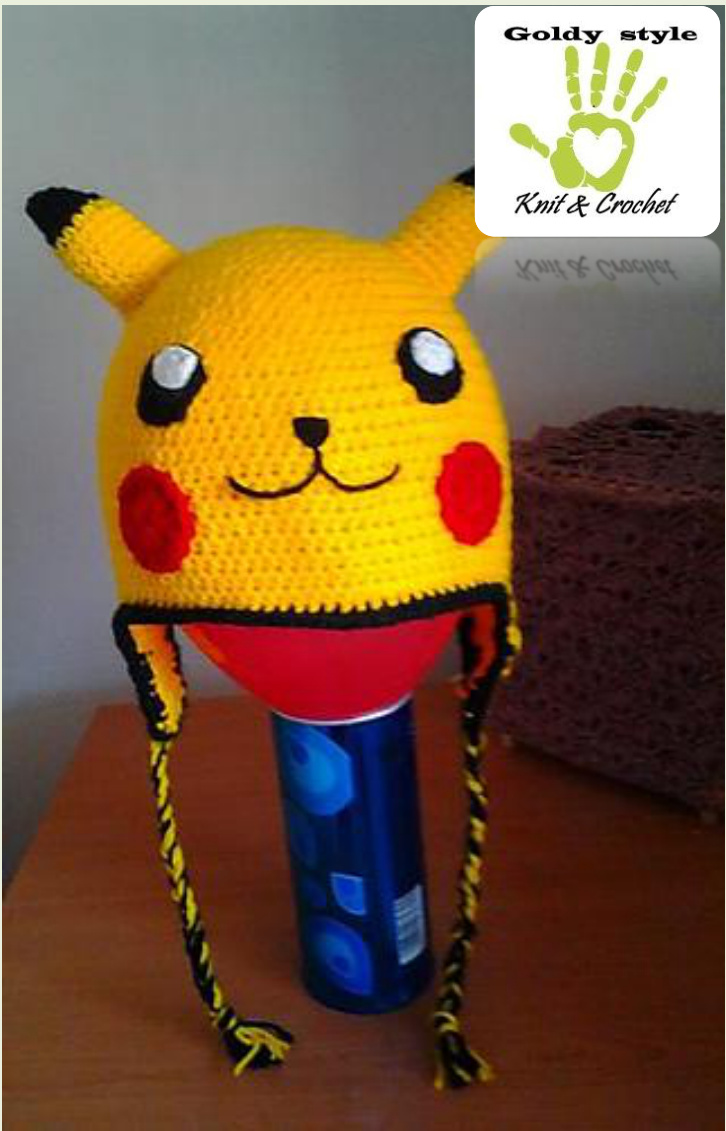
This pattern is written only one size, but with simple change of the hook you'll get a couple different sizes. I hope that you'll enjoy in this project. Now you can have the sweetest and cutest little animal from the cartoon called Pikachu (Pokemon) START. Make Magic loop. Work 6 hdc sts through the. Next round: work 2 hdc in each st to total 12 sts. INCREASE from top to bottom of hat as follows:, WORK IN HDC : Round 1: Work even on 12 sts. Round 2: Inc 13 sts evenly across the row to total 25 sts. ([M1] 11 times, then [M2] once.) Round 3: Work even on 25 sts. Round 4: Inc 13 sts evenly across the row to total 38 sts. (\* [W1, M1] 12 times, then [M1] once \* once.) Round 5: Work even on 38 sts. Round 6: Inc 13 sts evenly across the row to total 51 sts. (\* [W2, M1] 12 times, then [W1, M1] once \*once.)

@ Goldy style / Zlata Tomikj Round 7: Work even on 51 sts. Round 8: Inc 13 sts evenly across the row to total 64 sts (\* [W3, M1] 12 times, then [W2, M1] once \* once.) Round 9: Work even on 64 sts. Round 10: Inc 13 sts evenly across the row to total 77 sts. (\* [W4, M1] 12 times, then [W3, M1] once \* once.) Round 11: Work even on 77 sts. Round 12: Inc 17 sts evenly across the row to total 94 sts. (\* [W4, M1] once, then [W3, M1] once \* 8 times, then [W4, M1] once.) Rounds 13 to 24: Work even on 94 sts. FINISH. Tie off. Sew hat together at the top. Finish off loose ends. II. Ear cover Find the center st at the right ear. Divide the st as follow: 3 st to the left( the front side) and 9 st to the right of the center st( the back of the head) Row 1-4: 12 hdC, Ch 2, turn. Row 5: hdc2 tog, 8 hdc, hdc2 tog, Ch 2, turn. Row 6: 10 hdc, Ch 2, turn. Row 7: hdc tog, 6 hdc, hdc 2tog, Ch 2 turn. Row 8: 8 hdc, tie off and hide string. Round 25: with black Work even around the ear flaps and the heat beginning from the center st of the earflap. I川l. EARS (make 2) Black: Ch 2, in 1st st- sc 6 st, sl in 1 st = 6st Black:, 2 sc in 1 st, 2sc , 2sc in 3st, 2sc = 8st Black:, 2sc in 1"t, 3 sc, 2sc in 3", 3 sc = 10st Black:, 2sc in 1s, 4 sc , 2sc in 3st, 4 sc = 12st Black: , 2sc in 1st, 5 sc , 2sc in 3st, 5 sc .= 14st Yellow:, 2sc in 1"t, 6 sc , 2sc in 3st, 6 sc = 16st Yellow: work 7 more rows sc Fillthem with leftover yarns or stuffing material and sew them on each side on the top of the head... IV. EYES (make 2 ) With white: Ch2, 8 sc in first chain With black: Round 1: Magic loop, ch1, 10sc, Round 2:- 2cs in all st Cheeks (RED) & nose/mouth (embroidery) 1. Round 1 :Magic loop, ch1, 10 dc in all st @ Goldy style / Zlata Tomikj

2. Round 2 :- 2cs in all st VI. Nose/mouth (embroidery)
VIl. Braids ( make 2) : Cut 6 yellow & 6 black 27cm long yarn - attach them to the earflap and make braid..
Do you need some help?
The pattern is carefully reviewed, but if anyone find mistakes please contact me on my Email----zlata.tomik@gmail.com Ravelry ---- Zlata12 Happy Crocheting! !!


