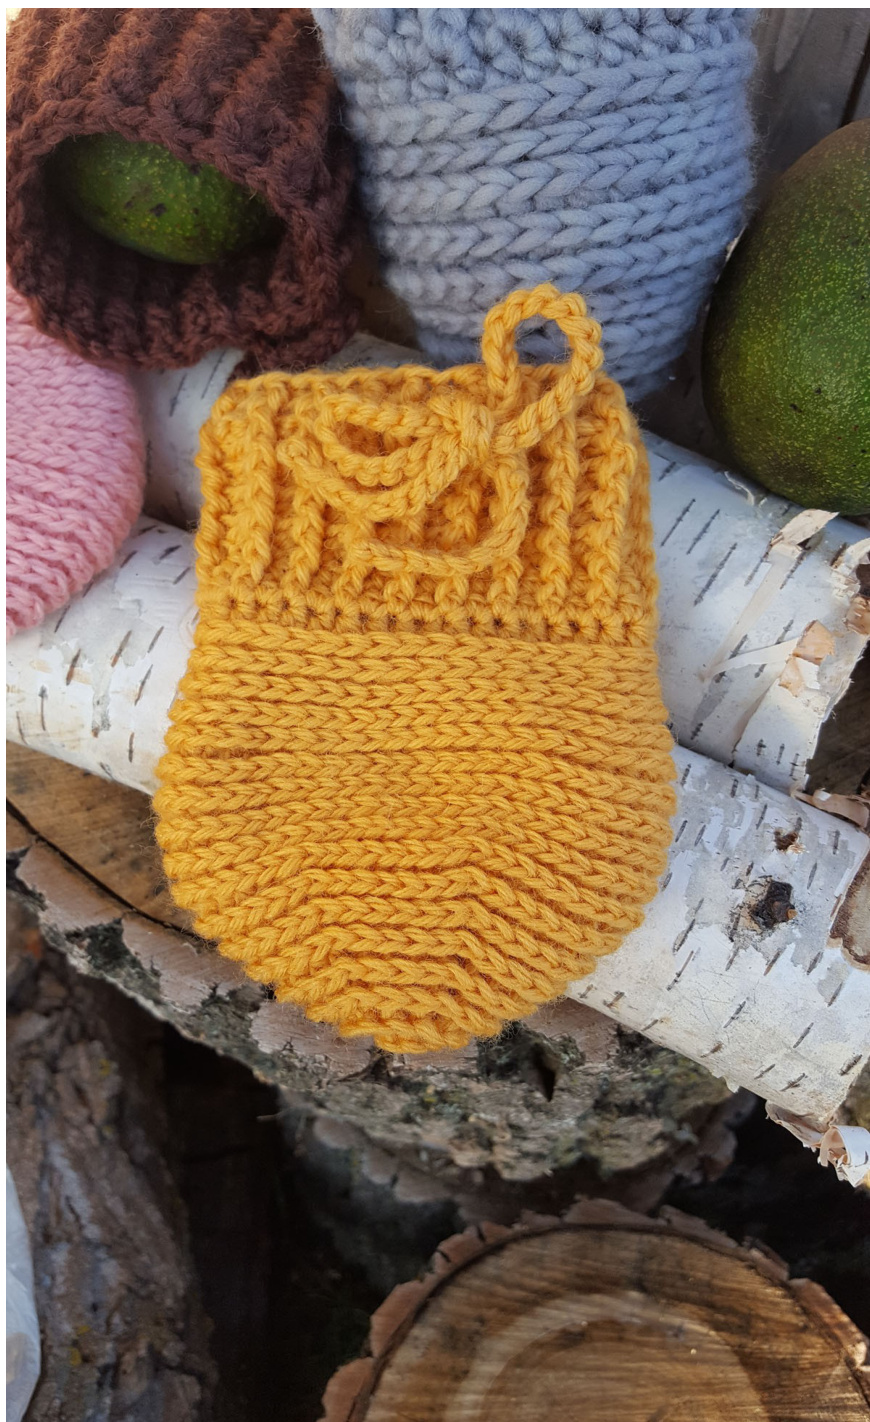
Avocado Ripening Pouch by Ange Rattai Captured in Crochet 2019
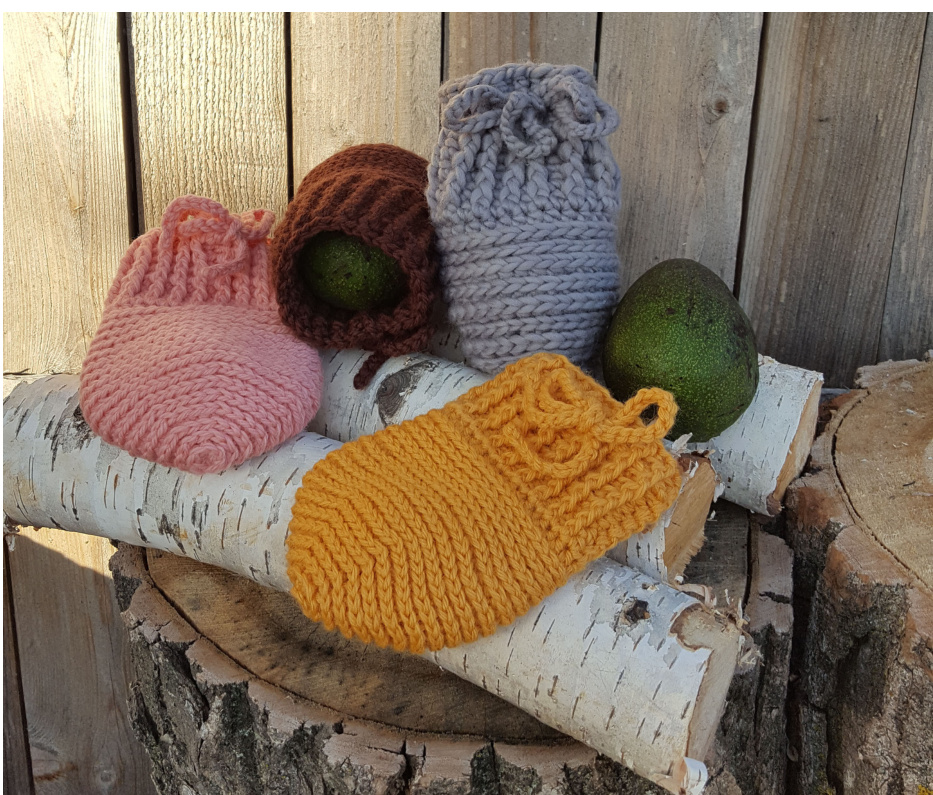
Fun fact - avocados don't ripen on the tree, they must be picked first! I've been using avocado ripening pouches for a couple of years now, and it's perfect for when you buy a big Costco bag of hard green avocados, and would like to ripen a couple ahead of the rest. If you know someone doing the keto diet, you'll know that avocado is a staple food, and these would make a unique little hostess gift or stocking stuffer for any avocado lover. The secret to why they work? The lanolin in 1oo% wool helps keep the ripening hormones in contact with the fruit, speeding up ripening by at least half the time. (l usually have a ripe avocado the morning of the second day in the pouch) I recommend using 1oo% sheep's wool that is as natural as possible, although dyed wool does work, any extra processing will leave the wool with less lanolin, I don't recommend superwash wool, for that reason. Here in Canada our avocados come from Mexico, and I designed it to fit the biggest one I could find at the store. If you're in the States, and buy the giant California avocados, you may need to add a couple of extra rounds to the base circle, and a few more rows before starting the ribbing. The camel stitch and ribbing pattern in the pouch make it very stretchy, so it should hold most common sized avocados with ease.
Stitches and Abbreviations:
hdc - half-double crochet
cs - camel stitch (work into the third loop behind the hdc stitch, after the first round it will be very easy to see and will pop to the top of the stitch.) Not sure what to do? Here's a link to Mikey from the Crochet Crowd with a video tutorial you can watch to understand. https://thecrochetcrowd.com/camel-stitch/ fpdc - front post double crochet bpdc - back post double crochet st - stitch dec - decrease inc - increase
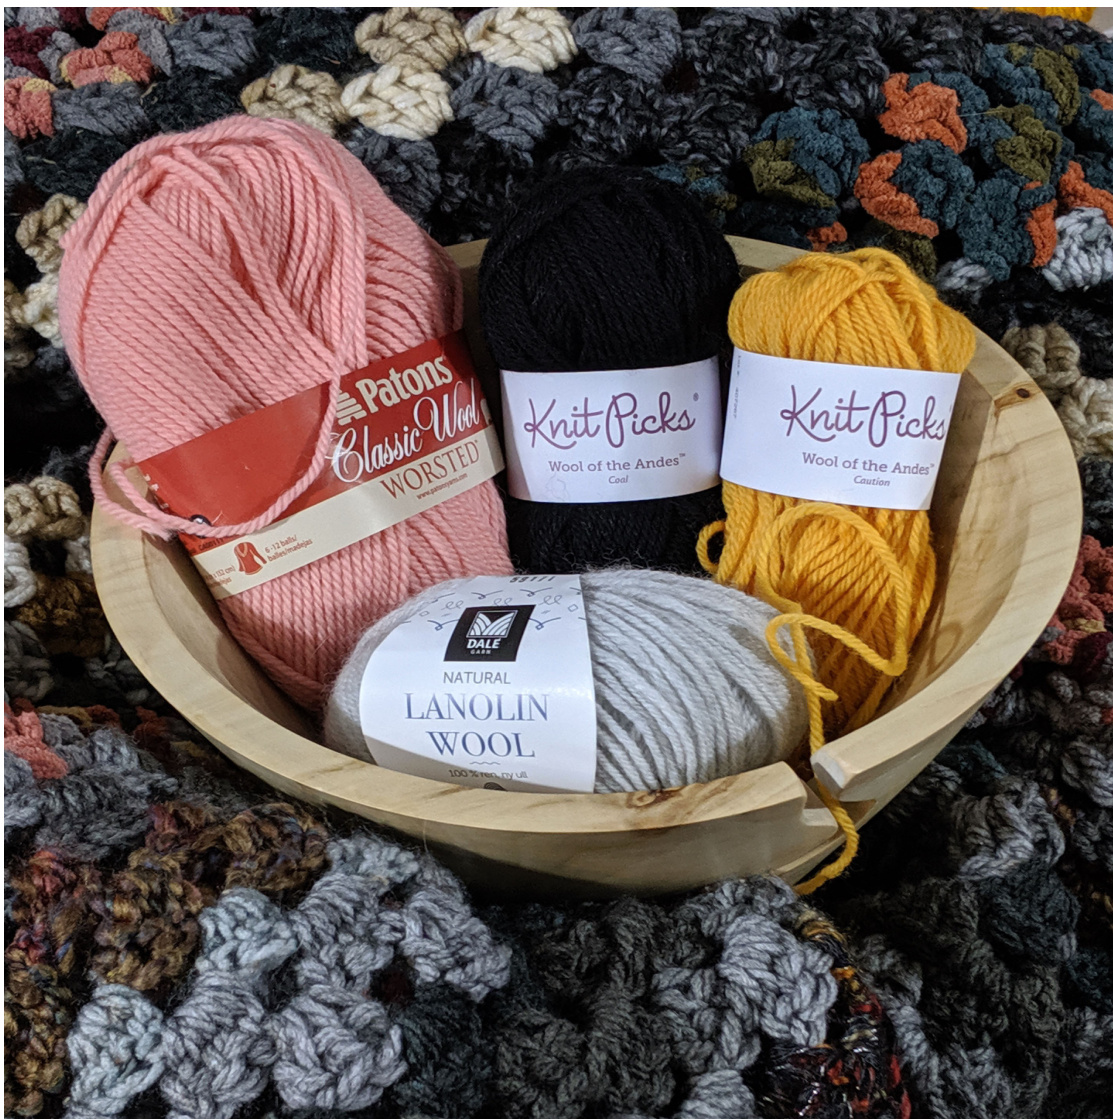
Materials:
100% wool (sheep) (less processed, undyed wool will contain more lanolin, which improves ripening, but any pure wool will work.) Worsted weight wool, F hook (3.75mm)
Pattern:
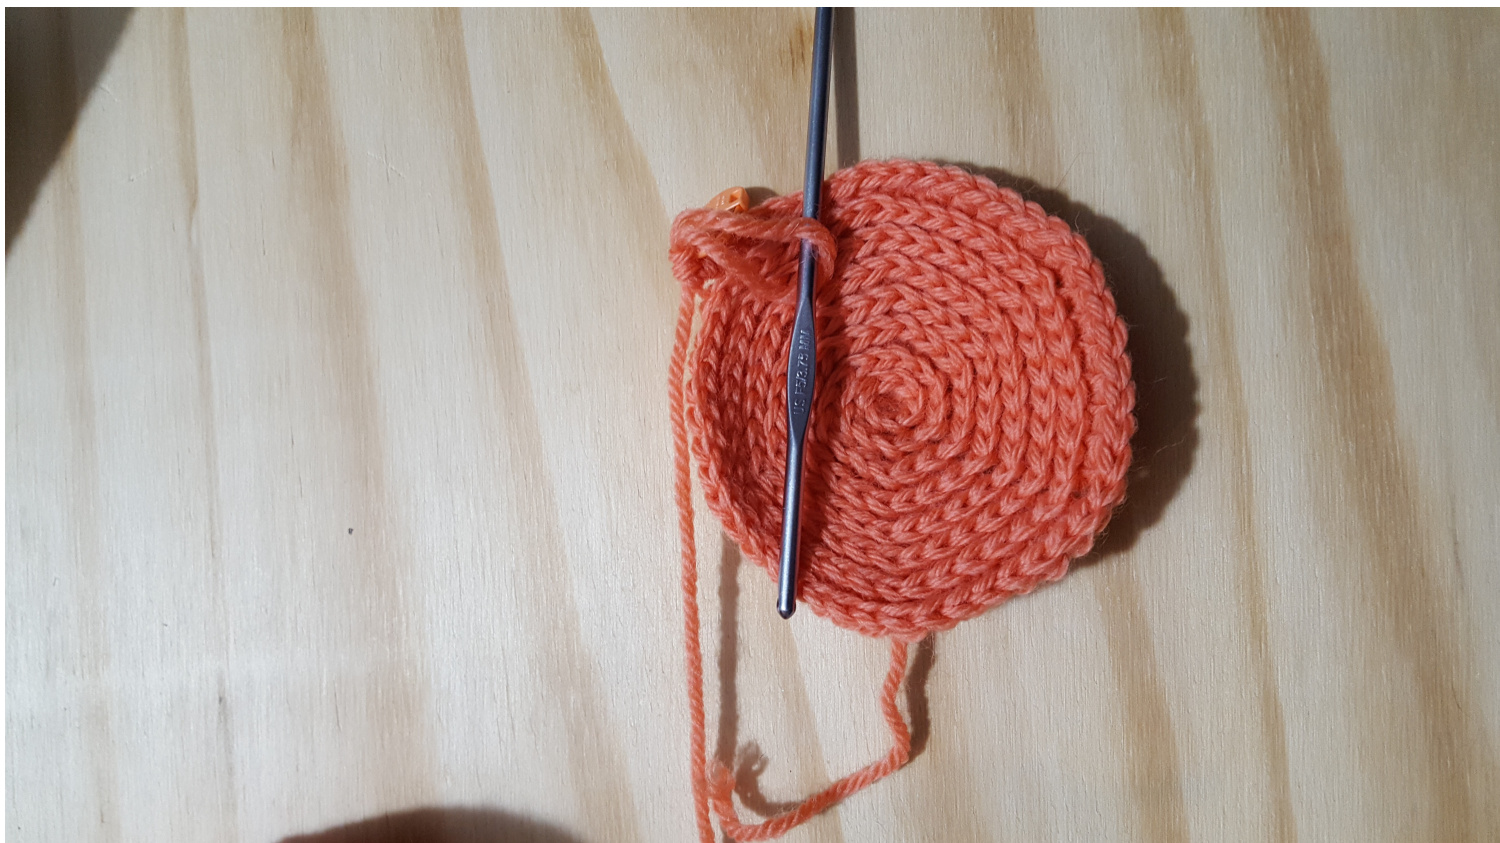
Round 1: In magic ring hdc 6 (or ch 3, and hdc 6 in first ch made) (6) Round 2: beginning camel stitch in each round - cs inc in each st. (12) Round 3: (cs, inc) x6 (18) Round 4: (cs 2, inc) x6 (24) Round 5: (cs 3, inc) x6 (30 Round 6: (cs, 4, inc) x6 (36) Round 7: (cs 5, inc) x6 (42) Round 8: (cs 6, inc) x6 (48) your circle should lay flat like this now - if it is curling up like a deep bowl , you're working your stitches too tightly. A bit of natural curve is ok, the shape of the stitches will make it curve a bit, like a shallow dish.
Round 9-12: cs in each st (48) Round 13: (cs 10, dec) x4 (44) Round 14: cs in each st (44) Round 15: (cs 9, dec) x4 (40) Round 16: (cs 8, dec) x4 (36) Round 17&18: cs in each st (36) Round 19: switching to regular half-double crochet - hdc in each stitch (36) Round 20: fpdc in the first st, regular hdc in the next st, continue alternating fp stitches and regular hdc stitches to the end (36) Round 21: repeat round 20 (36) Round 22: fpdc in fpdc, bpdc in hdc, continue alternating fp and bp stitches around (36) Round 23-26: repeat round 22 Slip stitch to the next stitch, finish off and weave in end.
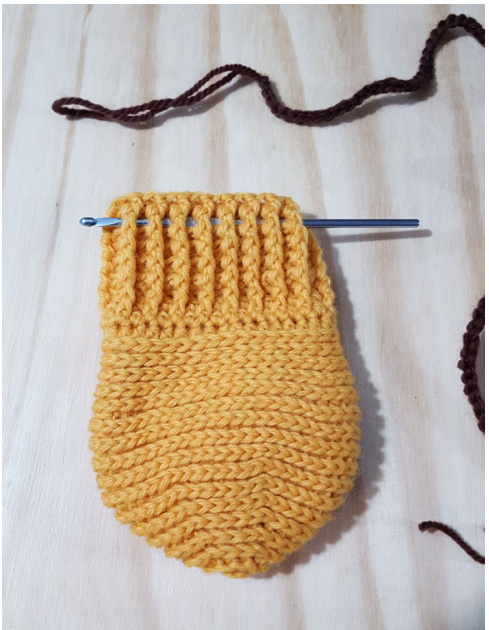
Finishing -
With yarn held double make a tight chain of 18 to 20 inches (45 to 50 cm), cut yarn leaving ends long enough to weave in. Then, in second row from the top behind the front post stitches, thread the string all around the top using a crochet hook. I find it easiest to do half at a time, and to pull the loop end from doubling the yarn. If you had 2 separate strands, you can just tie a tiny knot right at the end for easy pulling, without having to double over the chain and try to work it through the spaces. Once the draw string is in place and pulled evenly, weave in the ends and your project is complete!