Gauge:
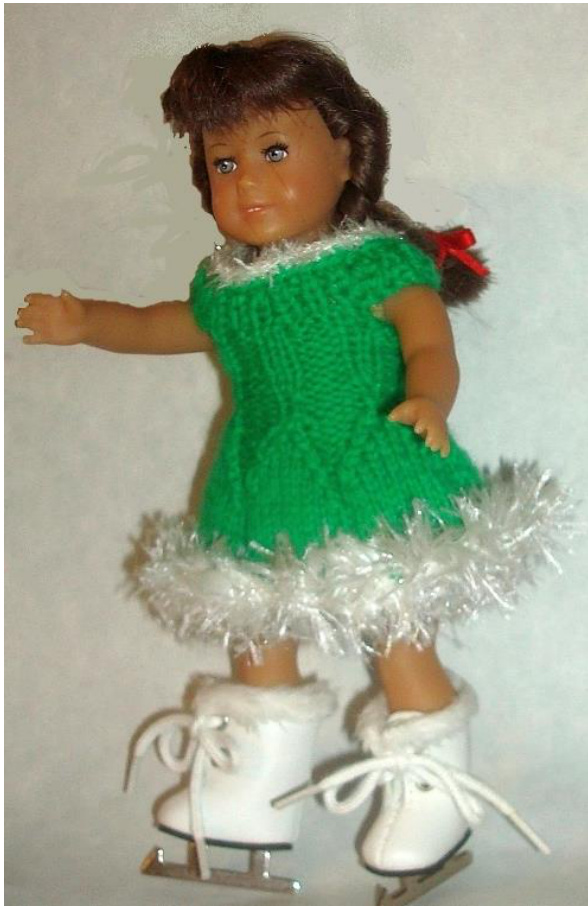
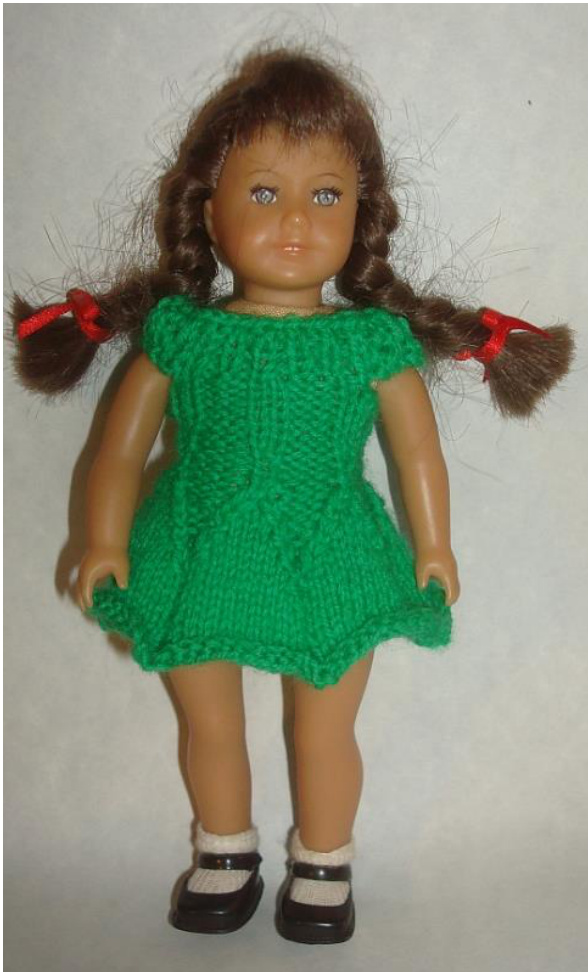
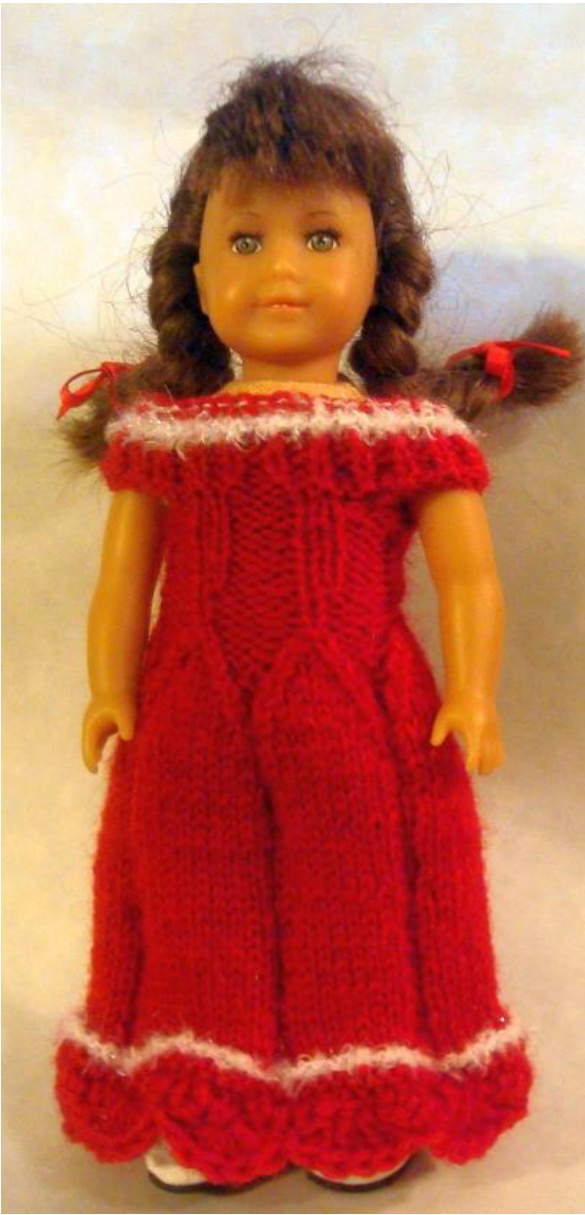
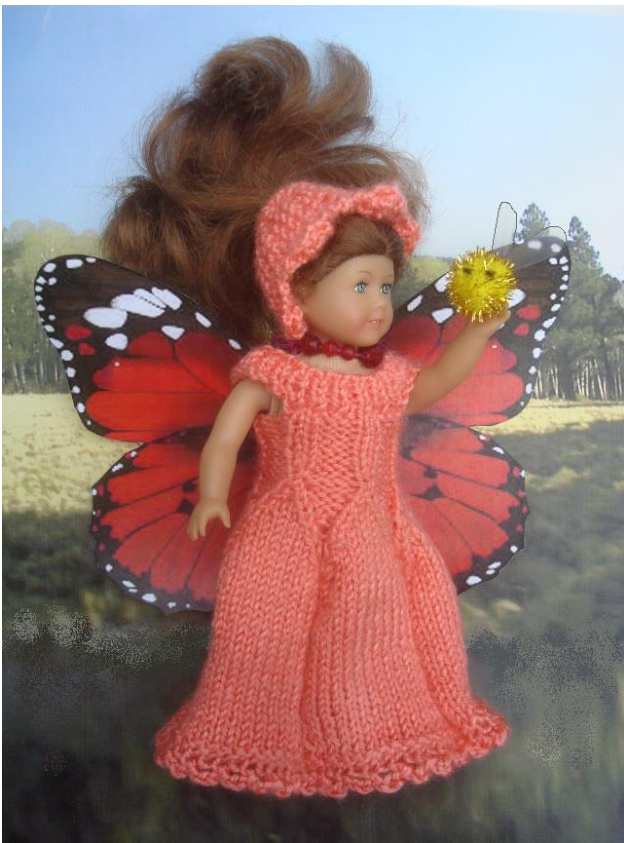
by Hazel Spencer 12/2013 For 6" American Girl Doll. fingering weight yarn, less than a skein
00 needles
Knit bottom up. You can start with 3 rows of garter or seed stitch in your dress yarn or for the skater's version you could cast one with the main yarn then knit with the “fur' yarn for 3rows. Or just go straight into the dress and crochet the fur on later. That's what I did with the green ( k1 at beginning and end is for your seaming and not part of the patterr CO 72 for 6 panels 1. K1\*k12, p2\* K1 2. K1\*k2, p12\* K1 Repeat rows 1 & 2 for 1" from cast on for the skater's version and 2 1" for the full length. This allows for the crocheted shell stitch so if you are not doing that you should knit 2 %2". When adjusting length allow 3/4" from the first decrease to the k1 rib at waist, in lengthening skirt. Begin decreases on the public side. 1. k 1 \* k2togtbl, k10, p2, \* k1
2. k 1 \* k2, p2tog, p9, \* k1
7.. k 1 \* k2togtbl, k4, p1, kf&b\* k1 (you are increasing the front purl section here so it will be 3 stitches after this) 8. k 1 \*k3, p2tog, p3\* k1 9. k 1 \* k2togtbl, k2, p3\* k1 10. k 1 \*k3, p2tog, p3\* k1 11. CO 3 for button band. Work first and last 4 stitches in garter stitch from now on 12. K 4 \* k2tog tbl, p3\* k2tog tbl, k3 13. CO 3 k3, p1 \*k3 p1,\* k3 14. K4, \*k1, p3\* k3 15. K6, p1 \*k3, p1 \* k3. 16. K 4 \*p3, k1\* K3 17. K 6, p1 \* k3, p1\* k3 18. K 3, \*Pick up stitch below and knit it, k1, p3\*, K4 (increased rib row.) 19. (K 3, \*k3, p2\* k3 20. K 5 \* p3, k2, \* p3, k3
21. K 6, p2 \*k3, p2\* k5 Repeat rows 20 & 21 twice then row 20 one more time. On wrong side, work pattern for 8 stitches, BO 1, work pattern for 14 stitches BO1, work 8 in pattern. Turn, knit to BO stitches, CO 10 stitches, continue to next BO and CO 10 stitches, knit to end. Knit one row (wrong side) then work 6 rows k1, p1 rib. Bind Off. OR: you can work 5 rows of the rib and knit one row (right side) in your fur or other decorative yarn if you want, then bind off in the main yarn. You can do the BO row in the fur if you have good eyes but I found it too hard to be sure I was not dropping stitches. Your call. Sew up back seam. Weave in ends and sew on snaps.. Crochet edging for Camillia: Working from the wrong side, work a single crochet around. (Abbreviations: dc = double crochet, sc = single crochet) Work edging on right side as follows: Chain 3, 2 dc in first sc, \* skip 3 sc, slip in next sc, skip 3 sc, 5 dc in next sc; repeat from , ending with 3 dc in last sc. I'm not sure if this works out evenly as I am writing these instructions after the fact so if your numbers aren't coming out exact, it's easy enough to skip an extra or work one short. Be Creative. There are many ways to work a shell edging and if you google "crochet shell edging" you can come up with some pretty ones that will work very well.


