
Rosalie's Scarflette
CrochetbyCarr@gmail.com
www.Facebook.com/CrochetbyCarr
The written pattern and photos may not be copied, shared, or sold in full or in part. The finished product is yours to do with as you wish, including personal use, gifting, charity, and non-commercial sale. If you are selling online, I'd love it if you would share a link to my Website.
Pattern Notes
Materials:
Gauge:
Sport Weight Yarn (Fine 2) - 200 yards E Hook - 3.50 mm Sewing Needle 16 hdc x 12 rows = 4 inches square
Pattern Notes:
\* Stitch Counts are included at the end of each round. \* This pattern could be worked in a variety of yarn weights to make scarves suitable for each season.
Abbreviations:
SI St SlipStitch Ch Chain Hdc Half DoubleCrochet Dc DoubleCrochet Tr TrebleCrochet Note: When a number precedes a stitch abbreviation, you will put that number of stitches into the same stitch. For example "2hdc" means put 2 hdc in the same stitch.
Special Stitches:
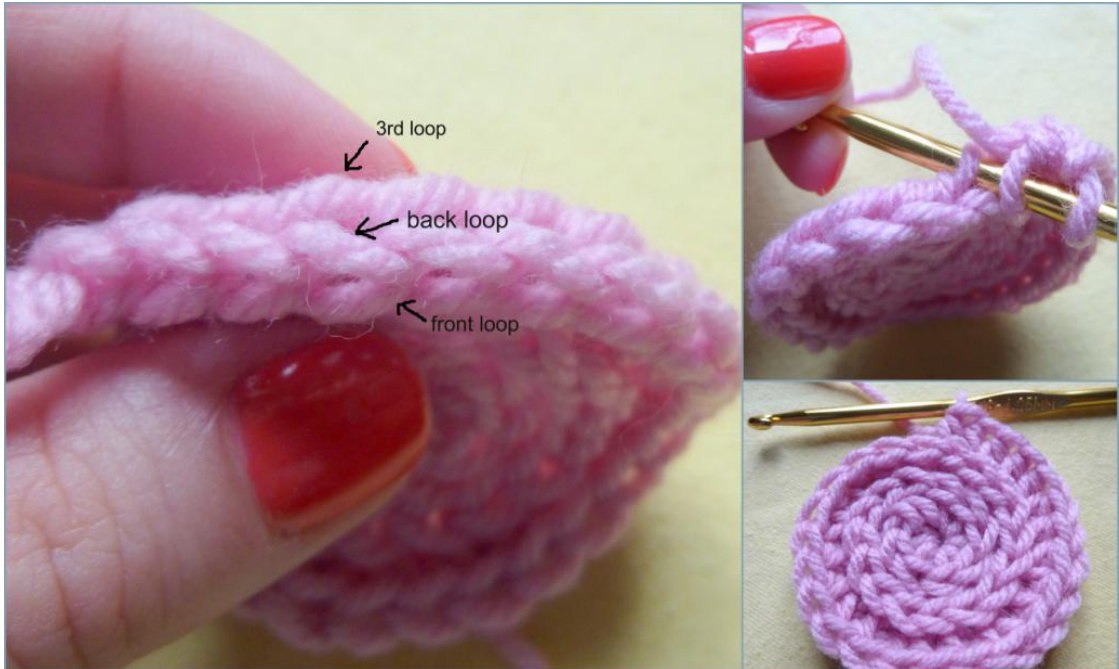
Hdc in 3rd loop Hdc in the 3'd loop of the previous round. The 3'd loop is located behind the back loop as pictured below.
Scarflette
Leave a 12 inch tail at the beginning to attach flower later. Ch 9. 1. Hdc in 2nd ch from hook, hdc 7, turn. (8) 2-12. Ch 1, hdc across, turn. (8) 13. Ch 1, (sc, ch 3) 7 times, sc, turn. (7 ch spaces) 14. (Ch 5, sc in next ch space, Ch 5, sc in same ch space) 7 times, turn. (14 chspaces) 15. (Ch 7, sc in next ch space) 13 times, ch 3, tr in last ch space, turn. (14 chspaces) 16. Ch 1, sc in first ch space, (Ch 7, sc in next ch space) 13 times, turn. (13 chspaces) 17. (Ch 7, sc in next ch space) 13 times, ch 3, tr in sc, turn. (14 ch spaces) 18 -57. Repeat rows 16 & 17. 58. Ch 4 (counts as 1st dc & ch 1), dc in 1st ch space, ch 1, [dc in sc, ch 1, (dc, ch 1) 3 times in next ch space] 12 times, dc in sc, ch 1, dc in last ch space, ch 1, dc in 4th ch of last ch space, fasten off. (53 dc)
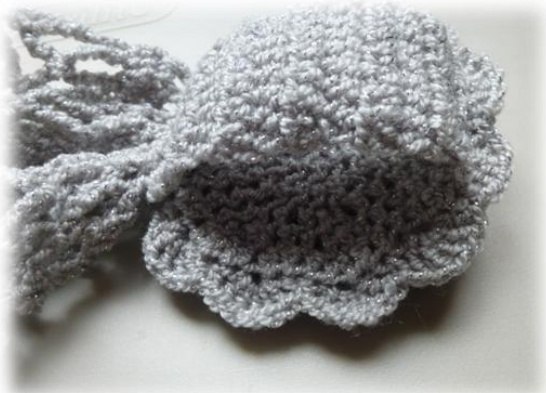
Rose
rose is worked in a continuous round. Do not join rounds 1. In a magic ring, hdc 8. (8) 2. 2hdc around in the 3rd loop. (16) 3. (hdc, 2hdc) around in the 3rd loop. (24) 4. (hdc 2, 2hdc) around in the 3rd loop. (32) 5. (hdc 3, 2hdc) around in the 3rd loop. (40) 6. (hdc 4, 2hdc) around in the 3rd loop. (48) Sc in 3rd loop of the next 3 stitches, sl st in the 3"d loop of the next stitch, turn. You will now create the petals of the flower working through both the front and back loop in a spiral toward the center of the flower: Ch 1, skip sl stitch, (sc, skip a stitch, 5dc, skip a stitch) in a spiral until you reach the center of the flower. Sc in last open stitch. (41 petals) Fasten off leaving a long tail. See Page 5 for finishing instructions. Weave in all remaining ends after attaching rose to scarflette.
Finishing
Pull the tail at the center of the flower to the back side.
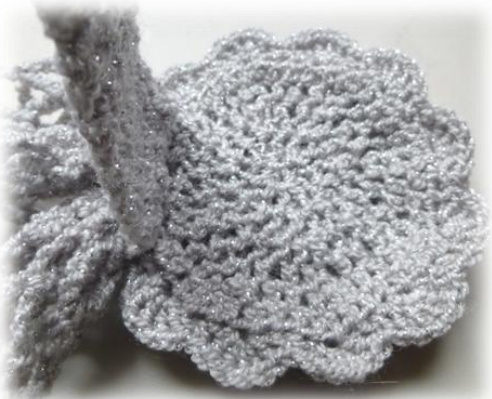
Using a sewing needle, weave thread through to the 6th round of the rose.
Use the thread attached to the flower to sew the 12th row of the scarflette to the 6th round of the rose. Weave in end securely. Use the thread attached to the scarflette to attach the 1st row of the scarflette to the 6th round of the rose. Weave in end securely.
Blocking
If you are using a natural fiber you will block as normal by washing, shaping on a flat surface and allowing to dry. The blocking process is not permanent and should be repeated each time the item is washed. However, to block acrylic fibers, you have to steam block. Steam blocking will permanently alter the fibers, therefore you only need to block an acrylic item once. The instructions below are to steam block.
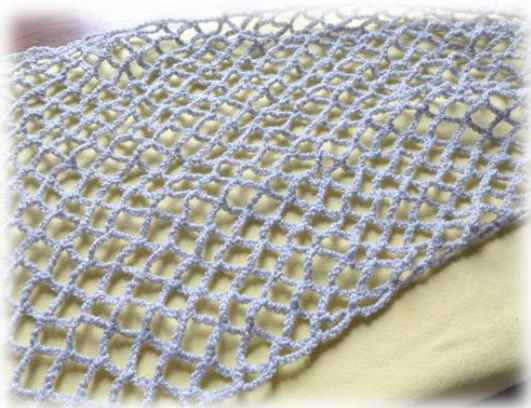
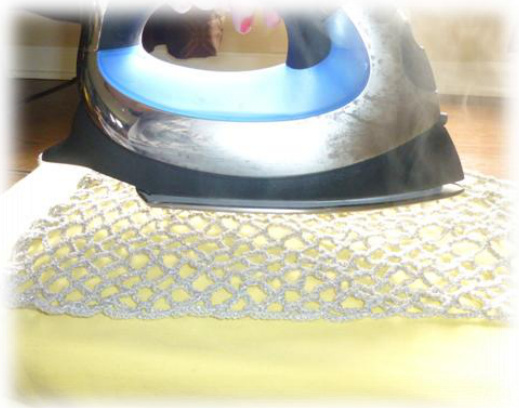
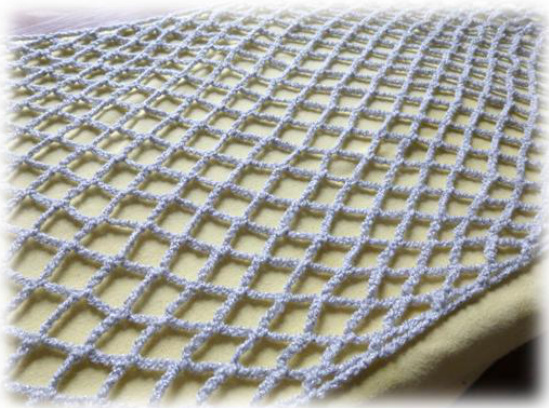
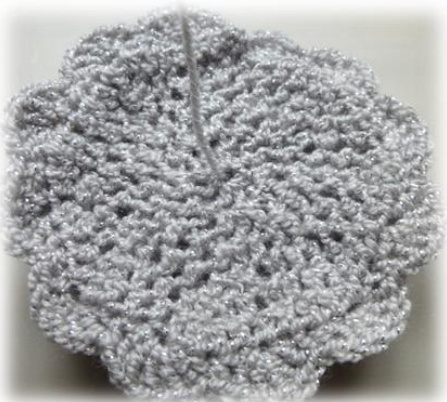
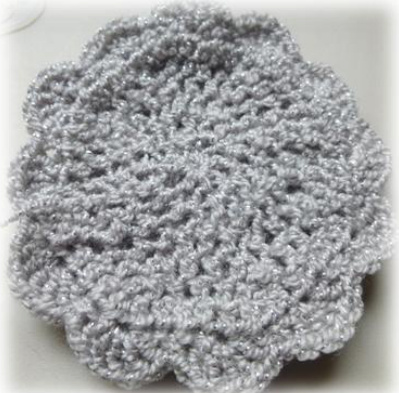
This is before blocking you can see the lace pattern is a little crumbled and the scarf is quite small. Use a steamer or the steam button on your iron. DO NOT touch the iron to the acrylic yarn - It will melt! Shape your scarflette, spreading out the lace pattern. Hover about 2 inches about the scarflette and push your steam button repeatedly while passing over the fabric. After steam blocking, you will notice your lace pattern lays nicer and is more visible, your scarflette is larger, and your yarn is softer. Now you can wash it as directed on your yarn label as needed. You will never need to reblock.


