Rosalie
I am a Twilight fan. If you do not share this affinity just pretend you have no idea this hat is at all related to Twilight and enjoy knitting an asterisk 6eret. Go ahead and skip the next picture and paragraph to avoid talk of things sparkly and melancholy.
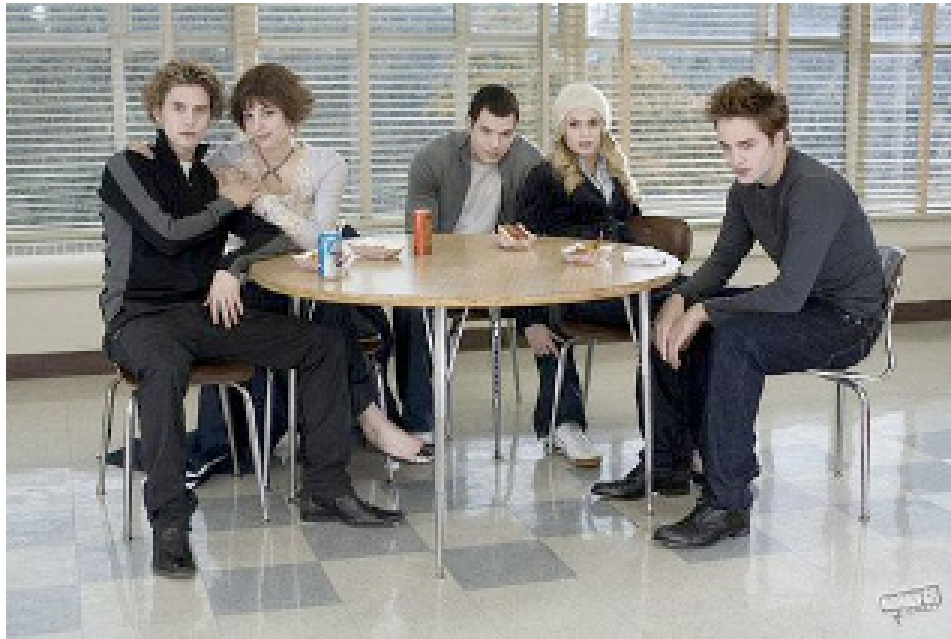
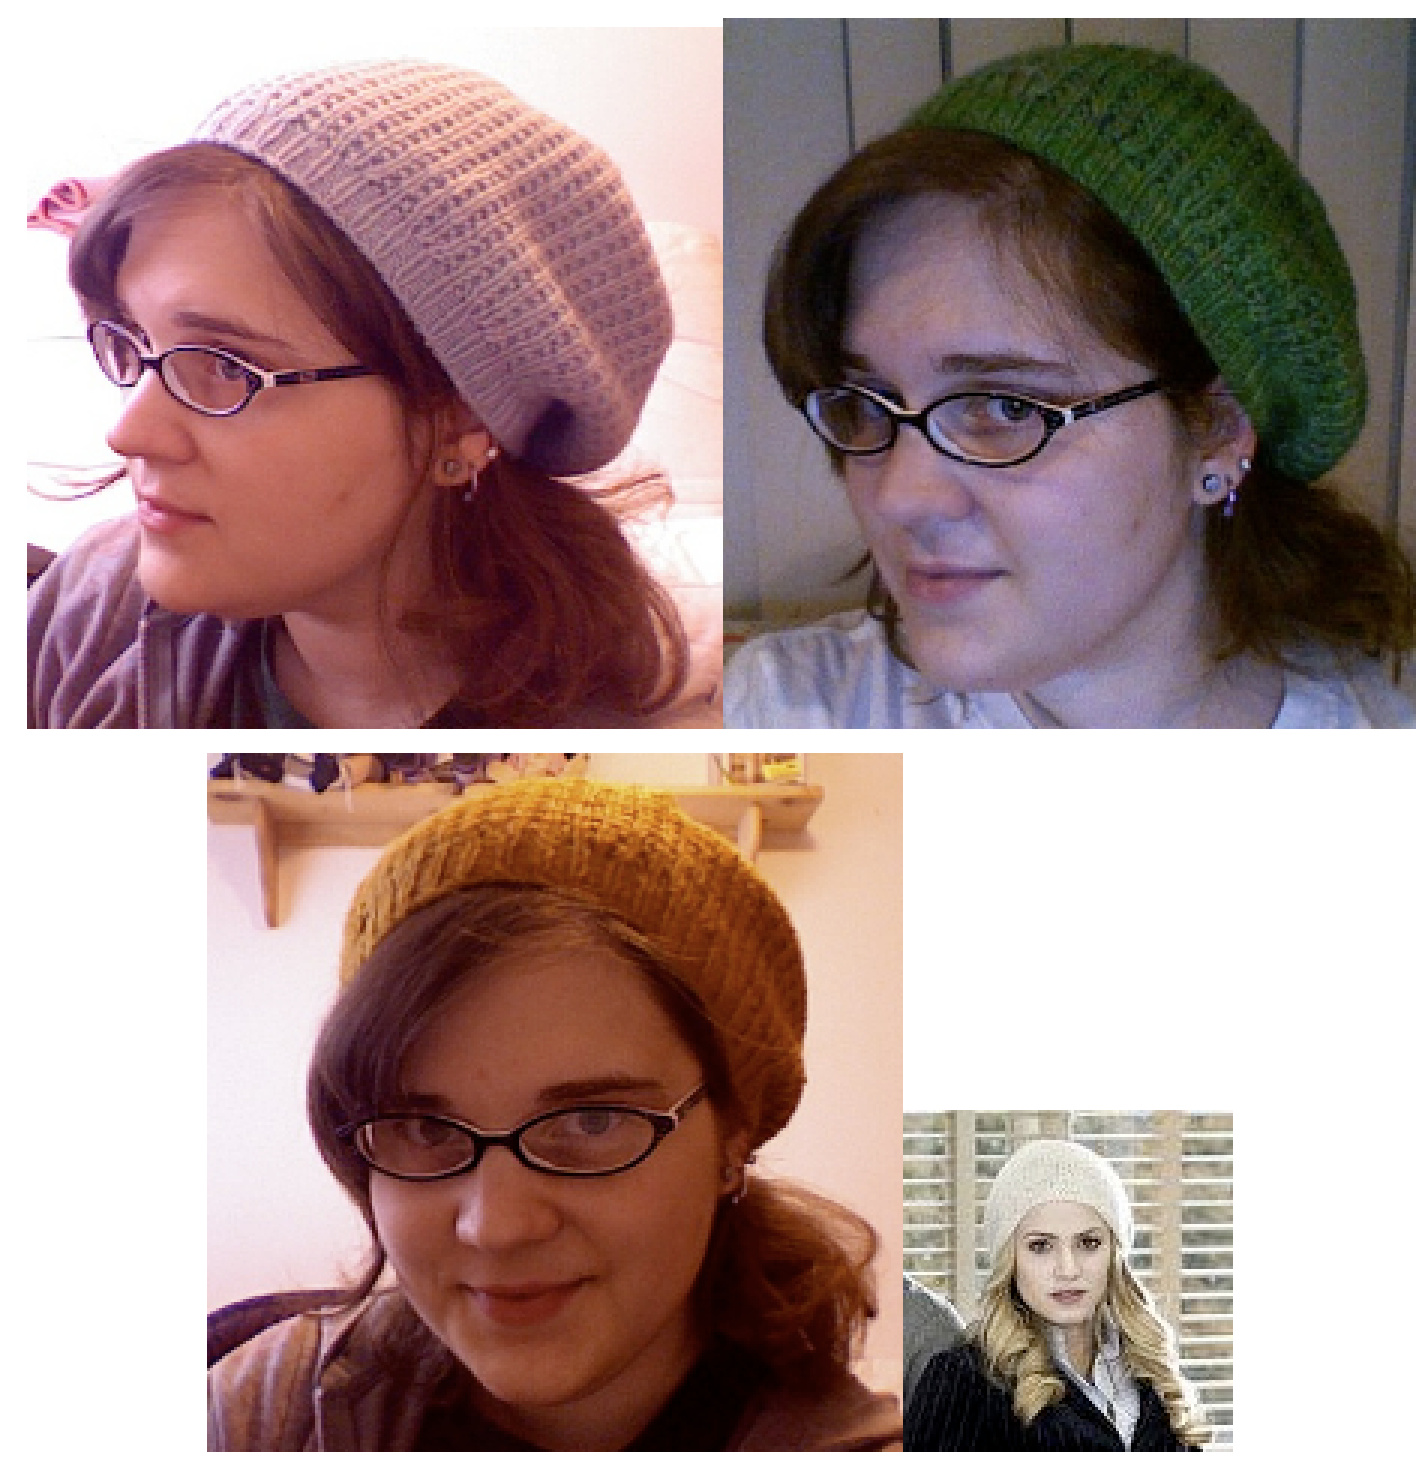
When I got up the courage to admit my fandom and look up Twilight knits I was not surprised to see Bella-centric projects prevailed, peppering the internet. I. Hate. Bella. I started my own Twilight knitting journey 6y recreating Edward's peacoat from the movie. (in seed stitch because I wanted to recreate his tortured, sexless soul as well) After that project (nightmarel) I didn't fee like making any big projects for quite a while and I went on a hat kick As I was finishing Twilight: Breaking Dawn I started thinking about how much I really prefer Rosalie to Bea. (So much! Edward! You moron!) I remembered seeing a photograph in one of the Iwilight forums on “Ravelry" where Rosalie Was wearing a cute, slouchy hat. Slouchy hats are my weapon of choice so I set out to recreate that hat. The original is an off white colour. I don't wear off white much and I certainly don't knit with it! I decided to dye some yarn in a Culenesque colour instead. I think Rosalie would approve. Actually, I think my “Ice" hat goes better with her outfit! All went well until I tried it on and realized that I do not look good in hats worn that low on the forehead! I have bangs and I wear glasses..it just did not suit me. I pushed it back to my normal hat position and fellin love. It was everything I wanted and stil reminiscent of Rosalie's hat. I enjoy the super slouchy hat look but if you don't I've included instructions and examples as to how to create various degrees of slouch.
Materials: size #5 (ribbing) and #8 (body) double pointed or circular needles 200 yards worsted weight wool (see dying tutorial to make the “Ice" colour) stitch maker and finishing supplies as needed Gauge: approximately 5 stitches per inch, 6locked on size 8 needles in pattern stitch...but really don't sweat it! I had 19 stitches over 4 inches when I made my stockinette swatch just to see how I liked that needle size.
A6breviations:
dd: double decrease, slip 2 stitches knitwise onto left needle. Knit the next stitch from the right needle onto the left and pass both slipped stitches over it at once. (forms a centered decrease with the middle stitch of the 3 stitches ending up on 'top' of the other two) If your stitch marker falls within the decrease stitches remove it, decrease, and replace it after the decrease. kfb: knit into 6oth the front and 6ackleg of the stitch making 1 new stitch \*\*: knit the stitches between the \* \*across the remainder of the row Pattern: band: - with size #5 needles cast on 96 stitches (if increasing or decreasing pattern size use a multiple of 6) - join, place marker, and knit in $\mathcal{k}1,\,p1,$ rib6ing for 8 rows -switch to size #8 needles, \*k4, kf6, kf6\* (128 stitches at end of row or a multiple of 8) body: -\*k1, p1\* for one row. knit next row. -repeat these 2 rows a total of 20 times or 5" for a hat worn low ora very slouchy hat (ice) 18 times or 4.5" for a medium slouchy hat (green) or 16 times or 4" for a slightly slouchy hat (gold)
decreases:
-if you have cast on the appropriate # of stitches you wil have 8 decrease rows. If you have more or less stitches than called for remember to keep knit columns and seed stitch columns aligned! -between all decrease rows knit 1 row except 6etween rows #7 (14 total rows from body to top of hat) -decrease row #1: \*[k1, p1]x6, k1, d\* (don't forget the next row is a Rnit row!) -decrease row #2: slip 1, \*Ip1, k1]x5, dd\* decrease row #3: slip 1, \*[k1, p1]x4, dd# decrease row #4: slip 1, \*Ip1, k1]x3, d\* decrease row #5: slip 1, \*[k1, p1]x2, dd\* decrease row #6, slip 1, \*p1, k1, p1, dd\* decrease row #7: slip 1, \*k1, d\* (do not do a knit row between row #7 #8!1) decrease row #8: \*dd, p\* (8 stitches remain)
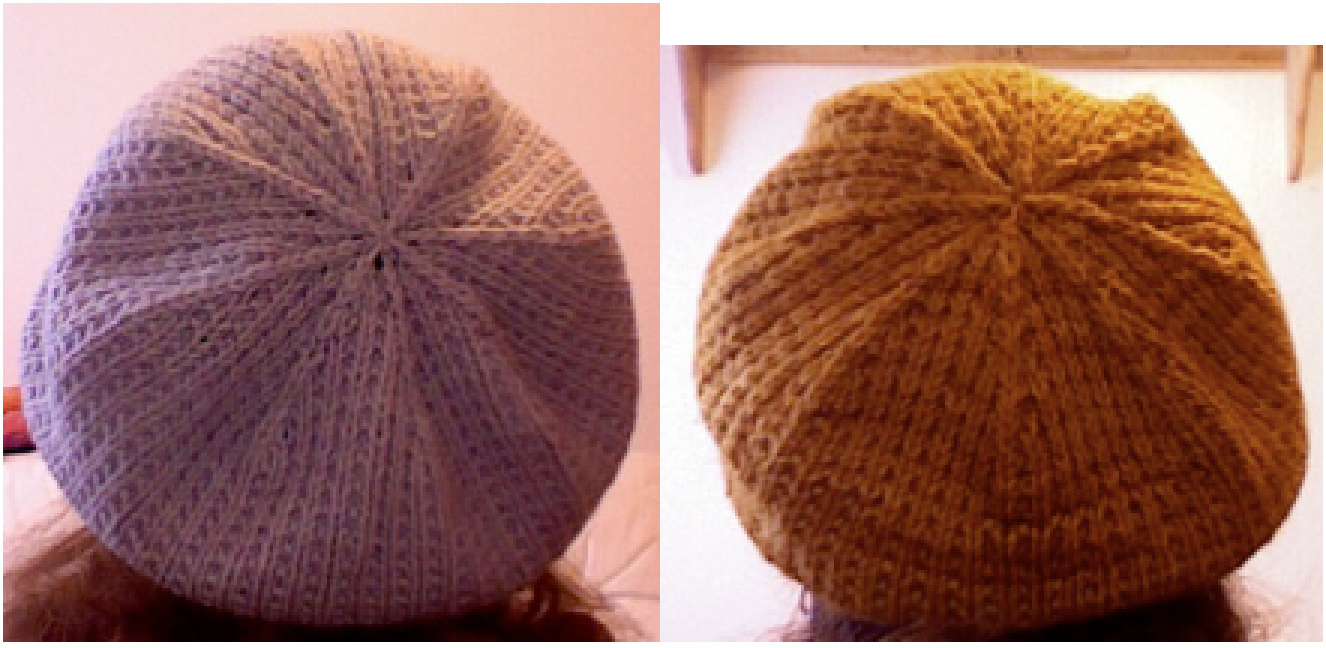
-cut working yarn long enough to run through working stitches 2x pull tightly and tie off -To be quite honest I block things with my iron set on the steam setting and with very light pressure. To do this lay the hat flat so that the band is folded underneath the top and the decreases form an asterisk pattern. Flatten decrease ridges and gently stretch the body to open up the stitch pattern by moving in a circular motion from the center out but NEVER along the folded edge! Then shake your hat vigorously, while still warm, to shake out any creasing. I should mention that the proper way to do this is to wet your hat and stretch/pin it out flat and/or over a large plate. That's the 'correct' way to 6block but I do not have the patience for that. I am a vegetarian rebel! Dying yarn can be one of two things. A scary process involving acids which might burn your skin off and killall your dogs (I am paranoid and convinced anything with acid will result in having a kiss mark on my hand ala Fight Club) or it can be fun, easy, and relatively simple to clean up. This process is the latter. I worked on my stove top because I have a brand new microwave I don't want to be purple and blue inside. I see no reason why you couldn't do this in a large microwave safe dish but I haven't tried it that way. I'd say you'l probably need about 3 2min intervals of heating your yarm on high but I have no idea if the colour you would get would be similar. My guess is you would need to use less dye. Materials one skein of Patons Classic Merino or other white/natural coloured wool hanked and loosely tied around 4 points. Wilton's cake dye in colour “Delphinium' white vinegar Water large pot smaller pot or kettle soaking bucket (sink, whatever you normally use for handwashables) tongs or spoons to lift/swirl yarn chopstick for dye stovetop Steps 1. Fillyour small pot or kettle with water and start bringing it up to the 6oil. 2. Fill the large pot full enough to cover your yarn with cold water. Remember about how high you needed to fill your pot. Gently submerge and squeeze your yarn in the water until it is saturated or until you don't see many bub6les popping out when you squeeze. Do this very gently...or else your yarn will begin to felt! 3. Remove yarn from the cold water and gently squeeze out excess water unti i is damp but not sopping wet or dripping a lot. 4. Add enough white vinegar to the pot so that you are at approximately half the level you were at in step #2. You want close to a fifty-fifty ratio of vinegar to water when you start to dye. 5. When your hot water comes to a boil add it to the vinegar until it reaches approximately the same level you were at in step #2. 6. Take your chopstickand quickly dip it into the Wilton's Dye approximately one inch. Put the tip of your chopstick in the water/vinegar mixture and swirl it around until it is clean. Repeat this process twice. Try not to get very large clumps of gel on your chopstick If this does happen scrape it on the side of your jar and dip it in again. 7. Gently submerge your hankof yarn again in the dye water and turn on your stove. Stir the yarn gently and rotate the hank on it's Yaxis to ensure that the dye catches evenly and so that one section of the yarn does not rest on the bottom of the pot too long. Heat your yarn/water/vinegar/dye mixture until it returns to a boil or approximately 15 minutes. Delphinium colour is made up of two colours, blue and lavender ,and willseparate into these two colours all on it's own creating a variegated yarn. The colour “catches" in the yarn fairly quickly because you are not using a large amount of dye. The finished project will not darken much throughout the process. If you thinkyour yarn is not dark enough lift it from the water and quickly add another chopstick's worth of dye. The rule of thum6 for dying is that your yarn is done when the water becomes a white milky colour and no dye remains in your pot..however..in this case, because so little dye is used, you are going to be steaming your yarn beyond this point to assure saturation. 8. Remove your yarn and let it sit for 5 minutes to cool. Don't worr...no matter how gentle you stirred you're going to have a bit of a yarn barf. looking 6lob. So long as you remembered to tie it in four places it will 6e fairly easy to untwist. Do not attempt to untangle it until after step 9 or else you're just going to be doing it twice. 9. Run your yarn under cool-tepid water and gently squeeze it to remove any excess dye. Soak the yarn for 20 minutes in a wool wash.I prefer Kookaburra woolwash and a smidge of tea tree oil. If you don't have woolwash use a drop of shampoo and a drop of conditioner. 10. Hang your skein to dry for approximately 3 days or until completly dry. It may take less than three days but I am a little paranoid about mold so I try to hang mine and forget about it for a few days just to 6e on the safe side.


