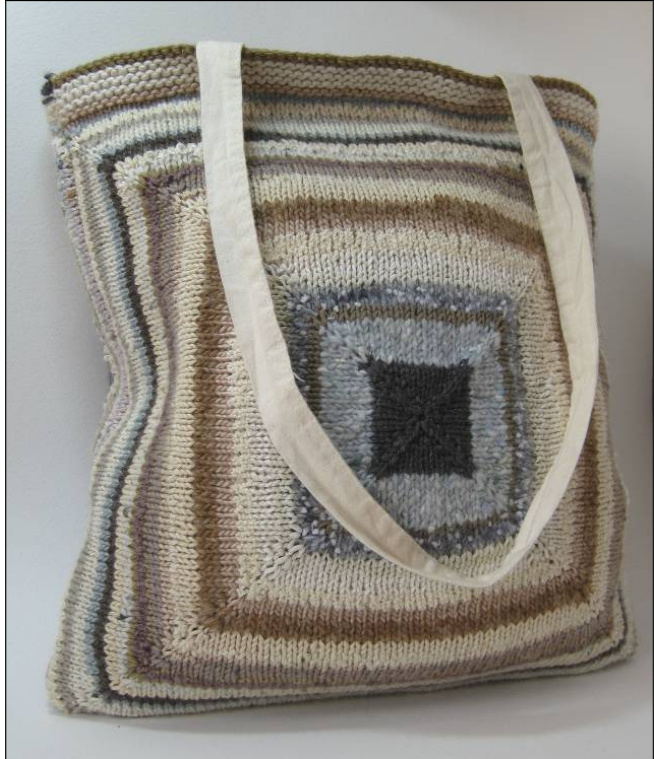
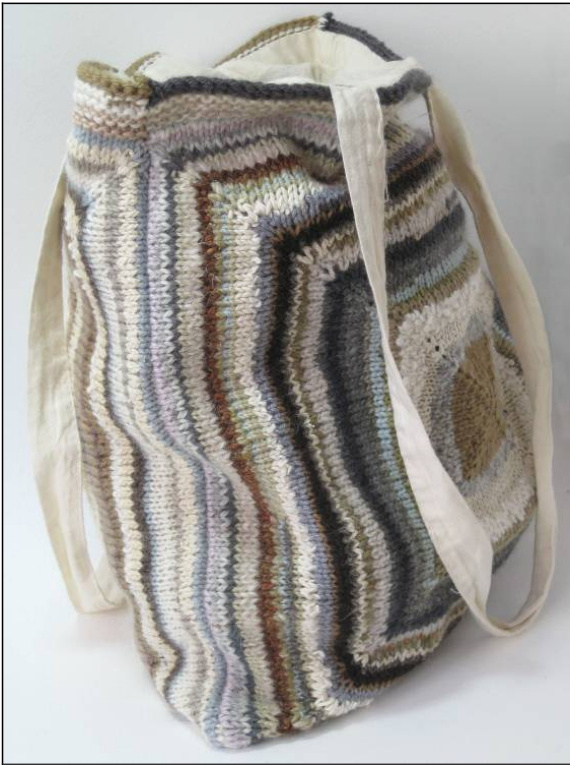
SELF COVER TOTE BAG\*
worked in a square to cover any size calico tote bag 米 this pattern can be worked iu ANY YARN INFORMATioN - please read through the information and pattern before starting to knit Yarn: Use any thickness of yarn from 4 ply to super-chunky, any fibre. Variegated, multi-coloured, hand painted or magic ball yarns will emphasise the different directions of knitting.
Magic ball yarns are made up of all the part balls in your stash. Simply pull out three arms lengths from the first yarn, then four from the second and knot them together. Carry on in the same way with your other yarns, pulling out a different length each time and winding into a ball. Try to use the same thickness of yarn; use several strands of thin yarn to make a thick one. You can make a ball up of similar colours or put all your colours together. Yarn amounts: Look on the ball band for the length of yarn (metres/yards) contained in one ball. These yarn amounts are intended as a guide only; you may use more or less depending on your knitting tension, type of yarn, and the size of the canvas bag to be covered. If in doubt, add an extra ball or skein. Needles: a set of five double-pointed needles and a circular needle in a size suitable for your yarn (see table below). 3: approximately 35 x 38cm (14 x 15 in) but any size bag can be covered in the same wa
| YarnThickness | NeedleSizetouse | EstimatedYarnAmounts for a 35cm x 38cm(14x 15in) calico bag |
| 4ply | 3.25mm (UK10) | 550m (600yds) |
| DK | 4mm (UK8) | 400m (436yds) |
| Aran | 4.5mm (UK7) | 325m (354yds) |
| Chunky | 6.5mm (UK3) | 250m (272yds) |
| Super chunky | 8mm (UkO) + (check ball band) | 200m (218yds) |
Abbreviations
cm - centimetre, in - inch(es), k - knit, m - metres, mm - millimetre, p - purl.
Techniques
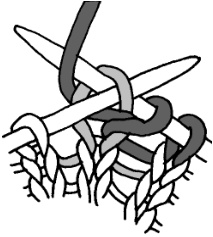
knit into the front and back of a stitch - knit into the front of the stitch as normal, do not slip the stitch off the needle but insert the right hand needle from right to left through the back loop and knit into it again.
Ready-Made Bag
Lie the bag flat and measure the width and length. This cover is made from two squares knitted from the centre outwards until they are the same width as the ready-made bag. Extra rows are added on one side to make the squares into rectangles to fit the shape of the ready-made bag.
START KNITTING HERE
Cast on 8 sts onto one needle. Knit 1 row. Divide the sts equally onto four needles by slipping 2 sts on to each needle. Knit 1 round. Increase Round Knit into the front and back of each st. (4 sts on each needle) Knit 1 round. Increase Round (Knit into front and back of first st, k2, knit into front and back of last st) on each needle. (6 sts on each needle) Knit 1 round. Increase Round (Knit into front and back of first st, k4, knit into front and back of last st) on each needle. (8 sts on each needle) Knit 1 round. Increase Round (Knit into front and back of first st, knit to last st, knit into front and back of last st) on each needle. Continue as set, working one plain knit round and then one increase round until the square is the same width as the ready-made bag. Move on to a circular needle when there are enough stitches. When you do this, keep the increases in the correct position by placing a marker at the beginning of each side of the square; use a different colour to mark the beginning of the round. Finish with a knit round. If the ready-made bag is square, cast off all sts loosely and proceed to FINISHING. If the ready-made bag is a rectangle, cast off all sts on three sides then knit across the sts of the fourth side. Continue in stocking stitch (1 row k, 1 row p), starting with a p row until the rectangle is 2cm (1in) less than the length of the ready-made bag. Work 2cm (1in) in garter stitch (k every row). Cast off loosely.

FINISHING
Block and press the knitted pieces. Sew the two pieces together. Slip the ready-made bag into the knitted cover. Slip stitch together around the top edge.
www.clairecrompton.co.uk - patterns, books and workshops Pattern queries: clairecrompton100@yahoo.co.uk
viillell isul uctiuls, plutugi aplly, ue>igil allu pateill tayuut Ltalle Liuliptull Lu11 No part of this leaflet may be reproduced or used in any form without written permission of Claire Crompton. The design is copyrighted and must not be knitted for re-sale. The leaflet is copyrighted and must not be reproduced for re-sale.


