Wool On WheelsSweater By sharonYarnell
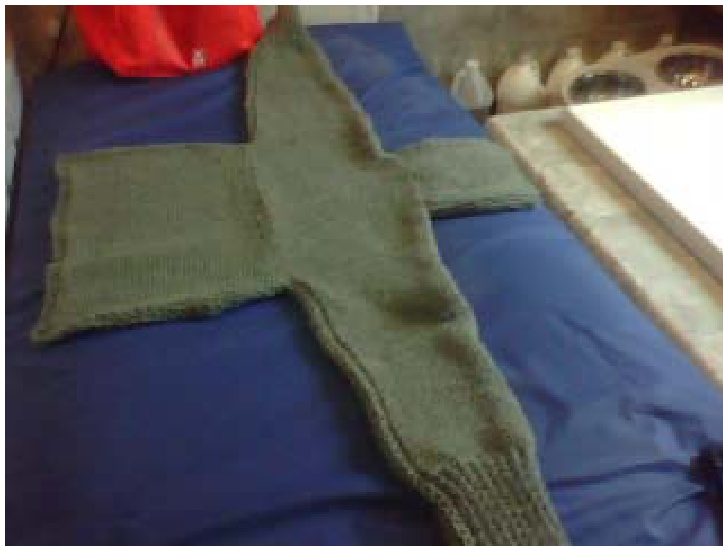
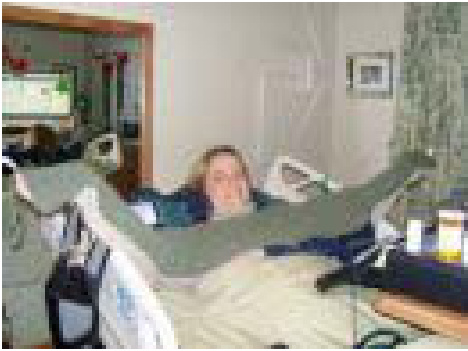
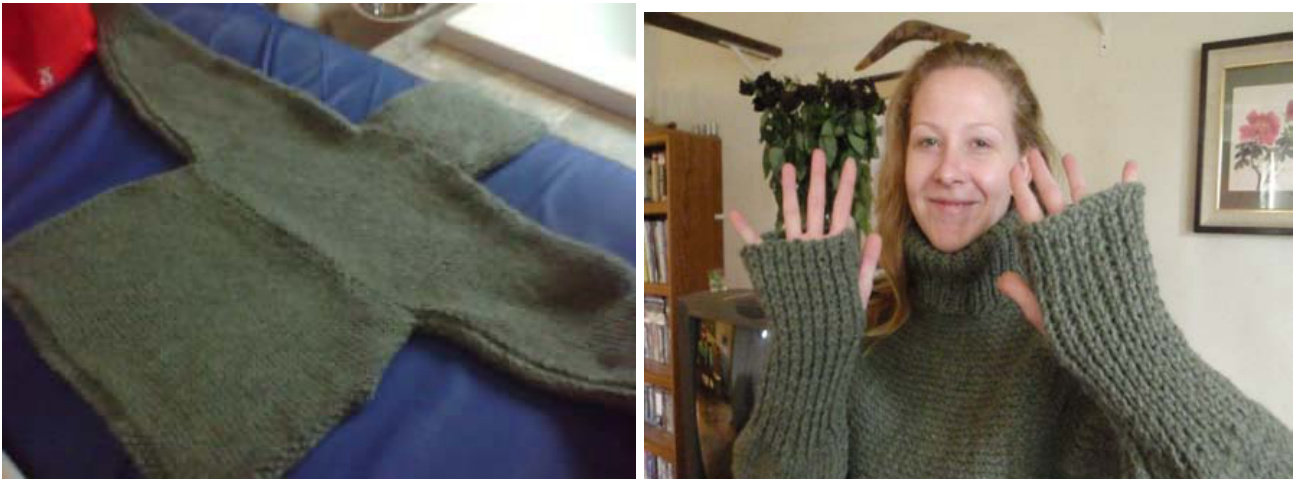
The lady I designedthisfor is ina wheelchair with limited use of her arms, so she uses thumbholes in her clothing to- help keep her sleeves down. However, this can easily be made without the thumbholes-youjust stitch up the entire seam instead of leaving a gap for thumbholes. what really makes this sweater special, though, is that it has very little back so-that it doesn't bunch up behind the seated wearer. The back consists of just the section of yoke identicalto-the front-there is nothing in the back from about chest-level down. It's not fancy, but is very warmandhasahighribbedturtleneck.
Directions are for the size XL with L and M in parentheses. Materials: Lion Brand Wool-Ease Chunky, approximately 6 (6,5) skeins. Gauge: 3 st per inch in stockinet stitch, approx. $16\,\mathrm{rows}=4$ in. Needles: I used size $10\ 29^{\circ}$ bamboo circulars, but you can use whatever gets you the gauge you want. Finished Measurements: XL--approximately $72^{\bullet}$ from wrist to wrist and approximately $24^{\circ}$ from collar bone to bottom front. $48^{\circ}$ chest. L—approximately $66^{\circ}$ from wrist to wrist and approximately $22^{\bullet}$ from collar bone to bottom front. $44^{\circ}$ chest. M—approximately $54^{\circ}$ from wrist to wrist and approximately $20^{\circ}$ from collar bone to bottom front. $36^{\circ}$ chest. Stitches: stockinet, klp1 rib, moss. Increase stitch k1f/k1b. Decrease stitch k2tog.
Directions:
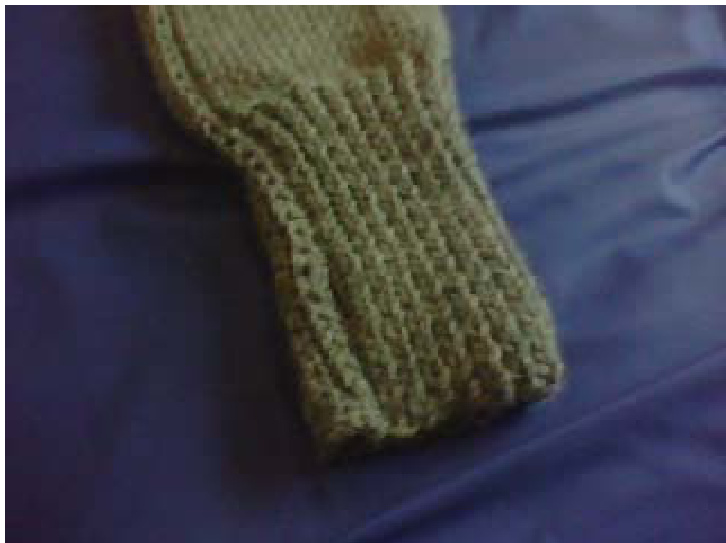
Front Yoke: Start at the wrist and work toward the other wrist in this way: Cast on with whatever loose, stretchy cast on that you like—20 (18, 16)st. I like the long tail cast on. Do a klp1 rib for this sweater, approximately $8^{\circ}\,(7^{\circ},6^{\circ})$ After the rib section is the First Increase row and this begins the stockinet stitch—k across, increasing stitch count by 5 (4, 3) st distributed evenly across the row. I place a marker at the end of each increase/decrease row just to keep track of sections. At the end of this first increase you should end up with 25 (22, 19) st. Purl next row. Work stockinet stitch for approximately $8^{\circ}\,(7^{\circ},6^{\circ})$ Second Increase row: k across, increase stitch count by 5 (4, 3) st distributed evenly across the row—30 (26, 22) st. Purl next row and work stockinet stitch for approximately $8^{\circ}\,(7^{\circ},6^{\circ})$ Third Increase row: k across, increase stitch count by 5 (4, 3) st distributed evenly across the row—35 (30, 25) st. Work stockinet stitch for approximately 24" (22", 18") for body of sweater. First Decrease row: k across, decreasing stitch count by 5 (4, 3) distributed evenly across the row—30 (26, 22) st. Purl next row and work stockinet stitch for approximately 8" $(7^{\circ},6^{\circ})$ .(I use k2tog for my decrease stitch.) Second Decrease row: k across, decreasing stitch count by 5 (4, 3) distributed evenly across the row—25 (22, 19) st. Purl next row and work stockinet stitch for approximately 8”(7”, 6”). Third Decrease row: k across, decreasing stitch count by 5 (4, 3) distributed evenly across the row—20 (18, 16) st. Purl next row and work k1p1 rib stitch for approximately 8" (7"', 6"). Bind off very loosely using whatever bind off you like that is stretchy. Back Yoke: Repeat Front Yoke instructions. Connect front to back as follows: Measure from wrist to neck 31" (27", 23") and place marker. That marks the beginning of the neck. Do the same from the other wrist and place marker. Whip stitch the front to the back (top seam) from wrist to marker. Now measure at the bottom seam from the wrist--place marker at $24^{\circ}\,(22^{\circ},18^{\circ})$ . Do the same from the other wrist. For thumbholes: begin whip stitch at wrist on bottom seam. About 1’' into it, just whipstitch on front piece for 2-3 stitches to leave gap for thumbhole, then pick up both sides for bottom seam. Resume whipstitch to marker. Tie off and hide threads. Repeat on the other side. Without thumbholes: begin whip stitch at wrist on bottom seam and stitch to marker. Repeat on the other side. Ribbed Turtleneck: Turtleneck is approximately 1 $18^{\circ}\,(16^{\circ},14^{\circ})$ around. Using circular needles in the appropriate size for gauge, cast on using a loose stretchy cast on 54 (48, 42) st. Connect without twisting first row. You can place a marker here, or just use your cast on tail as a marker to mark the beginning. Knit a klp1 rib in the round for approximately $9^{\circ}\left(8^{\circ},7^{\circ}\right)$ or make as long a turtleneck as you desire. (some people like a taller neck) Bind off a loose and stretchy bind off, leaving a long tail to sew piece onto neckline of sweater, or just keep the yarn connected at that point and crochet to connect turtleneck to sweater. Whatever type of connection you choose, the ribbed piece gets connected to the sweater at this point. If you want to stop here and just make it a shrug, you may. If you'd like it to look more like a regular sweater, continue as such: Front “"Skirt' of sweater: This piece attaches to the front of the shrug to make it look like a ‘regular′ sweater. Cast on according to the length you want the front of the sweater. I made this one $15^{\circ}$ but it turned out to be too short, so I will have to extend it at a later date. So I would recommend about 51 (45, 39) st. which would make it $17^{\circ}(15^{\circ},\,13^{\circ})$ long. This piece is bordered on three sides in seed stitch to keep it from curling too much and it makes a nice decoration on an otherwise plain sweater. So, cast on 51 (45, 39) st. and work seed stitch for 3 rows. Next row, seed stitch first 3 stitches, then purl the rest of the row. Turn and knit to the last three stitches, then seed stitch the last three stitches. Continue in this manner, creating a bottom border of seed stitch to desired width of the éskirt,' $24^{\circ}(22^{\circ}$ 18") working seed stitch all the way across of the last three rows. Bind off and connect the side of this ‘skirt' that doesn't have the seed stitch border to the bottom of the front body of the sweater. Hide all threads and you are finished! This was a labor of love for a good friend—I hope this pattern works well for you, and you make it and/or wear it with love, peace and great happiness! ;)