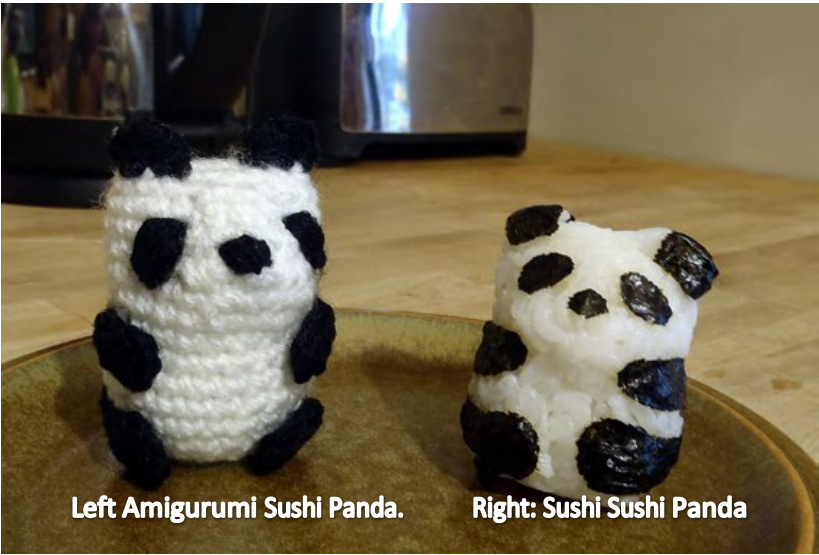
Sushi Panda
DESIGnED by ROSAuRA VALdEZ May 2013
This Little panda measures approx. 2.5" high using 8ply yarn. You will need small quantities of yarn and stuffing to make it. This amigurumi is worked in a spiral (which means you don't close every round). Body, head and ears are made in one piece. Legs, arms and tail are sewn to the body, and eyes and nose can be embroider or glued using felt. You can follow the written instructions or the graphics in the last page.
MATERIALS
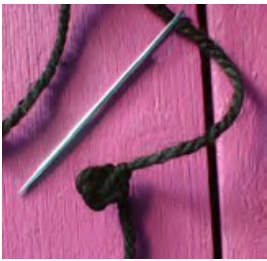
Small amounts of Black and White yarn. 3mm hook. Tapestry needle Stuffing material Black felt (optional)
ABBREVIATIONS
Ch: chain/chains St/sts: stitch/stitches sc: single crochet dc: double crochet inc: increase dec: decrease sl st: slip stitch
INSTRUCTIONS
You can start by doing the Panda's tail. Have it ready for when needed.
Tail
Using BLACK. Ch 3. Close with a slip stitch to form a ring. Leave a short tail to close.
Body-Head-Ears
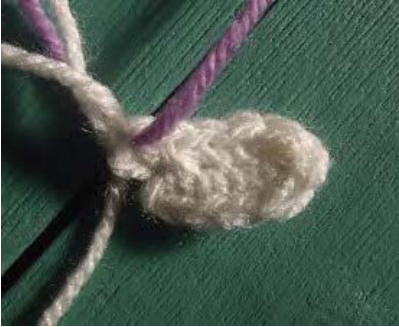
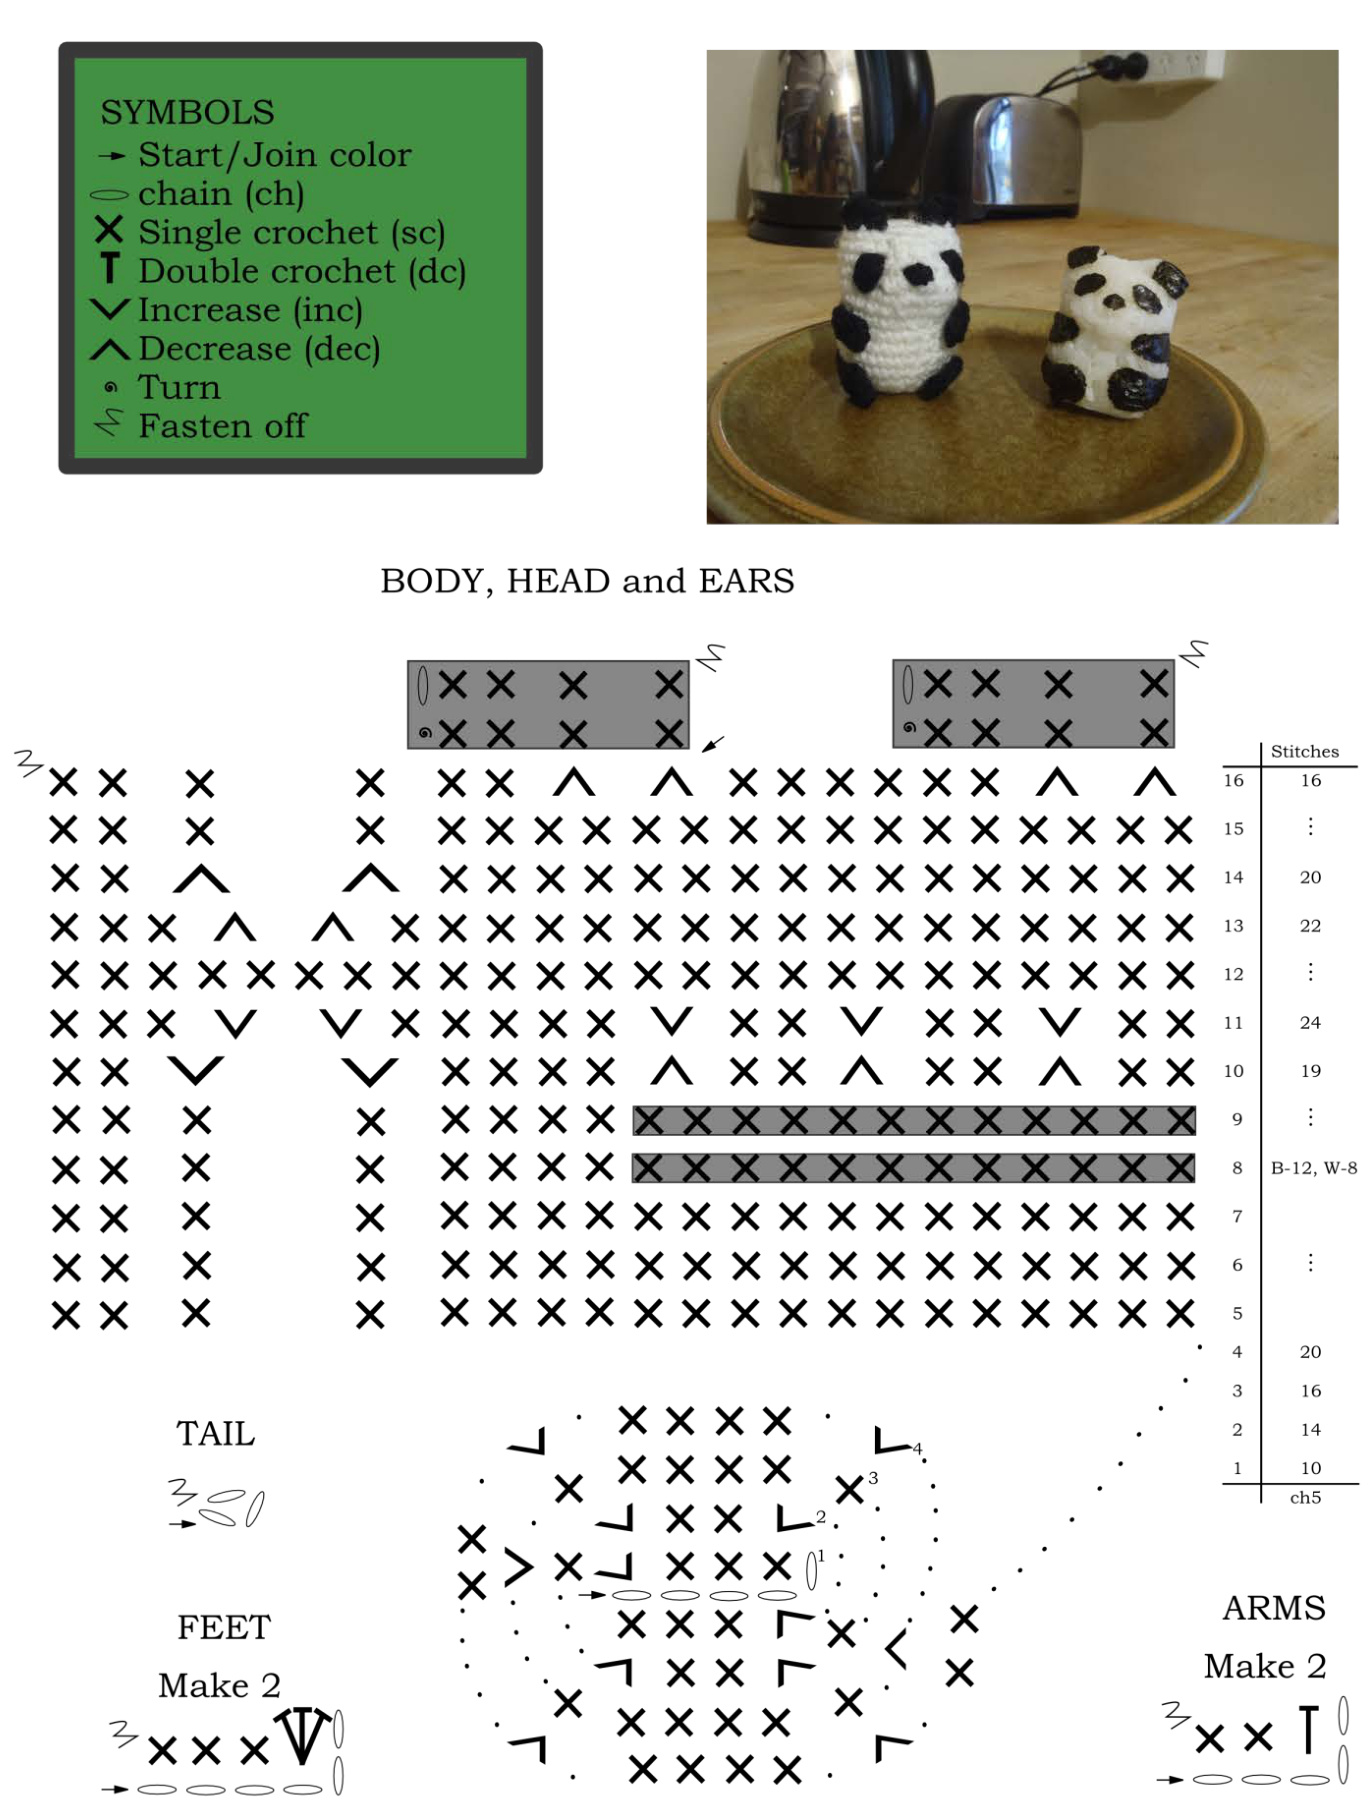
Using WHITE. Start from the bottom. Ch5 R1. 1sc in 2nd ch from hook, 2sc, 1inc; working on the opposite side of chain: 3sc, 1inc. (10 sts)
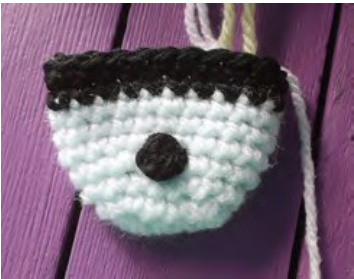
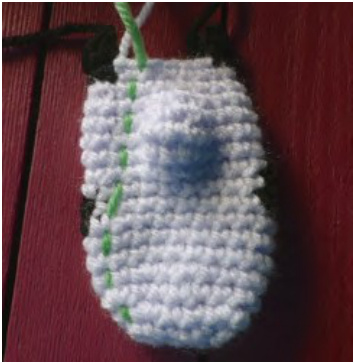
@ 2013 Rosaura Valdez. All rights reserved. This is a free pattern for personal use only. Please do not sell, redistribute or edit this pattern in any way. If you want to share it, please proportionate a link to my Ravelry store www.ravelry.com/designers/rosaura-valdez R2. [1inc, 2sc, 1inc, 1sc] 2 times. (14 sts) R3. [6sc, 1inc] 2 times. (16 sts) R4. [1inc,4sc, 1inc, 2sc] 2 times. (20 sts) R5-7. 1sc in each st. (20 sts) Next row will include a part BLAcK and a part WHiTE. You can cut the yar in each change of color or hold the yarn you are not using in the back, just be careful to leave enough yarn to not shrivel your work. R8. Using BLACK: 12sc, using WHITE: 8sc. (20 sts) R9. Repeat R8. (20 sts) Fasten off BLACK. \*\*\*Now is a good time to sew the tail in the back (where the black band is) between rows 4-5 forming a little circle\*\*\*. Continue using WHiTE.
R10. [2sc, 1dec] 3times, 4sc, 2inc,2sc. (19 sts) R11. [2sc, 1inc] 3 times, 5sc, 2inc, 3sc. (24 sts) R12. 1sc in each st. (24 sts) R13. 17sc, 2dec, 3sc. (22 sts) R14. 16sc, 2dec, 2sc.(20 sts) R15. 1sc in each st. (20 sts) R16. [2dec, 6sc] 2 times. (16 sts) Fasten off. Leave a long tail to close the upper part of the head. To make the ears. Join BLACK to the last st: R1: 4sc, ch 1. TURN. R2: 4sc. Fasten off leaving a short tail. Count 3 stitches in the back after the ear you just made and join the black yarn again in next st. Make the right ear the same as the left.
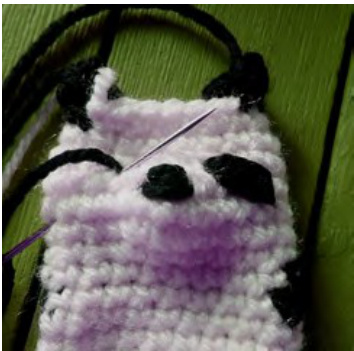
\*\*\*Embroider the eyes and nose as shown in the picture or cut some pieces of felt and glue them to the face (preferably after stuffing). \*\*\*
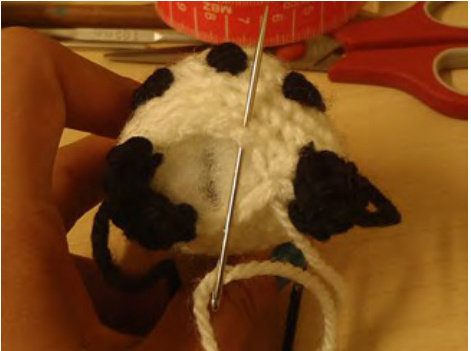
Stuff firmly and finish by closing the top using the White yarn tail (have into account that there is the double of stitches in the front tan in the back). Ears must be already folded; just make some stitches on the sides to close them.
@ 2013 Rosaura Valdez. All rights reserved. This is a free pattern for personal use only. Please do not sell, redistribute or edit this pattern in any way. If you want to share it, please proportionate a link to my Ravelry store www.ravelry.com/designers/rosaura-valdez
ARMS
Using BLACK, make 2 pieces. Ch5 R1. 1dc in 3rd ch from hook,2sc. (3 sts) Fasten off leaving a long tail to sew. FEET Using BLACK, make 2 pieces. Ch6 R1. 3dc-together in 3rd ch from hook, 3sc. (6 sts). Fasten off leaving a long tail to sew. FINAL INSTRUCTIONS: Sew the legS on the sides of the body separated by 3 sts from the tail and the arms immediately next to the neck band. Weave in any tail of yarn you have and your Sushi panda is READY!!

@ 2013 Rosaura Valdez. All rights reserved. This is a free pattern for personal use only. Please do not sell, redistribute or edit this pattern in any way. If you want to share it, please proportionate a link to my Ravelry store www.ravelry.com/designers/rosaura-valdez
SUSHI PANDA
Designed by Rosaura Valdez
@ 2013 Rosaura Valdez. Allrights reserved. This is a free pattern for personal use only. Please do not sell, redistribute or edit this pattern in any way. If you want to share it, please proportionate a link to my Ravelry store www.ravelry.com/designers/rosaura-valdez For any questions or comments to this pattern you can also contact me at rosssval@gmail.com


