Tam Amici Granievaghi

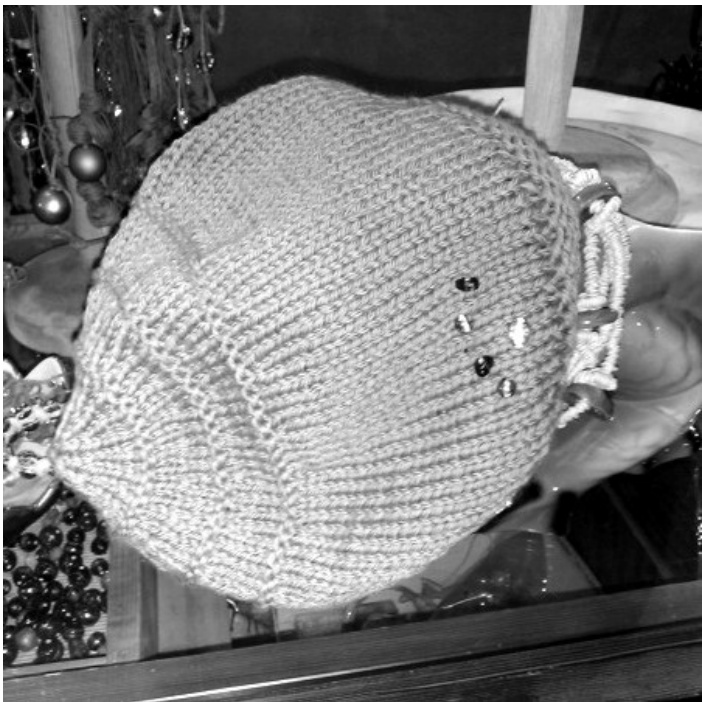
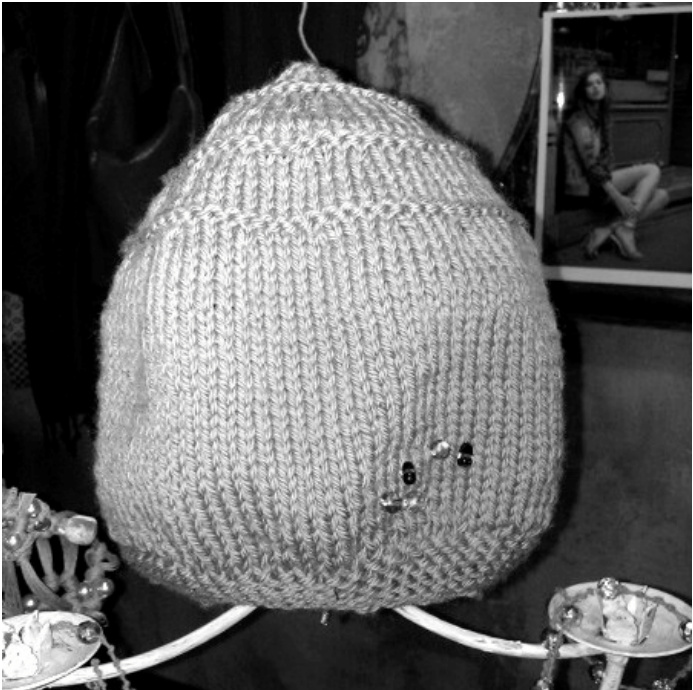
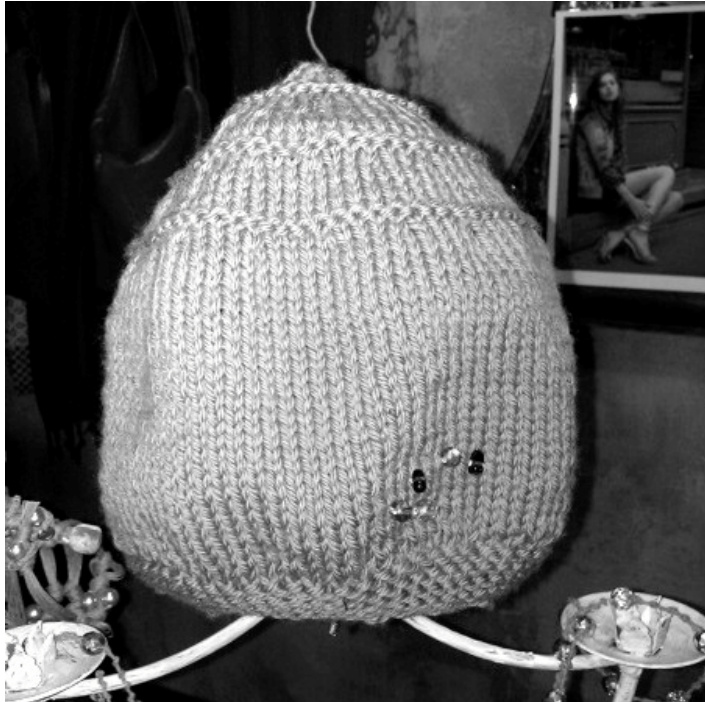
This tam was originally created for a beginners' course at Amici Granievaghi in Milan. This explains the fact that it's knitted flat and seamed instead of being worked circularly. It uses the most basic stitches and a single easy increase and decrease. The decorating beads are from the shop's stock and can be omitted.
Materials
Rowan Pure Wool Aran, 1 ball 5 mm/US 8 straight needles A single larger needle (optional) Scissors and tapestry needle Elastic (optional)
Abbreviations
K: knit. P: purl. St: stitch. M1: Make 1 increase (cast-on anew a stitch with the backward loop method, work on) K2tog: knit 2 stitches together as it was one to decrease. Gauge 17 sts = 10 cm/4" measurements Border = 48 cm/19" Crown = 62 cm/24" 3/4 Height = 23 cm/9" 1/4
Attention
For a better-looking seam, I suggest working the first stitch in every row as a knit for the knit rows and a purl for the purl rows.
To work the hat
C.o. 68 sts with backward loop method (or with the Old Norwegian method if you are able to), to keep the cast-on border more elastic you may want to use a larger needle for this. Turn. Work in stockinette stitch (knit every row) for 8 rows (4 ridges). Increase row: k1, \* m1, k2 \*, repeat from \* to \* to 1 st before the end of the row; m1, k1. Turn. (102 sts.) Continue working in stockinette stitch (right side knit 1 row, wrong side purl 1 row) until the hat measures 12 cm (5") from the border, ending with a purled (wrong side) row. Decrease row 1: k2, \* k2tog, k3 \* Repeat from \* to \* to last 5 sts, k2tog, k3. turn. (82 sts.) Work next wrong side row in purl to create a garter ridge, then continue working in stockinette stitch for 6 rows.
Decrease row 2: \* k2, k2tog \*, continue to last 2 sts, k2. turn. (62 sts.)
Work next wrong side row in purl to create a garter ridge, then continue working in stockinette stitch for 4 rows. Decrease row 3: k2, \* k2 tog, k2 \*, Repeat from \* to \* to the end. Turn. (42 sts.) Purl one row, knit 3 rows to create the garter ridge, purl 1 row. Decrease row 4: \* k1 , k2tog \* repeat from \* to \* to last st, k1. Turn. (22 sts.) Purl one row, knit one row, purl one row. Repeat decrease row 4 (12 sts). Purl one row. Repeat decrease row 4 (7 sts). Break the yarn leaving a longish tail. With the tapestry needle, thread this tail through the live stitches twice, remove the knitting needle, and pull tight. using mattress stitch, seam the side of the hat. If you want the hat to fit more snugly, thread the elastic yarn through the border. Alice Twain lives and works in Milan (Italy) as an editor. Knitting passionate, she teaches basic and advanced courses and designs knitted items. She is in the Stitch and Bitch Milano team, to learn more about the meetups, visit http: //maglia.blogspot.com. This pattern was released as Creative Commons (Attribution - Non commercial - No derivatives 2.5 Italia), to learn more visit http:/creativecommons.org/licenses/by-nc-nd/2.5/it/deed.it.
Basco Amici Granievaghi

Questo basco e nato come schema-scuola per un corso di maglia, per questo é lavorato in piano e cucito anziché lavorato circolarmente in un solo pezzo, eusa solo punti base, un aumento semplice e una diminuzione semplice. Le perle che lo decorano sono state acquistate presso il negozio Amici Granievaghi di via Lomazzo a Milano, che ha anche ospitato il corso di maglia e dove sono state scattate le fotografie.
Materiale
2 dir ass: diminuzione 2 dritti lavorati assieme Rowan Pure Wool, 1 gomitolo Ferri da 5 mm Un ferro da 6 o 7 mm (opzionale) Ago da lana Filo elastico Perline Filo ed ago per fissare le perline. Tensione 17 maglie = 10 cm Misure Bordo = 48 cm Tesa = 62 cm Altezza totale = 23 cm
Abbreviazioni
Attenzione
Dir: dritto. Rov: rovescio. M: maglia. A1: aumento semplice (monta una maglia a nuovo con il metodo a un capo, prosegui la lavorazione) Per una cucitura ottimale, suggerisco di lavorare sempre la prima maglia, a dritto nei ferri di dritto e a rovescio nei ferri di rovescio.
Esecuzione
Monta 68 m con il metodo Old Norwegian o, se non lo sconosci, con il metodo a due capi ma lavorando su un ferro da 6 o 7 mm. Gira il lavoro. Lavora a maglia legaccio (sempre dritto) per 8 ferri (4 creste legaccio). Ferro degli aumenti: 1 dir, \* a1, 2 dir \*, ripeti da \* a \* fino a 1 maglia dalla fine, a1, 1 dir. Gira. (102 m.) Prosegui lavorando a maglia rasata (1 ferro dir, 1 ferro rov) fino a 12 cm dal bordo, terminando con 1 ferro a rov. Ferro delle diminuzioni 1: 2 dir, \* 2 dir ass, 3 dir \* ripeti da \* a \* fino a 5 m dalla fine, 2 dir ass, 3 dir. Gira. (82 m.) Lavora 1 ferro a dir (1 cresta legaccio), quindi prosegui a maglia rasata per 6 ferri.

Ferro delle diminuzioni 2: \* 2 dir, 2 dir asseme \*, prosegui fino a 2 m dalla fine, 2 dir. Gira. (62 m.)
Lavora 1 ferro a dir (1 cresta legaccio), quindi prosegui a maglia rasata per 4 ferri. Ferro delle diminuzioni 3: 2 dir, \* 2 dir ass, 2 dir \*, ripeti fino alla fine del ferro. Gira. (42 m.) Lavora 1 ferro a rov, 3 ferri a dir (1 cresta legaccio), 1 ferro a rov. Ferro delle diminuzioni 4: 1 dir, 2 dir ass fino a una maglia dalla fine, dir. Gira. (22 m.) Lavora 1 ferro a rov, 1 ferro a dir, 1 ferro a rov. Ripeti il ferro delle diminuzioni 4 (12 m). Lavora 1 ferro a rov. Ripeti il ferro delle diminuzioni 4 (7 m). Rompi il filo lasciando una coda piuttosto lunga. Infila l'ago con la coda, fai pasare il filo due volte tra le maglie aperte ancora sul ferro, estrai il ferro e tira forte. Con le due code cuci a punto materasso il lato del cappello. Passa il filo elastico all'interno del bordo e usa le perline per decorare il lato della tesa del cappello. Alice Twain (Typesetter su Ravelry.com) vive a Milano e lavora come redattrice editoriale. Appassionata di maglia, produce schemi originali e insegna maglia; per informazioni sui corsi di maglia e di uncinetti wsmaglia@gmail.com. E inoltre tra le animatrici dello stitch and bitch Milanese, ovverosia incontri gratuiti di maglia che si svolgono presso la Triennale o la triennale Bovisa due volte al mese; per informazioni http://maglia.blogspot.com. Questo schema é rilasciato su licenza Creative Commons (Attribuzione - Non commerciale - Non opere derivate 2.5 Italia), per maggior informazioni consultare la pagina http://creativecommons.org/licenses/bync-nd/2.5/it/deed.it.


