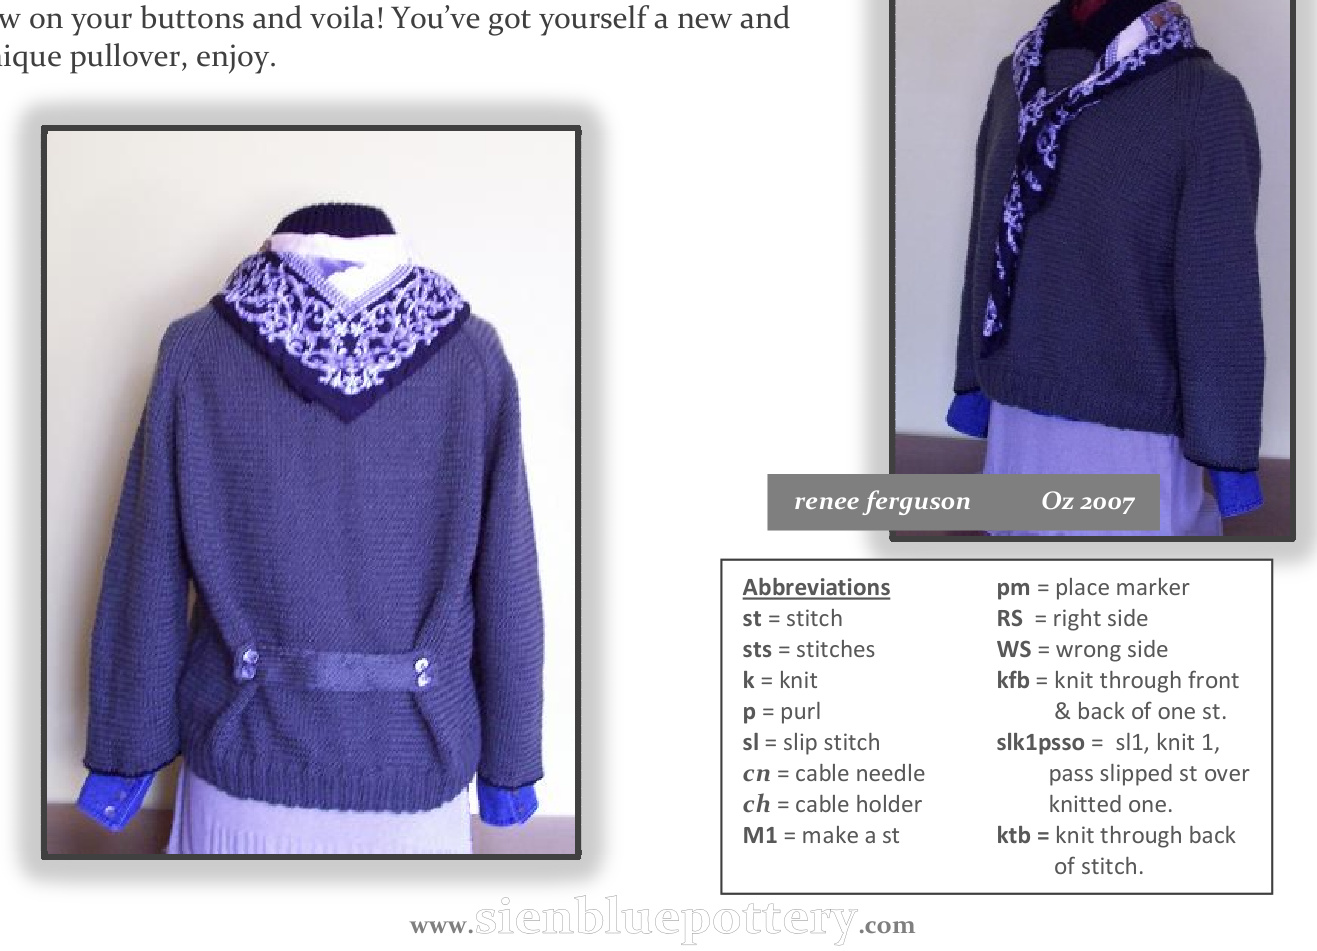
Glasgow Sweater by renee ferguson
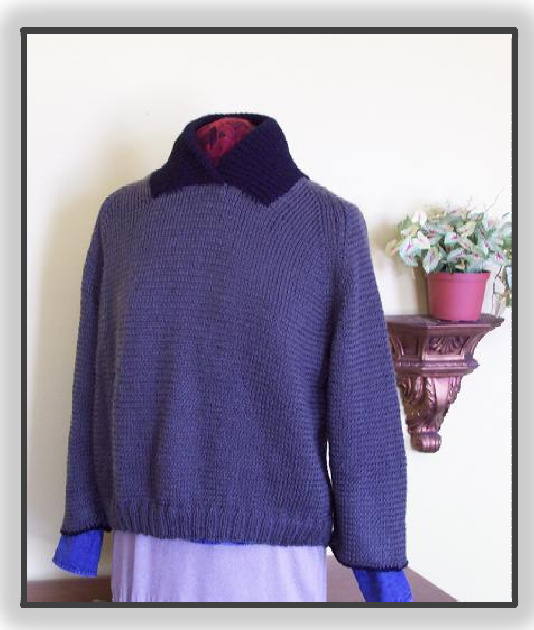
This was one of my first autumn designs, made about 18yrs ago then updated just a couple of years ago. Instead of using a regular woollen yarn, I picked a cross-plied, hand washable wool which is great to wear and take care of for the lighter seasons right through to the colder ones. The collar is black, as well as the cuff edges, to add contrast statements to the overall gray of the body. Although this may seem like a trivial detail, I found that using such contrasts give a simple design a very cozy feel. This sweater is also loose fitting, making for a great layering pullover—-I've got it over a jean shirt in the photo.
This pattern fits a size Petite SMALL (MEDIUM or LARGE are in parenthesis).
Where there is only one number, it applies to all sizes. TENSION: 22 sts and 26 rows $=$ 10cm, in St st using #4.5mm needles.
You'll need:
· 3 balls $\left(3,3\right)$ of Bendigo Woollen Mills Classic 8-ply Yarn in Smoke #736 [1 ball $=$ 400m/200g.] · 1 ball of Swish DK Yarn from KnitPicks in Coal #24045. · $\#4.5\mathrm{mm}$ (US 7) single pointed needles, · stitch holder, stitch counter and tapestry needle. · 4 buttons (approx 12mm ea), · Hot cup of spicy cinnamon tea and some mellow music.
BACK
Using $\#4.5\mathrm{mm}$ needles, CO 16 (120,126)sts. $^{\ast}\mathrm{k}_{2}$ P2;\* repeat from \* to \* for 12 rows. Change to Twisted St st: [ktb of each st] until work measures $31\:(32,\,33{\cdot}5)\mathrm{cm}$ from bottom edge; 8o (82, 86)rows. Continue knitting body in Twisted St st while at the same time decr sts as follows to shape armholes:
Shaping armholes:
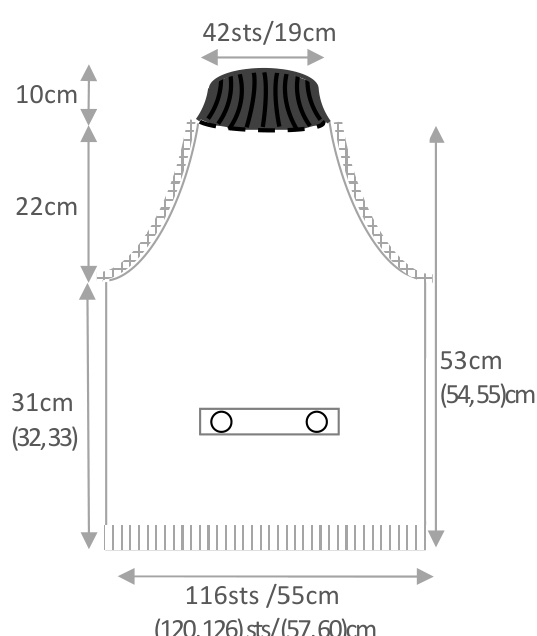
Row 81 (83, 87): RS, decr 8 (8, 10)sts. Row 82 (84, 88): WS, decr 8 (8, 10)sts. Row 83 (85, 89): sl1, k1, [slilkipsso], knit to last 4sts, k2tog, k2. Continue these decrs at beg and end of each RS row to Row 127 (129, 133). Row 128 (130, 134): BO remaining sts.
FRONT
Using $\#4.5\mathrm{mm}$ needles, CO 16 (120, 126)sts and knit the same as for back until you reach Row 96 (98, 102).
Shaping right and left sides of neckline:
Row 97 (99, 103): while continuing to decr sts, k26 (27, 28)sts this row as usual until you have 26sts on your right needle. Now $\mathrm{BO}\,_{34}\,(36,36)\mathrm{sts}$ Attach a new ball of Gray yarn and knit remaining 26 (27, 28)sts. [You will now be working with two balls of yarn.] Continue to knit the front of sweater while decr sts along the arm edges; knit straight up, along the neckline with no decrs. Knit this way until you reach Row 128 (130, 134). BO remaining sts.
SLEEVES
Using #4.5mm needles and Gunmetal yarn, CO 56 (56, 59)sts. Knit in St st for 2 rows. Change to Gary yarn for the rest of sleeve. Knit in Twisted St st for 74 (76, 8o)rows with gray yarn while at the same time incr sts as follows: Row 5 (5, 7): M1 st at beg & end of row every $8^{\mathrm{th}}\,(8^{\mathrm{th}},\,9^{\mathrm{th}})$ row, 9 (9, 8) times. [Total of 74 (74, 75)sts].
Shape sleeve caps:
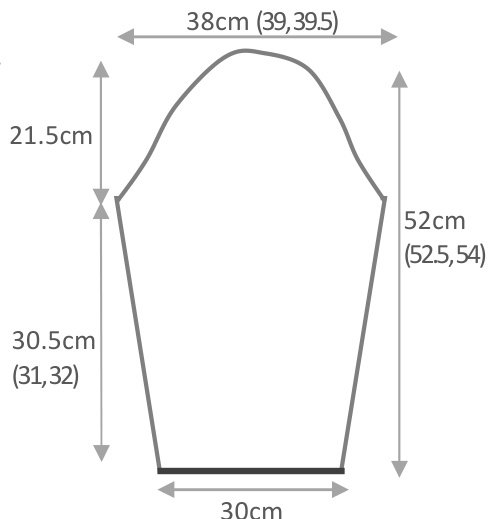
Row 77 (79, 83): RS, decr 8 (8, 10) sts. Row 78 (80, 84): WS, decr 8 (8, 10) sts. Row 79 (81, 85): sl1, k, [slikipsso], knit to last 4sts, k2tog, k2. Continue these decr at beg and end of each RS row to Row 135 (137, 141). Row $^{136}$ (138, 142): BO all sts.
FINISHING
Iron on wrong sides using steam and covering with a cotton cloth or pillow case. Sew front & back seems to sleeves along shoulder edges in mattress stitch. Sew sleeves together along length of sleeves and complete work by sewing the sides of body together.

You will now knit in the collar, then the tab and sew on buttons to complete this simple little beauty. $\circledcirc$
COLLAR
NOTE: This collar fts snug at the top. Using Gunmetal yarn, pick up $32$ (32, 35)sts along the front right-outer side; [as you knit the collar, you willattach the last st of every RS &WS rows to the front edge where you BO sts (see photo).] Pick up 40 (42, 42)sts along theback and then continue to pick up another 32 (32, 35)sts along the front left-outer side of neckline. Total of 104 (106, 12)sts Knit in ribbed st: $^{*}\mathrm{k}_{1}$ p1;\* repeat from \* to \*, straight up for 6o (6o, 60)rows. BO all sts. Fold collar over at its halfway point and sew it to the inside edge of collar using some Gunmetal yarn. Make sure not to sew too tightly so that it has some give' for stretching when you put it on. Sew front right flap over the left one, this will create a small 2.5cm overlap, and finish by also sewing these sides to the inside collar edge at the front of sweater.
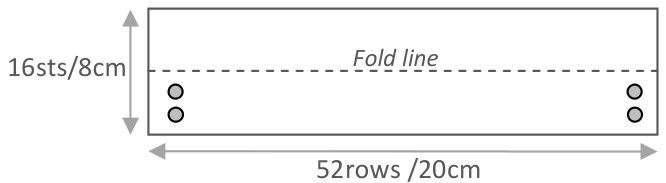
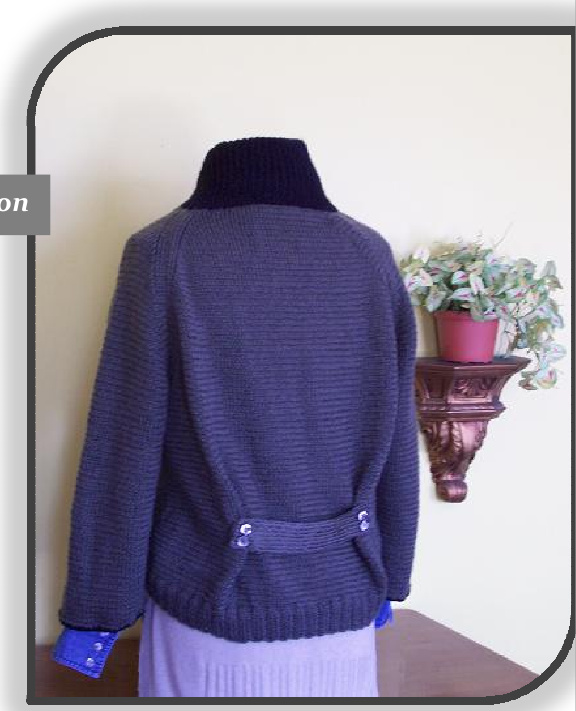
TAB for back detail —- one size fits all Iron as you would for other parts of work, then fold lengthwise and iron gently to create crease. Sew together with regular sewing thread, preferably in gray, and attach to back with two buttons, 14cm from bottom edge & 15cm in from outer edge (see photo). 11ls wil LitatE llIe tustUiltu lUUn at liIt vaLN as wEll at give your new sweater a better fit. You can also forgo my measurements here and just try it on backwards and pin the tab wherever you feel it fits you best.