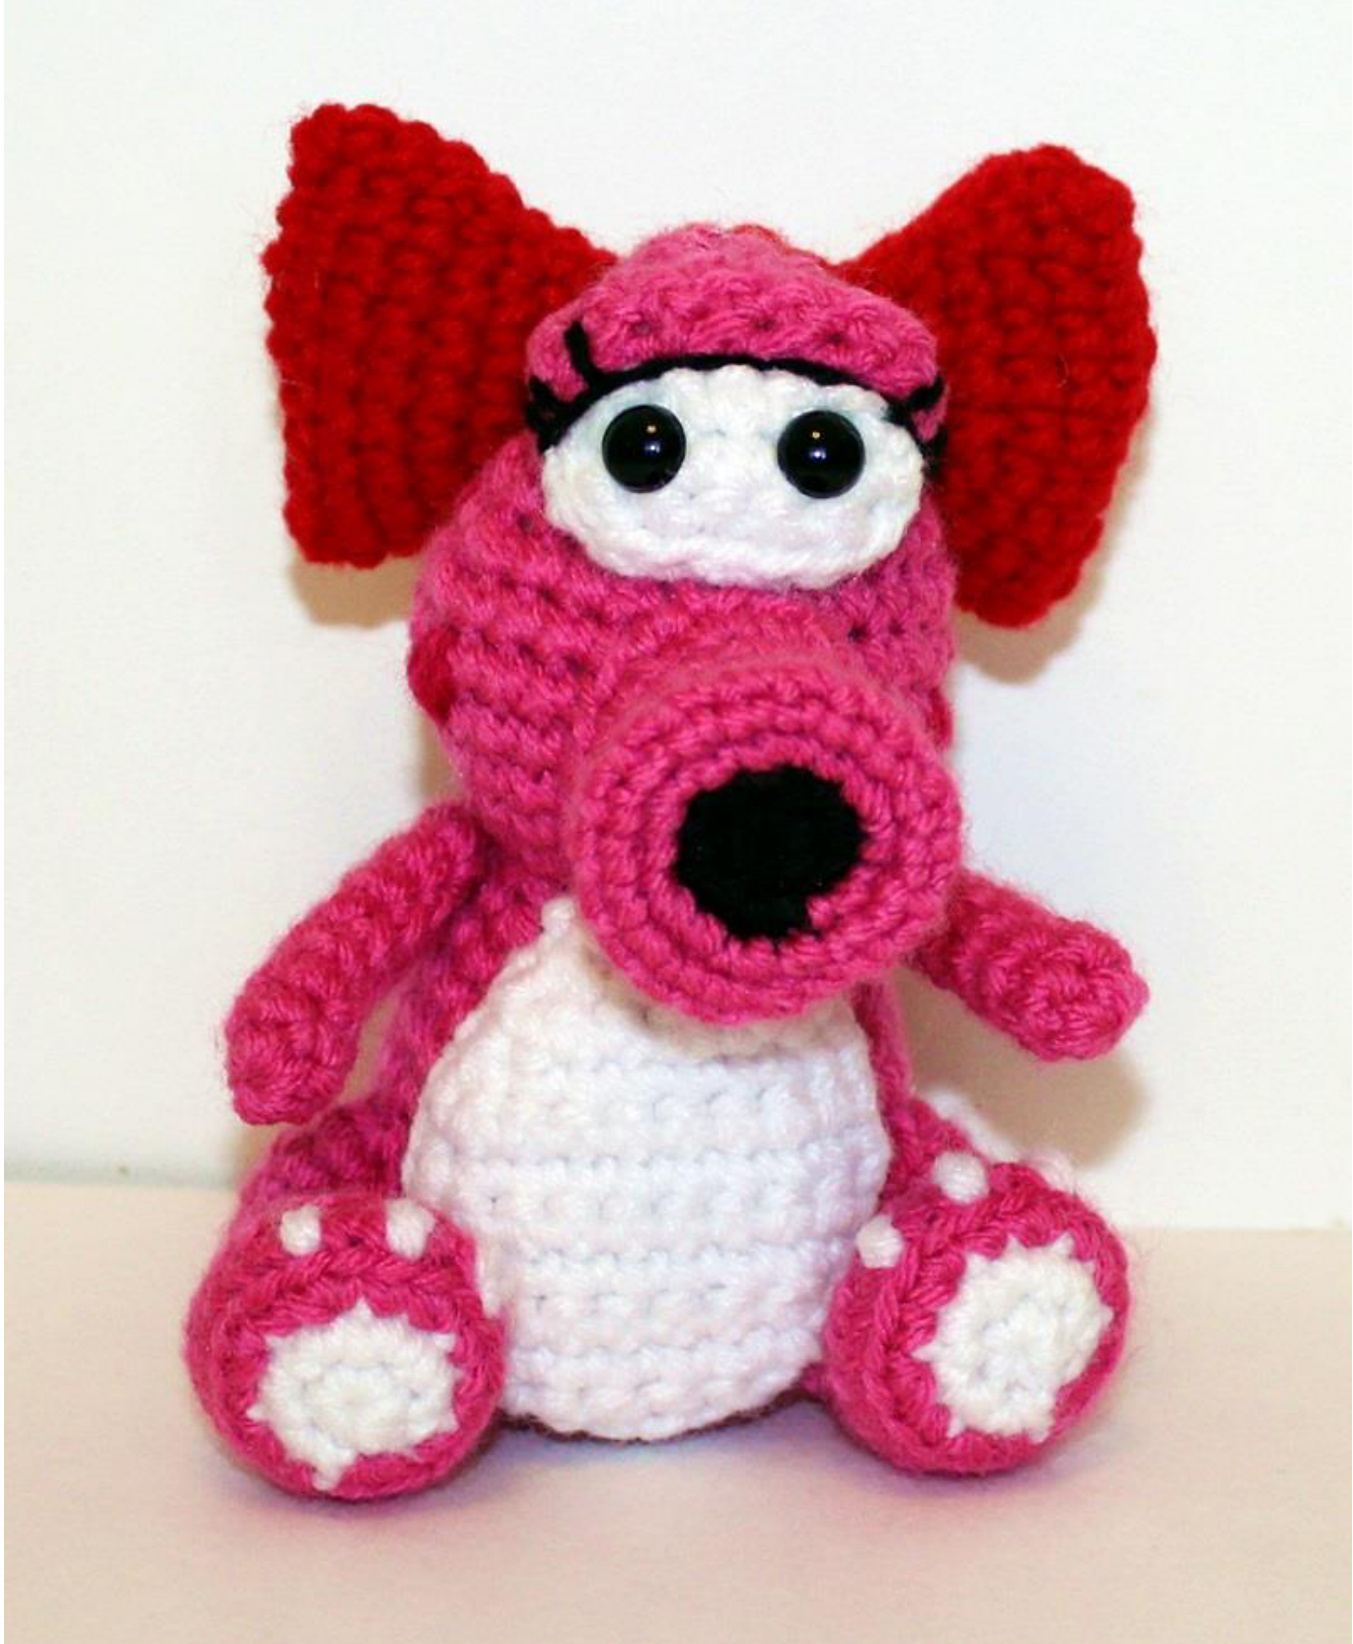
Mini Birdo Gamer Friend Pattern designed by Mary Smith@ 2015
Supplies
Worsted weight [4] yarn in colors listed. MC (Body, Arms, Nose, Tail, Legs) [80 yards] White (Eyes, Belly) [30 yards] Red (Bow, Spikes) [20 yards] Black (Nose, Eyelashes) [10 yds] CC1 (Face Spots) [scrap] Crochet hook size F/5 (3.75mm) 9mm Plastic Safety Eyes Yarn needle Stitch markers Fiberfill or stuffing of choice. Finished doll is about 5” tall if using worsted weight yarn.
Abbreviations
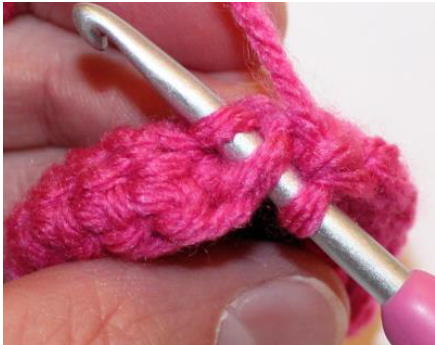
·ch - chain SC - single crochet hdc - half double crochet dc - double crochet tc - treble crochet dec - decrease (stitch next 2 stitches together) inc - increase (stitch 2 times into the next stitch) sl st - slip stitch st(s) - stitch(es) sk - skip chain or stitch sp - space lp st - loop stitch (youtube has some excellent tutorials if you don't know how to do this stitch) BLO - back loop only FLO - front loop only R -round [] repeat work as directed () number of stitches you should have at the end of your round FO - finish off MR - magic ring
Before you begin:
·This amigurumi/plush is worked in continuous rounds. Mark the beginning of each round with a stitch marker. Use the “magic ring" when starting rounds, there are many youtube videos teaching how to make a magic ring or magic circle. An alternative method to the magic ring is: ch2, sc x6 (or number of sts noted) in 2nd ch from hook, sl st to join. Continue on in rounds as noted above. Gauge is not important in this project as long as you are consistent with your tension. This project is made with all sc stitches unless otherwise specified. TIP: Always change colors in the stitch BEFORE the color change by pulling the new color through the 2 loops, thus beginning with the correct color on your hook!
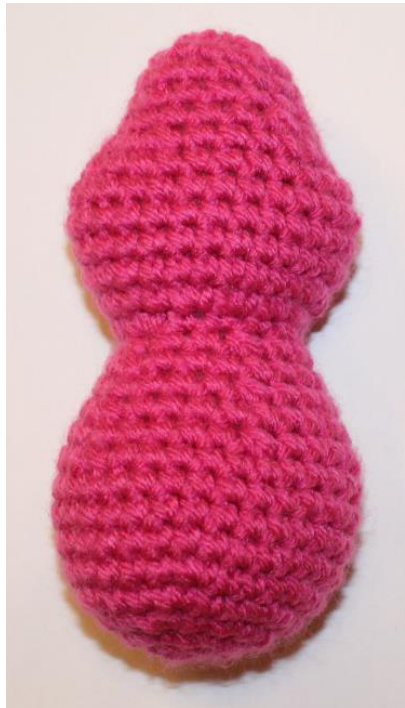
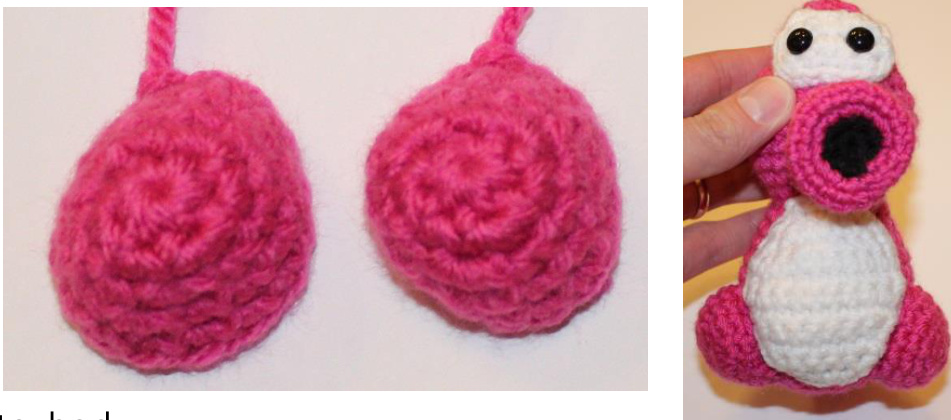
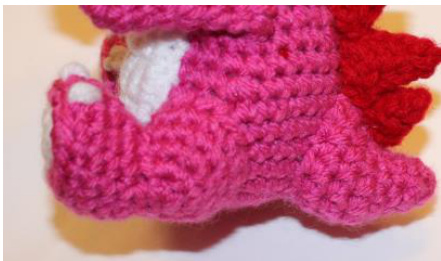
Body/Head
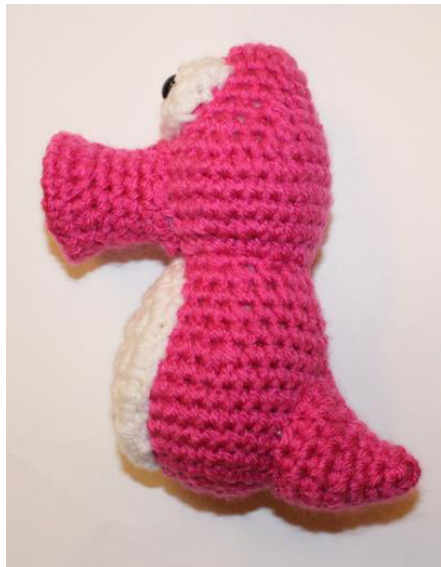
With MC R1: MR 6 R2: inc x6 (12) R3: [inc, sc 1] x6 (18) R4: [inc, sc 2] x6 (24) R5: [inc, sC 3] x6 (30) R6-9: sC 30 R10: [dec, sc 4] x5 (25) R11: sC 25 R12: [dec, sc 3] x5 (20) R13: SC 20 R14: [dec, sc 2] x5 (15) R15: [dec, sc 3] x3 (12) R16: inc x12 (24) R17: sc 4, [inc, sc 1] x2, sc 6, [sc 1, inc] x2, sc 6 (2 R18-20: sC 28 R21: sc 4, [dec, sc 1] x2, sc 6, [sc 1, dec] x2, sc 6 i R22: sc 3, [dec, sc 1] x2, sc 5, [dec, sc 1] x2, sc 4 R23: [dec, sc 2] x5 (15) R24-27: SC 15 Stuff firmly. FO, leave tail and use it to sew hole closed.
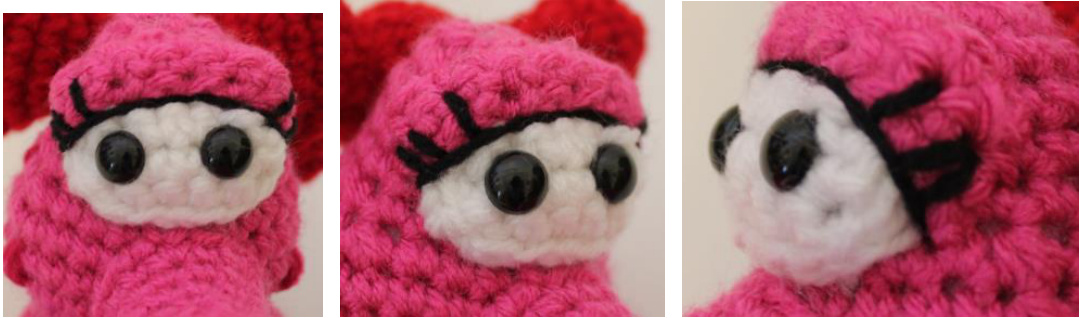
Eyes
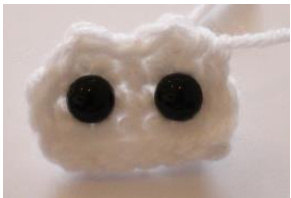
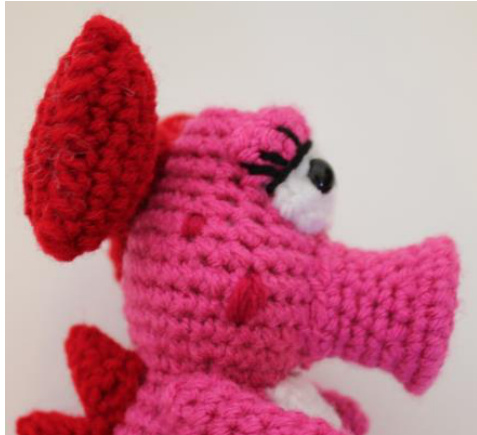
With white Eyes are worked flat R1: ch 7, turn, sc in 2nd ch from hook, sc 5 (6) R2-3: ch 1,turn, Sc 6 R4: turn, sk 1st st, dc, sl st x2, dc, sl st Sl st around entire eyes FO, leave tail for sewing to head. Insert 9mm eyes. Put back on eyes and push stem through Birdo's head. Sew to head.
Eyelids
WithMC R1: ch 10, sc in 2nd ch from hook, sc 8 (9) R2: SC9 FO, leave tail for sewing to eyes. Sew to eyes. With black, make eyelashes and line between eyelids and eyes.
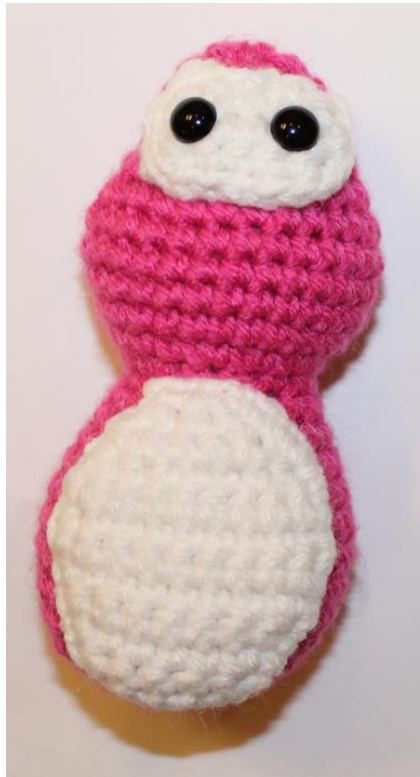
Belly
With white Belly is worked flat. R1: ch 6, turn, sc in 2nd ch from hook, sc 4 (5) R2: ch 1,turn, inc, sc 3, inc (7) R3: ch 1, turn, sc 7 R4: ch 1,turn, inc, sc 5, inc (9) R5-7: ch 1, turn, sc 9 R8: ch 1, turn, dec, sc 5, dec (7) R9: ch 1, turn, dec, sc 3, dec (5)
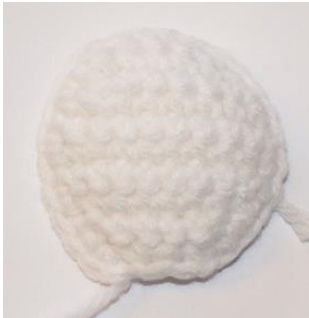
R10: ch 1, turn, dec, sc 1, dec (3) Sc around entire belly. FO, leave tail for sewing to body. Sew to front of body.
Nose
With Black R1: MR 6 R2: inc x6 (12) Change to MC. R3: FLO [inc, Sc 1] x6 (18) R4: FLO sC 18 R5: SC 18 R6: sc 18 with back loops from R4
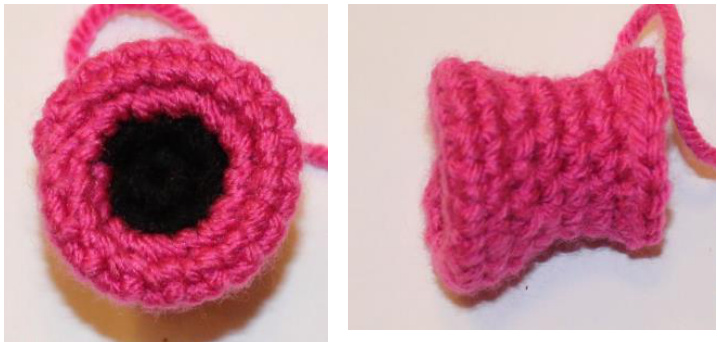
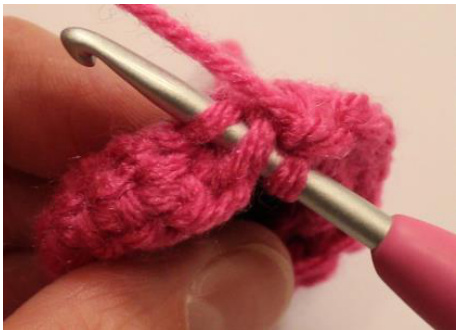
R7: [dec, sc 1] x6 (12) R8-10: SC 12 R11: [inc, sc 1] x6 (18) FO, leave tail for sewing to face. Stuff lightly. Sew to face. With CC1, embroider spots on cheeks.
Tail
With MC R1: MR 4 R2: [inc, sc 1] x2 (6) R3: [inc, Sc 2] x2 (8) R4: [inc, sC 3] x2 (10) R5: sc 2, inc, sc 4, inc, sc 2 (12) R6: inc, hdc 5, inc, sc 5 (14) R7: inc, hdc 6, inc, sc 6 (16) R8: inc, hdc 7, inc, sc 7 (18) FO, leave tail for sewing to body. Stuff. Sew to body.
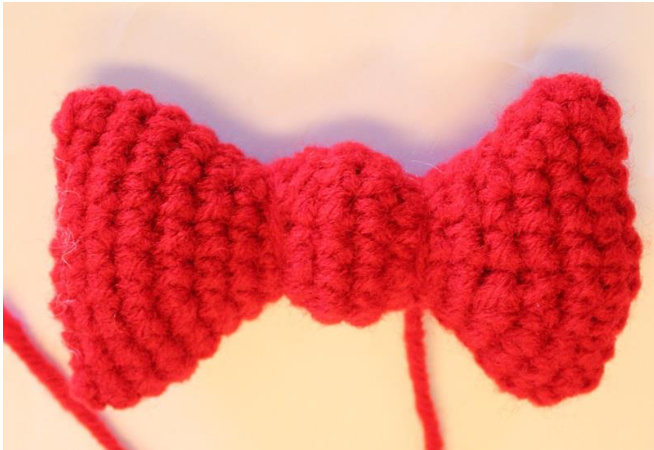
Bow
Withred R1: ch 11, sc in 2nd ch from hook, sc 8, 2 sc in next st, continue around other side of ch. Sc 9 (20)
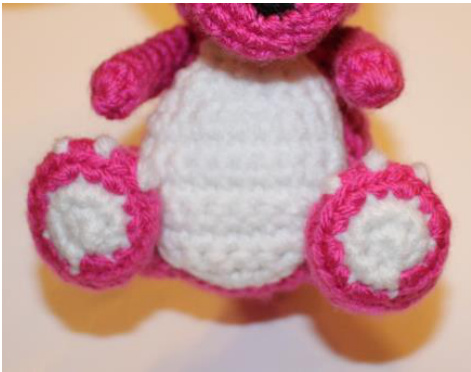
Arms - make 2

With MC R1: MR 6 R2-8: SC 6 FO, leave tail for sewing to body. Sew to sides of body. No need to stuff arms. Legs - make 2 With MC R1: MR 6 R2: [inc, sc 1] x3 (9) R3: [inc, SC 2] x3 (12) R4: [inc, sc 3] x3 (15) R5: SC 15 FO, leave tail for sewing to body Stuff lightly. Sew to body.
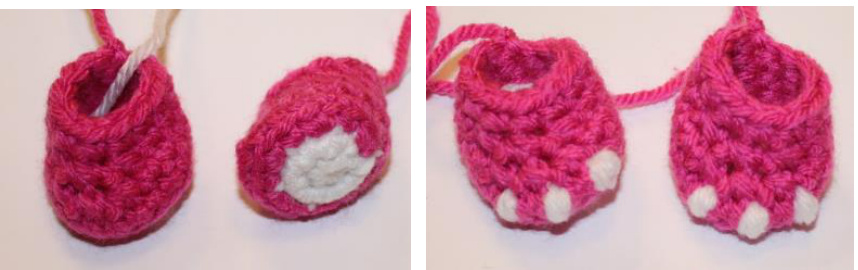
Foot - make 2
With white R1: MR 6 R2: inc x6 (12) Change to MC R3: [inc, sc 1] x6 (18) R4: BLO sC 18 R5: sc 6, dec x3, sc 6 (15) R6: sc 5, dec x3, sc 4 (12) R7: sC 12 FO, leave tail for sewing to body. With white, embroider 3 claws on each foot. Stuff Sew to body. Feet can be placed so they make Birdo stand or sit.
Back Spikes
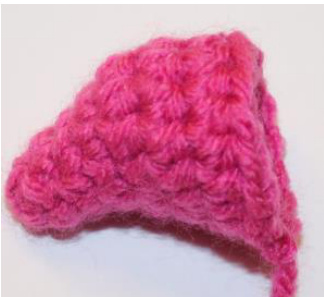
With red This is all worked as one long piece without cutting. I have labeled it S (for spike) for ease of keeping track of where you are. S1: ch 4, turn, sl st in 2nd ch from hook, sc, hdc S2-5: [ch 6, sl st, sc, hdc, dc, tc] x4 S6: ch 4, turn, sl st in 2nd ch from hook, sc, hdc FO, leave tail Fold in half and sew spikes together. This makes them firm so they won't curl. Sew to back of body.

Copyright 2015 Mary Smith and Made by Mary
Congratulations!
Your Mini Gamer Friend is now complete and ready for play or display. I hope you enjoyed making this pattern. I would love to see pictures of your finished dolls!! Note: Be careful when giving your finished plush to young ones. Your amigurumi now contains small parts and pieces. If these pieces were to come off, they could pose a choking hazard to small children and pets.
Additional Information
I am happy to answer any questions or try to help while you are making your amigurumi toy. Please feel free to contact me at mary@madebymary.biz. Please share your finished pictures and get updates by visiting my facebook page. You can also get updates and new product peeks. If you enjoyed this pattern and would like to check out more of my creations, please visit one of my shops: Ravelry: Mary Smith Designs http:/ /www.ravelry.com/stores/mary-smith-designs Etsy: Made by Mary maryabbie986.etsy.com
Copyright Info
Thank you for purchasing my pattern! I worked very hard on designing and writing this, so please do not copy, alter, share or upload this pattern anywhere. Please contact me if you have obtained this pattern anywhere other than directly from me. You have worked hard on your finished item and may use pieces made with this pattern for non-commercial and commercial purposes. Commercial permission includes online handmade communities/shops, local craft fairs, etc. Commercial permission does not include mass market or factory production of any kind. Please do not claim this pattern or design as your own. The only thing l ask is a clear designer credit to Mary Smith or Made by Mary and a link back to my etsy shop. Please make yourself aware of copyright laws for licensed characters, properties, items, etc. I am not affiliated with Mario franchise or Nintendo and do not claim copyright/ownership of the original character that inspired this amigurumi. I will not be held liable for sale of this or any other character inspired item by another party/person.


