This pattern is a Jolly Plum Fancies original design by Jesse Hampton and is copyrighted. You may not reproduce this pattern and sell it; however, please feel free to sell the hats you create with it (and send a photo of what you make to temple_scribe@yahoo.ca!)
Grocheted Mesh Skullcap
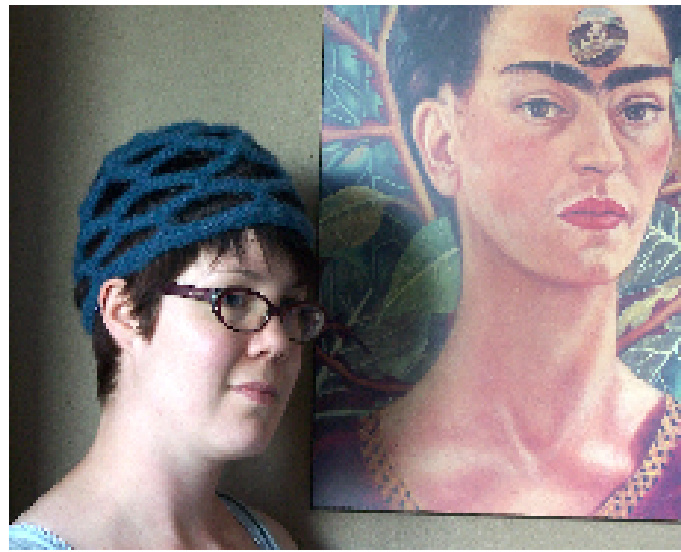
(with optins for felting and beadingl) This hat works up amazingly easily yet looks fairly complicated to the observer untrained in the ways of the hook. The mesh is open yet sturdy and the hat looks fabulous over long, short, loose or pulledback hair. Dress it up with some fantastic, bright beads; make an entirely different look by fulling/felting it. Make it in one solid colour or do some serious stash-busting and make it a multi!

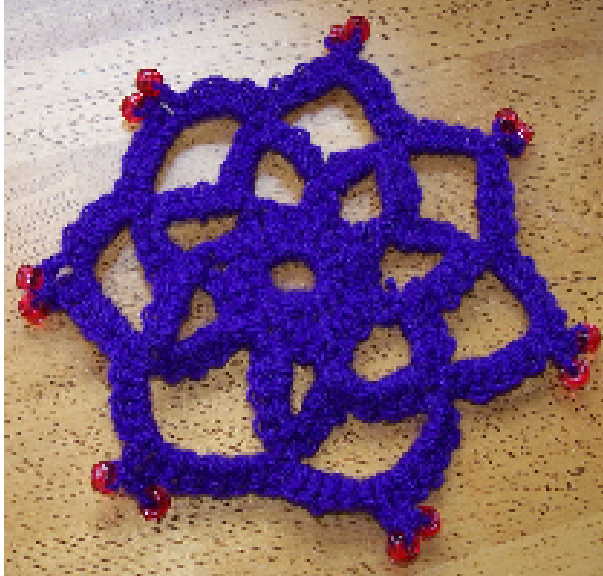
Skill Ievel: advanced beginner Size: average woman's head (22-23") Gauge: none; the hat is meant to fit snugly and extend to just above the ears. It can be increased in size by simply adding mesh rows (as explained in the pattern). Stitches used: slip stitch, chain, single crochet. Materials needed: $\pmb{1}^{\pmb{\star}}$ skein worsted weight yarn (make sure it's wool if you plan on felting the hat) \*or equivalent in multiple colours (this is an excellent stash busting pattern!) 56 Glass or plastic pony beads (optional) Size J/6.5 crochet hook Yarn needle for weaving in ends The pattern (options for felting and beading at end of main pattern) Row 1: Ch 6; join w/sl st to form ring. Row 2: Ch 1; work 15 sc into ring. Join to beg ch. Row 3: Ch 1; (2 sc in next sc, 1 sc, ch 3) 7x. Sl st to ch 1. Row 4: (Ch 7, sl st in ch-3 Ip)7x. Join w/sl st to ch 1 of previous rnd to close the small hole (this sl st does not affect the integrity of the pattern; it's just for aesthetic reasons). Row 5: (4 sc, ch 2, 4 sc) in each ch-7 loop around. Join w/sl st as in previous round. You should now have a flower motif with 7 petals/loops. Break off yarn and weave in ends. Join w/new colour or main colour in any ch-2 sp, ensuring that the “pebbly" side of your work is not facing you (this is not absolutely necessary but the pebbly side is technically the right side of your work and the side you want facing out when you wear the hat) Row 6: Ch 9; sl st in each ch-2 loop around. Sl st to ch-2 sp. Row 7: (6 sc in ch-9 loop, ch 2, 6 sc)7x. SI st to original ch-2 sp. Break off yarn and weave in ends. Row 8: Join in any ch-2 sp. Ch 11; sl st in each ch-2 loop around. Sl st to
ch-2 sp.
Row 9: (8 sc in ch-11 loop, ch 2, 8 sc)7x. SI st to original ch-2 sp. Break off yarn and weave in ends. IF FELTING: repeat rows 8 and 9 2x. IF NOT FELTING: repeat rows 8 and 9 once. Join in any ch-2 sp. Ch 11; sl st in each ch-2 loop around. Sl st to ch-2 sp. 16 sc in each loop; sl st to original ch-2 sp. Ch 1; sc2tog around; join. Break off and weave in ends. Felting/fulling
[Felting or fulling refers to washing your wool creation and making it shrink and thicken. Felting your mesh skullcap is very easy. I am a bit of a "cavalier” felter and try to make the process as quick and easy as possible. [Put your skullcap in the washing machine with one or two medium sized items (NoT towels, flannel items, socks or anything fuzzy or your felted item will end up covered in pills) such as jeans or cotton pillowcases. Put a small amount of laundry detergent in (liquid is best) and set the cycle to small load and hot/cold wash. If your machine has the capability, choose heavy duty wash. Let 'er rip! You may want to check your hat once or twice during the cycle to ensure that everything is going smoothly. Different wools felt differently - some shrink like crazy. If your hat seems to be shrinking a lot early in the cycle, take it out, rollit in a towel and press it gently to get all excess liquid out (this would have been achieved by the spin cycle but you won't want to risk having it shrink any more). To ensure that your hat gets the correct shape, you'll need to block it. This is achieved easily by simply putting it on your head and wearing it for an hour or so. It will dry and take on the shape of your head. Don't put the hat in the dryer or you may end up with something suitable for a Blythe doll. Beading Here's an excellent way to add some extra bling to your skullcap. It is highly recommended that you felt the skullcaps that you bead - the felting draws them in nice and tight and makes the beads sit next to one another very neatly.
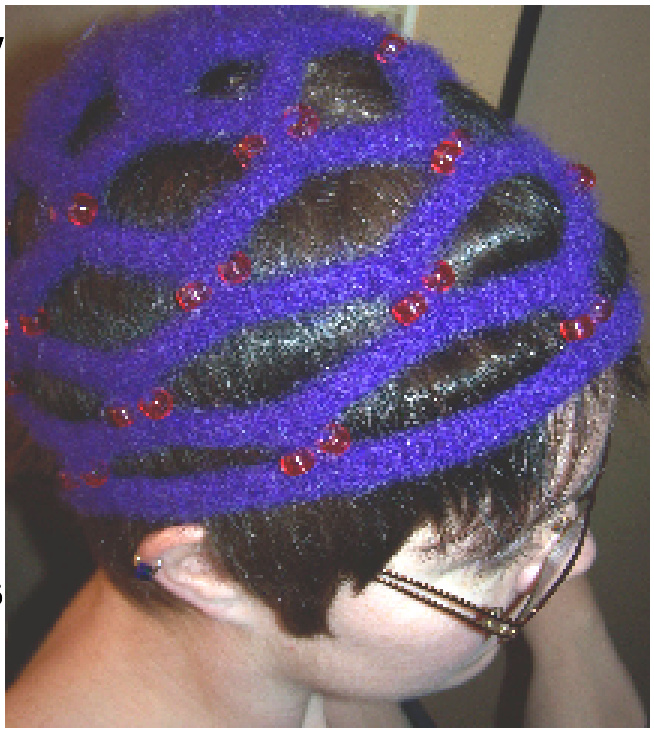
Start your skullcap using the pattern above. You'll begin the beading process once you have finished the “flower" motif at the hat's crown and broken off.
IString 14 pony beads onto your yarn. Complete row 6. 0n row 7, work 6 sc in ch-9 loop, (ch 1, pull one bead up to the ch and sl st around it to fix it in place, ch 1, pull up another bead and sl st around it to fix it in place, ch 1) 6 sc, 7 times. IContinue in this manner throughout the pattern - in every spot in the original pattern where a ch-2 is required, simply replace it with the bead chain instructions above.


