Felted Checker/Chess Board By Cori Eichelberger This board is knit using a technique called column knitting which allows the knitter to work only column at a time and does not require carrying colors. Column knitting is easy to do but does require an extra circular and double pointedneedle. Yarn: 1200 yards of a worsted weight wool that felts easily (600 yards each of twocolors) The sample was knit with Patons Classic Wool Black and White. HOW ABOUT SCHOOL COLORS? Pink and purple for a young girl or stick with the traditional colors, brown, black, cream and white. NOTE: Yarn is used double throughout. To ensure equality in felting reduction it is wise to use yarn from one company/brand. Needle: 2 - Size 13 (9 mm) 24 inch circular needles or one and an extra long stitch holder Size 13 double pointed needles Notions: 1 marker Gauge: Loose! The gauge doesn't have to be exact since you are felting. 12 sts and 18 rows $=4^{\mathfrak{N}}$ (10 cm) in St st.
Finished Measurements:
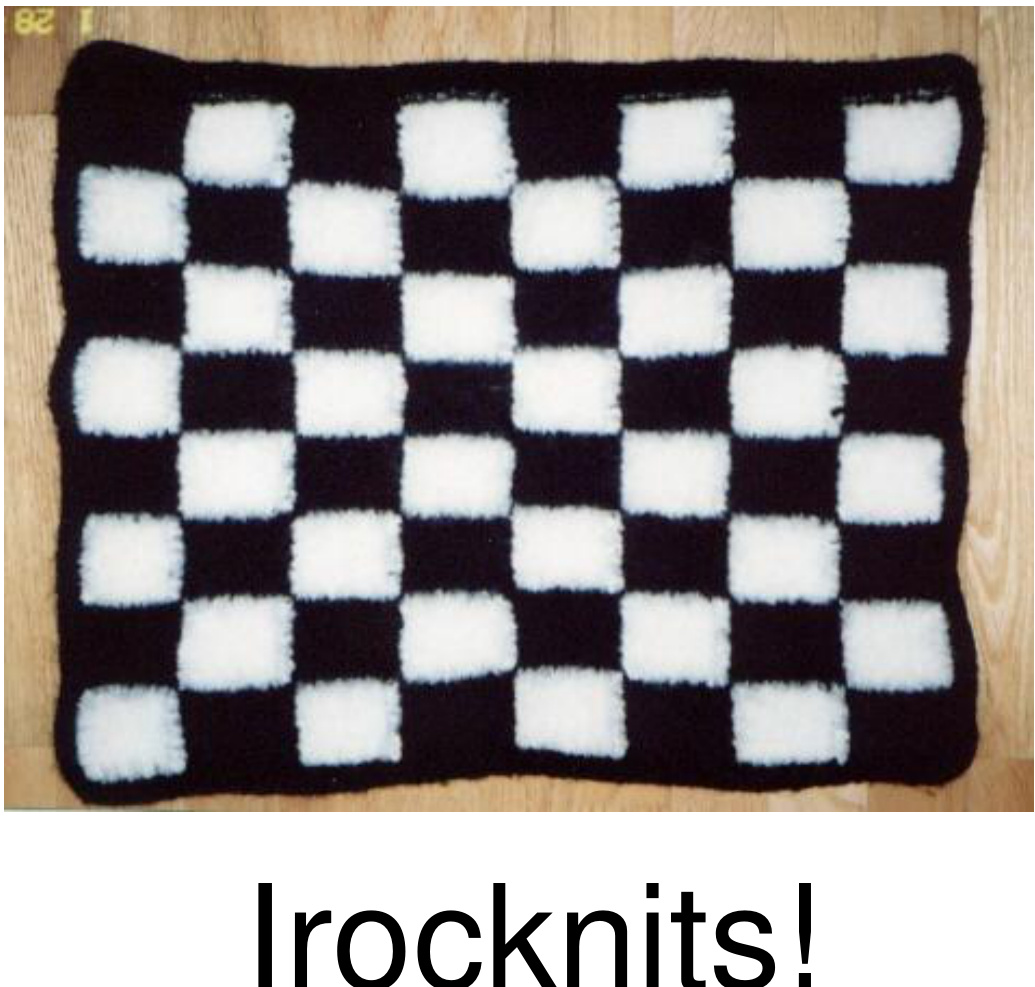
Aftter Felting: approximatelyl 19" x 19' Abbreviations: $\mathsf{C O}=$ cast on $\mathsf{P}=\mathsf{p u r l}$ $\mathsf{P M}=$ placemarker $\mathsf{M C=}$ maincolor $\mathsf{K}=\mathsf{k n i t}$ $\mathsf{P2t o g}=\mathsf{p u l t}$ Itwostitchestogether $\mathsf{S M}=$ Slipmarker $\mathsf{C C}=$ contrastcolor On size 13 (24-in circular needle) cast on (using two strands of wool) 93 stitches using main color and knit 4 rows in garter stitch (knit every row). Using new needle, (l prefer the doubled pointed since you are only working on 14 stitches at this point but you can use a straight or a circular working back and forth): Row 1: K3, PM, K11 (leave remaining 79 stitches unworked and left on 24 inch circular needle as your stitch holder) Row 2: SL1 (as if to purl), P10, SM, K3 Repeat 6 times for rows 3-14
NOTE: You can carry the opposite color yarn up side of each block by wrapping to alleviate weaving in all ends.
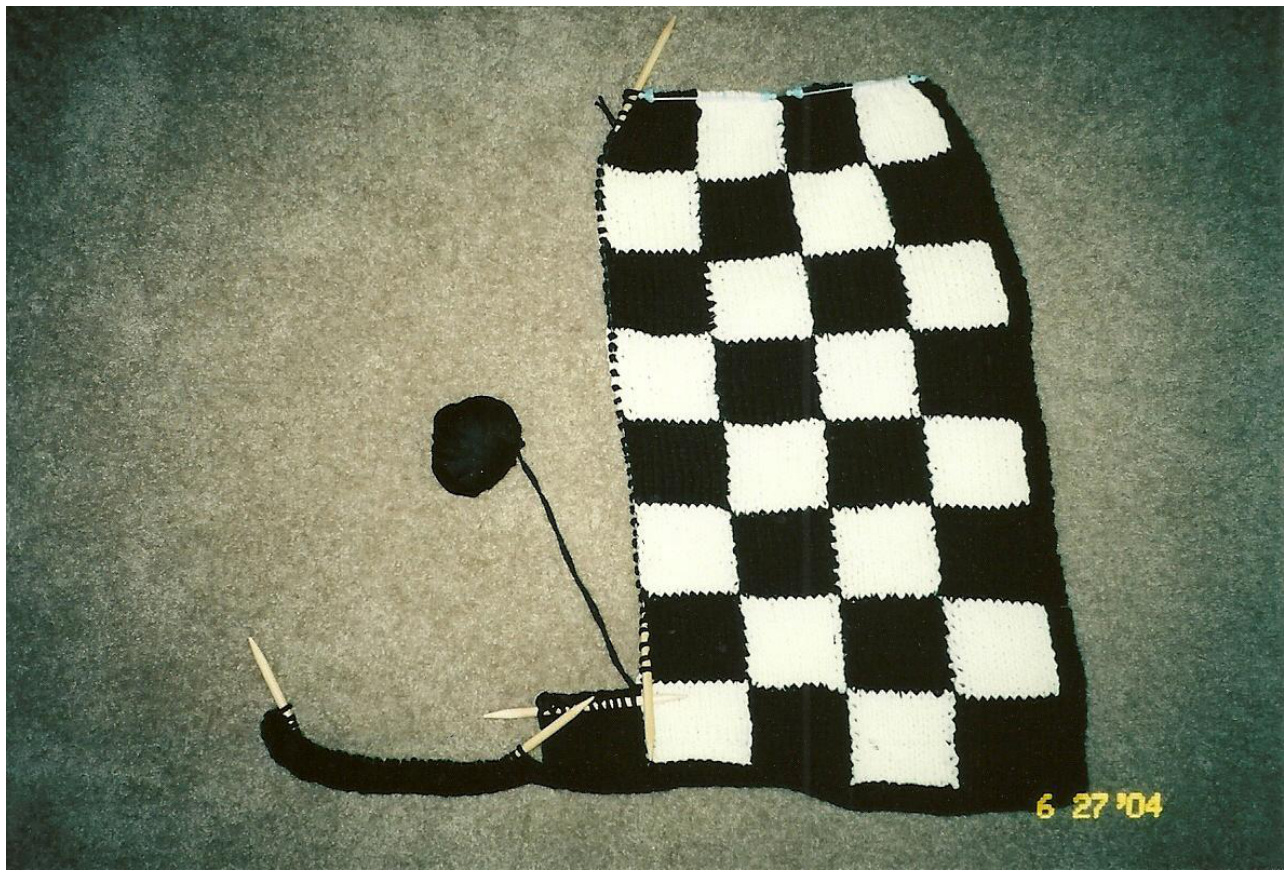
Row 15: K3MC, SM, K11 CC Row 16:SL1,P10CC,SM, K3MC Repeat 6 times for rows 17-28 Repeat rows 1-28 3 times more for a total of 8 squares alternating color. Leave last 14 stitches live to be worked when entire board is complete. \*\*Using 24 inch circular needle with right side facing, pick up 7 stitches along edge of each square through slip stitches for a total of 56 picked up stitches. With CC knit across 11 stitches along bottom of “board" this becomes your new square. Turn work and Row 2 of this square is SL1, P9, P2tog, which is last stitch of this square worked together with slipped stitch pick up row to attach this column. Work rows 3-28 from previous directions attaching new column as you go at the end of each purl row and alternating color blocks. When column is complete place these stitches on holder (with previous live stitches if stitch holder is long enough) to be worked when board is complete. Return to \*\* and complete 5 more color block rows picking up 56 stitches along each edge and then working up one column at a time. When 7 color block rows have been completed, pick up the last 56 stitches along right hand edge and then knit across 14 final stitches along bottom keeping the first and last 3 stitches of the rows in garter stitch. EX: Row 1: K14 Row 2: K3, P10, P2tog To complete board, work 4 rows in MC of garter stitch along top edge. Cast off. Weave in ends. Felting Instructions: Optional: Place the knitted item in a mesh style lingerie bag or a zippered pillow protector to help protect your washer from excess lint. Set your washing machine on medium load, hot water and cold rinse. Add laundry soap, the item and an old sheet or pair of jeans to balance the load and help with agitation. Run one complete cycle. The first cycle won't always do much as felting usually takes more than one cycle. However, you may check your shrinkage during the cycle if you are concerned about size. After each cycle, shape the item with your hands. Even though it will unshape in the next cycle. After the last cycle, shape carefully with your hands and allow to dry completely. After the item is completely dry, use a disposable razor or shave off excess lint and fuzz. KUDos! This checkerboard was test knit by a new Virginia knitting friend, Sue Patton. Thanks! $\odot2005$ All rights reserved. This pattern was written for personal use, please honor the copyright. Irocknits! Designed by Cori Eichelberger 8595 Kelzer Pond Drive Victoria, MN 55386 This picture was taken to show the set up of the needles for the checkerboard columns.