Minion Bob MINIONS
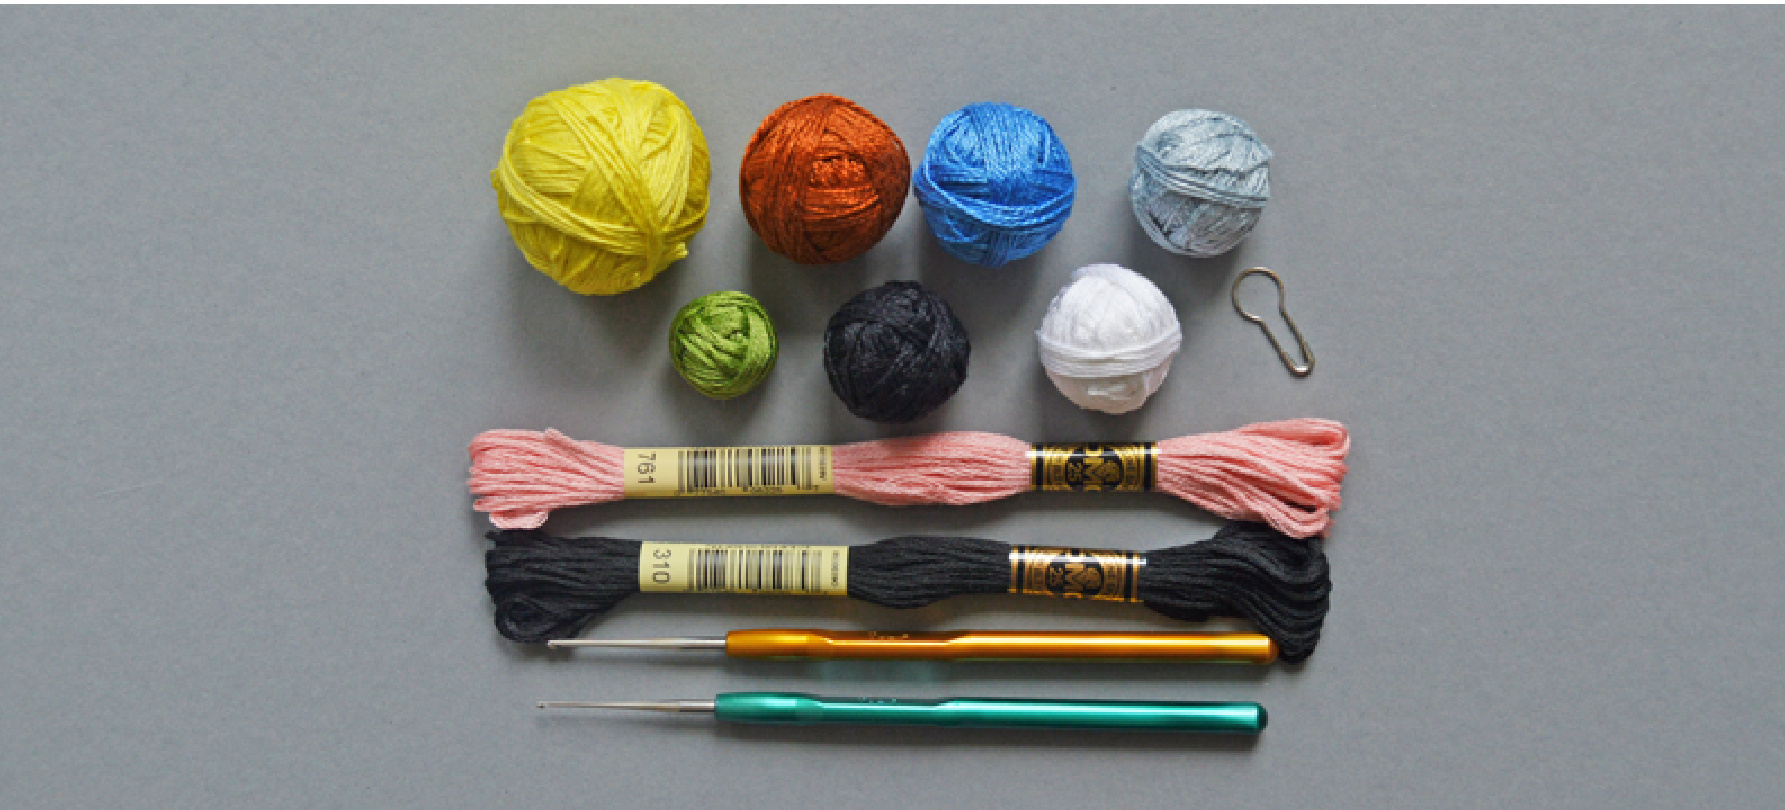
1. Instruments and materials
. 0.75 and 1.25 mm hook · Yellow, brown, navy blue, gray, green, black, milky white and white. Also mouline DMC 310 (black), DMC 761 (pink) · Sewing needle · Stuffing material
Minion Bob - character of the popular cartoon “Minions", that was created by Illumination Entertainment and Universal Pictures. This toy was crocheted with “Camomile" and “lris" yarn. They are 100% cotton, 320m/75g and 150m/25g. To create Minion Bob with a height of 10 cm and Bear Tim with a height of 5 cm, you must crochet with single yarn using a 1.25 mm hook. Minion's body must be crocheted with “Camomile" yarn, other details are crocheted with “lris" yarn. To crochet the bear's tongue, you should use mouline DMC 761 (two threads), to crochet minion's pupils, buttons and bear's nose you should use mouline DMC 310 (two threads). All these tiny details are crocheted with 0.75 mm hook. The stuffing material used in this toy is polyester wadding. This pattern is for personal use only. Sharing information from this pattern is prohibited. If you publish photos of the toys that are crocheted following this pattern, it is better to mention the author of the pattern. You can also use hashtag #AradiyaToys at Twitter and Instagram to share your toy and see other toys that are created following AradiyaToys' patterns.
2. Abbreviations
Ch chain SI slip stitch Sc single crochet Dc double crochet HDc half double crochet INC increase INVDEC invisible decrease Tr INVDEC treble invisible decrease BLO back loops only FLO front loops only Tip 2 To keep track of the beginning of the row, use a marker. Pin marker to the last loop of the row. Every new row must be finished with a loop at the marker. Tip 1 The toy must be crocheted with tight stitches, to be sure that there won't be any holes through which stuffing material can be seen. All amigurumi toys are crocheted with tight stitches. Avoid small holes when stretching crochet fabric,if there are some tiny holes, use a smaller size hook. To avoid seams, all details are crocheted in a spiral without slip stitch and lifting loops. There is a chance that you will lose the beginning of the row; to avoid this, use a marker. It can be a colored pin or thread of contrasting color.
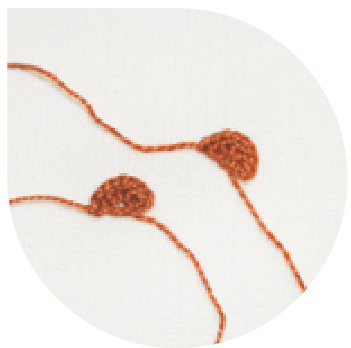
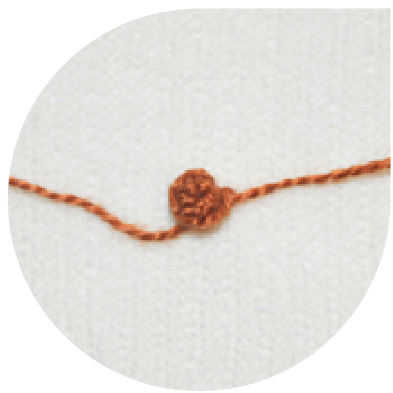
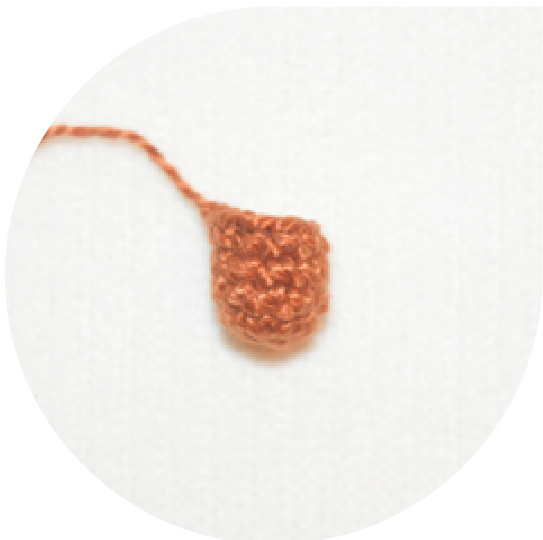
3. Body
With yellow yarn, 1.25 mm hook
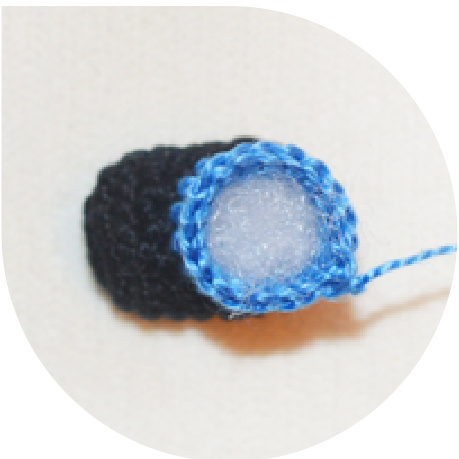
1 row 6Sc in magic circle (6) 2 row 6INC (12) 3 row (1Sc, INC) repeat 6 times (18) 4 row (2Sc, INC) repeat 6 times (24) 5 row (3Sc, INC) repeat 6 times (30) 6 row (4Sc, INC) repeat 6 times (36) 7 row (5Sc, INC) repeat 6 times (42) 8 row (6Sc, INC) repeat 6 times (48) 9 row (7Sc, INC) repeat 6 times (54) 10 row (8Sc, INC) repeat 6 times (60) 11 row (9Sc, INC) repeat 6 times (66) 12 row (1OSc, INC) repeat 6 times (72) 13 row (11Sc, INC) repeat 6 times (78) 14 — 36 rows Sc in each Sc around (78) 37 row (11Sc, INVDEC) repeat 6 times (72) 38 row (10Sc, INVDEC) repeat 6 times (66) 39 row (9Sc, INVDEC) repeat 6 times (60) 40 row (8Sc, INVDEC) repeat 6 times (54) 41 row (7Sc, INVDEC) repeat 6 times (48) 42 row (6Sc, INVDEC) repeat 6 times (42) 43 row (5Sc, INVDEC) repeat 6 times (36) 44 row (4Sc, INVDEC) repeat 6 times (30) Stuff detail with stuffing material, continue crocheting. 45 row (3Sc, INVDEC) repeat 6 times (24) 46 row (2Sc, INVDEC) repeat 6 times (18) 47 row (1Sc, INVDEC) repeat 6 times (12) 48 row 6INVDEC (6), SI Tighten all stitches. Cut the yarn, hiding the end inside the body. Tip 3 To avoid uneven edges, all details that are made in spiral technique must be finished with a slip stitch.
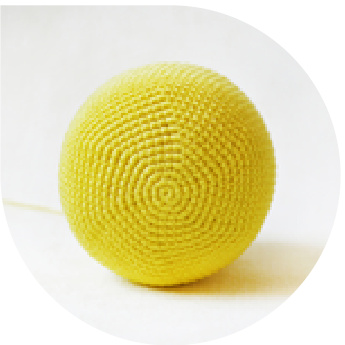
Image 1
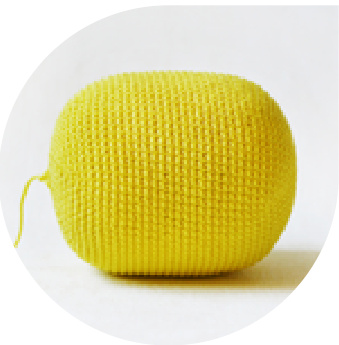
Image 2
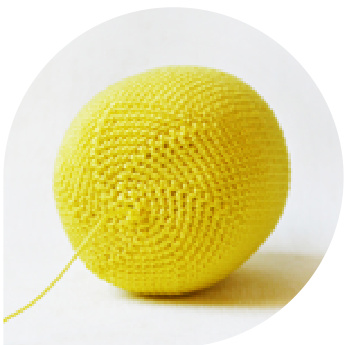
Image 3
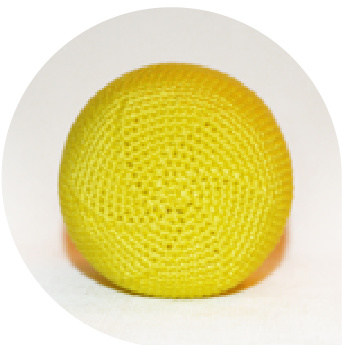
Image 4
4. Overall
With navy blue yarn, 1.25 mm hook
1 row 6Sc in magic circle (6) 2 row 6INC (12) 3 row (1Sc, INC) repeat 6 times (18) 4 row (2Sc, INC) repeat 6 times (24) 5 row (3Sc, INC) repeat 6 times (30) 6 row (4Sc, INC) repeat 6 times (36) 7 row (5Sc, INC) repeat 6 times (42) 8 row (6Sc, INC) repeat 6 times (48) 9 row (7Sc, INC) repeat 6 times (54) 10 row (8Sc, INC) repeat 6 times (60) 11 row (9Sc, INC) repeat 6 times (66) 12 row (10Sc, INC) repeat 6 times (72) 13 row (11Sc, INC) repeat 6 times (78) 14 row (12Sc, INC) repeat 6 times (84) 15 row (13Sc, INC) repeat 6 times (90) 16 — 20 rows Sc in each Sc around (90) 21 - 28 rows 20Sc, Ch turn (20) 29 row 20Sc (20) Cut the yarn.
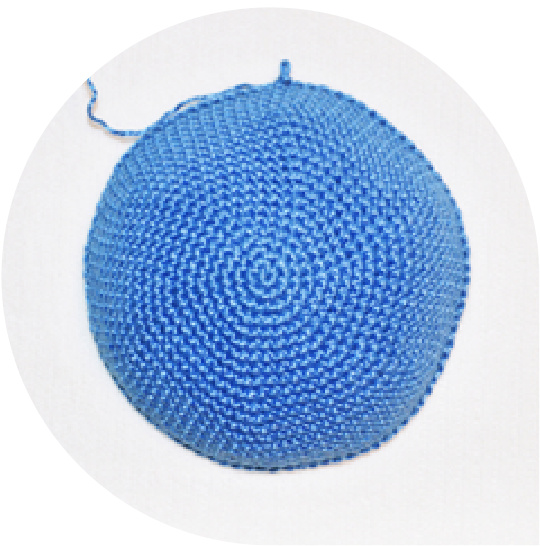
Image 5

Image 6
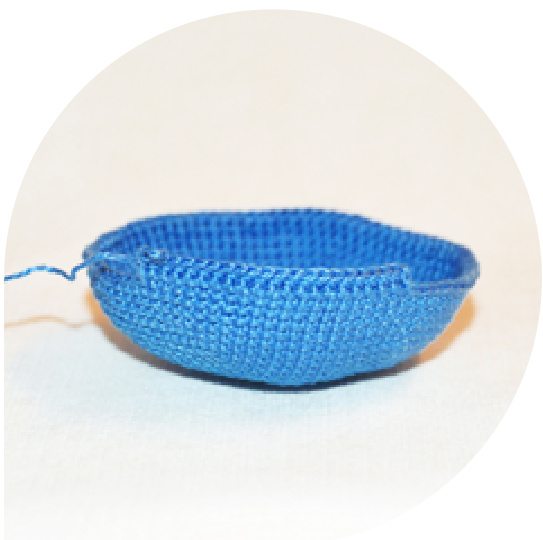
Image 7
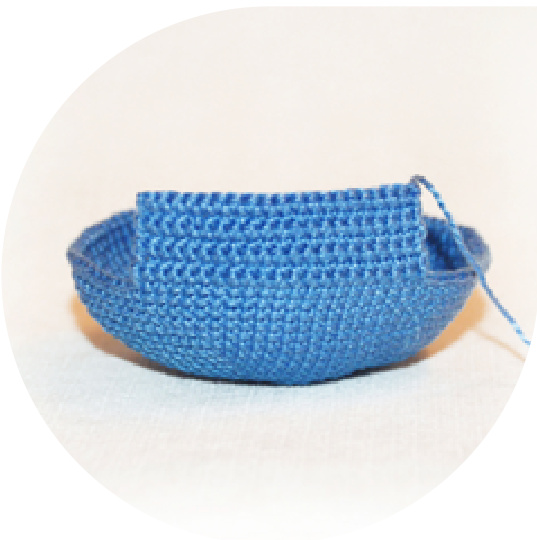
Image 8
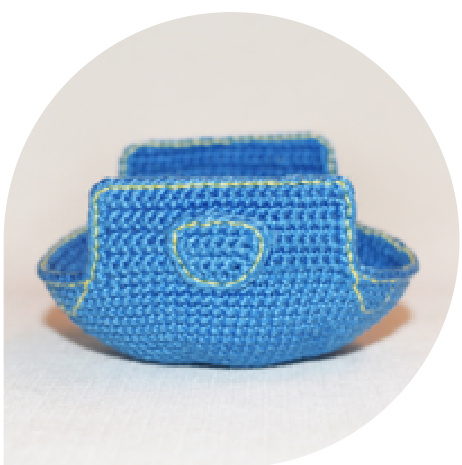
4.1 Overall
Skip 25 stitches, connect navy blue yarn to the 26th stitch and crochet 1Sc, 19Sc, Ch turn (the first row is ready). 2 — 8 rows 20Sc, Ch turn (20) 9 row 20Sc (20) Crochet the whole circumference of the overall: 8Sc (into transverse loop), 25Sc, 8Sc (into transverse loop), 20Sc, 8Sc (into transverse loop), 25Sc, 8Sc (into transverse loop), 20Sc (122Sc). Fasten and cut the yarn.
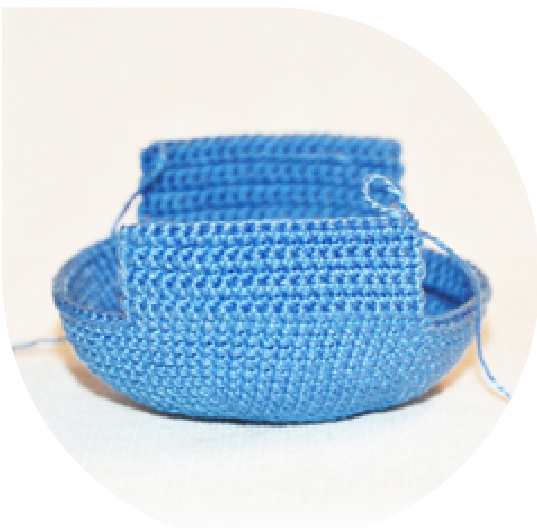
Image 9
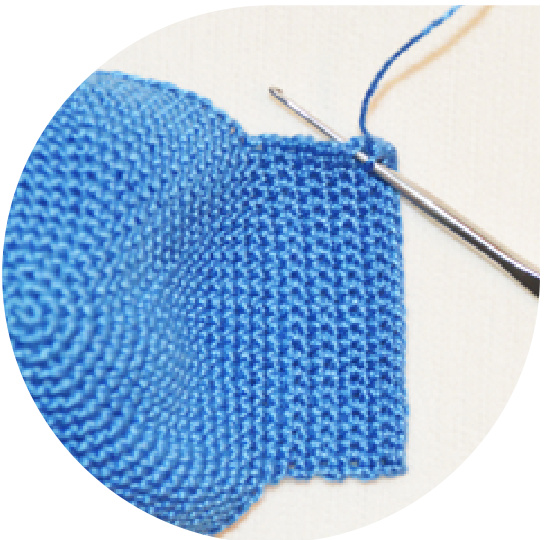
Image 10
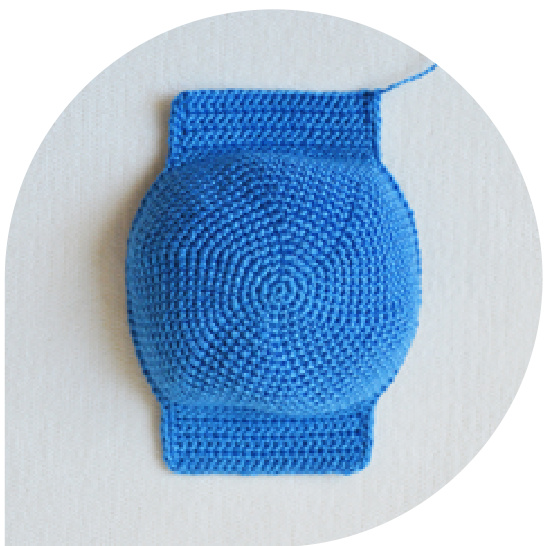
Image 11
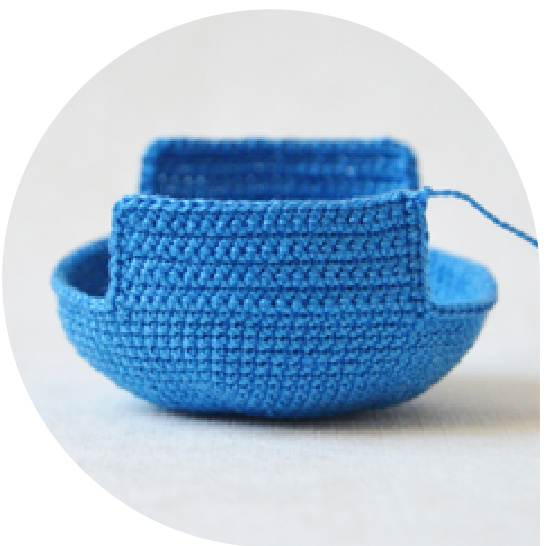
Image 12
4.2 Overall
Embroider the circumference with yellow yarn, making it look like a seam. (lmage 13) Embroider the pockets. Cut the yarn, hiding the end on the back side of the detail. (lmage 14)
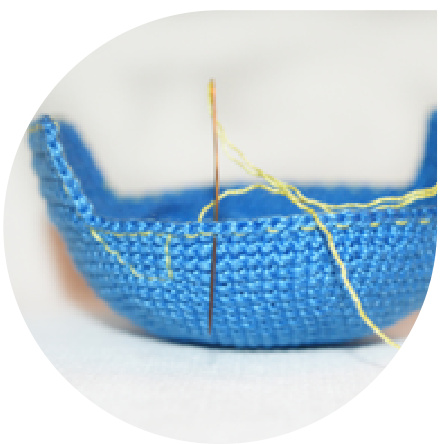
Image 13
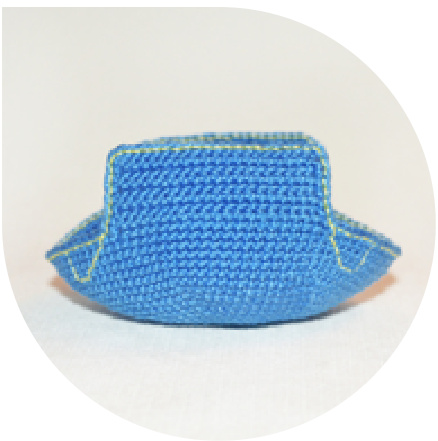
Image 14
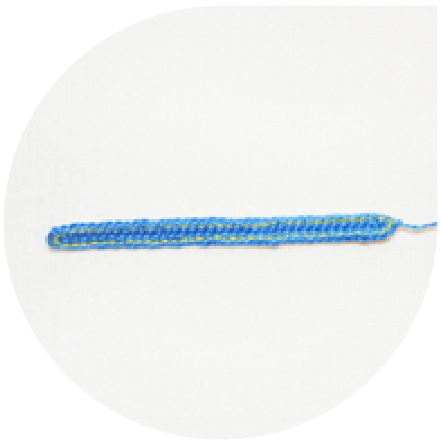
4.3 Overall straps
With navy blue yarn, 1.25 mm hook
Ch39 1 row Sc in the second stitch, 37Sc, 3Sc in the next stitch (crochet round), 37Sc, 2Sc in the next stitch (that already has the very first single crochet), Sl (80) Cut the yarn, leave a long end for sewing. Make 2 details. Embroider the circumference with yellow yarn, making it look like a seam. (lmage 16)
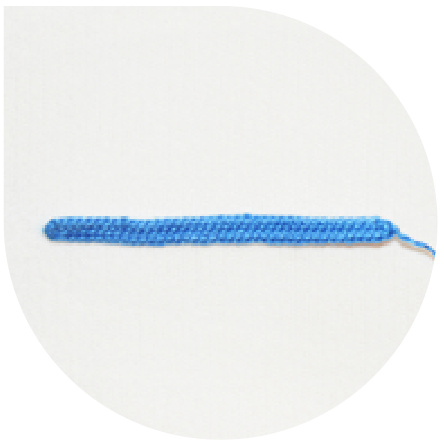
Image 15
5. Pocket
With navy blue yarn, 1.25 mm hook
Ch5 1 row Sc in the second stitch, 3Sc, Ch turn (4) 2 row INC, 2Sc, INC, Ch turn (6) 3 row 6Sc, Ch turn (6) 4 row 6Sc (6) Sc around the whole circumference (Image 18). Cut the yarn hiding the end on the back side of detail. Place the pocket to the center of the front part of overall and fasten it with pins. (lmage 19) Sew the pocket, making a seam with yellow yarn. (lmage 20)
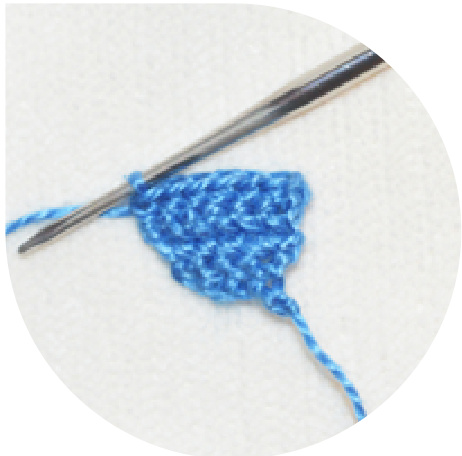
Image 17
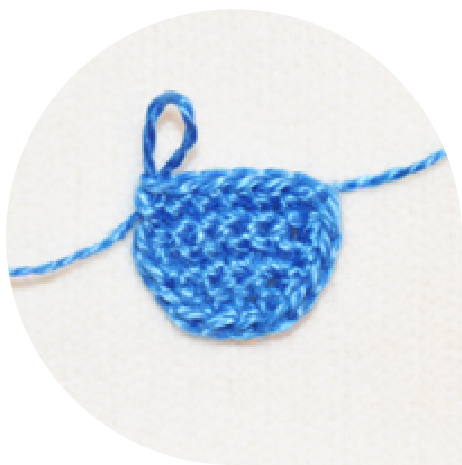
Image 18
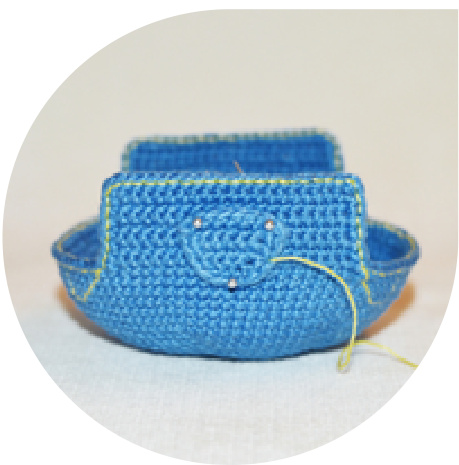
Image 19
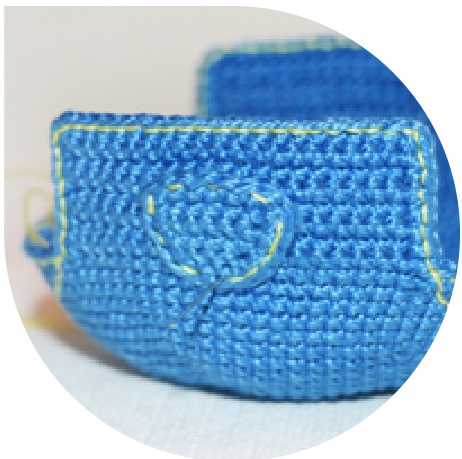
Image 20
5.1 Pocket
Try the overall on.
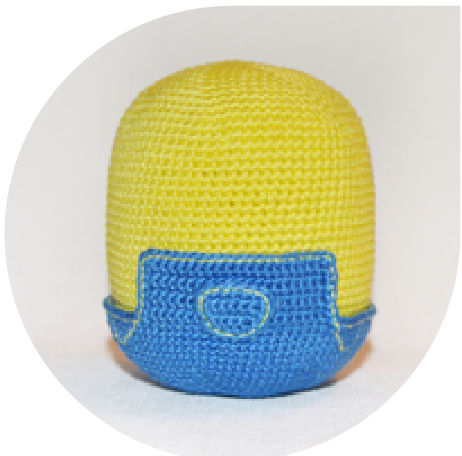
Image 22
6. Fingers
(Middle finger) With black yarn, 1.25 mm hook 1 row 5Sc in magic circle (5) 2 row 5INC (10) 3 row Sc in each Sc around (10) 4 row 1Sc, 2INVDEC, 1Sc, 2INVDEC (6) 5— 6 rows Sc in each Sc around (6), Sl Make 4 details. Cut the yarn, leaving a long end of yarn on two details for connecting the fingers and crocheting the hands.
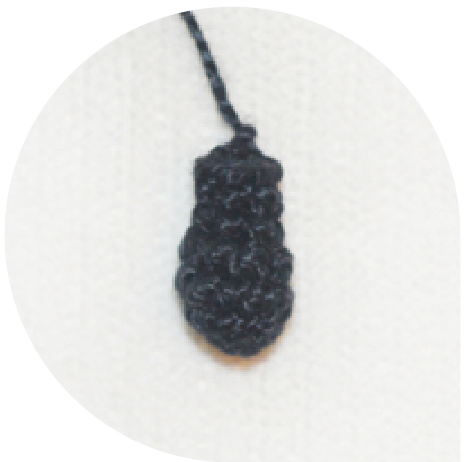
Image 23 (Thumb) With black yarn, 1.25 mm hook 1 row 5Sc in magic circle (5) 2 row 5INC (10) 3 row Sc in each Sc around (10) 4 row 1Sc, 2INVDEC, 1Sc, 2INVDEC (6) 5 row Sc in each Sc around (6), SI Make 2 details. Cut the yarn.
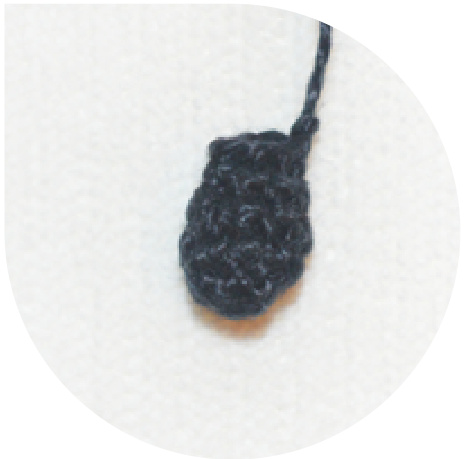
Image 24
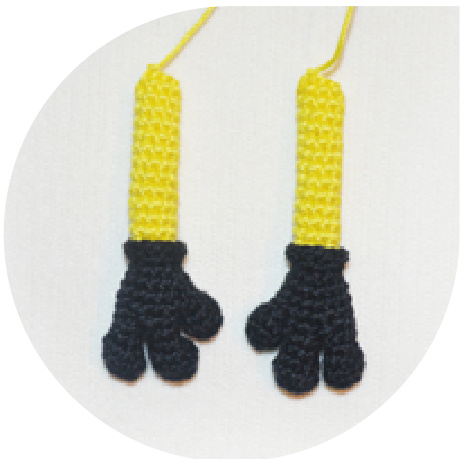
7. Hands
Connection of the left hand With black yarn, 1.25 mm hook 1 row (please note that here, we skip 2 stitches out of the 6 stitches of each finger, which means we work in 8 stitches in total) first finger: 1Sc, INC, second finger: INC, 2Sc, INC, first finger: INC, 1Sc (12) 2 row connect thumb 1Sc, 11SC (12) 3 row 4Sc on thumb (skip 3 stitches: 1Sc on the thumb itself, the connection loop between the thumb and the middle finger that was mentioned as 1Sc in the second round, and 1Sc on the middle finger), 10Sc (14) 4 row (5Sc, INVDEC) repeat 2 times (12) 5 row (2Sc, INVDEC) repeat 3 times (9) 6 row 4Sc (extra stitches made to help conceal the unshapely edges) Connect yellow yarn and cut black one. 7 row BLOSc in each Sc around (9) 3 — 19 rows Sc in each Sc around (9) 20 row 4Sl, 5Sc (9), SI Cut the yarn, leave a long end for sewing. Stuff detail with stuffing material. Connect black yarn to the row where you crocheted back loops only. (2Sc, INC) repeat 3 times (12) Sc in each Sc around (12), Sl Cut the yarn, hiding the end on the back side of the detail.
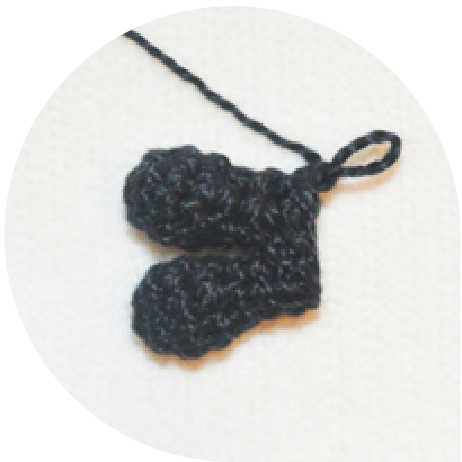
Image 25
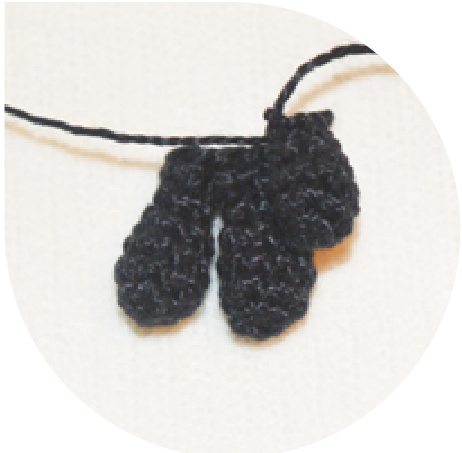
Image 26
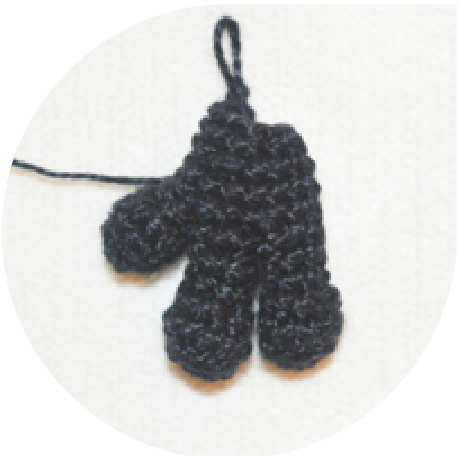
Image 27
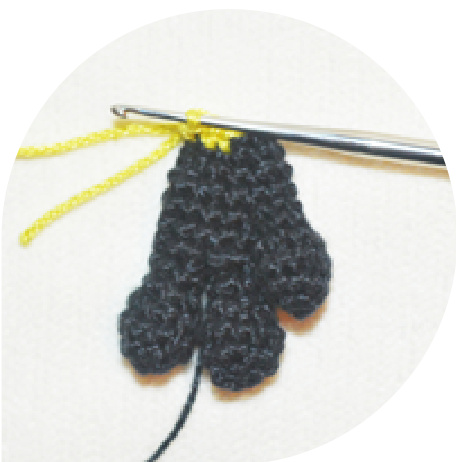
Image 28
7.1 Hands
Connection of the right hand With black yarn, 1.25 mm hook 1 row (please note that here, we skip 2 stitches out of the 6 stitches of each finger, which means we work in 8 stitches in total) first finger: 1Sc, INC, second finger: INC, 2Sc, INC, first finger: INC, 1Sc (12) 2 row 5Sc, connect thumb 1Sc, 6Sc (12) 3 row 4Sc, (skip 3 stitches: 1Sc on the middle finger, the connecting loop between the thumb and middle finger that was mentioned as 1Sc in the second round, and 1Sc on the thumb itself), 4Sc by thumb, 6Sc (14) 4 row (INVDEC, 5Sc) repeat 2 times (12) 5 row (2Sc, INVDEC) repeat 3 times (9) 6 row 2Sc (extra stitches made to help conceal the unshapely edges) Connect yellow yarn and cut black one. 7 row BLOSc in each Sc around (9) - 19 rows Sc in each Sc around (9) 20 row 1Sc, 4Sl, 4Sc (9), SI Cut the yarn, leave a long end for sewing. Stuff detail with stuffing material. Connect black yarn to the row where you crocheted back loops only. (2Sc, INC) repeat 3 times (12) Sc in each Sc around (12), Sl 1 row 2 row Cut the yarn, hiding the end on the back side of the detail.
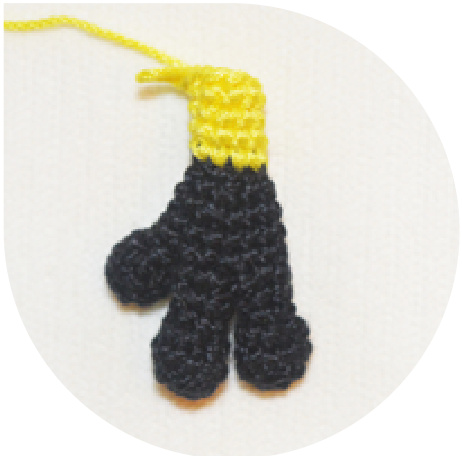
Image 29
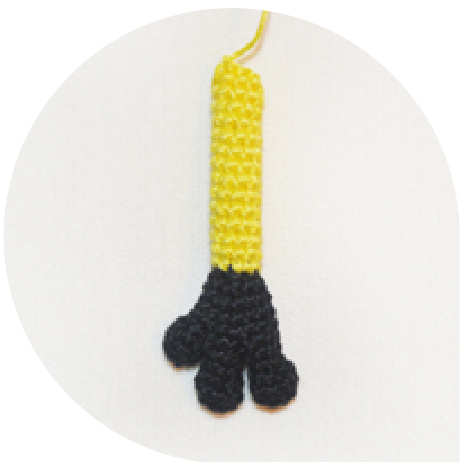
Image 30
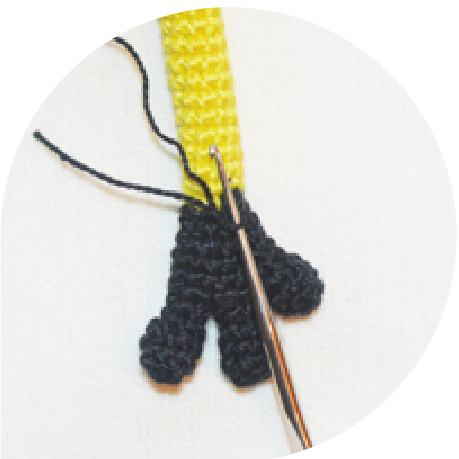
Image 31
8. Legs
vitn piack yarn, I.2 mm nook 1 row 6Sc in magic circle (6) 2 row 6INC (12) 3 row (1Sc, INC) repeat 6 times (18) 4 row Sc in each Sc around (18) 5 row 5Sc, 4INVDEC, 5Sc (14) 6 row 5Sc, Ch turn (5) 7 row 11Sc, Ch turn (11) 8 row 11Sc, Ch turn (11) 9 row 11Sc, Ch turn (11) 10 row 1Sc, 5INVDEC, Ch turn (6) 11 row 3INVDEC, Ch turn (3) 12 row Tr INVDEC (1) 13 row crochet around 16Sc (16) Connect navy blue yarn and cut black one. 14 — 15 rows Sc in each Sc around (16) 16 row 3Sc, INC, 8Sc, INC, 3Sc (18) 17 row Sc in each Sc around (18) 18 row 4Sc (extra stitches made to help conceal the unshapely edges) (4), SI Cut the yarn, leave a long end for sewing. Stuff detail with stuffing material. Make 2 details.
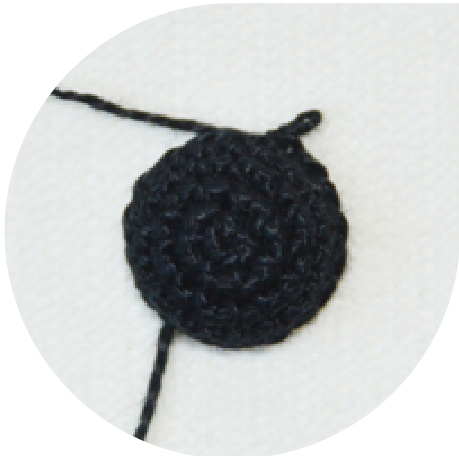
Image 33
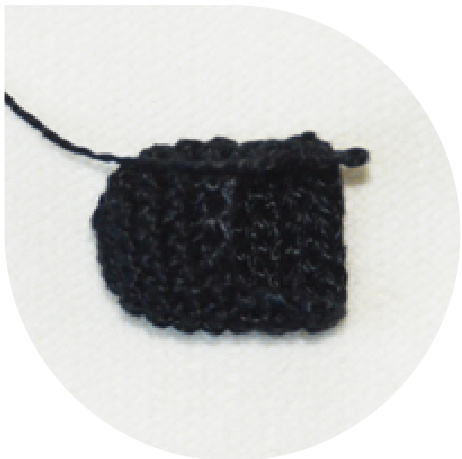
Image 34
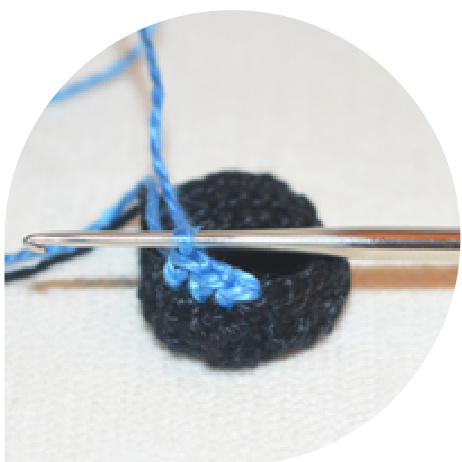
Image 35
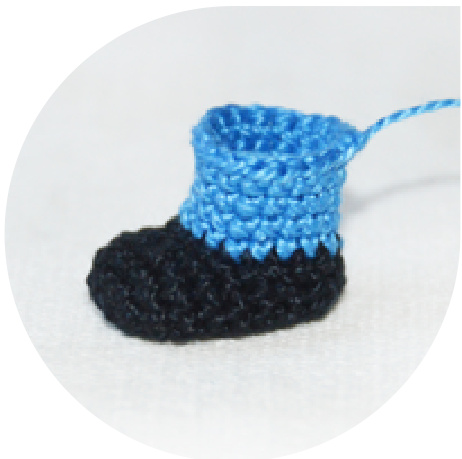
Image 36
9. Protective lens
(Right lens) With black yarn, 1.25 mm
hook Ch42, connect in ring 1 row Sc in each Sc around (42) 2 row BLOSc in each Sc around (42) 3 row 21Sc, connect gray yarn and crochet 8Sc, do not cut gray yarn, then crochet 13Sc with black yarn (42) Continue crocheting with gray yarn, do not cut black one. 4 row Sc in each Sc around (42) For rounds 5 and 6, crochet all Sc in back loops only. Sl must be crocheted behind both loops. 5 row BLO(5Sc, INVDEC) repeat 3 times, 5Sl, INVDEC SI, 1SI, BLO4Sc, BLOINVDEC, BLO5Sc, BLOINVDEC (36) 6 row BLOSc in each Sc around (36) Continue crocheting with black yarn, cut gray one. 7 - 8 rows Sc in each Sc around (36), Sl Cut the yarn, leave a long end for sewing. Bend the lens along the rows that are crocheted with back loops only.

Image 38
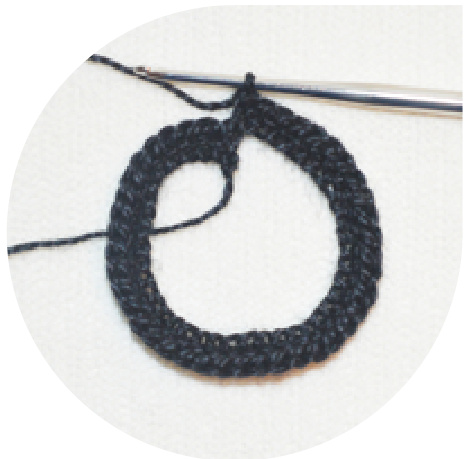
Image 39
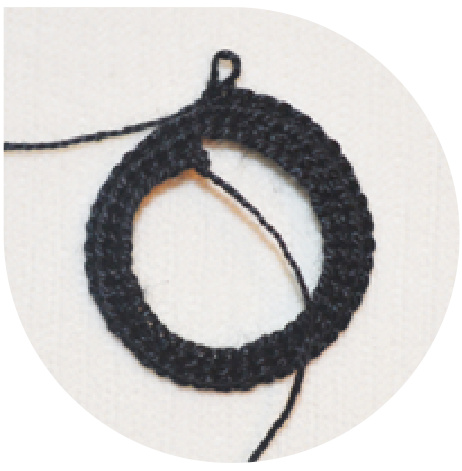
Image 40
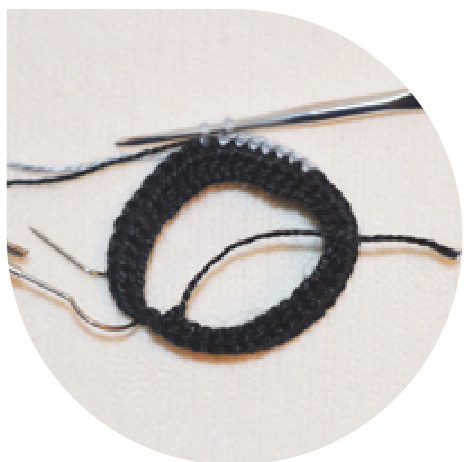
Image 41
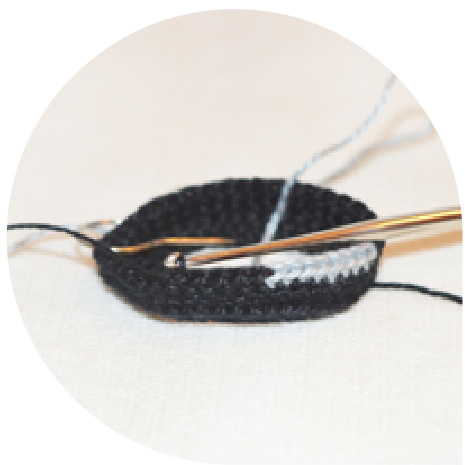
Image 42
9.1 Protective lens
(Left lens) With black yarn, 1.25 mm hook
Ch42, connect in ring 1 row Sc in each Sc around (42) 2 row BLOSc in each Sc around (42) 3 row 14Sc, connect gray yarn and crochet 8Sc, do not cut gray yarn, then crochet 2OSc with black yarn (42) Continue crocheting with gray yarn, do not cut black one. 4 row Sc in each Sc around (42) For rounds 5 and 6, crochet all Sc in back loops only. Sl must be crocheted behind both loops. 5 row BLO(5Sc, INVDEC) repeat 2 times, 5Sl, INVDECSI, 1SI, BLO4Sc, BLOINVDEC, BLO(5Sc, INVDEC) repeat 2 times (36) 6 row BLOSc in each Sc around (36) Continue crocheting with black yarn, cut gray one. 7 - 8 rows Sc in each Sc around (36), Sl Cut the yarn, leave a long end for sewing. Bend the lens along the rows that are crocheted with back loops only.
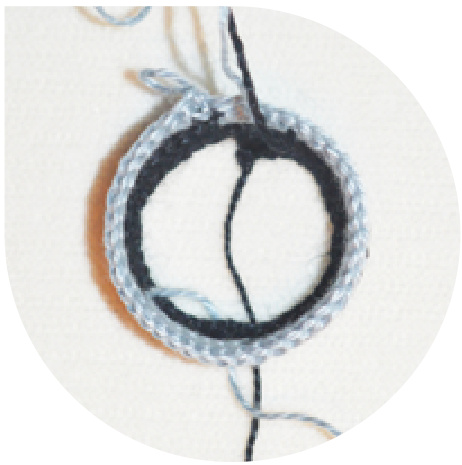
Image 43
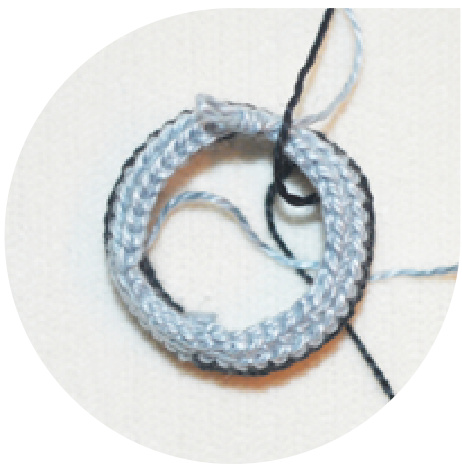
Image 44
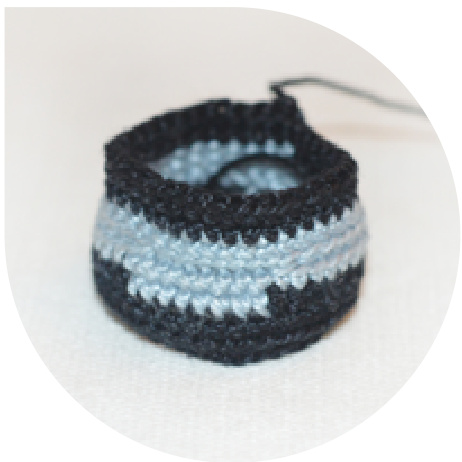
Image 45
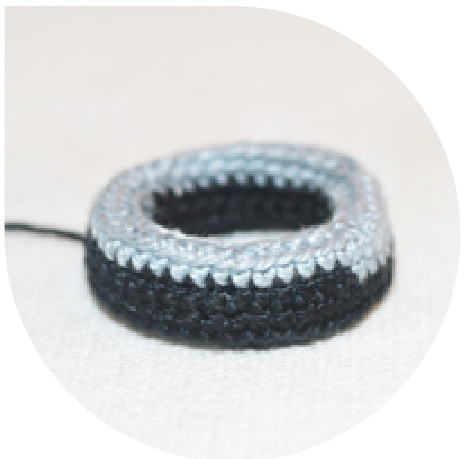
Image 46
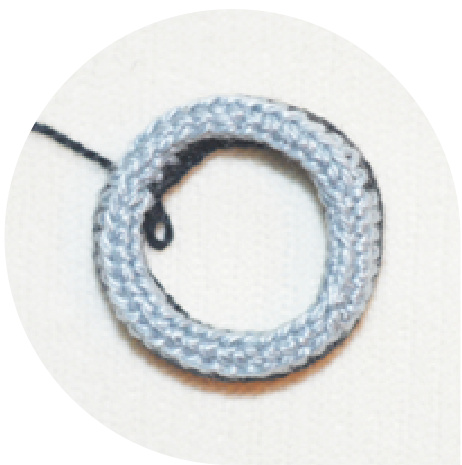
Image 47
9.2 Protective lens' strap
With black yarn, 1.25 mm hook
Ch81 1row Sc in the second stitch, 78Sc, 3Sc in the next stitch (crochet round), 78Sc, 2Sc in the next stitch (that already has the very first single crochet) (162) 2row 80Sc (80), SI Cut the yarn, leave a long end for sewing.
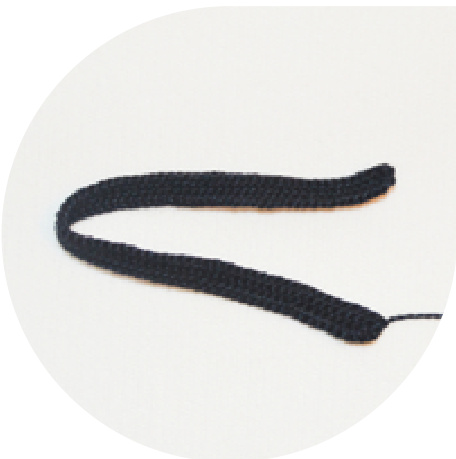
Image 48
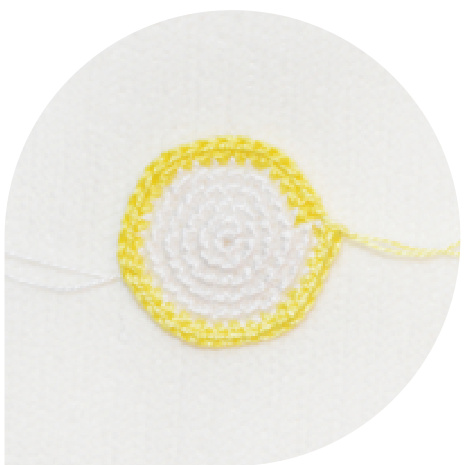
10. Eyes
With white yarn, 0.75 mm hook
1 row 6Sc in magic circle (6) 2 row6INC (12) 3 row (1Sc, INC) repeat 6 times (18) 4 row (2Sc, INC) repeat 6 times (24) 5 row (3Sc, INC) repeat 6 times (30) Connect yellow yarn and cut white one. 6 row (4Sc, INC) repeat 6 times (36), SI Cut the yarn, leave a long end for sewing. Make 2 details.
11. Irises
With brown and green yarn, 1.25 mm hook 1 row 4Sc in magic circle (4) 2 row 4INC (8), SI Cut the yarn, leave a long end for sewing. Make 2 details, one should be green, the other one - brown.
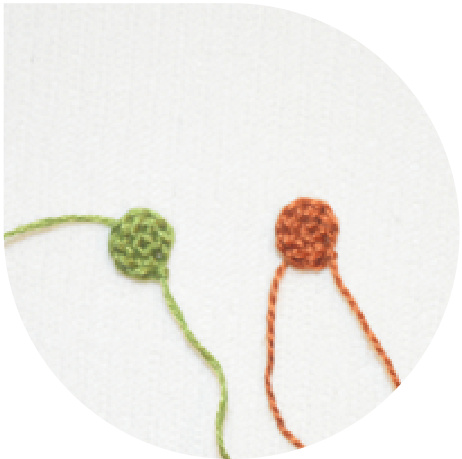
Image 50
12. Pupils
With black yarn (two threads of DMC 310) 1.25 mmhook 1 row 4Sc in magic circle (4), SI Cut the yarn, leave a long end for sewing. Make 2 details.
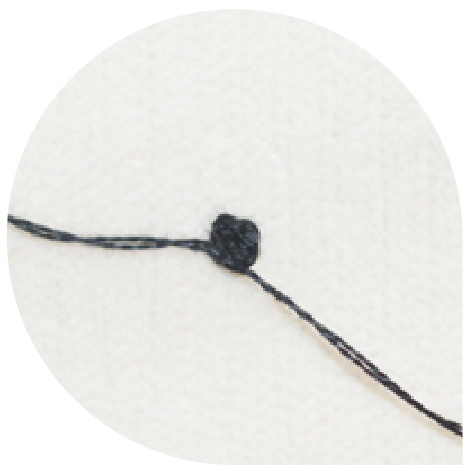
Image 51
13. Buttons
With black yarn (two threads of DMC 310), 1.25 mm hook 1 row 4Sc in magic circle (4), SI Cut the yarn, leave a long end for sewing. Make 2 details.
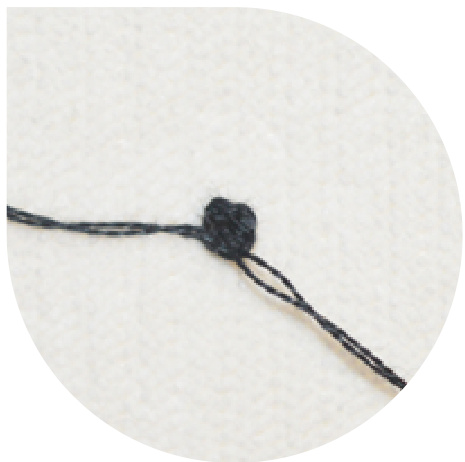
Image 52
14. Bear Tim. Head
With brown yarn, 1.25 mm hook
1 row 6Sc in magic circle (6) 2 row 6INC (12) 3 row (1Sc, INC) repeat 6 times (18) 4 row (2Sc, INC) repeat 6 times (24) 5 row (3Sc, INC) repeat 6 times (30) 6 row (4Sc, INC) repeat 6 times (36) 7 row (5Sc, INC) repeat 6 times (42) 8- 12 rows Sc in each Sc around (42) 13 row (5Sc, INVDEC) repeat 6 times (36) 14 row (4Sc, INVDEC) repeat 6 times (30) Stuff detail with stuffing material, continue crocheting. 15 row (3Sc, INVDEC) repeat 6 times (24) 16 row (2Sc, INVDEC) repeat 6 times (18) 17 row (1Sc, INVDEC) repeat 6 times (12) 18 row 6INVDEC (6), SI Tighten all stitches. Cut the yarn, hiding the end inside the body.
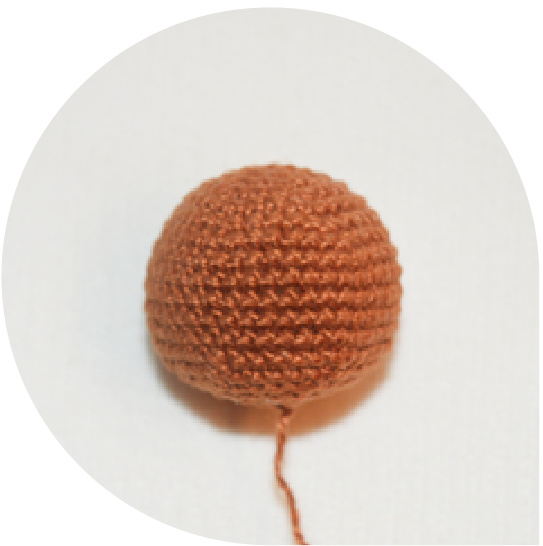
Image 53
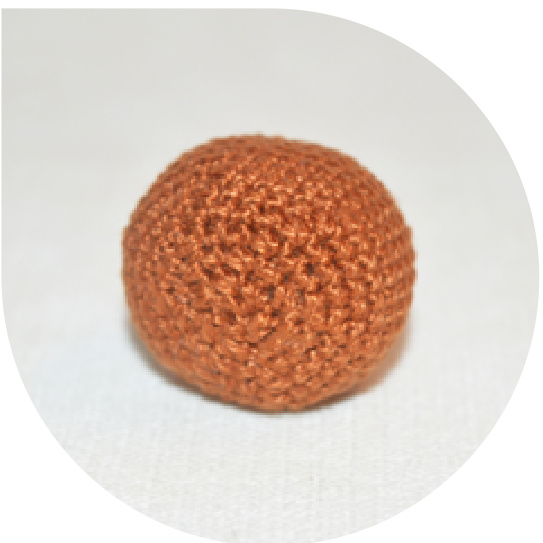
Image 54
15. Ears
With brown yarn, 1.25 mm hook 1 row 4Sc in magic circle, fasten the ring, but do not close the circle, Ch turn (4) 2 row4INC (8), SI Cut the yarn, leave a long end for sewing. Make 2 details.
16. Body
With brown yarn, 1.25 mm hook
Ch6 1 row Sc in the second stitch, 3Sc, 3Sc in the next stitch (crochet round), 3Sc, 2Sc in the next stitch (that already has the very first single crochet) (12), SI 2 row (1Sc, INC) repeat 6 times (18) 3 row (2Sc, INC) repeat 6 times (24) 4 row Sc in each Sc around (24) 5 row (3Sc, INC) repeat 6 times (30) 6 - 8 rows Sc in each Sc around (30) 9 row 1Sc, INVDEC, 6Sc, INVDEC,4Sc, INVDEC, 8Sc, INVDEC, 3Sc (26) 10 row Sc in each Sc around (26) 11 row 1Sc, INVDEC, 4Sc, INVDEC, 4Sc, INVDEC, Sc, INVDEC, 3Sc (22) 12 row 1Sc, INVDEC, 4Sc, INVDEC,3Sc, INVDEC, 4Sc, INVDEC, 2Sc (18), SI Stuff detail with stuffing material. Cut the yarn, leave a long end for sewing.
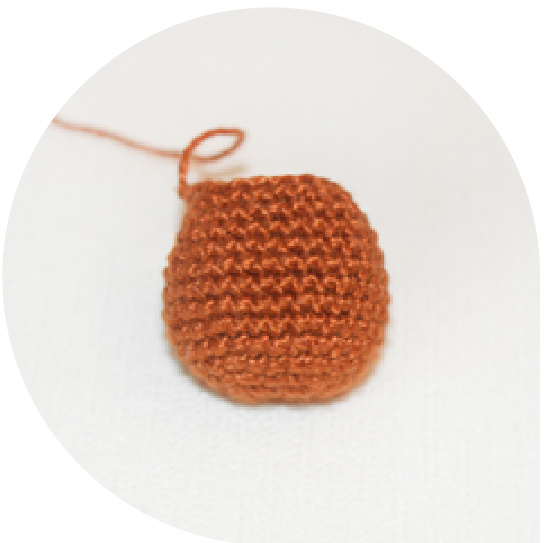
Image 56
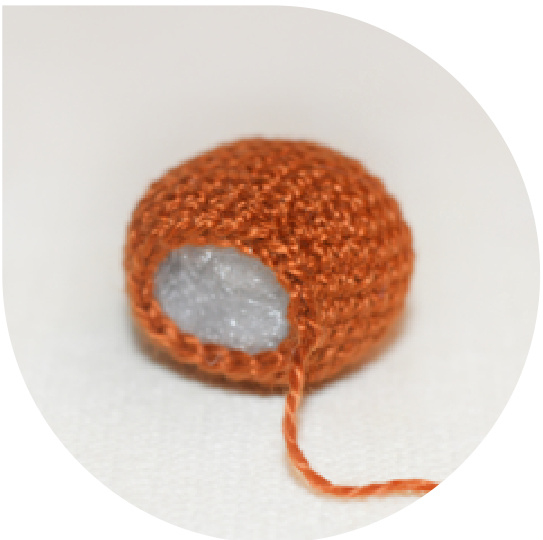
Image 57
17. Tail
With brown yarn, 1.25 mm hook 1 row 5Sc in magic circle (5), SI Cut the yarn, leave a long end for sewing.
18. Forelegs
With brown yarn, 1.25 mm hook
1 row 5Sc in magic circle (5) 2 row 5INC (10) 3 -4 rows Sc in each Sc around (10) 5 row (3Sc, INVDEC) repeat 2 times (8) 6 row (2Sc, INVDEC) repeat 2 times (6) 7 row (1Sc, INVDEC) repeat 2 times (4), SI Cut the yarn, leave a long end for sewing. Make 2 details.
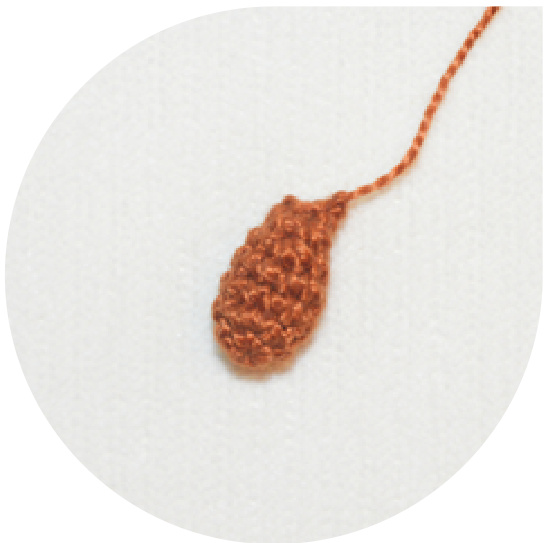
Image 59
19. Hind legs
With brown yarn, 1.25 mm hook
1 row 5Sc in magic circle (5) 2 row 5INC (10) 3- 5 rows Sc in each Sc around (10) Cut the yarn, leave a long end for sewing. Make 2 details.
20. Eyes
With milky white yarn, 1.25 mm hook
1 row 6Sc in magic circle (6), Sl Cut the yarn, leave a long end for sewing. Make 2 details.
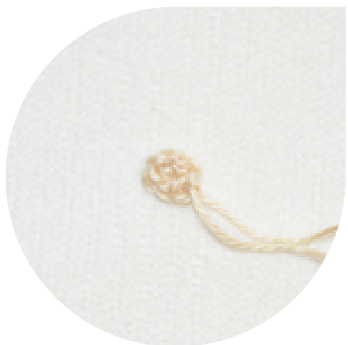
Image 61
21. Nose
With black yarn (two threads of DMC 310), 0.75 mmhook 1 row 5Sc in magic circle (5), SI Cut the yarn, leave a long end for sewing.
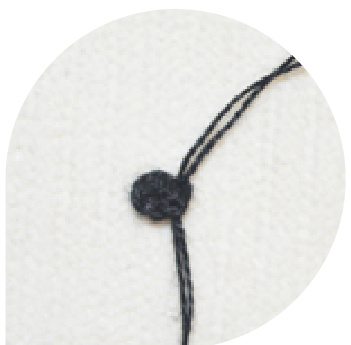
Image 62
22. Tongue
With pink yarn (two threads of DMC 761), 1 row0.75 mm hook 3Sc in magic circle (3), Sl Cut the yarn, leave a long end for sewing.
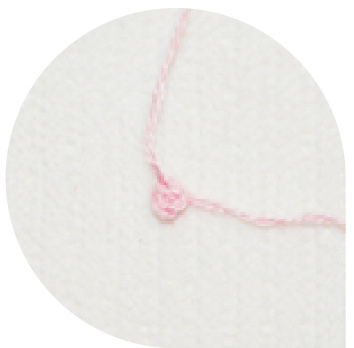
Image 63
23. Assembly
Point the center of the face and mark it with a pin. Place bear's body at the center of bottom part of the head and fasten it with pins. (lmage 64) Sew the body with the end of brown yarn that we left before. Fasten and cut the yarn, hiding the end inside the body. (lmage 65) Place the legs symmetrically on the bottom part of the body and fasten them with pins. (lmage 66) Sew the legs with the ends of brown yarn that we left before. Fasten and cut the yarn, hiding the end inside the body. (lmage 67) Place the tail on the bottom part of the body, right at the center and fasten it with pins. Sew the tail with the end of brown yarn that we left before. Fasten and cut the yarn, hiding the end inside the body. (lmages 68 and 69)
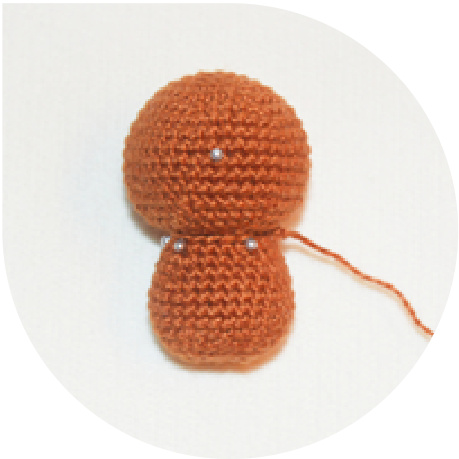
Image 64

Image 65
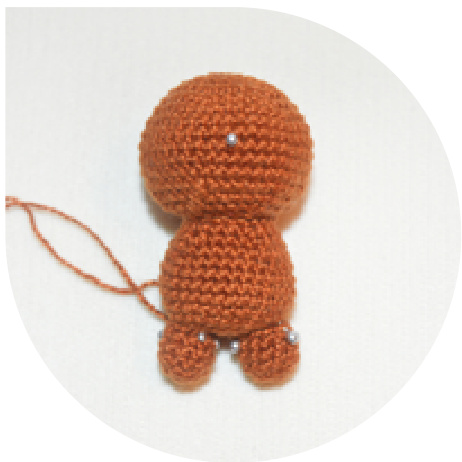
Image 66
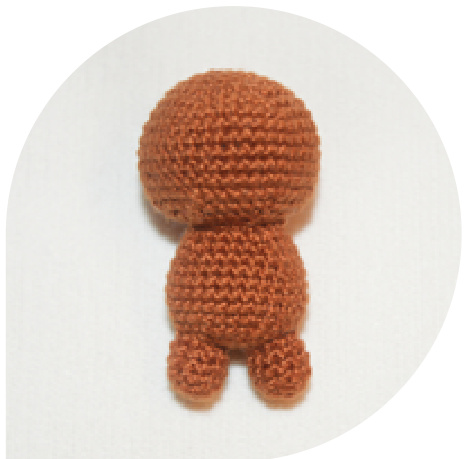
Image 67

Image 68
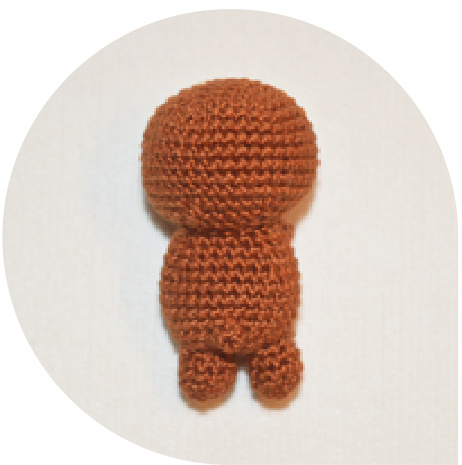
Image 69
23.1 Assembly
Place the forelegs symmetrically and fasten them with pins. (lmage 70) Sew the forelegs with the ends of brown yarn that we left before. Fasten and cut the yarn, hiding the ends inside the body. (Image 71) Place the ears on the top of the head and fasten them with pins. (lmage 72) Sew the ears with the ends of brown yarn that we left before. Fasten and cut the yarn, hiding the end inside the head. Bend the ears forward. (lmage 73)
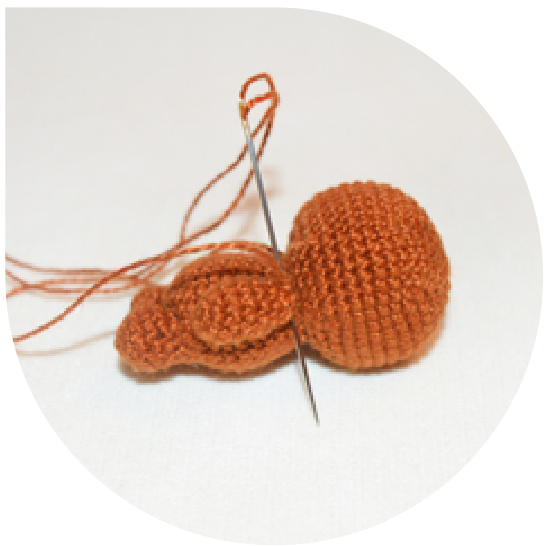
Image 70
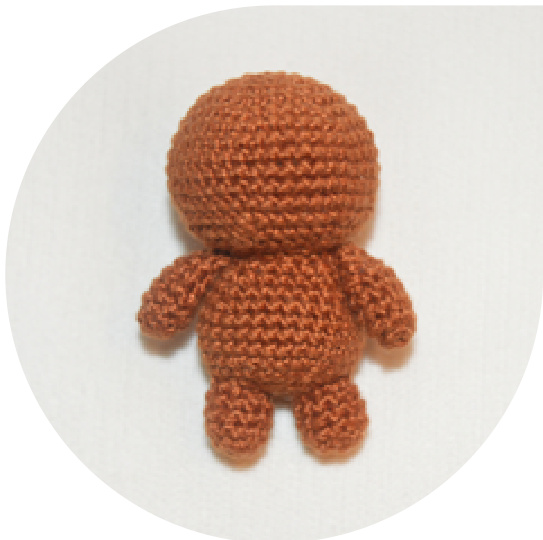
Image 71

Image 72
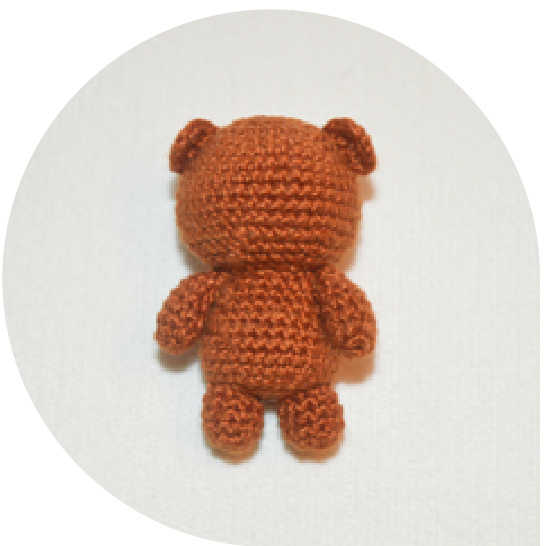
Image 73
23.2 Assembly
Place and sew the eyes to the front part of the head with the end of milky white yarn that we left before. Connect brown yarn and embroider horizontal lines on both eyes, making it look like button seams. Place the nose to the center, under the eyes, squish it a little to shape it like an oval. Sew it with the end of black yarn that we left before. Place and sew the tongue a little lower than the nose, on one side of the face with the end of the pink yarn that we left before. Fasten and cut the yarn, hiding the end inside the head. Bear Tim is ready.
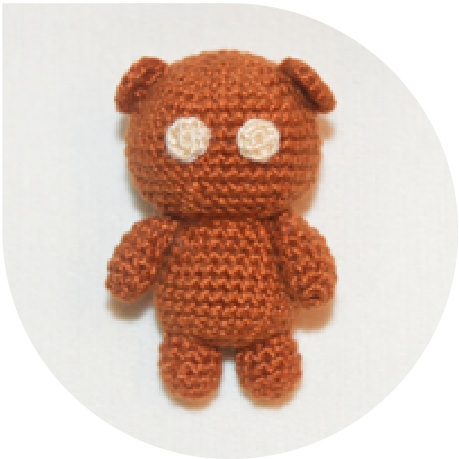
Image 74
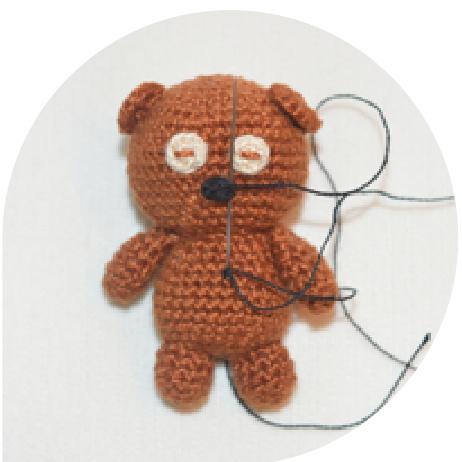
Image 76
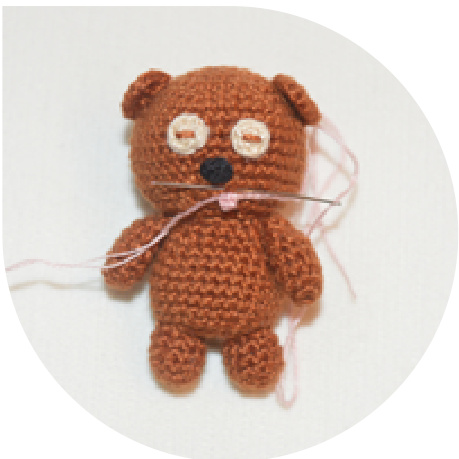
Image 78
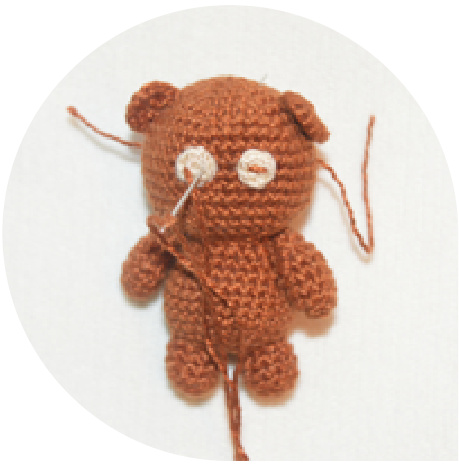
Image 75

Image 77
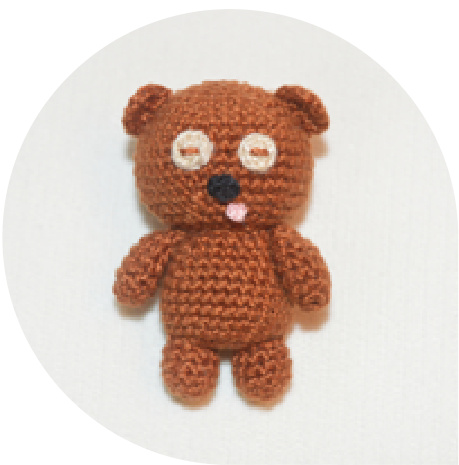
Image 79
23.3 Assembly
Place the legs symmetrically to the bottom part of overall and fasten them with pins. Sew the legs with the ends of navy blue yarn that we left before. Fasten and cut the yarn, hiding the end inside the body. Place the legs so that Minion Bob can stand.
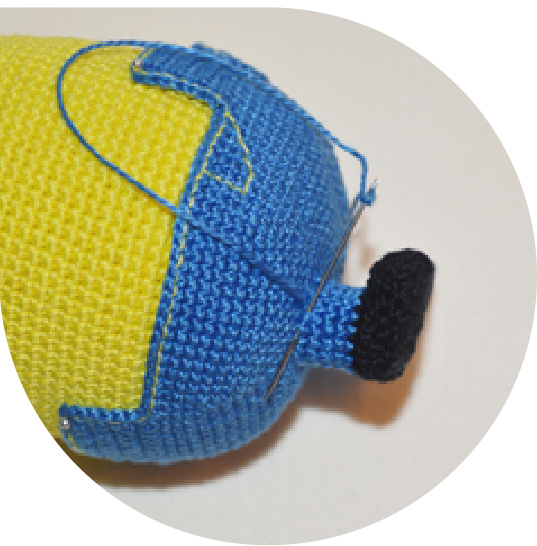
Image 80
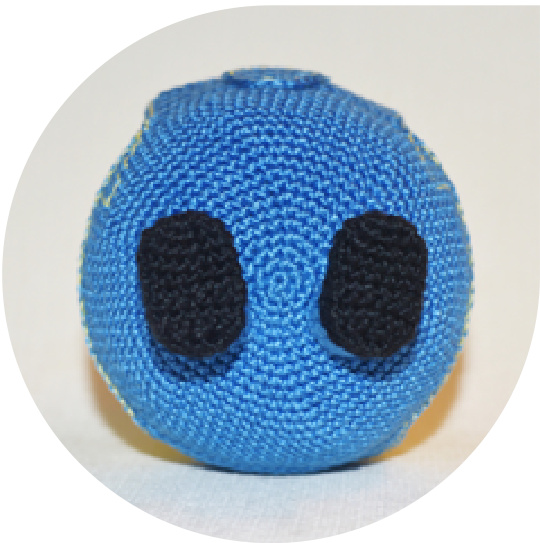
Image 81
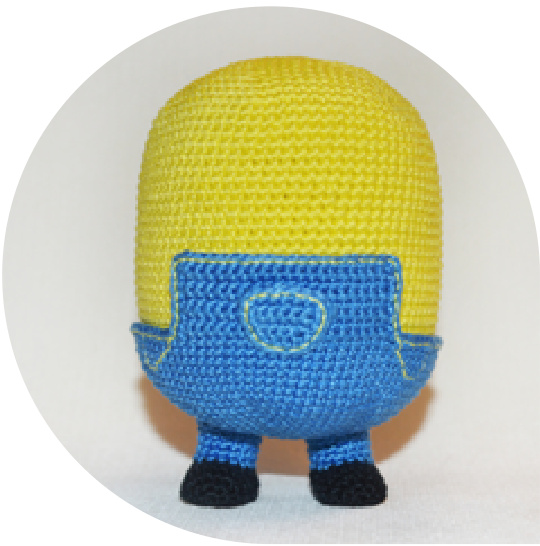
Image 82
23.4 Assembly
Take the left arm and place it at the exact same height where the front and back parts of the overall are ending. Fasten it with pins. Place the right hand symmetrically but rotate it forward. Bob will hold his bear in this hand. Sew the arms using the ends of yellow yarn that we left before. Fasten and cut the yarn, hiding the end inside the body.
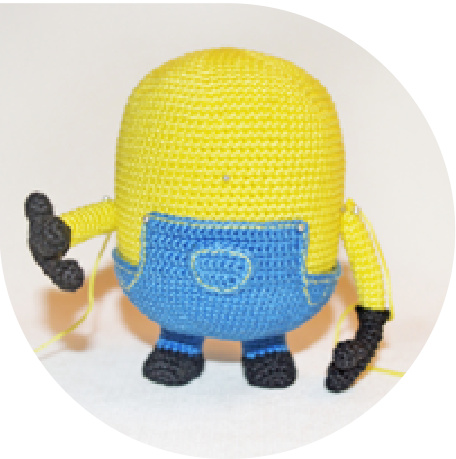
Image 83
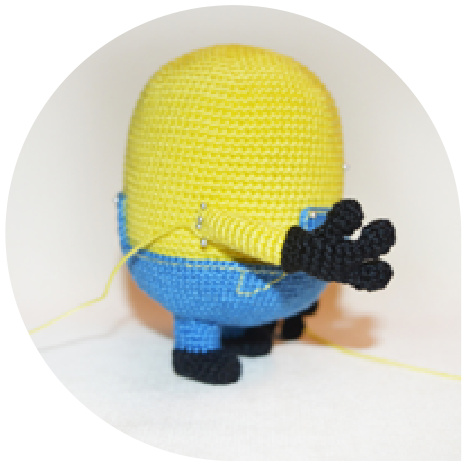
Image 84
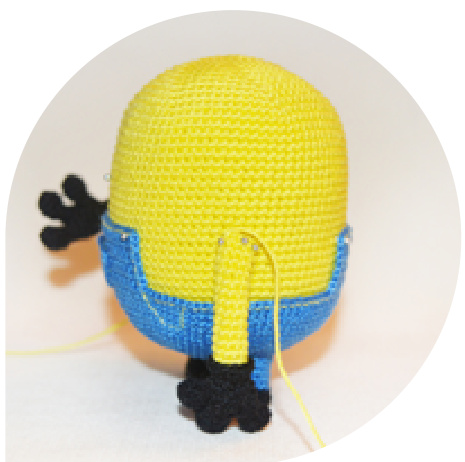
Image 85
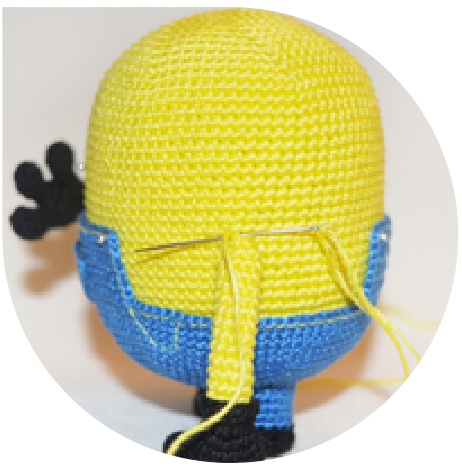
Image 86
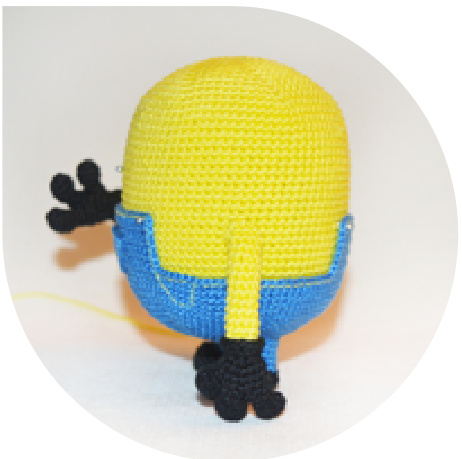
Image 87
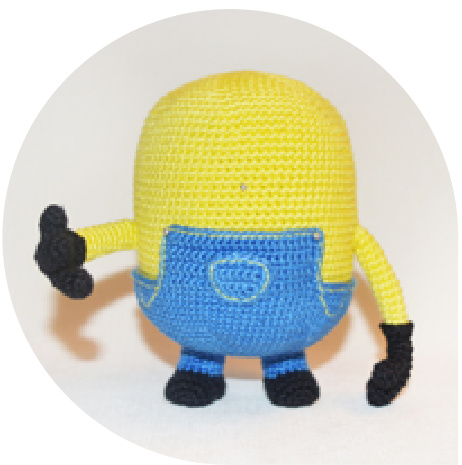
Image 88
23.5 Assembly
Take a strap and sew it to the back part of the overall with the end of yarn that we left before on the strap. (lmage 89) Connect navy blue yarn to the front part of the overall and sew the second end of strap so that it is stretched taut above the arm. (lmage 90) The second strap must be sewed symmetrically. (lmage 91) Sew the buttons to the front side of the straps with the end of black yarn that we left before. All yarns must be fastened and cut, hiding ends inside the body. (lmage 92)

Image 89

Image 90
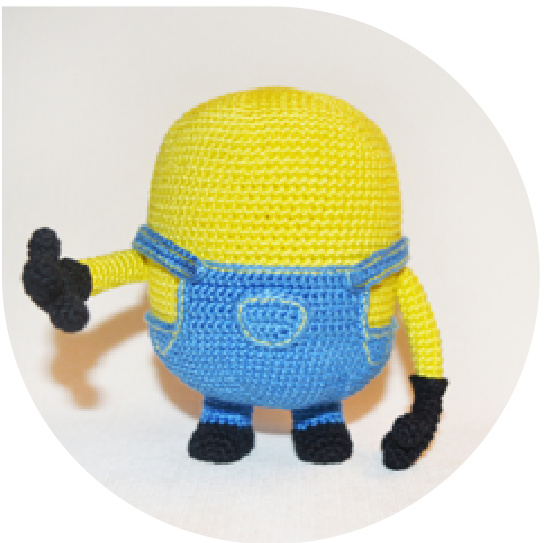
Image 91
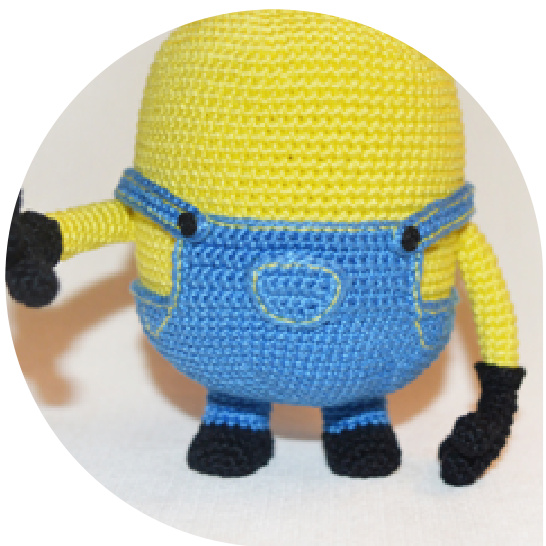
Image 92
23.6 Assembly
Sew the eye to the penultimate row of the lens with the end of yellow yarn that we left before. Repeat with the second eye. Place both protective lenses in such a way that the 8Sc (that are crocheted with gray yarn on each lens) are touching. Sew them with gray yarn, inserting the needle 1 row above the row with the 8 gray Sc. Put filling material into the circumference of the lenses. Sew the first and the last rows of the protective lens with the end of black yarn that we left before. Sew and fasten the rows that are touching. Fasten and cut the yarn, hiding the end inside the detail. Sew the irises to the center of the eyes. Right iris should be green and left should be brown.
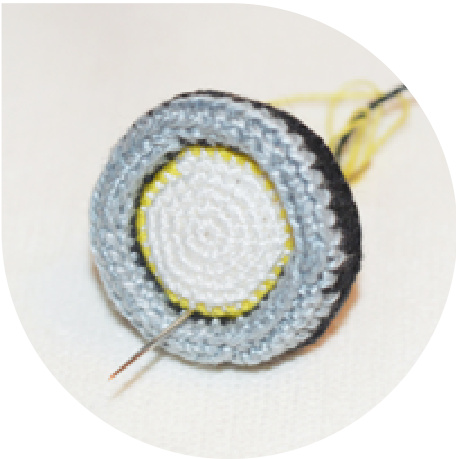
Image 93
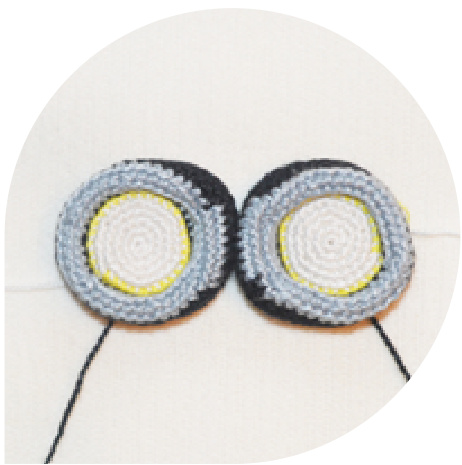
Image 94
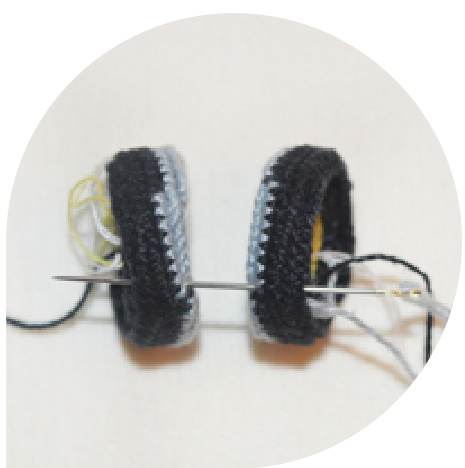
Image 95
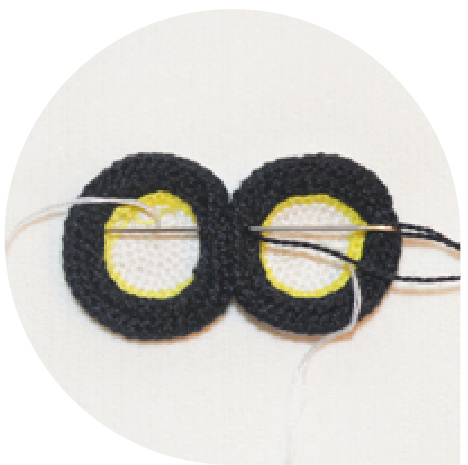
Image 97
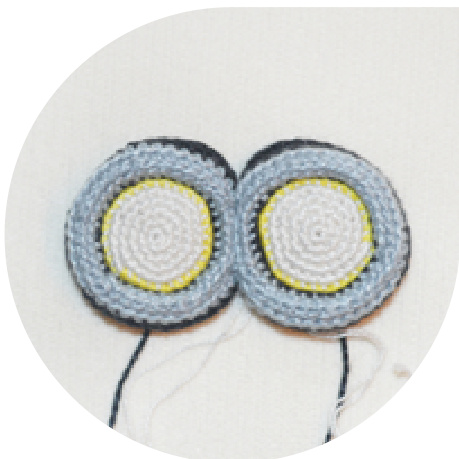
Image 96
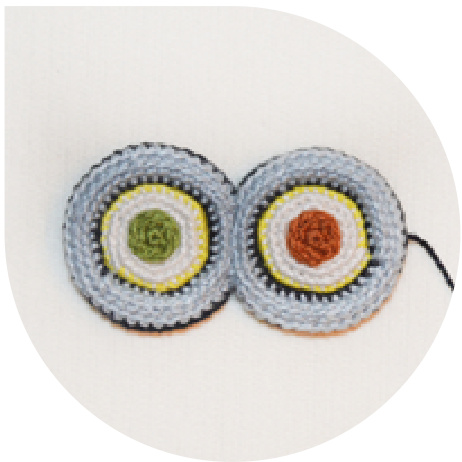
Image 98
23.7 Assembly
Sew the pupil to the center of the iris. Repeat with the second eye. Embroider sparkles at the edge of the pupils with white yarn. Take the lens' strap and sew one of its ends to the lenses. The second end of the strap must be placed tight around the head. Sew the second end of the strap and put the lenses on the head. Do not cut the end of yarn. Sew the circumference of the lenses with the same yarn. Embroider the mouth with the same yarn. Put Bear Tim into minion's hand and sew him with a few invisible stitches, if needed.
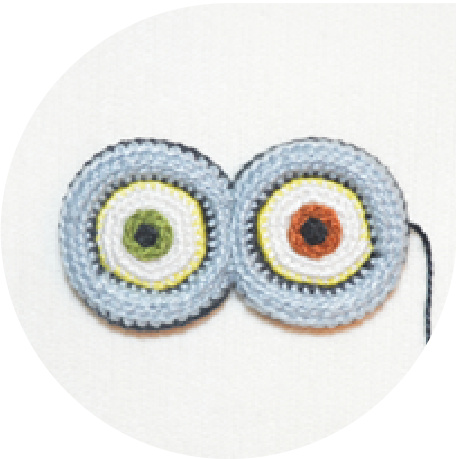
Image 99
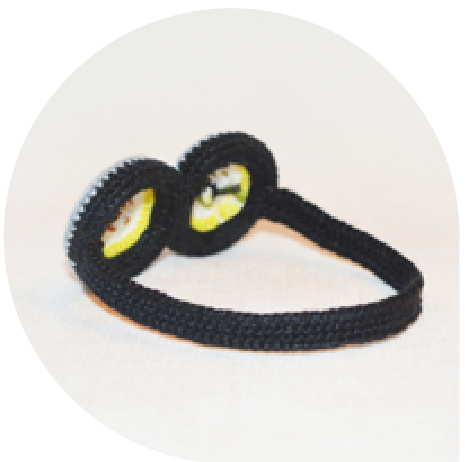
Image 100
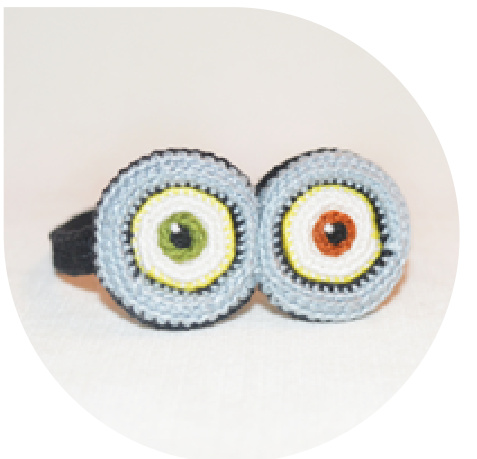
Image 101
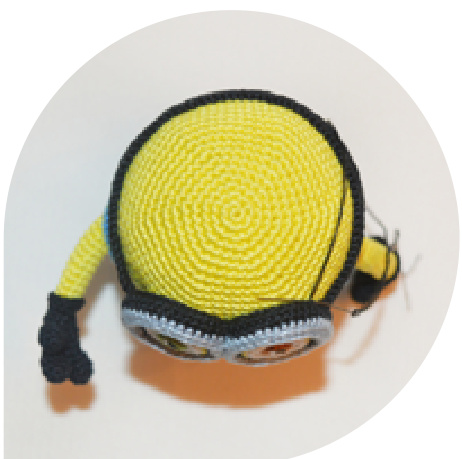
Image 102
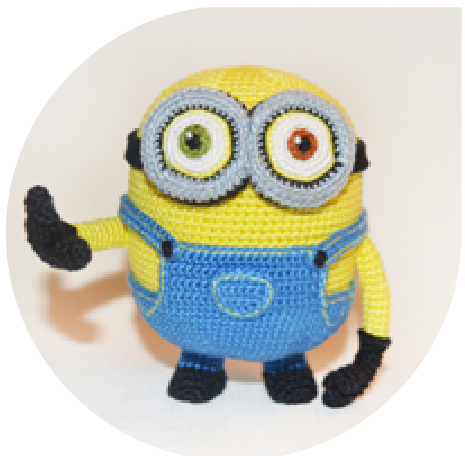
Image 103
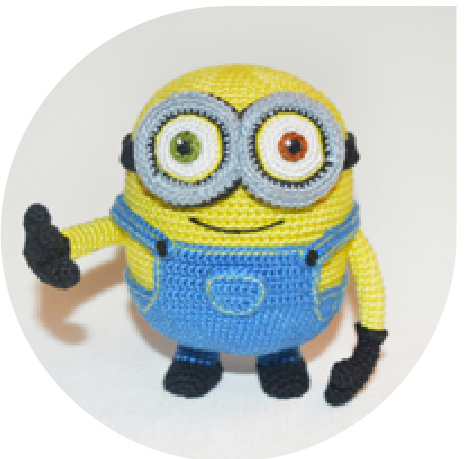
Image 104
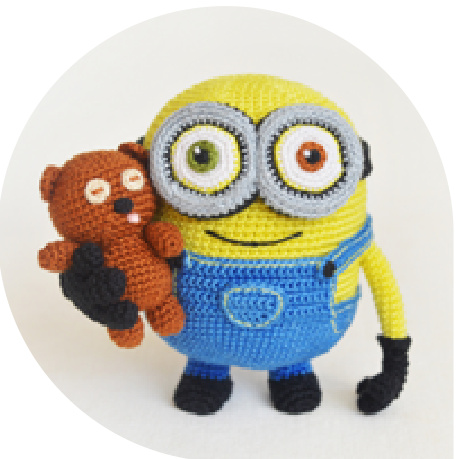
Image 105
23.8 Assembly
Congratulations, your Minion Bob is ready!
Don't forget to share your final result on Twitter and Instagram using #AradiyaToys hashtag. If you enjoyed this pattern, subscribe for more! All links below are clickable (touchable).
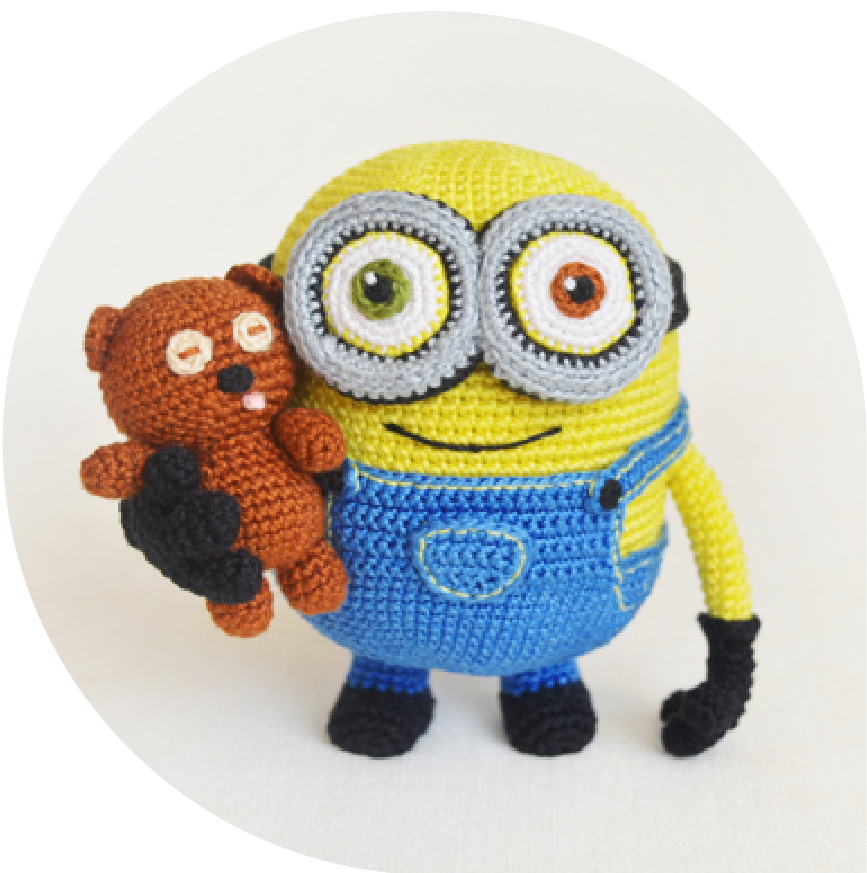
Image 109
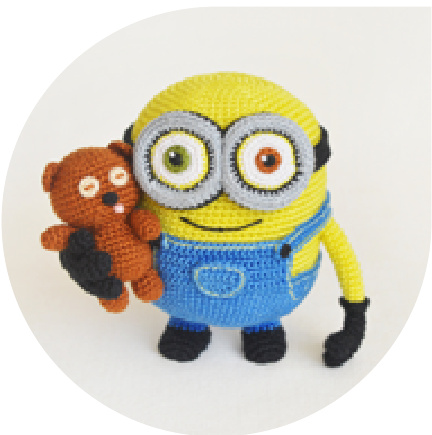
Image 106
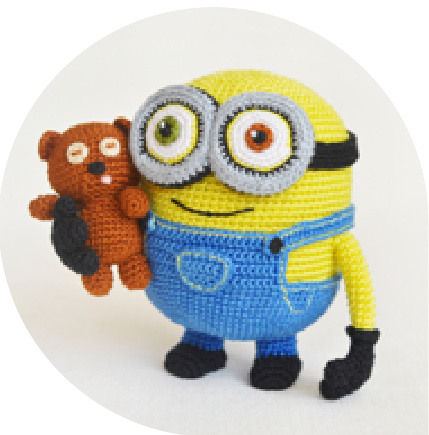
Image 107
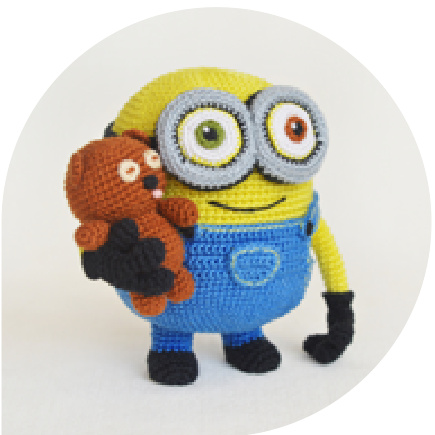
Image 108 @aradiya_ /AradiyaToys /AradiyaToys


aradiyatoys.deviantart.com

/AradiyaToys aradiyatoys.tumblr.com AradiyaToys
Other patterns of minions collection
Minion Stuart Get this pattern on: Etsy Craftsy Ravelry

Minion Tim
Get this pattern on: Etsy Craftsy Ravelry
Evil Minion

Get this pattern on: Etsy Craftsy Ravelry


