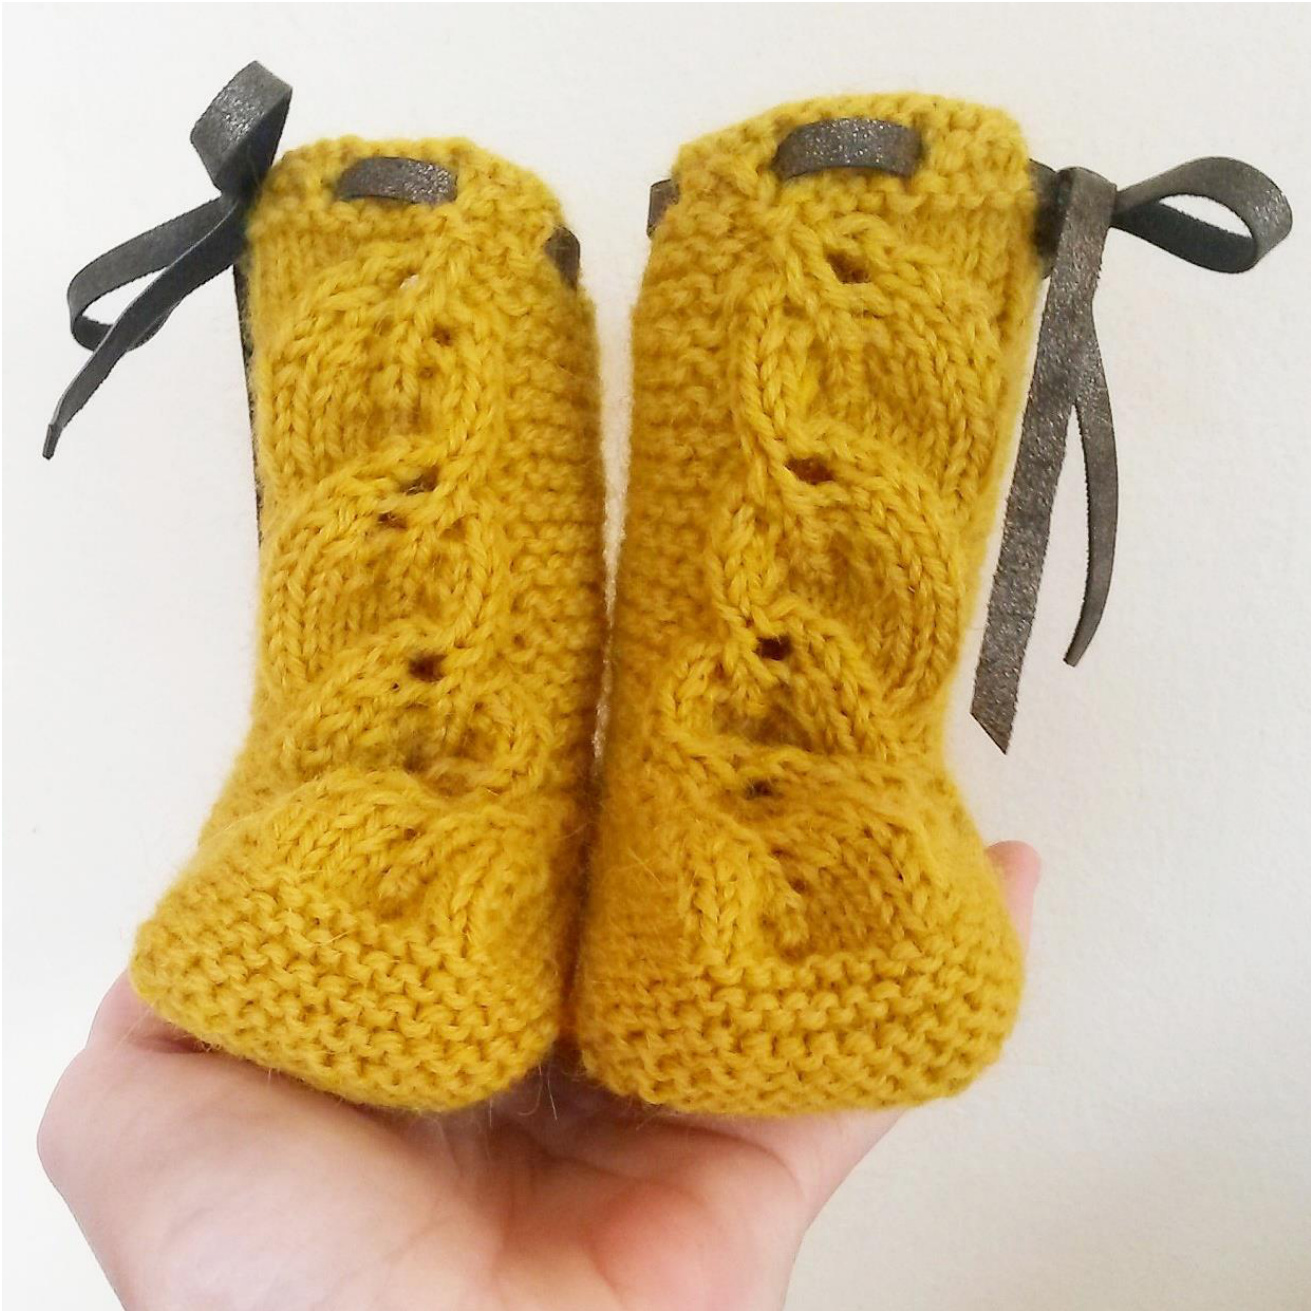
Autumn leaves bootees
A pair of cute baby socks with a pretty and simple leaf motif. The basic garter stitch makes it an easy knit and gives the bootees a nice tight fit that will grow with the baby. The leaf pattern has just about the right amount of cuteness for both genders. A popular and fast knit for baby showers or for your own little sweetie! If you want to finish off with a matching jacket, please find my design for the Autumn leaves jacket at Ravelry. Thank you so much for knitting my design! I will be happy to answer any questions at milkandknits@gmail.com or at my IG profile @knitsandpieces . If you publish pictures of yor project at IG, I would love it if you tagged them with #autumnleavesbootees, and I will be ableto see your result @
Please notice the amount of stitches is not different for the different sizes- the booties will be made smaller or bigger by changing type of yarn and/ or needles. Sizes: 3,(6),10+ months Gauge: 28 (22) 20 Stitches pr 4 inches. Needles: EU number 2,5 (3,5) 4 Yarn: Approximately 50 grams Dale baby wool, (DSA Sterk), DSA Sterk. Or yarn with comparable gauge. Holes for string: Knit 3 st. \*Cast yarn over (ml), knit 2 st tog, knit 2\*. Repeat from \* to \* 8 times. Knit 1.
Socks:
Cast on 36 st. with the recommended yarn and needles for your desired size. Knit 4 rows back and forth. Make holes for the string as described above. Knit 2 rows. From now, you will continue in stockinette, except for med middle 12 stitches, which you will knit according to diagram 1A (stitches 1-l2 given in the diagram) from the right side. Continue with diagram lA and stockinette until your work measures 7 (8) 8 cm from your cast on edge. You will now put the first 12 and the last 12 stitches on a scrap of yarn or spare needles. Continue only knitting the center 12 stitches. Continue with the pattern according to diagram 1A over the 12 center stitches until your work measures 1l (13) 14 cm from the cast on edge (measured at the center of the work) . Pick up ll stitches at each side of the pattern “flap", and put all the stitches back on your needles. Now you will continue without the pattern, only in stockinette. Knit 12 rows back and forth with all of the stitches. You will now make the decreases for the sole (continue in stockinette): You will now, once again, only knit back and forth over the center 12 stitches, but keep all the stitches on your needles. At the end of the 12 stitches in each side, knit the 12th stitch together with the next stitch on your needle. Turn your work. Knit 11 stitches and knit the 12th stitch together with your next stitch. Turn. Continue like this, making l decrease per each turn until you have 4 stitches in each side, in addition to the middle 12 stitches. Cast off all of your stitches. Knit the other sock the same way, but use diagram 1B for the middle 12 pattern stitches (stitches 13-24 given in the diagram). @Marianne J. Bjerkman Sew the sock together at the middle back, and sew the heel stitches together. Fasten off your loose ends and thread the holes with a string of leather or yarn. your new socks on a beautiful prince or princess and enjoy
Diagram 1

Symbols
Knit on right side, purl on wrong side Yarn Over Purl on right side, knit on wrong side sl 3 sts knitwise, put all 3 back on left needle, k3to g k3to g


