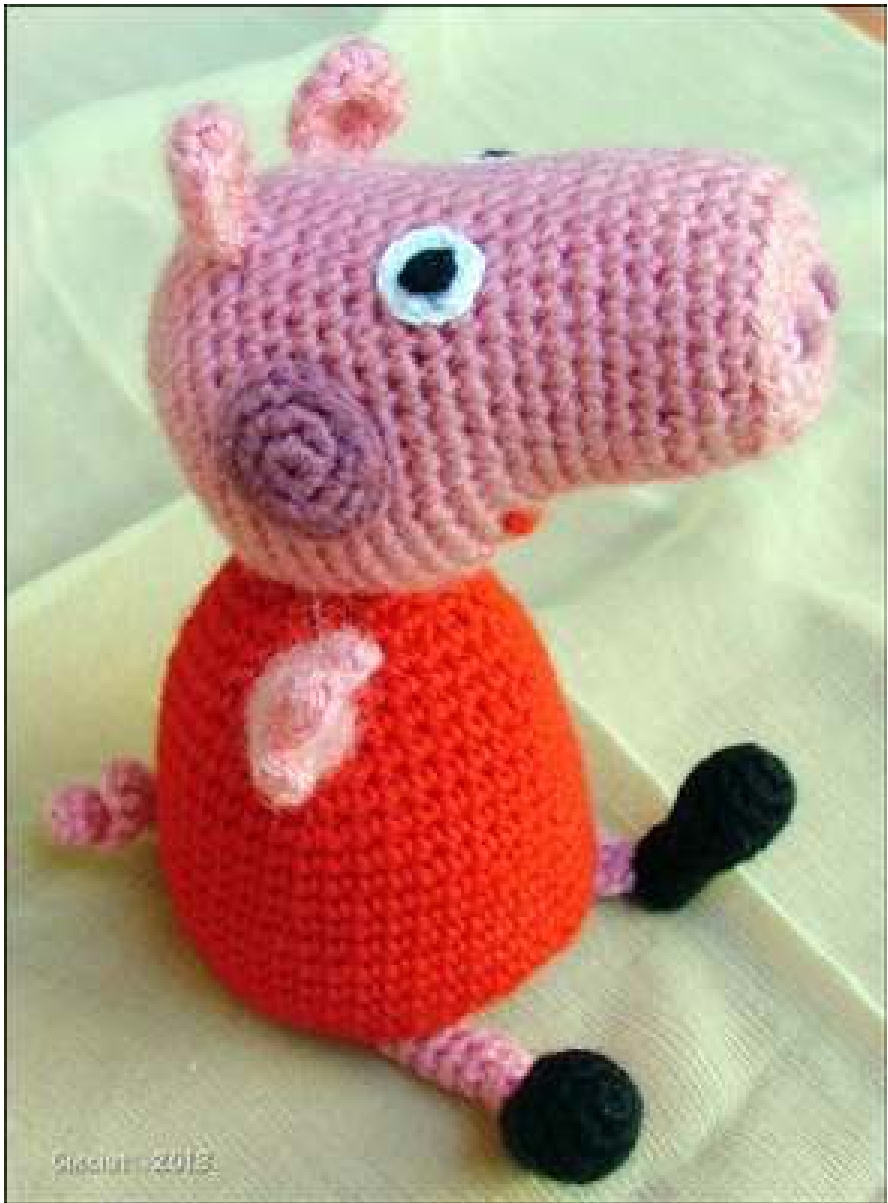
Peppa Pig
Thank you for buying my pattern. I have tried to make this pattern as accurate and complete as possible to help you complete in the best way this project. Text and ilustrations have been thoroughly checked but no warranty is given and results are not guaranteed. The author assumes no responsibility for any unsatisfactory results from the materials contained in the present pattern. For any help in understanding the pattern please do not hesitate to contact me cinciut@gmail.com I'd love to see your finished creations, if you like you can share on Raverly http:/www.ravelry.com or on Facebook http://www.facebook.com/pages/Cinciut/423681371000267
Materials:
3mm hook 2mm hook 100% acrylic yarn 50g = 130m balls, knitting needle 3-4, see colors below or choose colors you like pink yarn dark pink yarn red yarn black yarn small quantity of whiteyarn for 2mm hook polyesterfiberfill stitchmarker tapestry needle lightweight plastic (l used the plastic from the lid of plastic food container), or lightweight cardboard pink felt (optional) ·12 mm plastic mobile eyes (optional) 4 mm black glass eyes (optional)
STITCH EXPLANATION/ABBREVIATIONS:
·ch =chain ·sl st = slip stitch ·sC = single crochet ·hdc= half double crochet ·dc = double crochet ·tr = treble sc2tog = sc decrease (Insert hook into the front loop of next two stitches, yarn over, draw through the 2 front loops, finish with sc) sc3tog = double decrease (insert hook in each of next 3 sts making a loop every time, yarn over and draw through all 4 loops, finish with sc) [] () = work directions in brackets the number of times specified, this means that when it is written for example: “(sc in first 3 sts, 2 sc in next st) repeat twice" this means you have to repeat instructions in brackets twice in total bklp: back loop ftlp: front loop rnd(s) =round(s) rw(s) =row(s) st(s) = stitch (es) mr = magic ring Notes: Work in continuous rnds; do not join or turn unless otherwise instructed. Use a stitch marker or colored yarn between the last st of one rnd and first st of next rnd. Flip the end of the yarn to the front on one rnd then to the back of next rnd. Continue for each rnd. Leave yarn tail for sewing pieces together at the end. Before sewing all pieces of doll on body, 1 suggest you to pin all part together to be sure they are in correct position. To end amigurumi dolls in the correct way I warmly suggest you to visit the very nice tutorialonPlanetJune (www.planetjune.com) at www.planetjune.com/finish.
HEAD:
With 3mm hook and pink yarn, start a magic ring with 6sc Rnd 1: 2 sc in each st (12 sts) Rnd 2: (sc in first st, 2 sc in next st) repeat 6 times (18 sts) Rnd 3: (sc in first 2 sts, 2 sc in next st) repeat 6 times (24 sts) Rnd 4: work this rnd in bklp only, sc in each st around (24 sts) Rnd 5: sc in each st around (24 sts) Rnd 6: (sc in first 5 sts, 2 sc in next st) repeat 4 times (28 sts) Rnds 7-13: sc in each st around (28 sts) Rnd 14: (2 sc in first st) repeat 7 times, sc next 21 sts (35 sts) Rnd 15: sc in each st around (35 sts) Rnd 16: (sc in first 2 sts, 2 sc in next st) repeat 5 times, sc next 20 sts (40 sts) cut a round from plastic or cardboard to match the round area of rnd 4 and insert the plastic (or cardboard) base into nose (Fig 1), stuff. Rnds 17-24: sc in each st around (40 sts) Rnd 25: (sc in first 3 sts, sc2tog) repeat 8 times (32 sts) Rnd 26: (sc in first 2 sts, sc2tog) repeat 8 times (24 sts) stuff Rnd 27: (sc in first st, sc2tog) repeat 8 times (16 sts) Rnd 28: sc2tog around (8 sts) Rnd 29: sc2tog around (4 sts) end waving in and out to close opening (see notes).
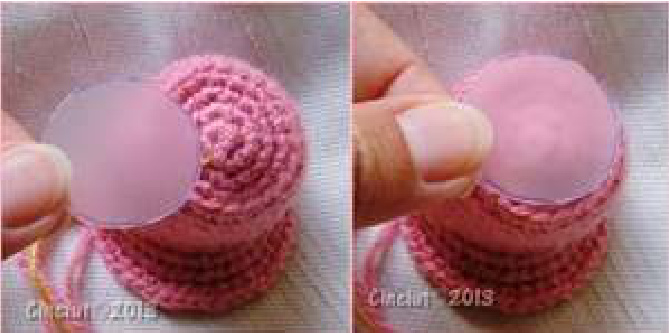
Fig 1
BODY:
With 3mm hook and red yarn, start a magic ring with 8 SC Rnd 1: 2 sc in each st (16 sts) Rnd 2: (sc in first st, 2 sc in next st) repeat 8 times (24 sts) Rnd 3: (sc in first 2 sts, 2 sc in next st) repeat 8 times (32sts) Rnd 4: (sc in first 3 sts, 2 sc in next st) repeat 8 times (40 sts) Rnd 5: sc in each st around (40 sts) Rnd 6: (sc in first 4 sts, 2 sc in next st) repeat 8 times (48 sts) Rnd 7: work this rnd in bklp only, sc in each st around (48 sts) Rnds 8-11: sc in each st around (48 sts) Rnd 12: (sc in first 10 sts, sc2tog) repeat 4 times (44 sts) Rnds 13-17: sc in each st around (44 sts) cut a round from plastic or cardboard to match the round area of rnd 7 and insert the plastic (or cardboard) base into body (Fig 2), stuff.
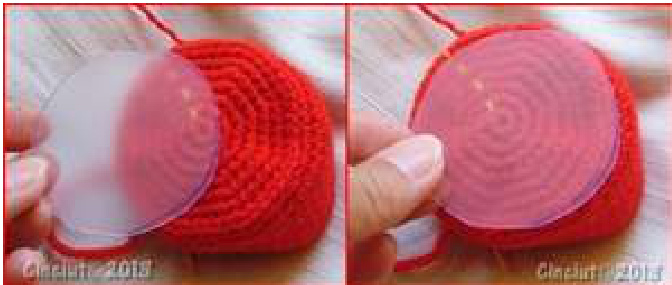
Fig 2 Rnd 18: (sc in first 9 sts, sc2tog) repeat 4 times (40 sts) Rnd 19: (sc2tog, sc next 8 sts,) repeat 4 times (36 sts) Rnd 20: (sc in first 7 sts, sc2tog) repeat 4 times (32 sts) Rnd 21: (sc in first 6 sts, sc2tog) repeat 4 times (28 sts) Rnd 22: (sc2tog, sc next 5 sts,) repeat 4 times (24 sts) Rnd 23: (sc2tog, sc next 4 sts,) repeat 4 times (20 sts) Rnd 21: (sc in first 2 sts, sc2tog) repeat 5 times (15 sts) end waving in and out to close opening (see notes).
EAR:
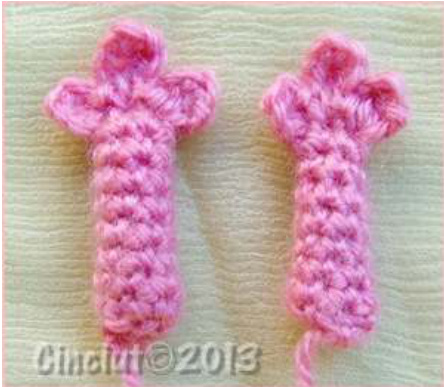
With 3mm hook and pink yarn, Pippa left ear (right ear when you face her), ch 7, starting in second ch from hook, sc first 2 chs, hdc next ch, dc next ch, 3 dc in next ch, dc in last ch, continue on opposite side of ch, dc next ch, hdc next ch, sc next 2 chs, sl st last ch, leave tail of yarn for sewing. Pippa right ear (left ear when you face her), ch 7, starting in second ch from hook, sl st first ch, sc next 2 chs, hdc next ch, dc next 2 chs, continue on opposite side of ch, 3 dc in next ch, dc next ch, hdc next ch, sc next 2 chs, bo, leave tail of yarn for sewing
TAIL:
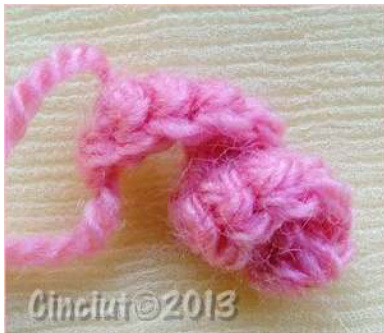
With 3mm hook and pink yarn, ch 9, starting in second ch from hook, 2 sc in each ch, bo.
ARM (make two):
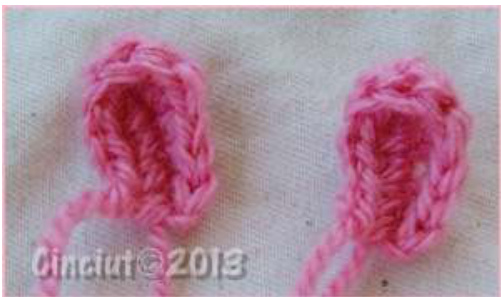
With 3mm hook and pink yarn, ch 6 leaving tail of yarn at beginning for sewing, join to first ch to form a ring: Rnd 1: sc in each ch around (6 sts) Rnd 2-9: sc in each st around (6 sts) flat arm so that you have two side of sts facing, work both sides together, insert hook in last st of rnd 9 and first st of next rnd (Fig. 3 and 4), ch 2, turn arm, dc, ch 2 and sl st in same sts, sl st in next st of both sides, ch 3, tr, ch 3 and sl st in in same sts, sl st in next st of both sides ch 2, dc, ch 2 and sl st in same sts, bo. Stuff very slightly.
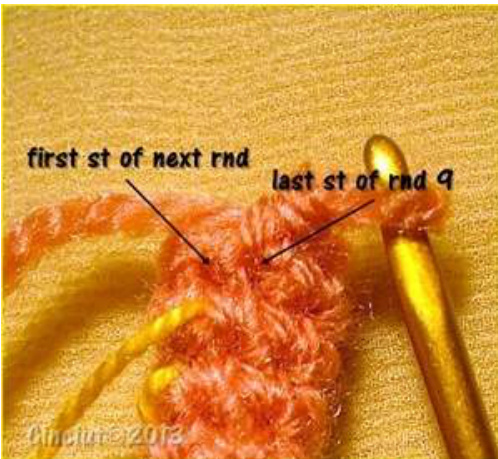
Fig 3
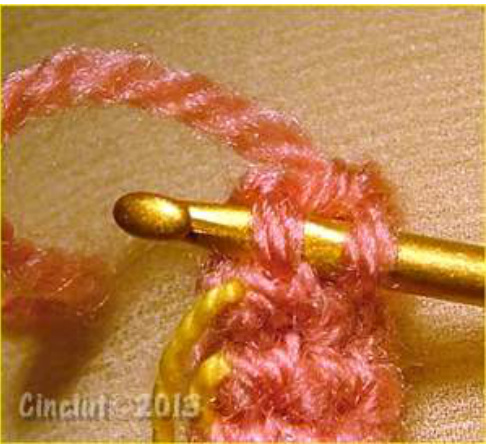
Fig 4
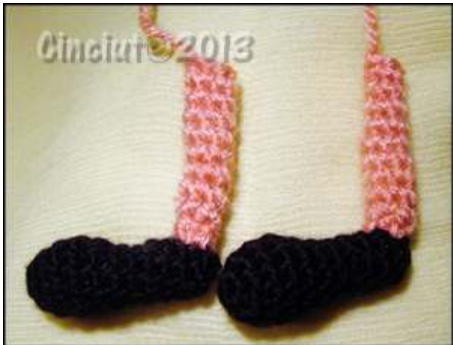
LEG (make two):
With 3mm hook and pink yarn, ch 6 leaving tail of yarn at beginning for sewing to body, join to first ch to form a ring: Rnd 1: sc in each ch around (6 sts) Rnd 2-9: sc in each st around (6 sts) end with sl st leaving tail of yarn at for sewing to shoe.
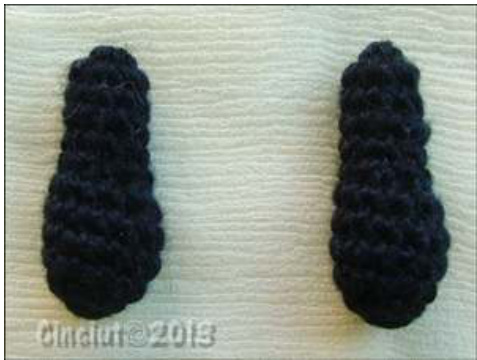
SHOE (make two):
With 3mm hook and black yarn, start a mr with 5 sc: Rnd 1: 2 sc in each st (10 sts) Rnd 2: (2 sc in first st, sc in next st) repeat 2 times, sc next 6 sts (12 sts) Rnds 3-4: sc each st around (12 sts) Rnd 5: (sc2tog) repeat 2 times, sc next 8 sts (10 sts) stuff Rnd 6: (sc2tog) repeat 3 times, sc next 4 sts (7 sts) Rnds 7-10: sc each st around (7 sts) stuff more if necessary, end waving in and out to close opening (see notes).
CHEEK (make two):
With 3mm hook and dark pink yarn, start a mr with 6 SC: Rnd 1: 2 sc in each st (12 sts) Rnd 2: (sc first 5 sts, 2 sc in next st) repeat twice (14 sts) end with sl st leaving tail of yarn at for sewing. Alternatively you can cut a round piece of pink felt and sew it on Pippa face.
EYE (make two):
With 2mm hook and white appropriate yarn, start a mr with 6sc: Rnd 1: 2 sc in each st (12 sts) end with sl st leaving tail of yarn at for sewing. With black yarn make a knot and sew it on the centre of eye as pupil. Alternatively you can use a 4mm glass eye to sew as pupil or 12 mm mobile plastic eyes.
FINISHING
Sew head to body, sew ears on head and tail to back of body. Sew arms to body in correct position, sew legs to shoes and then to body in correct position, sew eyes and cheeks on face in correct position. Embellish with a smile with red yarn and nostrils with dark pink yarn.
Enjoy!@
\*\*COPYRIGHT NOTICE\*\* All patterns are the result of hard work done with all my heart and they are under copyright, if you do crafts I'm sure you will respect my work. All patterns are intended for personal use only. Other uses are strictly prohibited. My copyright terms: - you are not allowed to sell, copy, modify, translate in any language, any part or the whole tutorial and/or selling it or claim it as yours. The same for all the pictures. -On the contrary you CAN SELL the finished products (unless they are from copyrighted characters) created thorough the pattern provided that you made it by handmade, give me credits, please add a link to one of myshops: https://www.etsy.com/it/shop/Cinciut http://www.ravelry.com/designers/sabrina-boscolo http://www.craftsy.com/user/1268290/pattern-store and you don't produce large numbers of finished products. - Any items for sale must state in the item description that they are based on my pattern (by "Cinciut") and with a link to one of my shops: https://www.etsy.com/it/shop/Cinciut http://www.ravelry.com/designers/sabrina-boscolo http://www.craftsy.com/user/1268290/pattern-store - List your finished products with your own pictures, you are not allowed to use any of my pictures. Thank you for respect :)


