Gonjure
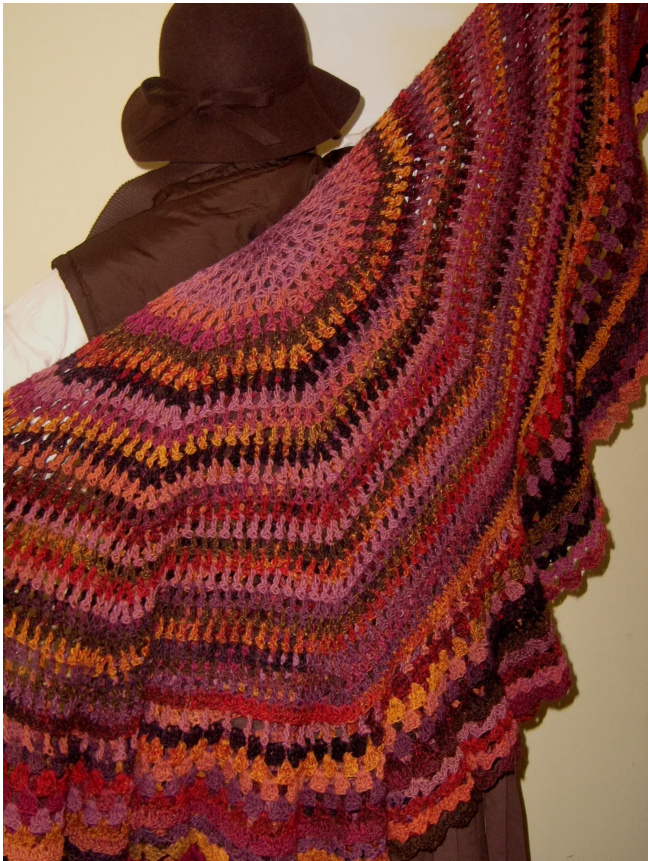
'Firefly' + Weldon's Practical Crochet = Conjure, a warm and easy shawl to make, full of frontier spirit! Conjure has 10 increase points; this makes it slightly more than a circle. What does that mean? It means that, folded in half, it will curve around your shoulders and stay in place without a shawl pin in everyday wear - handy for those times your misbehaving means you might have to shoot your way out of some such situation. I worked mine in Bernat Mosaic, a aran weight single ply yarn. The colorway is 'Medusa', but the colors remind me of some of the 'Firefly" characters: Mal's brown coat, the rich red brocades of Inara's saris, Kaylee's pinks, Shepard Book's black clothes, and even Jayne's orange and yellow hat, knit by his mom. I've tried to make my directions clear; it's always a bit of a challenge to take a Victorian pattern into the 21st century, but Conjure was a delight to make and is a great shawl to wear - out in The Black, or here on Earth That Was.
Materials:
10 skeins Bernat Mosaic or about 1800-1900 yards of aran weight yarn for a large shawl. (You may need less yarn; my Conjure is about 70 inches across, and I wear it as a substitute jacket on cool days.) Size I hook/5.5 mm
Gauge:
My Double Crochets in the center section were about 1V2 inch high. Your gauge should be loose enough to drape nicely.
Notes:
Conjure is worked in circular sections: the center, solid border 1, spoke border, cluster border, solid border 2, and finally, the shell border. >The center section is where you add enough width/diameter to make it fit over your shoulders. >If working with a long color repeat yarn, you want to prevent color pooling. You can do this by breaking the yarn at the end of a round and re-attaching it about a quarter of the shawl further away, more or less. Just don't reattach it on top of the same color! You'll get a reminder about this later on. >The border is about 7-8 inches wide; this will add 14-16 inches to the diameter of your Conjure.
ABBREVIATIONS:
Vst = dc- ch 1- dc in the ch 1 space of the previous round's V-st. These are your increase points for the shawl. CL = Cluster: 3 dc in ch 1 space Sm Sh = Small Shell: 2dc- ch 1 - 2 dc in a ch 1 space Lg Sh = Large Shell: 3 dc - ch 1 - 3 dc in a ch 1 space
Center Section:
R 1: Make a magic circle, and ch 4 into it. Then \* dc, ch1, \* 9 X around and join with slip stitch into the 3rd ch of beg ch 4. (10 dc, 10 ch 1 sp)
R 2: Ch 4, work dc-ch1-dc in next sp, \* ch 1, dc-ch 1-dc \* around; in last space, work dcch1, join with sl st to 3rd ch of ch 4. (10 Vst made) R 3: Slip stitch to 1st space; ch 4, \* Vst, ch 1, dc in next ch 1 sp\* repeat \* to \* around to last space; dc, ch 1 and join w/slip st to 3rd ch of ch 4. (10 Vst, 10 dc with ch 1 sp between all V'st.
R 4 and all center section rounds: Sl st into 1st space, ch 4, \* Vst into Vst, ch 1, dc in next space as needed to next Vst\*, end round with dc- ch 1- join w/sl st into 3rd ch of beg. ch 4. You will always put a V st into a V st to make your increase points.
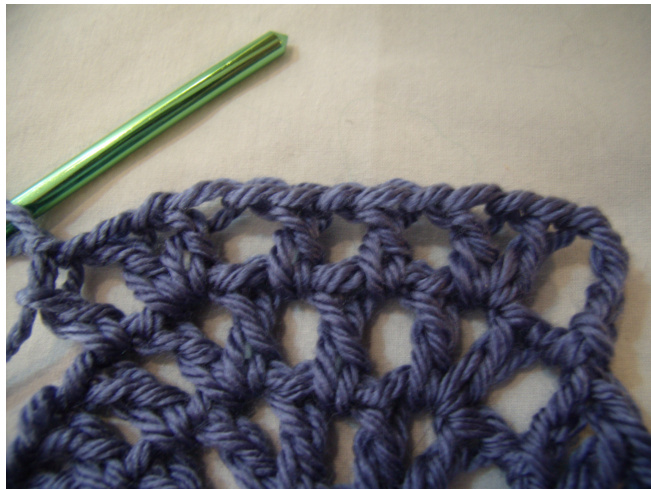
Repeat R 4 until center is desired size. My Conjure has 25 DC s between my V-stitch increases; you may want fewer.
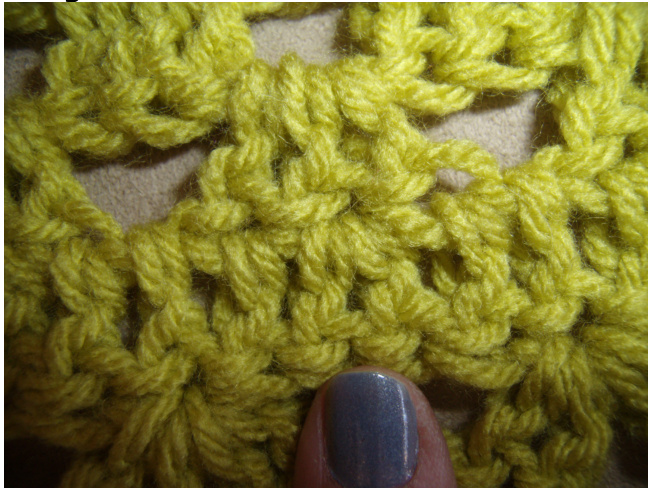
THE BORDERS:
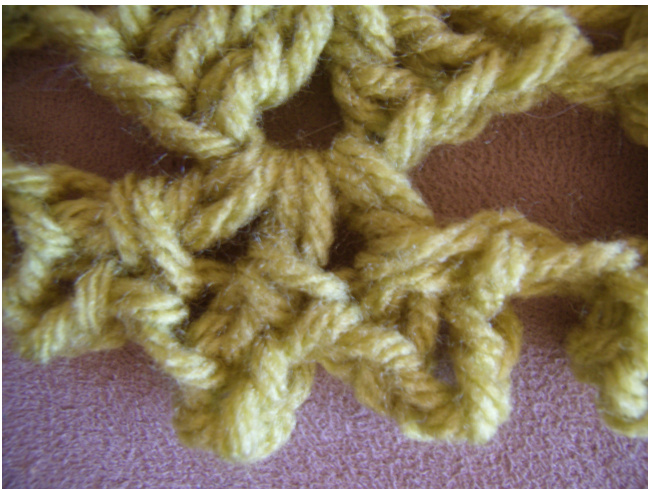
Here's a picture of the border rounds in an abbreviated manner: L to R is center section; solid border 1; spoke border; cluster border over 2 rounds; solid border 2; the shell border, and the optional fancy edging.

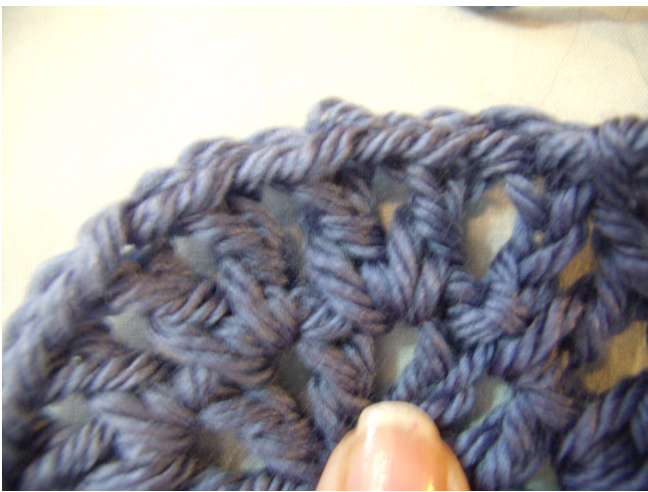
Solid Border 1 (one round): Ch 3, work dc in every dc and ch 1 space around. Join w/sl st to top of ch 3. Spoke Border (one round): Ch 5, skip 1st dc, \* dc in next dc, ch 3, skip 2 dc \*; work \* to \* around shawl; end ch 3 and sl st into top of beg ch. Cluster Border (worked over 5 rounds) R 1: Sl st into ch 3 sp, ch 3, 2 dc in same sp, (first cluster made) \* ch 1, 3 dc in next ch 3 sp \*; work \* to \* around shawl; end ch 1 and sl st into top of ch 3. R2-5 (4 rounds worked the same): Sl st into 1st ch i space; ch 3, 2 dc in same sp (1st cluster); \* ch 1, CL in next ch 1 space \*; work \* to \* around; join with sl st in top of ch

Solid Border 2: Ch 3; work 2dc in center st. of the 3 dc cluster of prev. round; work dc in next dc and ch 1 sp; \* dc in dc, 2 dc in center dc, dc in next dc, dc in ch 1 space\*; repeat \* to \* around shawl, join w/sl st to top of beg Ch 3.
Increase round complete; BREAK YARN, and rejoin in any dc above a ch 3 space of the cluster border round.
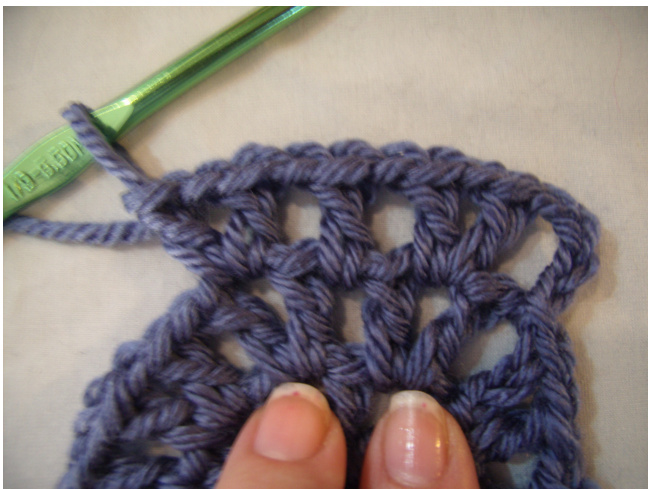
Shell Border (worked over 5 rounds):
R 1: Ch 3, work dc- ch 2 - 2dc - ch 1 in same space (small shell made); skip 4 st, \* SmSh - ch 1 in next space\* ; work \* to \* around shawl. Join w/sl st to top of ch 3. >If you are using a long-color repeat or selfstriping yarn, break yarn here (and at the end of every following round, and move your yarn around the edge of shawl to prevent color pooling. Join w/a ch 3 in the first ch 2 space of the previous round. R 2 - 5: Ch 3, work 2 dc - ch 2 - 3 dc in same space; \* ch 1, 3 dc - ch 2 - 3dc (LgSh made) in ch 2 space\*; repeat \* to \* around, working LgSh in every ch 2 space around. At end, join w/sl st to top of ch 3. Break yarn if required at end of every round (see note above). 3 This is a "do-over" pattern from Weldon's Practical Needlework Series, written by Cynthia Allen, 2012 NOTTOBESOLD.

Optional Fancy Finish:
I didn't do this; but it was written with the original pattern, and some of you may like the final, very Victorian floral finish to this shawl. It does take a lot of yarn, so please make sure you have an extra skein or so of yarn to finish with this flourish! Final Round: Ch 3 in a 2 ch space (beginning dc for round). Ch 4 more, and fold it back and secure with a sc AROUND the ch 3. (first picot made). DC in same space, ch 4, sc AROUND the post of the dc, (second picot made), DC in same space once more, ch 4 and sc around post of that dc (third picot made). \*Ch 1, work 3 picot dc (dc, ch 4, sc around post of dc for picot) in each ch 2 space of Ig shell around \*; finish with sl st into top of beg ch 3.