EVIE α ESIE COLOUR BLOCK SCARF
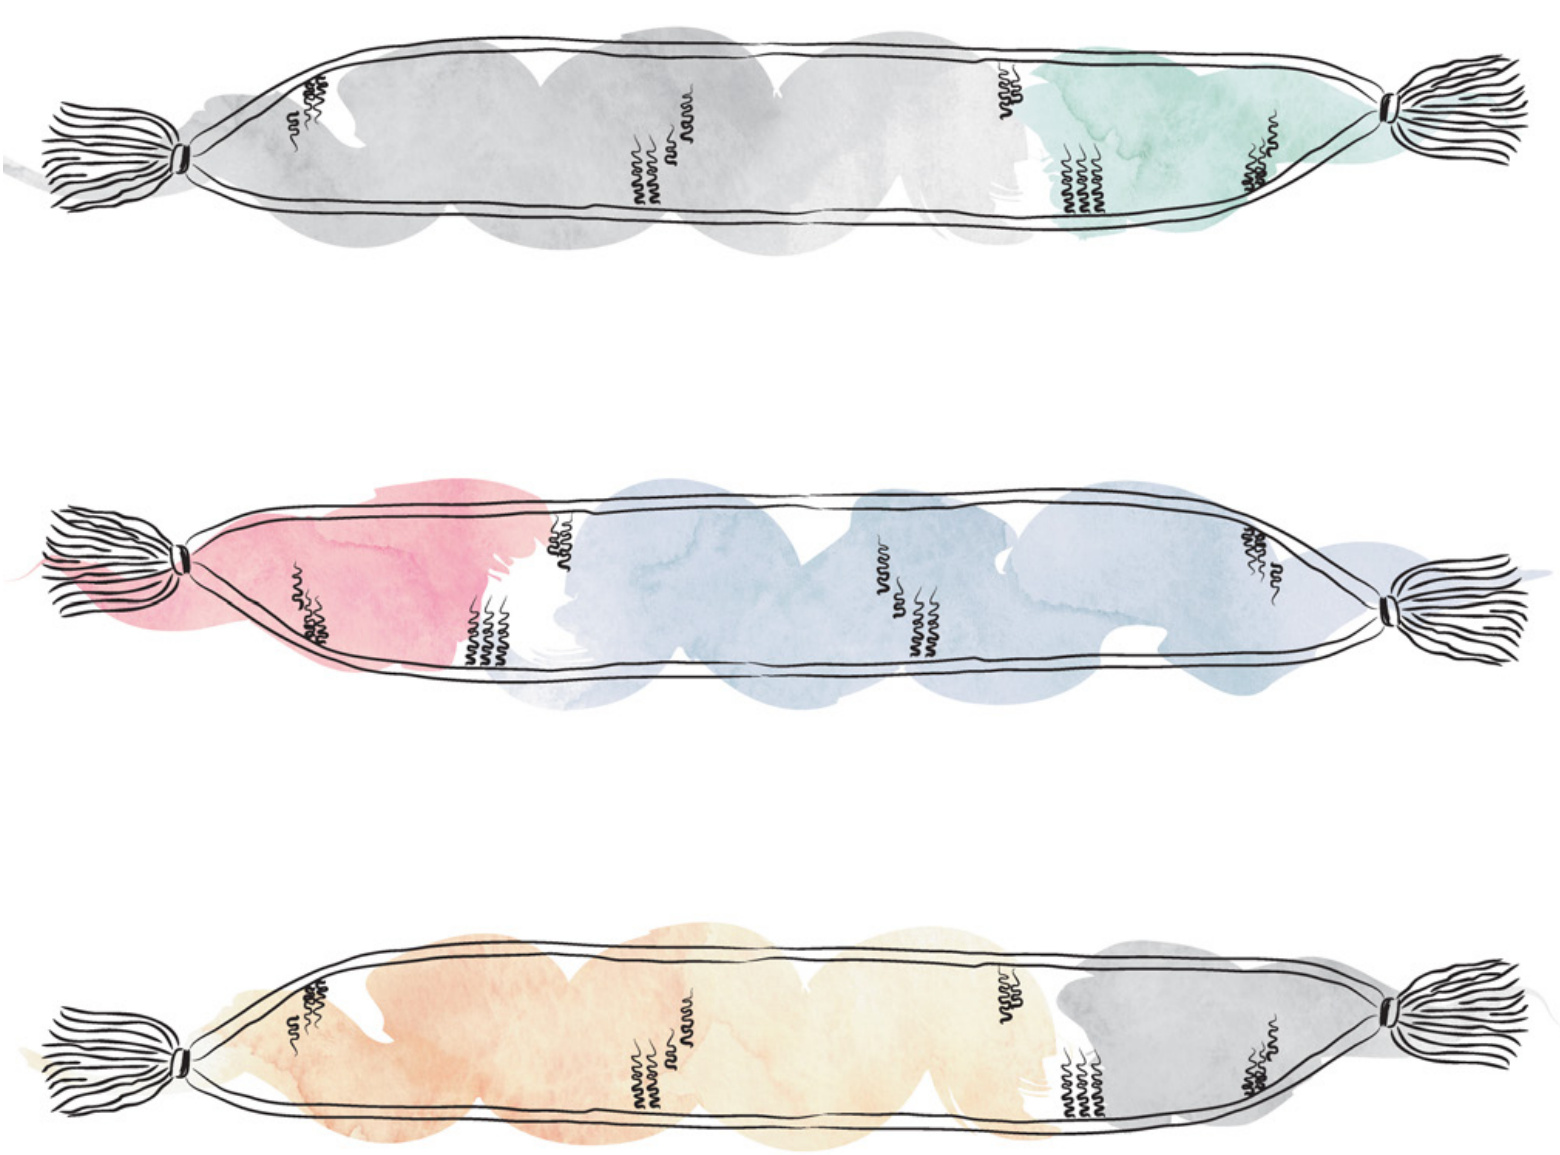
This scarf is looks tricky enough to garner compliments from everyone, simple enough to compliment any outfit, and quick enough to knit in case of a cold snap. Any DK, worsted weight or aran weight yarn will do keeping in mind that you are kniting to a measurement: simply knit as many stitches as you need to achieve your width and keep knitting to length. Easy peasy! The perfect project for a conf ident beginner. The tapered ends lend themselves to tassels which give a lovely weight, pompons, or a simple poinf.
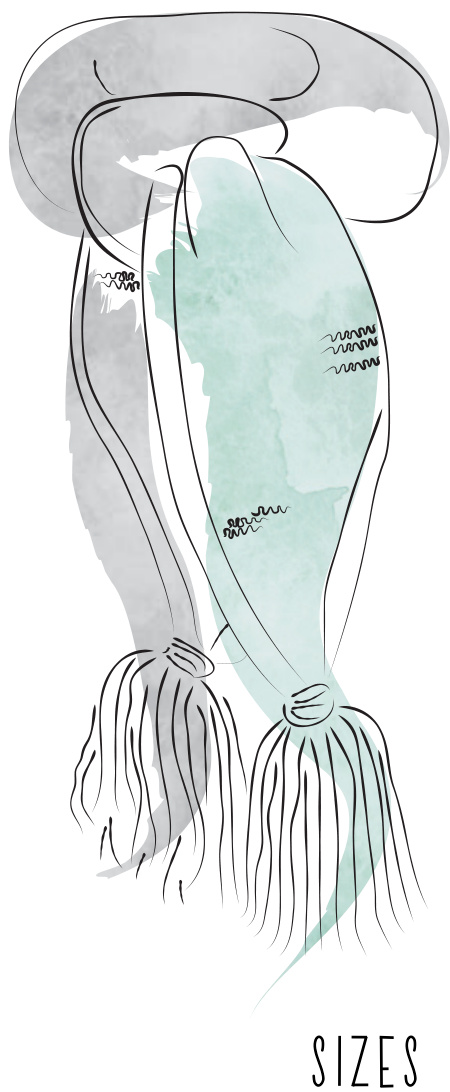
Toddler (child small, child large)
COMPLETED DIMENSIONS
Length: 84cm (89cm, 94cm), 33"(35", 37") Width: 11cm (13cm, 15cm), 4.25"(5", 6")
SKILLS
+ Garter stitch + l-cord edge + complete i-cord before Kitchener stitch + Kitchener stitch + tassels This scarf is designed so that the colour block starts within the knot and peeks out from there. If you want to add extra length, do so in the ends rather than the middle (rows 3 and 4 before and after the colour change) or the colour block will start after the knot and you'll lose that effect. The set up row is the hardest, we promise! Suitable for confident beginners and onwards, this is a great piece to build your skills.
KIT REQUIRED
+ about 100 metres MC + about 40 metres CC + Darning needle + One DPN + Needles in correct size for your yarn choice + Scissors
ABBREVIATIONS
K + knit wyif + working yarn in front wyib + working yarn in back SI + slip purlwise (no twist in stiches) Try this mnemonic: TO MAKE ONE the RIGHT way, MovE your needle under the bar BACK TO FRONT. Therefore to make one left, go front to back! Always knit your new stitch in the loop of the direction your are moving SET UP: Using MC, cast on 6 stitches, which will look like this on your needle
| 2 | 3 | 4 | 5 | 6 | Yarn |
Transfer 3 stitches to DPN, with wyib. Rotate those stitches and place back on needle. Now your stitches will look like this:
| 1 | 2 | 3 | Yarn | 6 | 5 | 4 |
Then: k2, kfb, sl3 wyif ROW 1: K to last 3 sts, MiL, sl3 wyif ROw 2: K to last 3 sts, sl3 wyif Work rows 1 and 2increases until piece measures 12cm (14cm, 16cm), 4.75" (5.5", 6.3") across. ROW 3: K to last 3 sts, sl3 wyif ROW 4: K to last 3 sts, sl3 wyif Continue until piece measures 66cm (68.5cm, 71cm), 26" (27", 28") in length, and knit row 4 one more time. lf you're lost, you are making the decreases on the opposite side to the increases. Switch to CC, knotting in tight to last stich worked. This will hide your knot in the following i-cord. Knit rows 3 and 4 inCC until colour block measures 9cm (115cm, 14cm), 3.5" (4.5", 5.5") in length. ROw 5: K to last 5 sts, K2tog, sl3 wyif ROW 6: K to last 3 sts, sl3 wyif Continue until 7 sts remain. K2, kztogtbl, slide 3 back to left needle. Complete i-cord (see video on our website), and Kitchener stitch to close Kitchener stitch the MC point closed (see Diagram A below). See that there are three loops which form the i-cord in each direction. There is also two strands of yarn connecting the two sides: disregard those strands. With a darning needle, move your yarn from the right hand side to the left hand side in the direction shown, behind one loop one side then the other to close.
Tassels
Take the end of your Mc yarn, hold between thumb and forefinger. Wind yarn over your four outstretched fingers about 35 times. Cut yarn. Take your needle, and thread with yarn. Working back to front, thread yarn between rows 2 and three of MC point and pull through leaving about 15cm hanging. Holding that tail continue to thread yarn through that row in different places, so you have a nice long and even tassel entry and exit, whilst wrapping around your four outstretched fingers. When you come to the end of your yarn, take the long tail and wrap tightly at the base of the fassel until you have about half left and thread though the wound knot to the top. Take other tail and thread through to top, and knot tails together. Thread both back through to the bottom in the middle of the tassel to hide the knots you'll make, and knot again. Take your scissors and cut each loop at the apex, and trim to length.
Repeat for CC.
Apply scarf to child and admire your creation!
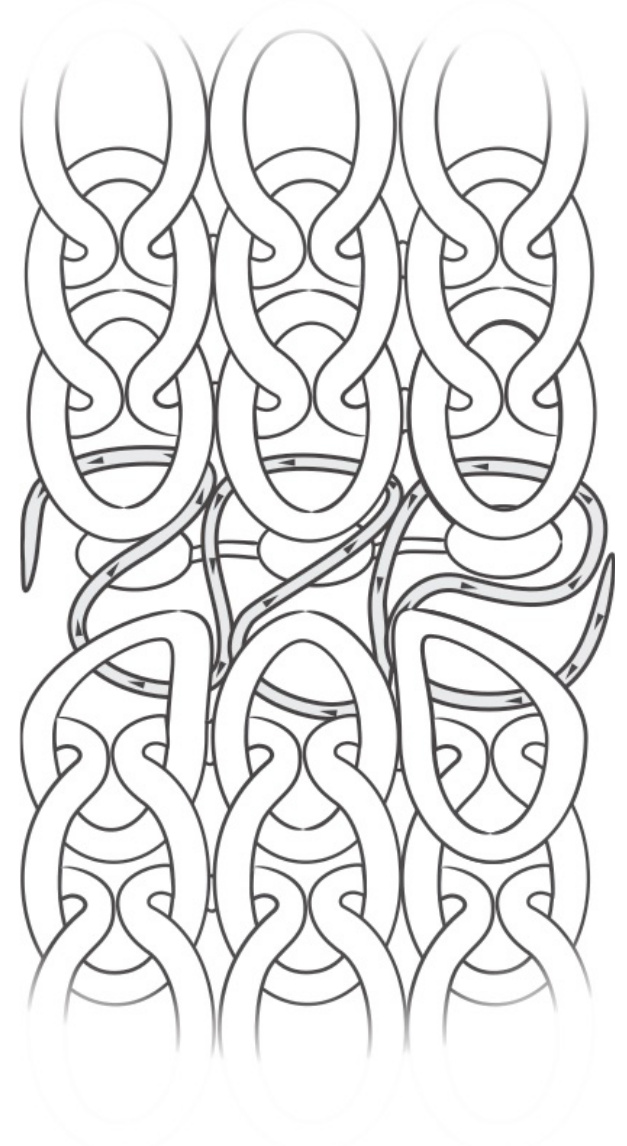
DIAGRAM A


