Bootsie the snowball
Bootsie the Snowball Page 1 of 8 Designed by Phoeny Phoenixknits http://www.ravelry.com/stores/phoenixknits
This pattern is a Christmas 2014 freebie from Phoenixknits - enjoy :0)
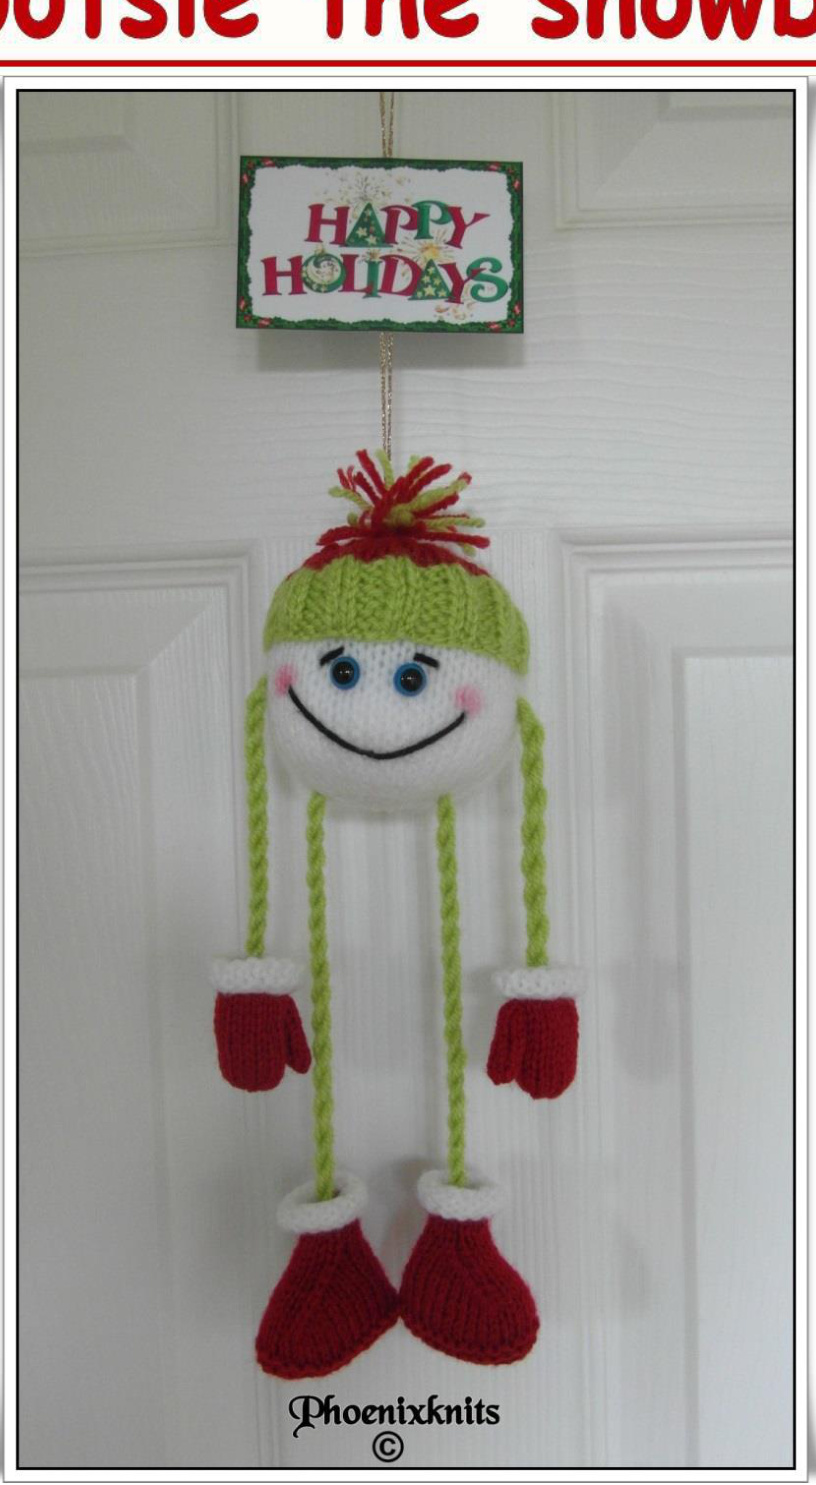
Bootsie's body is 5 inches/12.5cm high to the top of his hat and 10 inches/25.5cm in diameter. His arms and legs can be as long or short as you wish, my Bootsie has arms - including mittens 5inches/12.5cm long and legs including boots, are 7 inches/18cm long. I have left him pretty basic, so you can add your own personal touches. At the end of the pattern you will find a printable ‘Happy Holiday' banner if you wish to use that. Please make sure you read the abbreviations for this pattern before starting out, as not all designers use the same methods.
Materials needed
DK/8ply/11wpi yarns in the following colours and quantities. White - less than 25g Red - less than 10gr Green - less than 10g Scrap of black Pair of 3mm/Us 3 needles Pair of 4mm/US 6 needles Crochet hook (for threading through arms and legs) 8mm plastic toy eyes (optional) these could be embroidered Clear multipurpose glue Fibrefill Powdered red rouge or red colouring pencil (optional)
Abbreviations PLEASE READ
k = knit p = purl k2tog/p2tog = knit/purl the next two stitches together (decreases 1 st) Ss = stockinet stitch (knit one row, purl one row) Gs = Garter stitch (knit every row) st/sts = stitch/stitches inc1 = (increase) by knitting into front and back of same stitch. PLEASE NOTE: if you use any other method ofincreasing, than this, your stitch count will not work out.
Let's get knitting :O)
The body
Using 4mm needles and white Cast on 8sts Next row, p Next row, (inc1) into every st to the end of the row (16sts) Next row, p Next row, (inc1) into every st to the end of the row (32sts) Next row, p Next row, (k1, inc1) to the end of the row (48sts) Bootsie theSnowball Page 2 of 8 Designed by Phoeny Phoenixknits http://www.ravelry.com/stores/phoenixknits Starting with a p row Ss 17 rows Next row, (k1, k2tog) to the end of the row (32sts) Next row, p Next row, (k2tog) to the end of the row (16sts) Next row, p Next row, (k2tog) to the end of the row (8sts) Break the yarn and draw through these 8sts DO NOT FASTEN OFF. Boots (make two the same) Using green and 3mm needles Cast on 29sts Gs 6 rows (every row knit) Next row, p Next row, k Next row, p Next row, k10, k2tog, k5, k2tog, k10 (27sts) Next row, p9, p2tog, p5, p2tog, p9 (25sts) Next row, k8, k2tog, k5, k2tog, k8 (23sts) Next row, p7, p2tog, p5, p2tog, p7 (21sts) Next row, k6, k2tog, k5, k2tog, k6 (19sts) Next row, p5, p2tog, p5, p2tog, p5 (17sts) Next row, k4, k2tog, k5, k2tog, k4 (15sts) Next row, p Next row, k Next row, p CHANGE TO WHITE Starting with a k row Ss 6 rows Cast off loosely Hat (make one piece) Using 4mm needles and green Cast on 60sts Work in k2, p2 rib for 6 rows CHANGE TO RED Starting with a k row Ss 4 rows Next row, (k2tog) to the end of the row (30sts) Next row, p Next row, (k2tog) to the end of the row (15sts) Next row, p Next row, k1, (k2tog) to the end of the row (8sts) Break the yarn and draw through these 8sts Mittens (make two the same) Using 3mm needles and white Cast on 16sts Gs 6 rows CHANGE TO RED Starting with a k row Ss 12 rows Next row, (k2tog) to the end of the row (8sts) Next row (p2tog) to the end of the row (4sts) Break the yarn and draw through these 4sts. Thumbs (make two the same) These can be knitted or made from an i-cord Bootsie the Snowball Page3 of 8 Designed by Phoeny Phoenixknits http://www.ravelry.com/stores/phoenixknits Knitted Using red and 3mm needles Cast on 7sts Starting with a p row Ss 7 rows Next row, k1, k2tog, k1, k2tog, k1 (5sts) Break the yarn and draw through these 5sts i-cord Cast on 6sts And knit 7 rows Next row, k1, k2tog, k1, k2tog, k1 (5sts) Break the yarn and draw through these 5sts
Making up
When joining row ends, I use mattress stitch if possible.
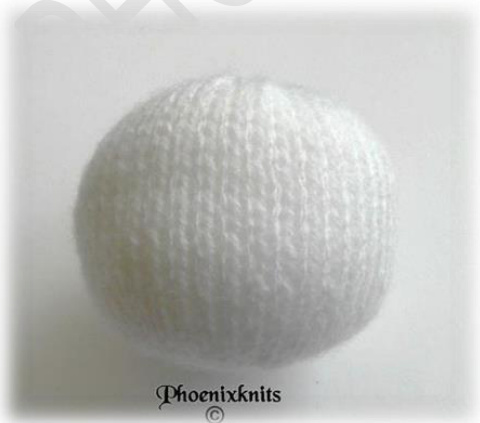
Body
Sew a gathering stitch around the cast on edge of the body and pull up tightly. Join the row ends of the body STUFF AS YOU GO. Draw up the cast off edge and sew in the ends.
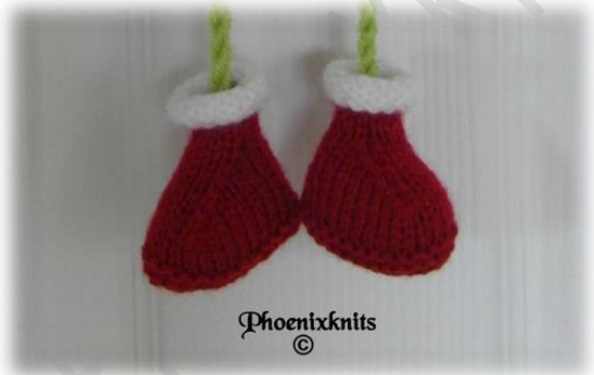
Boots
Fold the cast ON edge in half and over sew. Join the back seam - take care when you get to the white section as this is going to be turned over to form the cuff of the boot, so you do not want and seams showing on the outside.

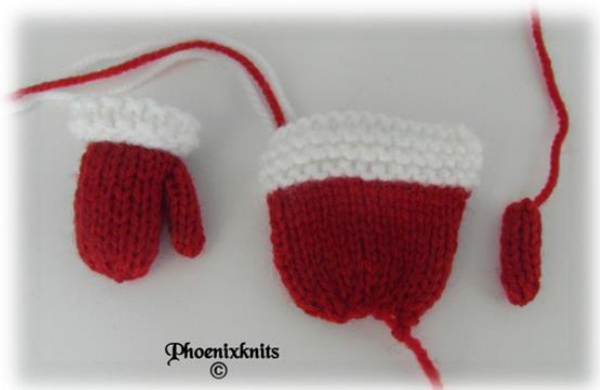
Mittens Draw up the cast OFF edge and join the row ends. Join the row ends of the thumbs if they were done in ordinary knitting. Attach the thumbs - REMEMBER - you will be making a right and left hand, so place on opposite sides of the mittens.
Bootsie theSnowball Page 4of 8 Designed by Phoeny Phoenixknits http://www.ravelry.com/stores/phoenixknits
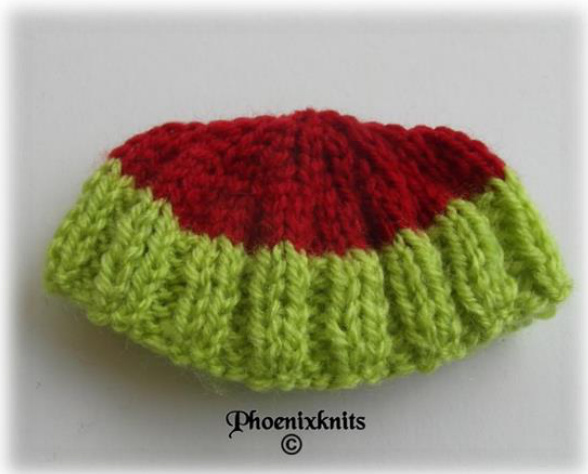
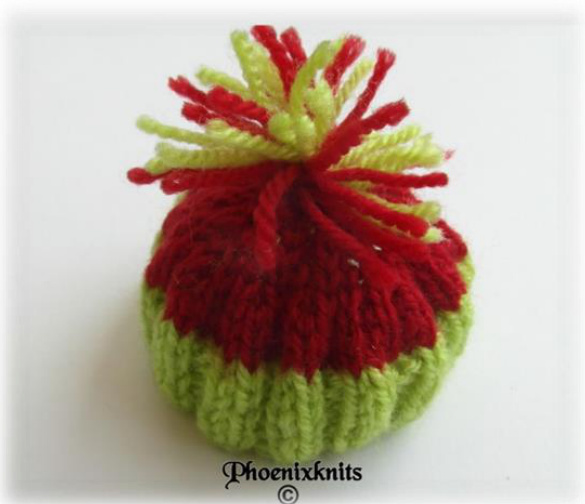
The hat
Join the row ends.
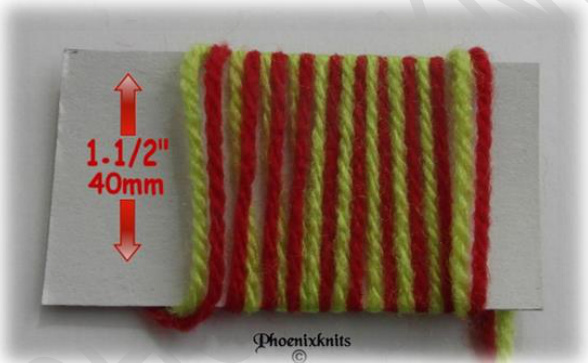
Make a little bobble, you may find it easier, as it is so small, to make it as follows. Cut a piece of card 1 % inches deep, length is not important as long as it is no smaller than 2 % inches. Hold a red and green strand of yarn together and make approximately 10 turns around the card.
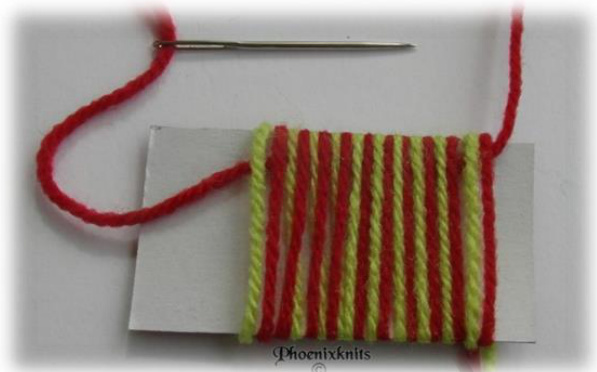
Take a length of red or green yarn and thread it under the strands.
Now tie a knot.
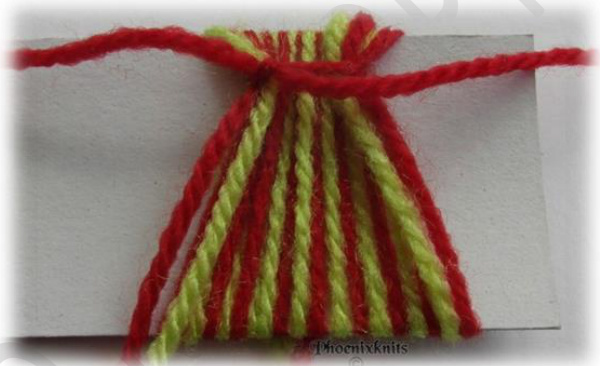
You can now cut through the strands and neaten off the ends.
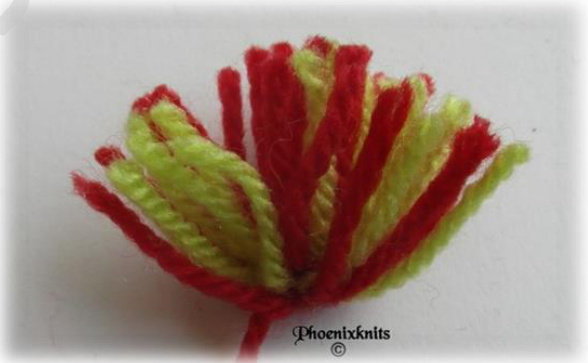
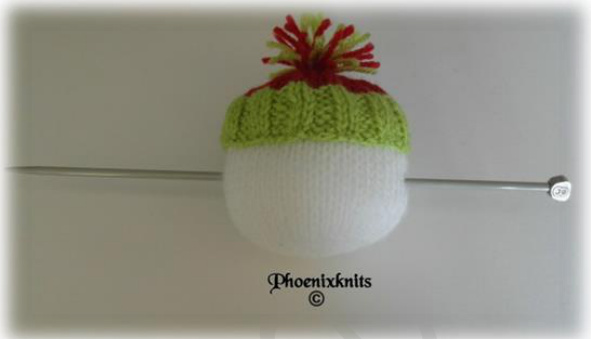
Attach the bobble to the top of the hat. Bootsie theSnowball Page5of 8 Designed by Phoeny Phoenixknits http://www.ravelry.com/stores/phoenixknits
Attach the hat to the snowball by doing a back stitch around the cast on edge (green section)

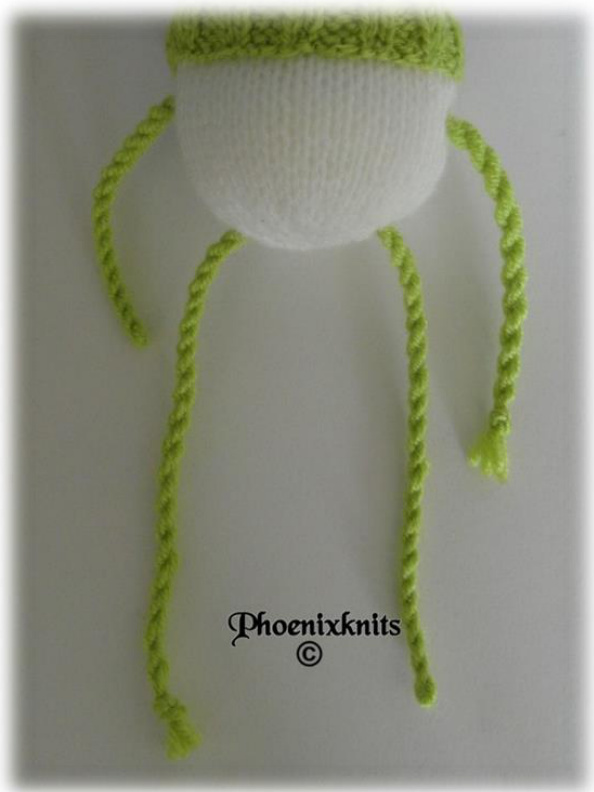
To make the arms and legs, you need to make two lengths of green twisted yarns. For the legs, you will need 4 lengths 46 inches/117cm long For the arms, you will need 4 lengths 36 inches/91.5cm long (both these can be cut to suit) Twist the four strands then double over, giving you an eight strand twisted cord. To insert them into the body, take a size 4mm and insert into the body going right through in the position shown in the picture below.
Put a crochet hook through the hole you made with the needle and grasp one of ends of the arm section of the twisted cord.
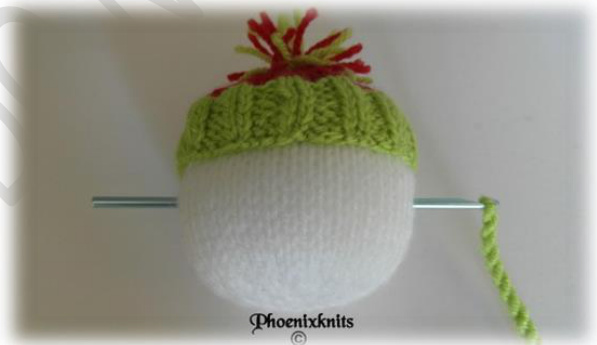
Draw the cord through.
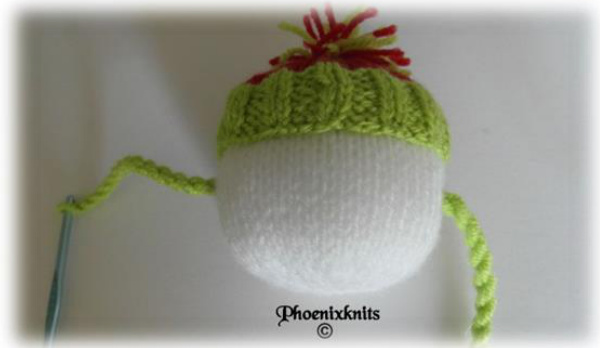
Do the same for the legs. Bootsie the Snowball Page6 of 8 Designed by Phoeny Phoenixknits http://www.ravelry.com/stores/phoenixknits
Using red yarn, secure a length to the end of the cord, thread the yarn through the bottom of the boots, and the ends of the mittens, go back between the stitches a few times to make sure they are secure.
needle and squirted a little glue down the hole, I then inserted the eye and held it in place for a minute while it cured - you may like to do a dry run to make sure you have the eyes in the position you want them before gluing. You may wish to embroider the eyes or make them from felt as an alternative. Using black yarn, embroider two little eyebrows and a nice smiley mouth. If you wish, you can add some little rosy cheeks by using either a small amount of red blusher or a slightly dampened red colouring pencil.
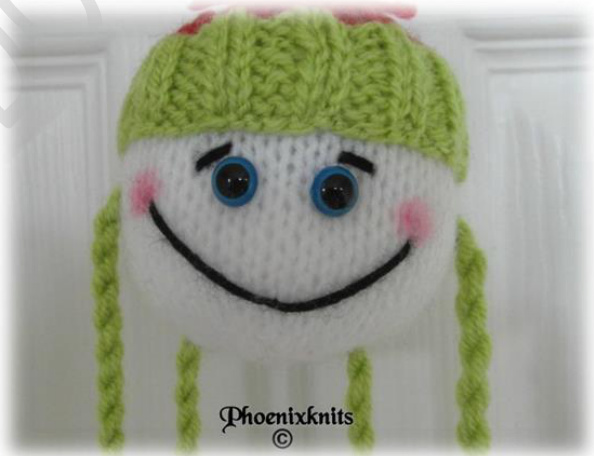
Sew a length of yarn out of the top of the bobble to make a hanger and attach the Happy Holiday banner to it with sticky tape. The face Because this is an ornament and not meant to be played with, I merely glued the eyes in place. I made a hole into the head with a size 4mm
All done :0)
Bootsie the Snowball Page 7 of 8 Designed by Phoeny Phoenixknits http://www.ravelry.com/stores/phoenixknits
The boring bit, sorry but has to be said.
Make this toy for family, friends and for charity, but please do not go into mass production for personal profit, making to sell on a small scale is fine. Please do not rewrite, copy or sellthe pattern, the text, or graphics in any form this includes putting it on CD's for re-sale. Please do not put the pattern anywhere on the Internet including Torrent sites as a free download, as it is covered by section 77 of the Copyright, Designs and Patents act of 1988, identifying Phoenixknits as the sole owner and author of this pattern.
Thank you for respecting my work
All rights reserved Phoenixknits 2014

Bootsie theSnowball Page8 of 8 Designed by Phoeny Phoenixknits http://www.ravelry.com/stores/phoenixknits


