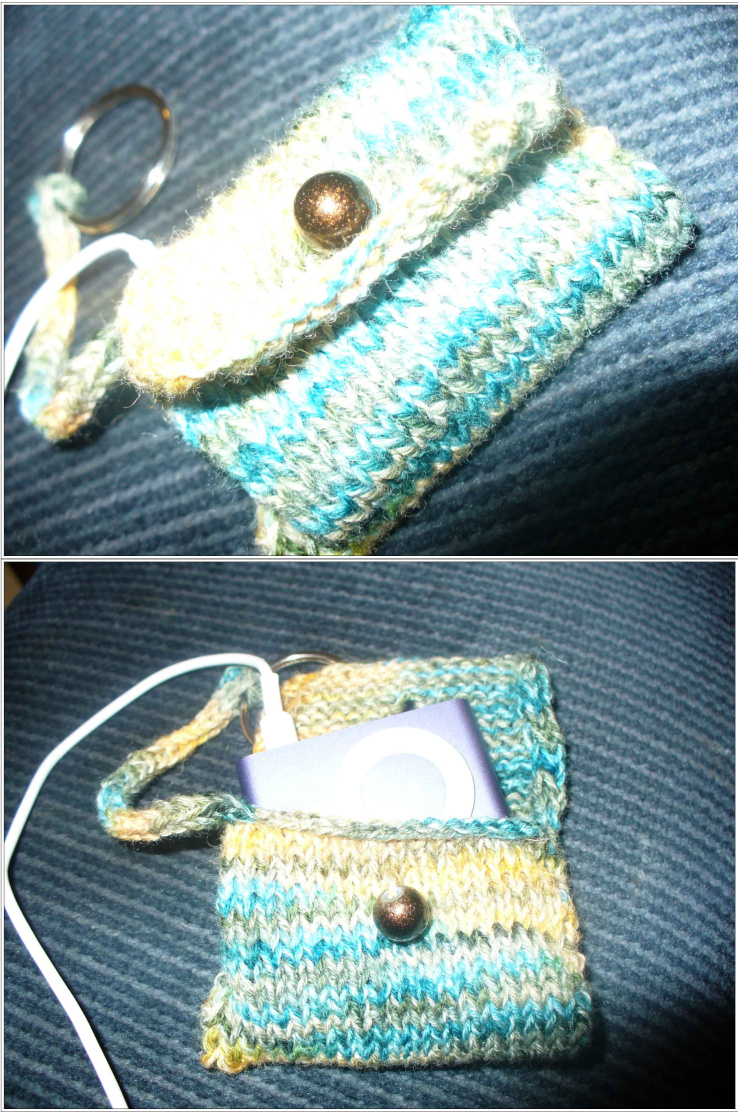
Yougottaswatchanyway Ipod Cozy Charissa Clark Howe
I was preparing to swatch for a pair of socks I was starting the other day and I was trying to figure out a way around it. Swatching feels so pointless (until you screw up the guage and kick yourself for not swatching). Then I figured out a way to trick myself. I turned the swatch into a project! It took no time at all and now my Ipod has a happy little home that will match my new socks (because we all know the fashion police are looking to make sure your electronic devices match your footwear.) Materials: A ball of sock yarn of your choice that you have to swatch with anyway The needles you plan on using for the swatch A bead or small button A keyring or clip of some sort (optional) jauge: That's what you're doing this to find out! I recently learned about the wonderful thing that is Judy's Magic Cast On. If you're unfamiliar with it, it's a great cast on that first debuted in Knitty a while back. It's great for starting toe up socks. I generally do my socks cuff-down, so that doesn't really do a lot for me. I do, however, have to swatch in the round for socks (as we all do) and this is a great way to do a swatch in the round. You can get the directions for the cast on at: http://knitty.com/issuespring06/FEATmagiccaston.html.
Pouch:
Cast on half the number of stitches that should give you $4^{\circ}$ in stockinette stitch'. This number will be contingent on the yarn, needles and pattern (if any) you're using. Begin working in the round in stockinette stitch. (Note: if you're working on DPNS, you'll be working with three, one along either side of the pouch and one working needl. If you're working with two circulars, just carry on and don't worry about this note. It'll be normal to you.) Since you aren't doing any increasing or shaping at all, itll turn into a neat litle pouch. Just kep working in the round like this for however long you need to for your ipod/mp3 player/cell phone/whatever little gadget you're making a home for.
Flap:
Bind off ll the stitches on one of your needles and begin working flat on the remaining stitches. Work flat until the flap is almost as long as you want it. In the middle of the next row, work a (YO, K2tog), then continue the rest of the row plain. Work a few more rows and cast off.
Finishing:
If desired, pick up 3 stitches on one of the top corners of the pouch opening and work several inches of icord’. You can fasten a keyring or clip at the end of the icord or sew it down into a loop. Add a button or bead on the front of the pouch, lined up with the buttonhole of the flap.


