Subway Academy II IDC3O Basic Pattern Reverse Mitred Dishcloth (Increasing Version)

NOTE TO NON-STUDENTS: this simple pattern was designed for students in a high school knitting course. It is vague about gauge and sizing, but is a useful exercise for beginner knitters who are comfortable with basic techniques. DESCRIPTIoN: The construction of this knit follows a basic formula that reverses the construction of a mitred square. It can be used for many different dishcloths, with opportunities for working in a dash of texture or colour. Once you have worked through it, you may also be able to see how to adjust the numbers used throughout the pattern in order to control size and even shape. Then you won't ever need a pattern to knit a dishcloth that you like! SIZE / FINISHED MEASUREMENTs: Will vary. Pattern has been designed to create a roughly 9x9" square if default yarn, needles and gauge are used. RECOMMENDED YARN: Your choice. As a default, use any worsted weight cotton yarn. Switch to thinner (or thicker) yarns as desired to achieve smaller (or larger) dishcloth sizes. RECoMMENDED NEEDLES: straight needles in whatever size is recommended on the ball band for your chosen yarn. As a default, use 5mm (US 8) needles. Switch to thinner (or thicker) needles to achieve smaller (or larger) dishcloth sizes. OTHER MATERIALS NEEDED: 1 stitch marker tapestry needle GAUGE: Will vary. Try for gauge similar to that recommended on the ball band for your chosen yarn. Or, as a default, aim for 18 sts = 4" in garter stitch; row gauge not needed. (If aiming for a specific dishcloth size, work a gauge swatch. Use its gauge and pattern instructions to extrapolate dimensions of reverse mitre worked at that gauge.) last updated - September 2010 Subway Academy II - Knitting
INSTRUCTIONS:
CO 4 sts using any method. row 1 (RS): k all. row 2 (WS): k all. row 3 (RS): k1, m1, k2, m1, k1. (6 sts.) row 4 (WS): k3, pm, k3. row 5 (RS): kto 1 st before st marker, m1, k1, sl m, k1, m1, k to end. (2 sts increased.) row 6 (WS): work 1 row plain. (This means k all, but slip the marker as you come to it to maintain its position.) Repeat rows 5-6 until 80 sts total. BO all. Cut yarn and weave in ends. Your dishcloth is complete!
PATTERN NOTES:
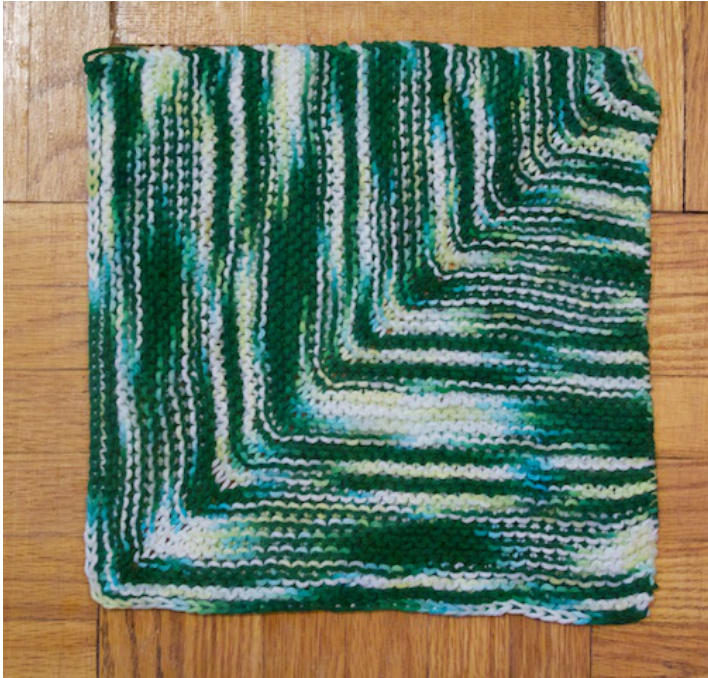
This pattern is a great place to experiment with colour striping, since switching colours every few rows will create exciting V-shaped stripes. If you are switching colours frequently, keep the unused colours running up the side to avoid weaving in lots of ends. (More experienced knitters may also like to try slip-stitch or mosaic knitting with different colours for more complex geometric effects.) Another way to change up the pattern is via texture. By default, this pattern is worked in garter stitch. However, you can easily convert the pattern to stockinette stitch by purling all of the WS rows (and observe how this changes the dishcloth from a square to more of a kite shape). You can also experiment with alternating sections of garter and stockinette stitch, or stockinette and reverse stockinette stitch, to create textured ridges and geometric shapes. The only thing you might keep the same are the increase and centre stitches of the RS rows, to keep the 'spine' of the mitre looking tidy.

ABOUT THE DESIGNER: Subway2 represents a gaggle of knitting students and teachers from a small alternative school in Toronto, Canada. In this case, a knitting teacher specially created these designs for use in the school's knitting course.


