Harlow Inpini4y
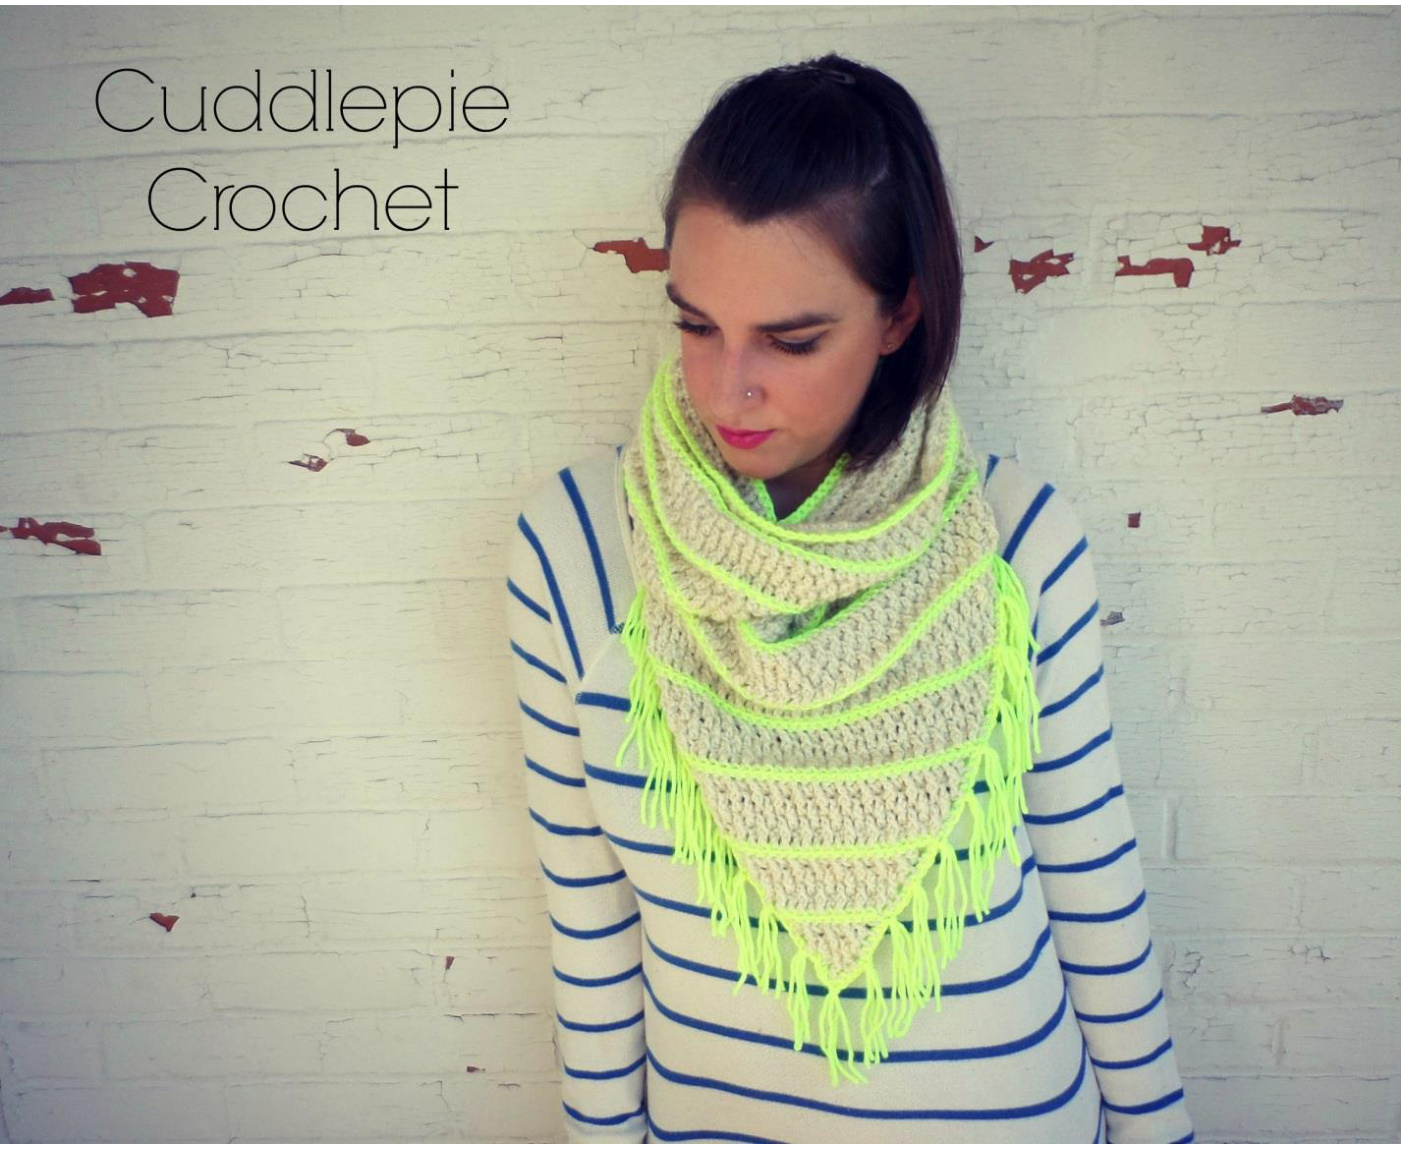
Pa44ern Design by Trrera Dodge
@Cuddlepie Croche4 @You may use this pattern to make items for personal use. You may also sell items made from this pattern when you give credit back to me with this link http://www.ravelry.com/designers/tricia-dodge. The pattern itself or images used in it may not be copied or distributed.
Supplies:
Twoskeinsof Deborah Norvill Everyday Worstedforthe main color, andone skeinfor the contrast color. J (6.0mm) hook for body I (5.5mm) hook for edging and finishing Tapestry needleto weave i ends Gauge: Rows 1-4 = 2" long and 3" wide Pattern Notes: Ch 3 always counts as a st. Ch 1 does not count as a st. When working the contrast color for the RowS, leave a 6" tail at the beginning and end of the row. Doing this allows you to use these ends as part of your fringe without having to weave in all these ends. Contrast RowS are always worked from the front of your work. This means you will finish a main color row, drop your yarn, turn your work, and start the contrast row at the beginning of the last main color row you worked. When changing colors for my RNDS I like to finish my join, then pull the new color through the loop left on my hook, then tighten it up so the new color is now my loop.
Abbreviations:
MC - main color CC- contrast color Ch - chain Dc - double crochet FPdc - front post double crochet St - stitch FLO - front loop only BPdc - back post double crochet RS - right side Rnd - round BLO - back loop only With J Hook: Row 1: With MC, ch 4, 2 dc in 1st ch, turn. (3) Row 2: Ch 3, dc in 1st st, FPdc around next, 2 dc in top of ch 3, turn. (5) Row 3: Ch 3, dc in 1st, (BPdc, dc)x2, dc in top of ch 3, turn. (7) Row 4: Ch 3, dc in 1st, (FPdc, dc)x3, dc in top of ch 3. (9) Drop yarn, do not turn. Row 5: Working on the RS wth CC, beginning at the ch 3 of row 4, Ch 1, 2 sc in top of ch 3, sc across, 2 sc in last st. Drop yarn, pick up MC and pull through your final CC loop, turn. Cut CC yarn leaving 6 " tail.(11) i: MC, Ch 3, dc in 1t FLO, dc in each FLO across, 2dc in FLO of last st, turn. (13 Row 7: Ch 3, dc in 1st, (FPdc, dc)x6, dc in last again, turn. (15) Row 8: Ch 3, dc in 1t, (BPdc, dc)x7, dc in last again, turn. (17) Row 9: Ch 3, dc in 1st, (FPdc, dc)x8, dc in last again, turn. (19) Drop yarn, do not turn. Row 10: Working on the RS wth CC, beginning at the ch 3 of row 4, Ch 1, 2 sc in top of ch 3, sc across, 2 sc in last st. Drop yarn, pick up MC and pull through your final CC loop, turn. Cut CC yarn leaving 6 " tail. (21) MC, Ch 3, dc in 1st FLO, dc in each FLO across, 2dc in FLO of last st, turn. (23) Row 12: Ch 3, dc in 1st, (FPdc, dc)x11, dc in last again, turn. (25) Row 13: Ch 3, dc in 1st, (BPdc, dc)x12, dc in last again, turn. (27) Ch 3, dc in 1st, (FPdc, dc)x13, dc in last again, turn. (29) Drop yarn, do not tur Row 15: Working on the RS wth CC, beginning at the ch 3 of row 4, Ch 1, 2 sc in top of ch 3, sc across, 2 sc in last st. Drop yarn, pick up MC and pull through your final CC loop, turn. Cut CC yarn leaving 6 " tail. (31) Row 16: MC, Ch 3, dc in 1st FLO, dc in each FLO across, 2dc in FLO of last st, turn. (33) Row 17: Ch 3, dc in 1st, (FPdc, dc)x16, dc in last again, turn. (35) Row 18: Ch 3, dc in 1s, (BPdc, dc)x17, dc in last again, turn. (37) Row 19: Ch 3, dc in 1't, (FPdc, dc)x18, dc in last again, turn. (39) Drop yarn, do not turn. Row 20: Working on the RS wth CC, beginning at the ch 3 of row 4, Ch 1, 2 sc in top of ch 3, sc across, 2 sc in last st. Drop yarn, pick up MC and pull through your final CC loop, turn. Cut CC yarn leaving 6 " tail. (41) Row 21: MC, Ch 3, dc in 1st FLO, dc in each FLO across, 2dc in FLO of last st, turn. (43) Row 22: Ch 3, dc in 1st, (FPdc, dc)x21, dc in last again, turn. (45) Row 23: Ch 3, dc in 1st, (BPdc, dc)x22, dc in last again, turn. (47) Ch 3, dc in 1st, (FPdc, dc)x23, dc in last again, turn. (49) Drop yarn, do not tur Row 25: Working on the RS wth CC, beginning at the ch 3 of row 4, Ch 1, 2 sc in top of ch 3, sc across, 2 sc in last st. Drop yarn, pick up MC and pull through your final CC loop, turn. Cut CC yarn leaving 6 “" tail. (51) Row 26: MC, Ch 3, dc in 1st FLO, dc in each FLO across, 2dc in FLO of last st, turn. (53) Now we will begin to work in RouNDs. For countings sake, we will not change numbers. Rnd 27: Ch 3, dc in 1"t, (FPdc, dc)x26, dc in last again, DO NOT TURN. Ch 29 for a cowl and 119 for a double wrap infinity as shown. Make sure not to twist your ch, join to top of ch 3 with a sl st. Rnd 28: Ch 3, (FPdc, dc) around to chs, dc in each ch, join to top of ch 3. Rnd 29: Ch 3, dc, (FPdc, dc) around, join to ch 3 loop by inserting your hook from the back to the front. This allows the ch 3 to look like a post stitch. Rnd 30: With CC, ch 1, sc in join and each dc around, join to 1st sc. ind 31: With MC, sl st in BLO, ch 3, dc in each BLO around, join to top of ch 3. Rnd 32: Ch 3, FPdc, (dc, FPdc) around, join to top of ch 3. Rnd 33: Ch 3, dc, (FPdc, dc) around, join to ch 3 loop by inserting your hook from the back to the front. This allows the ch 3 to look like a post stitch. Rnd 34: Ch 3, FPdc, (dc, FPdc) around, join to top of ch 3. Rnd 35: With CC, ch 1, sc in join and each dc around, join to 1st sc. Rnd 36: With MC, sl st in BLO, ch 3, dc in each BLO around, join to top of ch 3. Rnd 37: Ch 3, FPdc, (dc, FPdc) around, join to top of ch 3. Rnd 38: Ch 3, dc, (FPdc, dc) around, join to ch 3 loop by inserting your hook from the back to the front. This allows the ch 3 to look like a post stitch. Rnd 39: Ch 3, FPdc, (dc, FPdc) around, join to top of ch 3. Rnd 40: With CC, ch 1, sc in join and each dc around, join to 1st sc. Rnd 41: With MC, sl st in BLO, ch 3, dc in each BLO around, join to top of ch 3. Rnd 42: Ch 3, FPdc, (dc, FPdc) around, join to top of ch 3. Rnd 43: Ch 3, dc, (FPdc, dc) around, join to ch 3 loop by inserting your hook from the back to the front. This allows the ch 3 to look like a post stitch. Rnd 44: Ch 3, FPdc, (dc, FPdc) around, join to top of ch 3. For a single, cowl type scarf, repeat rnds 40 to 44 until your cowl is a slouchy as you would like, then go on with rnd 45. For a double wrap, head straight to rnd 45. CC and I hook, ch 1, sc in join and each dc around, join to 1t sc and finish off Veave in all MC ends, and CC ends that are not going to be used in your fring For finishing: With I hook, attach your CC yarn in the middle/back of what is now your bottom edge. Sc in each dc, 2 sc in each sp along the triangle edge, 3 sc in the middle st of your triangle, 2 sc in each sp along the triangle edge, sc in each dc, join to first st and finish off. Cut pieces of CC yarn to 10 inches. I used two strands for each loop. Loop these in each CC end, making sure to pull through your ends from the crocheting. I also looped fringe halfway between each CC row. Trim your fringe and enjoy!!


