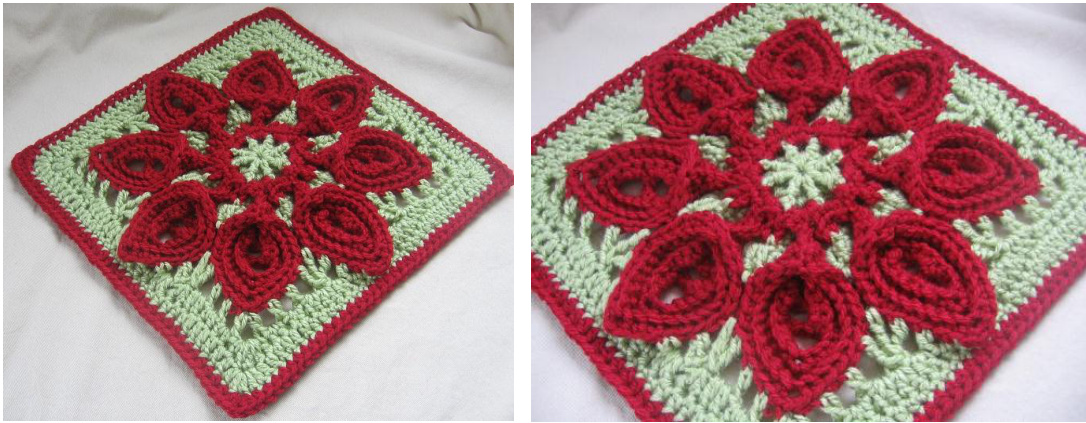
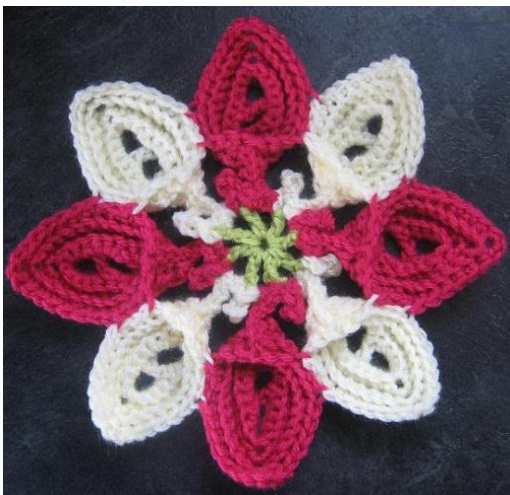
Puritan Bedspread Tutorial—redesigned and rewritten by Margaret Maclnnis c. 2013
Original design by Cecilia Vanek (American Thread Co.) Round 1: Base Round (8 dc, 8 ch-3 spaces).
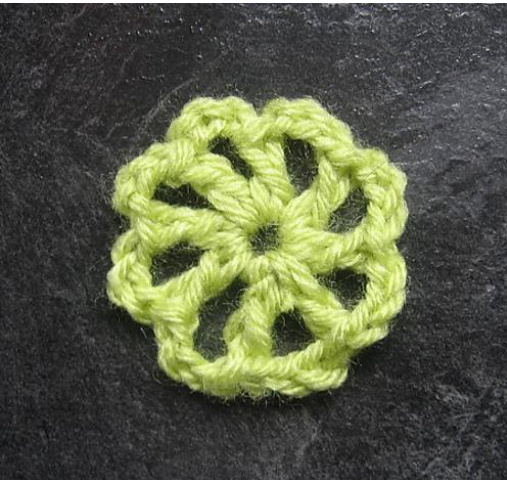
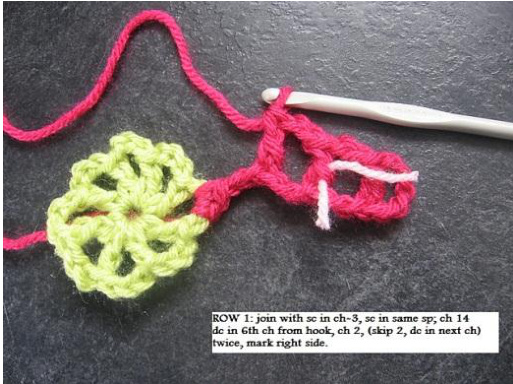
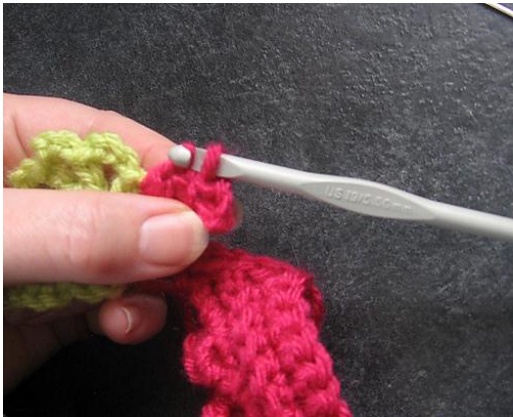
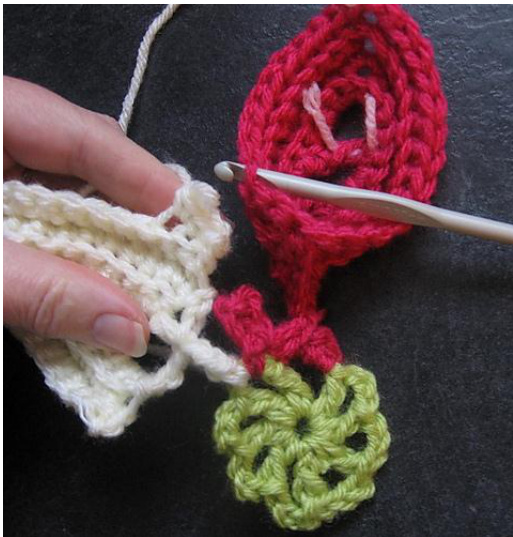
Petal One: Row 1: Join with sc in ch-3 sp, sc in same sp. Ch 14 dc in 6th chain from hook; I use the back bump
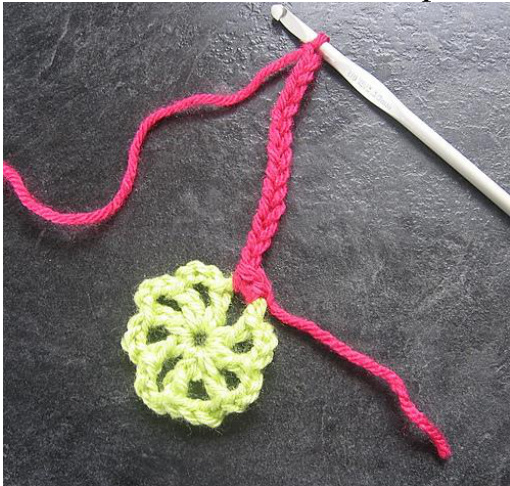
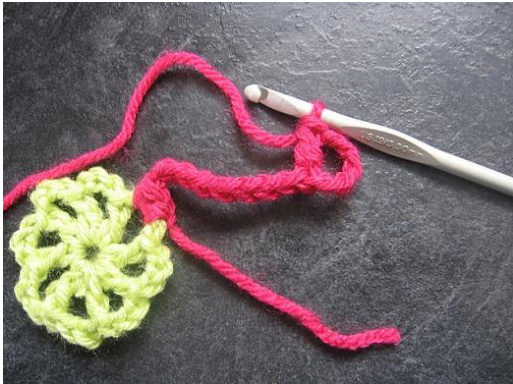
skip two chains, ch 2, and dc in next. Do that twice. Mark the front of your work, or you'll drive yourself crazy. (the parentheses in the photo should be before the ch-2)
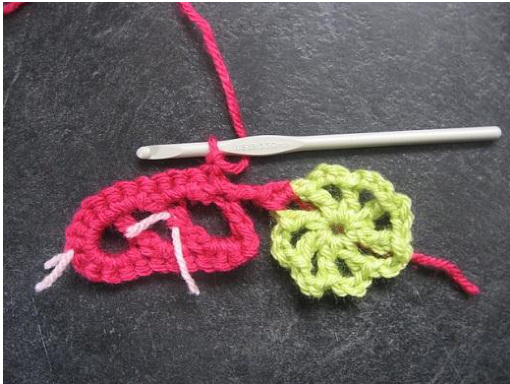
ch 1, and Turn and sc into the dc

I should have shown this, but this is all the sc around and it's turned. There are 7 sc at the top, with the middle one marked, and sc in each dc, with 2 between them on each chain. I go around the chain loops. It doesn't really matter that much to the final look.
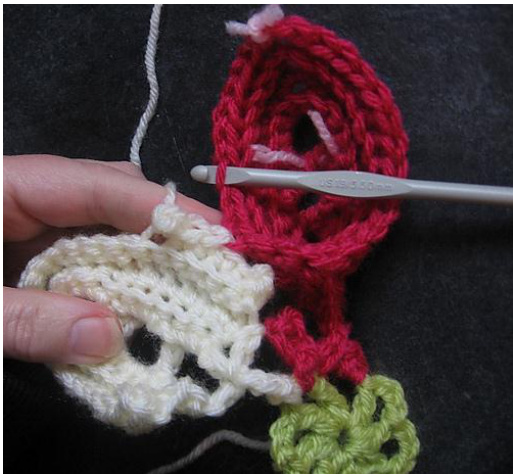
You should have the front facing you for Row 3. You'll work in the back loops (as it's facing you, so it's the front loops, but don't over-think that ...). 10 sc in BLO, and 3 in the corner one, then 10 in the rest.
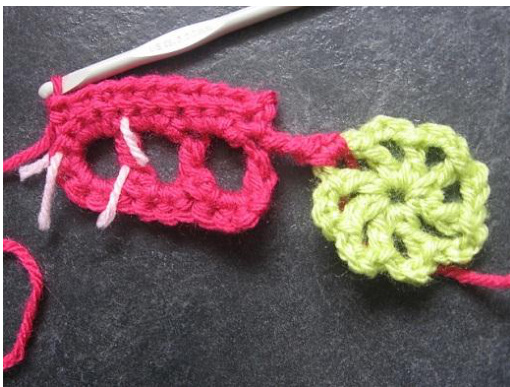
ch 1 and turn to back and work ROW 4. BLO again, 11, 3, 11 for a total of 25

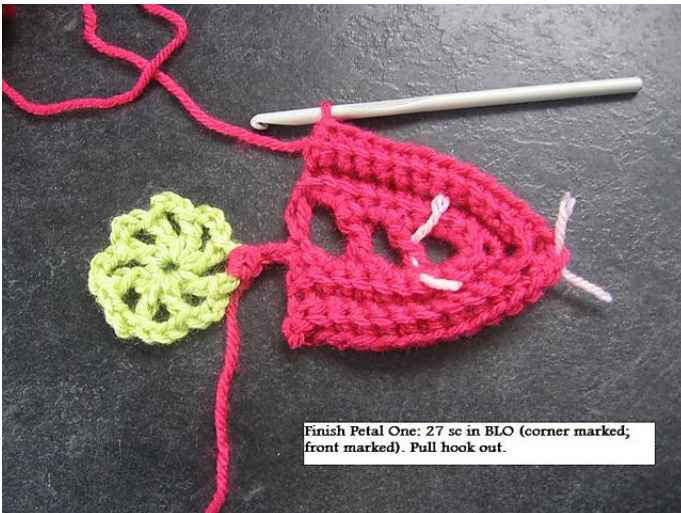
Now you'll FINISH PETAL ONE ONLY. The other petals don't finish the same, since they need to link in, but Petal one just has another row on it, ending in 27 sc in BLO.
If you aren't on the FRONT, you did it wrong. Now you'll work ^End Petal Instructions Only--Petals 1-7′ Pull the hook out, and put it through the first sc on the other side, folding the thing in half from top to bottom as you pull that loop through to the other side.
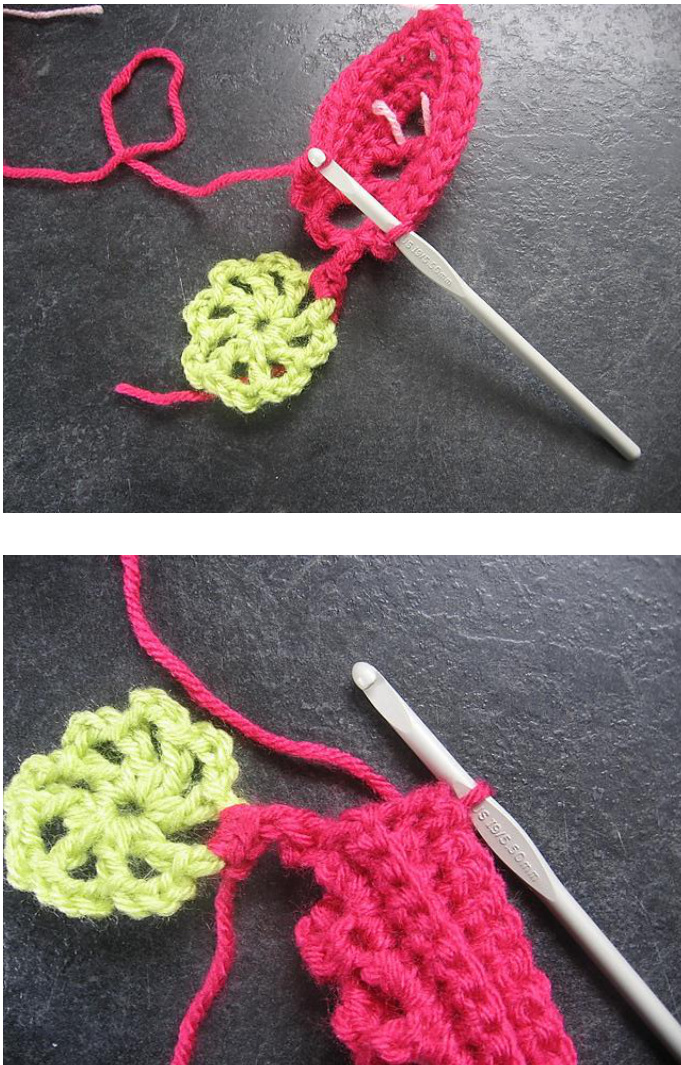
Then carefully (and take the time to make this as neat as you can, because it shows), work 4 slip stitches (some only manage three; doesn't matter) through both sides, linking them along where they meet up at the bottom of the petal.
Then carefully, without twisting it, also slip stitch into each of the remaining two chains that you started your ^chain 14? with, way back when...
And then work 2 sc back into the first chain 3 space at home base...

e a pretty little PICOT which is right in line with the dc on home base. Chain And carefully slip through the 5th chain from the hook. Don't twist it. You want pretty picots, don't you?
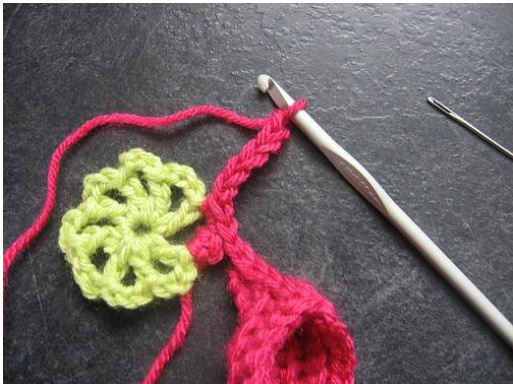
And then go back to home base, and you'll make 2 sc into the NEXT ch-3 space. At this point, count your chain three spaces and make sure again you have eight. If you don't, cry a little....
Now you are going to work PETAL TWO. Work it the same from ROW 1 to ROW 4. Start with a chain 14...
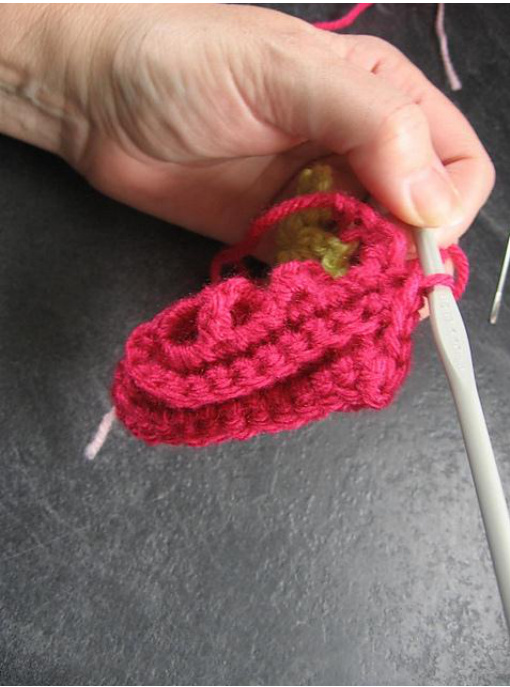
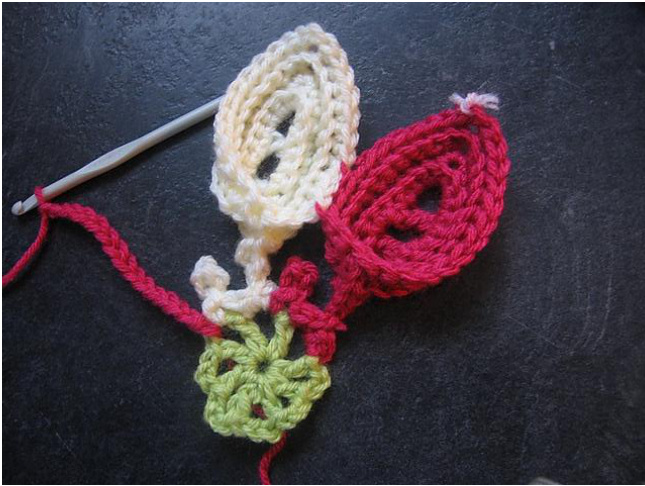
PETAL TWO-Seven. Row 1-4: If you did it correctly, you should be getting ready to work the last edge, with the 12/3/12 sc combo. Use this edge to link to the first petal (or whatever petal number is next to it if you are working the 3-7 petals)
Take a look at your petal to the right of it, and poke the hook into the third BLO of the sc nearest you. This is actually easier to figure out if you count from the top corner, and count down; it's the 11'' st from the corner tip one, not counting the tip, and then the 8"h stitch from the tip.
Pull the loop through, and then work 3 more sc in the working petal, slip out the hook again, skip two on the other petal, and slip through again (8th st from tip of red petal)
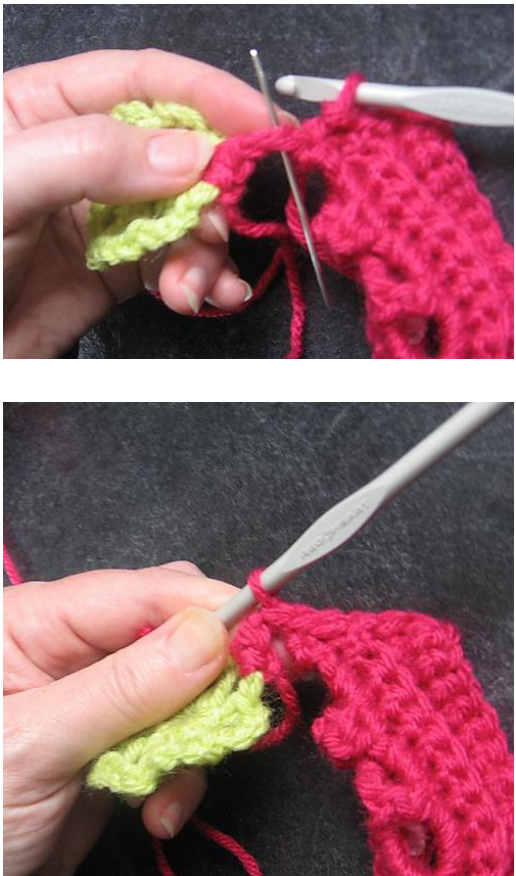
There, we're all joined up, and now you work 6 more up the side, and 3 in the corner.

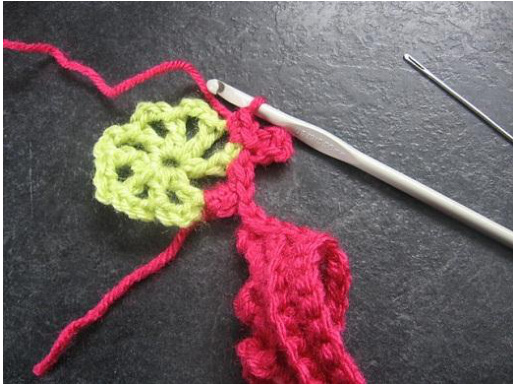
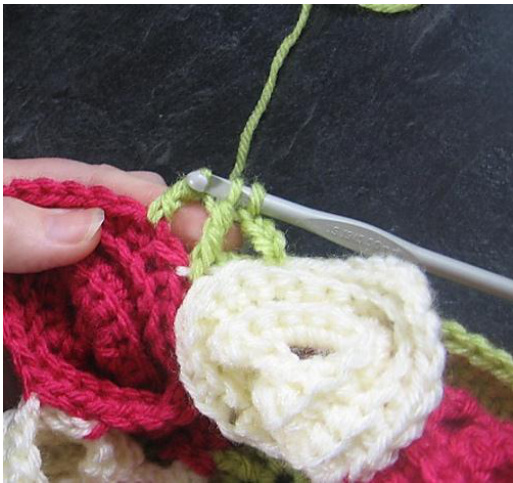
And come down the other side, and then work the instructions for End petal instructions 1-7′ Ignore that I'm working in two colours; either way, you work your 2 sc into the base, picot 5, and 2 sc into next base ch-3, then start Petal 3.
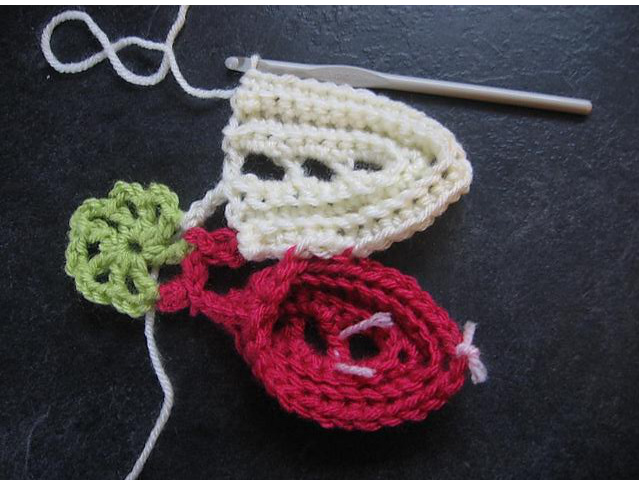
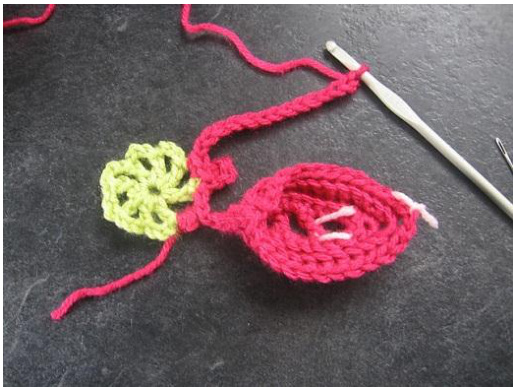
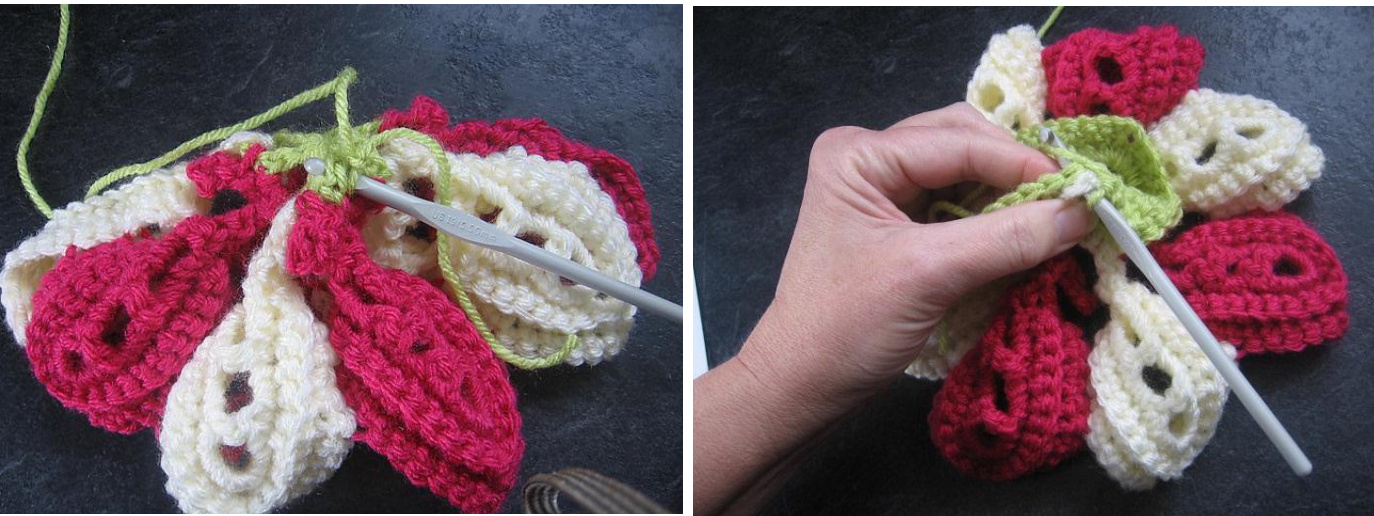
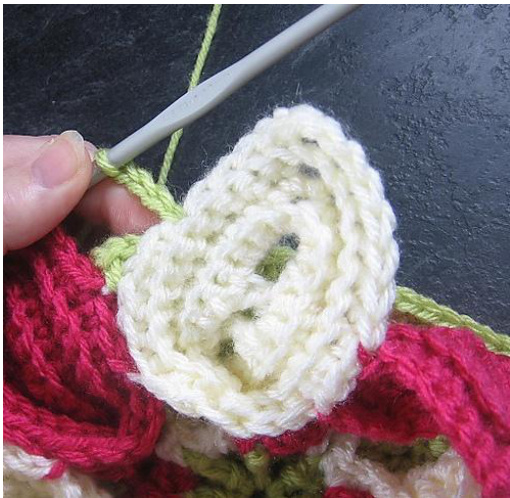
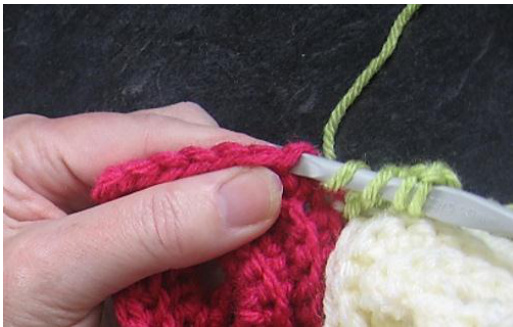
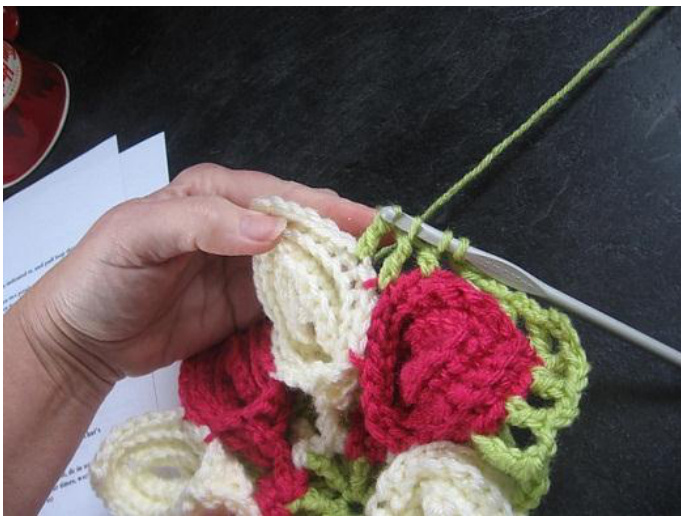
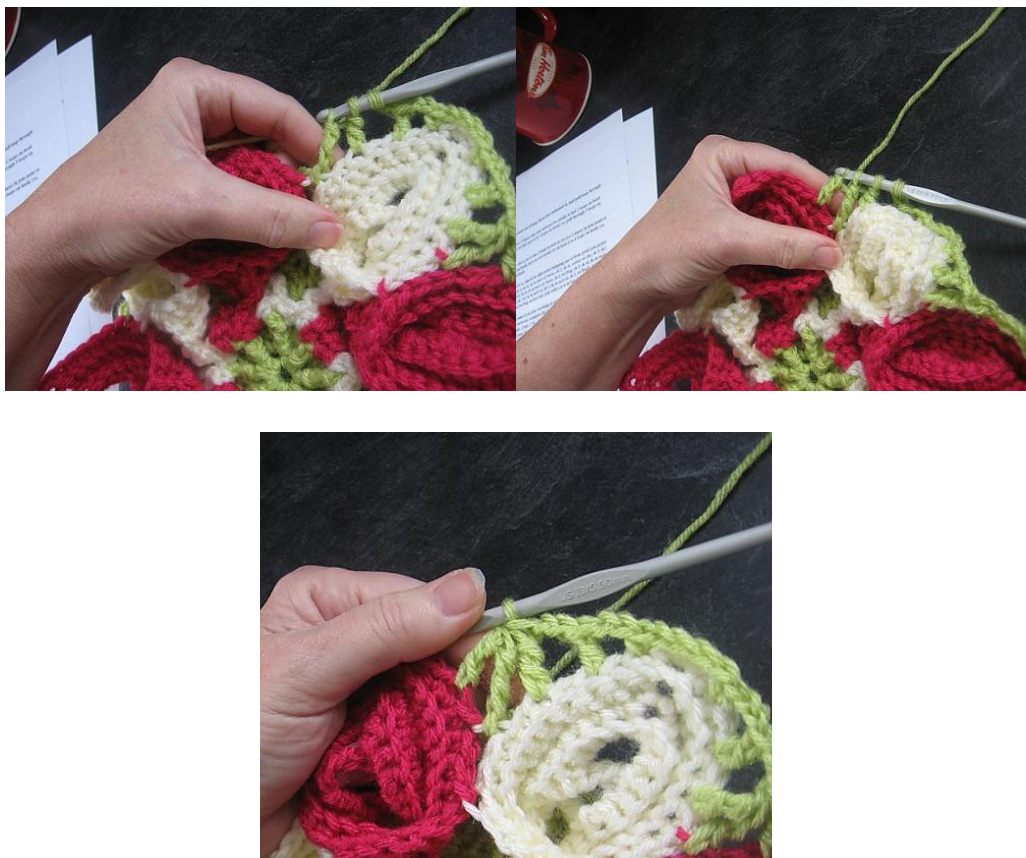
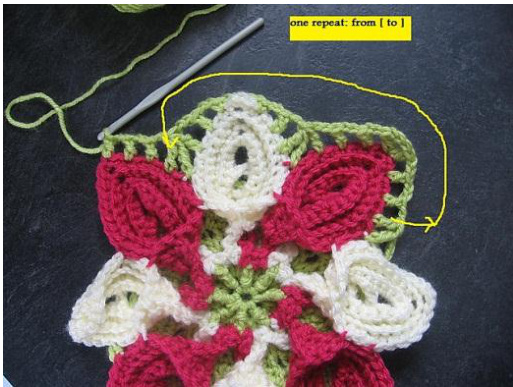
Do that for all the petals, until you get to Petal 8. Petal 8 isn't that much different, except you'll have to pause and join it to Petal 1 when you come down the second side. And you don't need two sc after the picot, since they are already made. Yeah. Working the background circle: First work as instructed, join with a bpsc in any middle dc from the back. (8 bpsc, 8 ch-2); You are working from right to left, and the ^front' of the circle will ultimately face up, or toward the back of the flower petals. The second photo shows the join of the picot with the sc in Rnd 5.
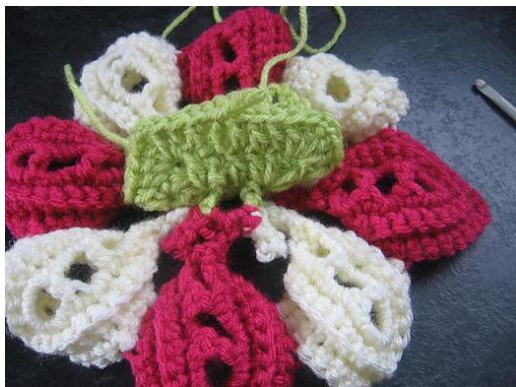
Although a square, the technique and position are what is being shown here. See how the background is ^facing? the block, and being worked from right to left. (I changed it to a circle)
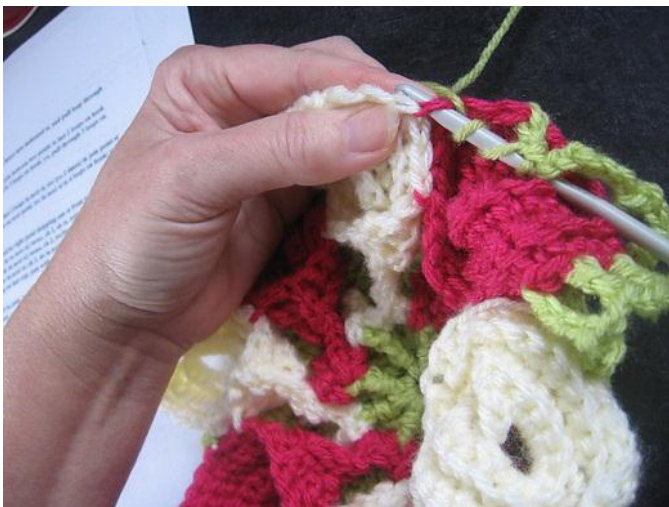
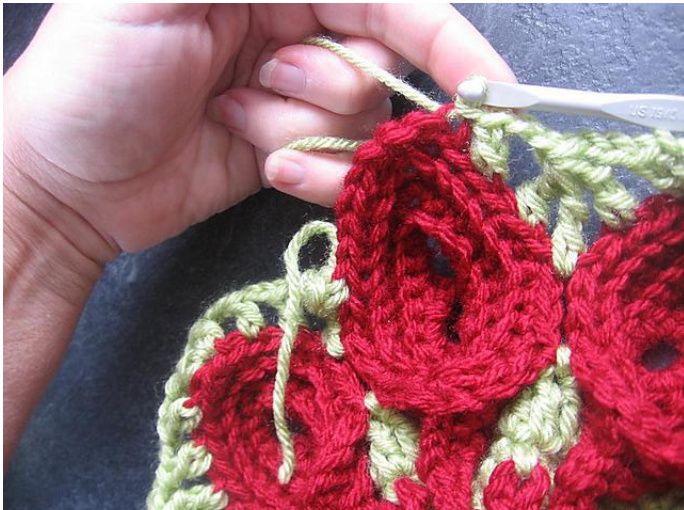
Then work a Rnd 6 for 64 dc, and in Rnd 7, you'll use the same technique as above, to join the corners of the petal joins. You want to join the bottom petal joins, not the top ones.
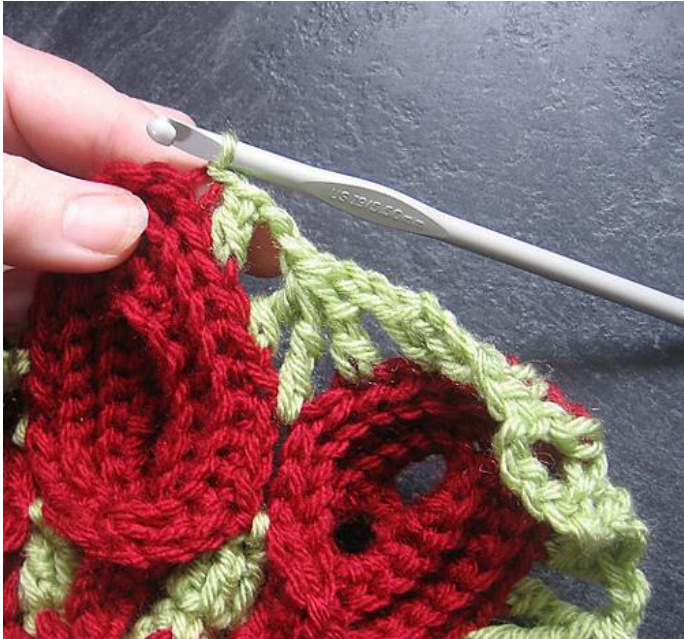
Now work your Begtrc3tog, exactly as instructed. Start on the left side of any petal, skip a st from the join point and sl st to the next st.
1)chain 4 2) skip to join point, and work a trc into that point to the last 2 loops on hook

3) work the third trc after skipping one stitch on the left petal--work it to 3 loops on hook:
4)Then yo, and finish that trc3tog. The move along the side of the petal as instructed.
petal tip will be a TRUE CORNER, so that one gets a (dc, chain 3, dc) in it.

Then you work another 'valley' Here I am working the trc3tog in the middle of that valley Although the instructions say \*skip one’ for that last trc, in reality, it's not always a skipped stitch (unless you're perfect unlike the rest of us lol). You have to count up the side, as you may have done the petal joins at the wrong spot too. It's hard to say. I know mine weren't all perfect, but they look okay. I just made sure that I had room, after the trc3 tog, for the subsequent stitches on the sides, leading up to either the corner, or the side point.

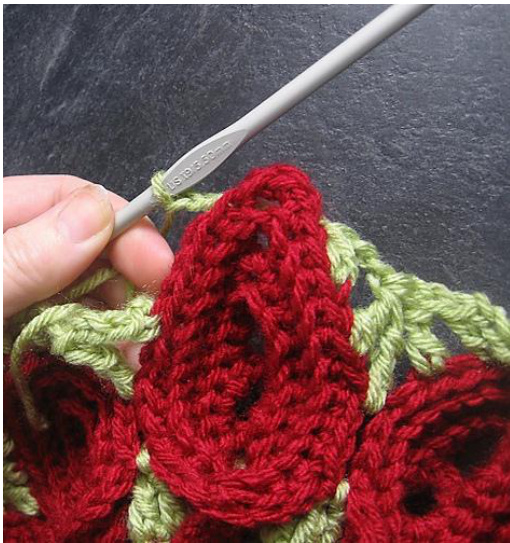
Note that the \*side' points only get ONE dc leading into them, then a slip st, then they skip THREE sc, to make the “under the point ch 2′ (note t this is a change from the original tutorial) Sl st in indicated st
Jote I worked this one BLO; then chain 2, and skip the three corner st, counti1 and slipping into the next one after the skipped 3 stitches; then chain 2 agai1 Here I am working the ‘valley’ again. This would be the last of the ^side repeat' which ends in ..trc3tog] with the square bracket.
I can't really say much more to ^get you through this’ other than the counts on each petal aren't the same, since half the petals are corners, and half are the middle of sides.
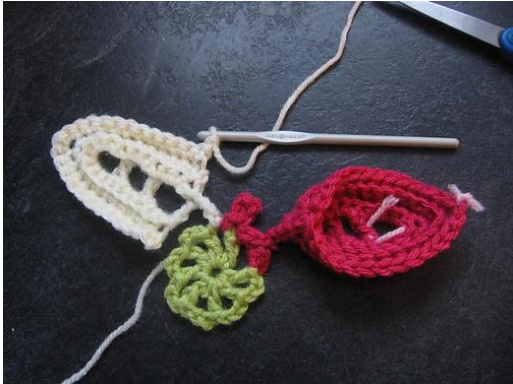
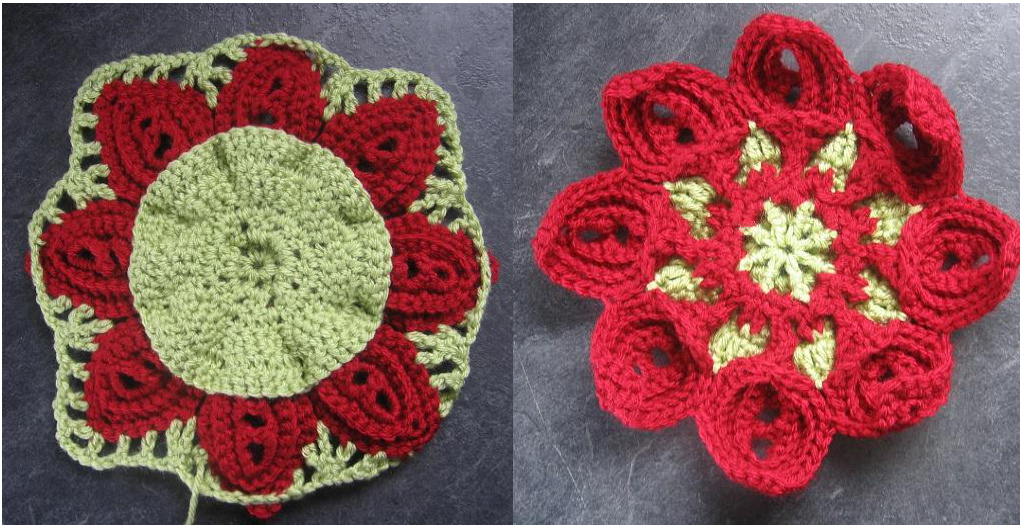
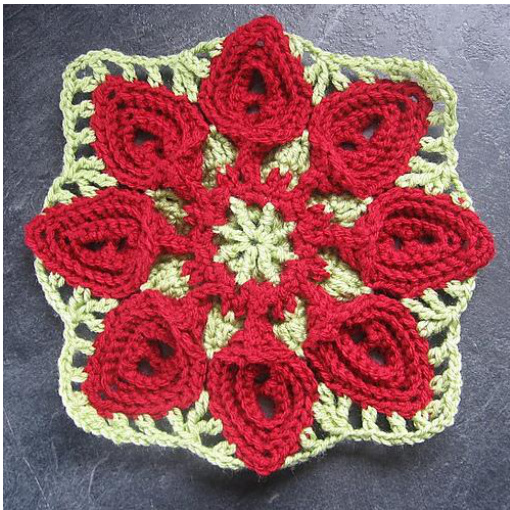
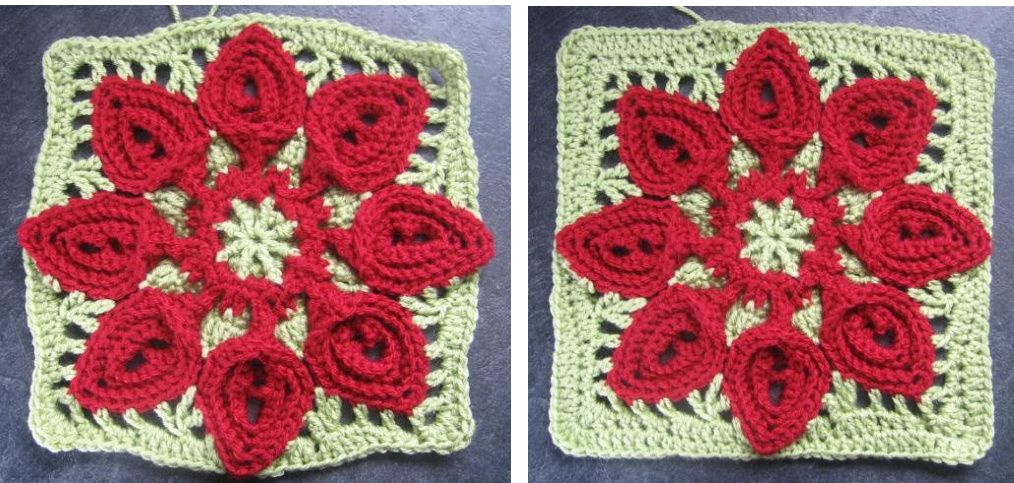
I had to work mine out so that the white petals are ‘side' petals and the red ones are ^corner' petals. That was deliberate on my part. Here is a photo of the 'new’ side that has the proper side points (the multicolor one had different side points)
Then work a Rnd 9 and a Rnd 10.
And finish with whatever stitch gets you to the size you need; photo is hdc. (152 hdc, 4 ch-1)