
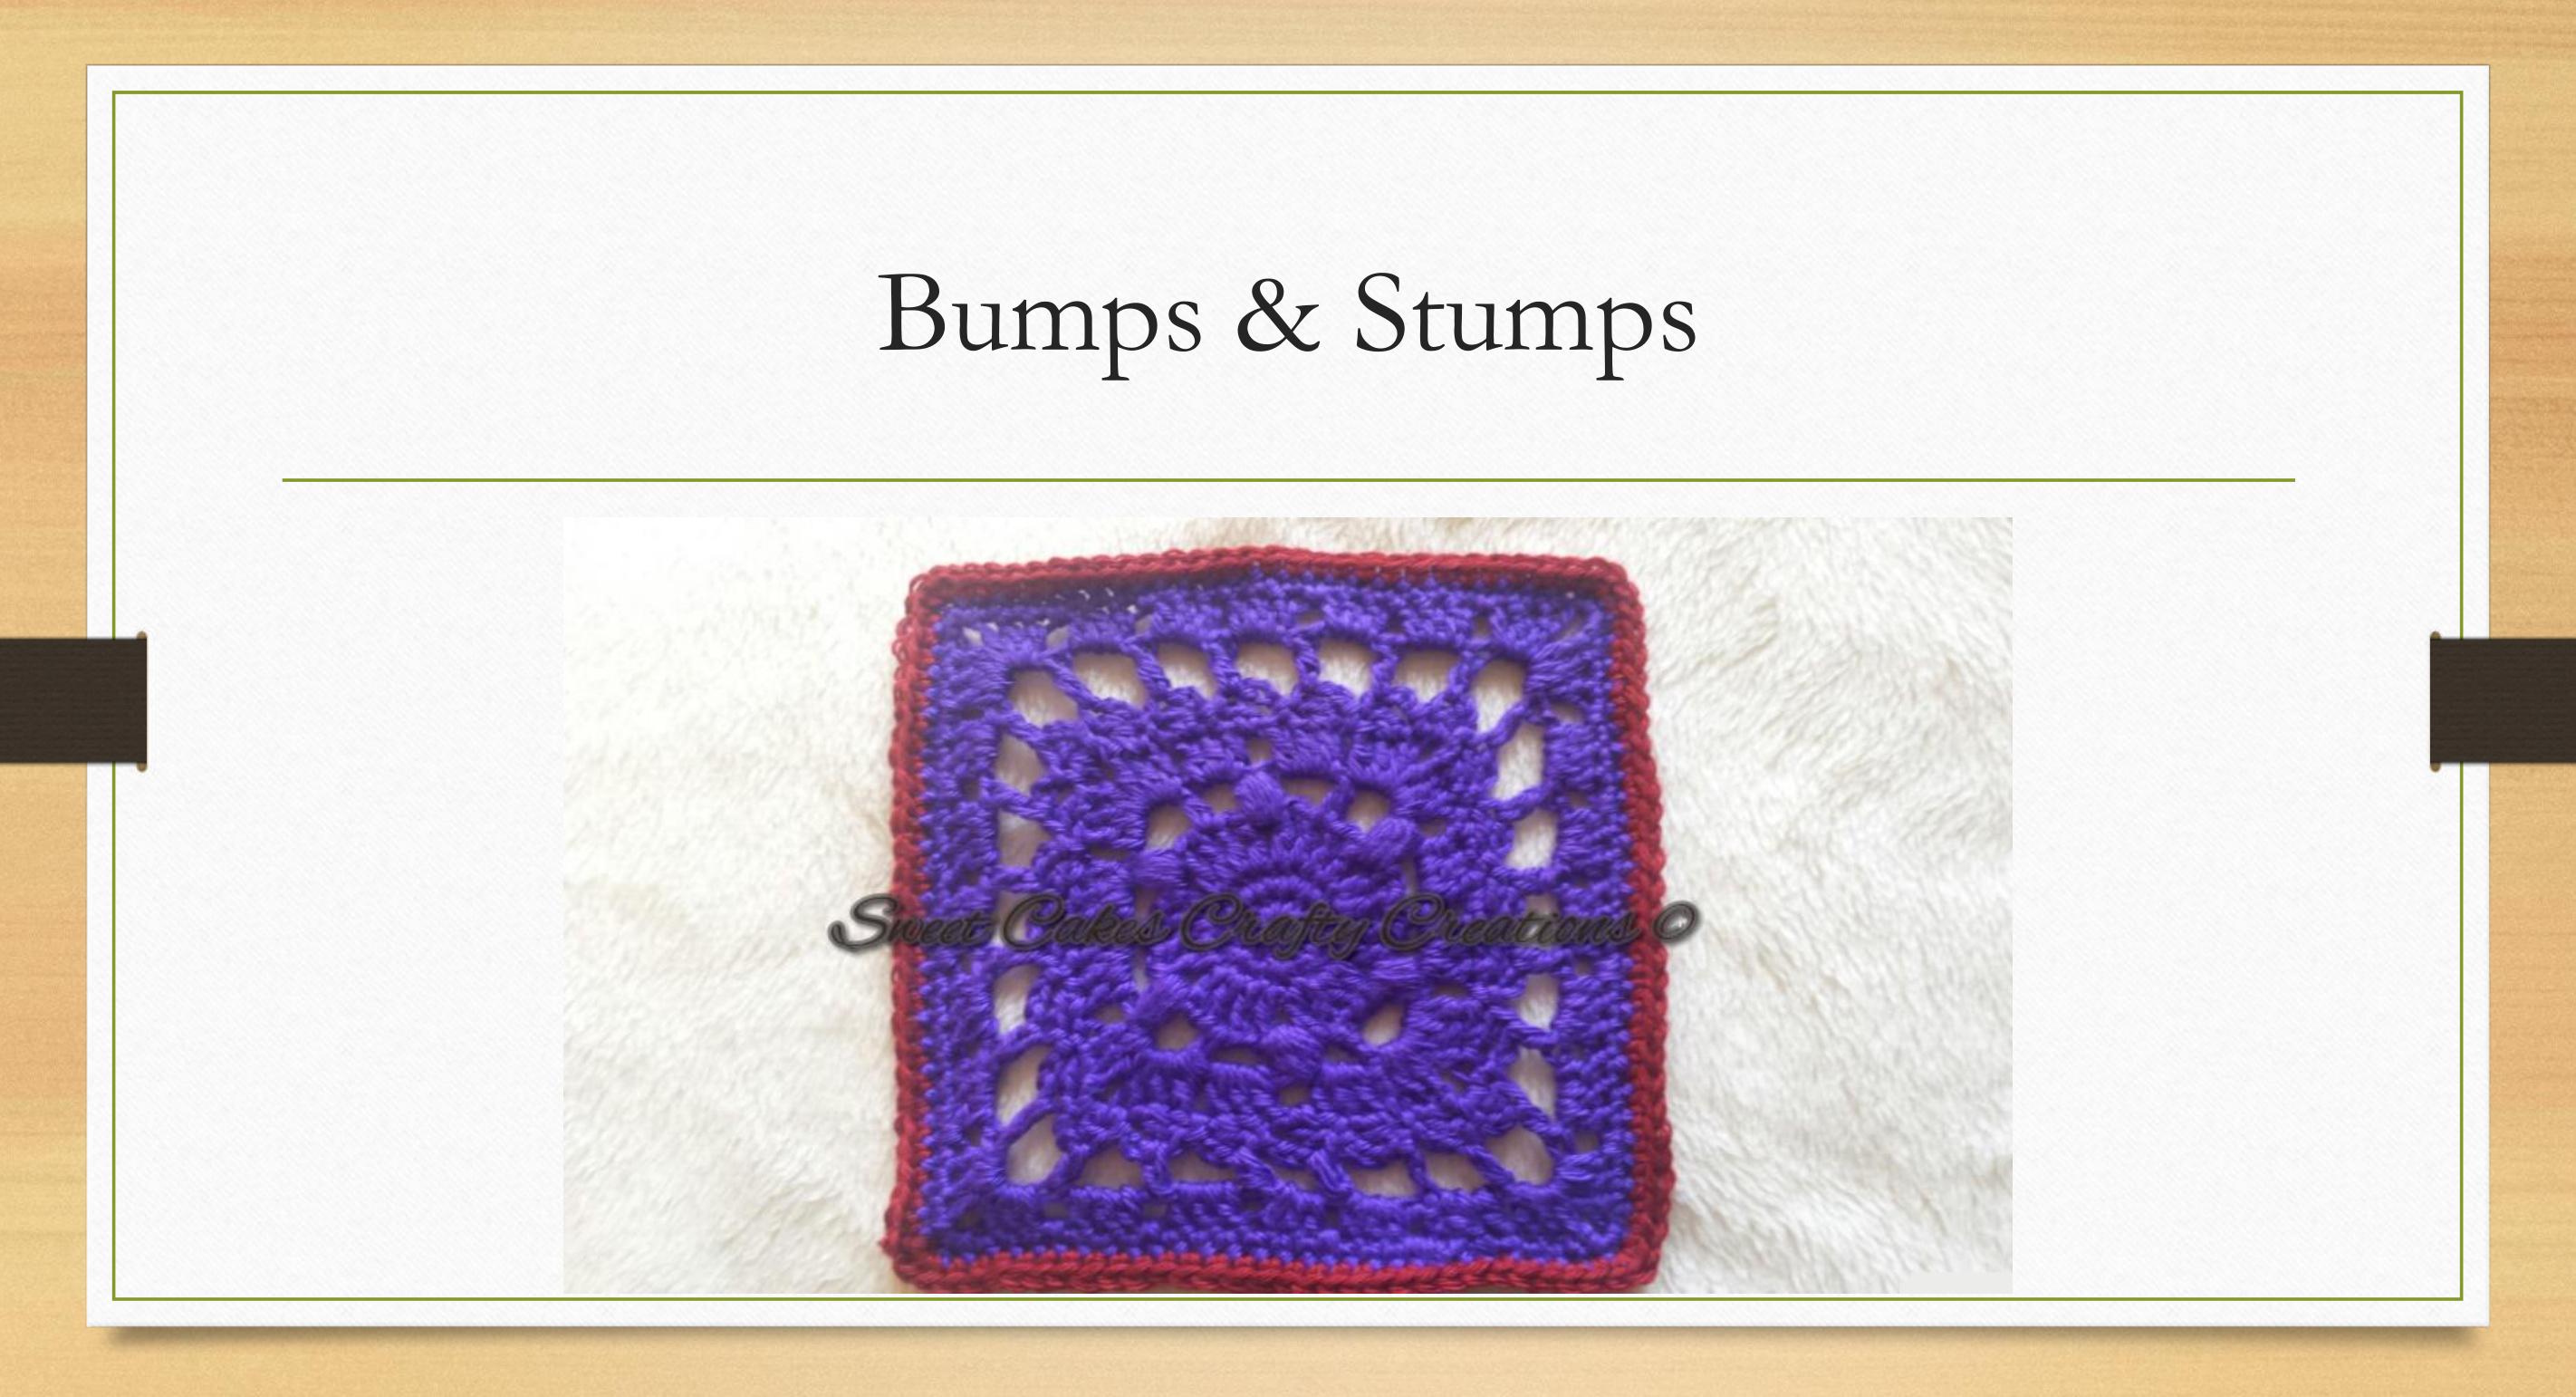
This square is worked in the round, using American crochet terms. Finished size is 7"x7" before edging rounds. 8"x8" after edging rounds. This square may need to be blocked to obtain the size indicated.
Supplies:
H/8 5mm hook 0R hook needed to obtain gauge. Stitch Markers (optional) Less than 1 oz. any Worsted Weight (#4 Aran) Yarn (any color) (I used Carron Simply Soft Solids) Approx. 50 yards T-Pins, steamer (or iron with steam option), blocking board.
Stitches:
Stitches Used
Double Magic Circle/Ring (DMC/DMR) Adjustable Double Ring Stitch(s) (st/s) Chain (ch) Chain Space ( ch sp) Skip stitch ((sk st) indicates where a stich/chain space is skipped)) Single Crochet (sc) Double Crochet (dc) Slip Stitch (sl st) Puff Ball/Puff Stitch (Pst)
Special Stitches:
Double Magic Circle/Ring: (Adjustable Double Ring)
Wrap yarn around fingers twice. Tail in the front, working yarn in the back. Pull up a loop. Make starting chain with specified count. Make number and type of stitches indicated in pattern. Pull tail to close ring. If ring doesn't close, pull first ring tight, then pull the tail tight. Photo tutorial for both left and right handed. http://www.crochetspot.com/how-to crochet-adiustable-double-ring/
Puff Ball/Puff Stitch
YO; (insert hook in specified st and draw up a Ip to height of a dc); (Yo, insert hook in same st and draw up a Ip to height of a dc) 3 times for a total of 9 Ips on hook. Y0 and draw through all 9 Ips on hook. Pst made. YouTube video tutorial: https://www.youtube.com/watch?v=rBnVRkY 7mfA Notes: Beginning ch counts as a st throughout the pattern. Depending on how tight or loose you crochet, you may or may not need to block to obtain the finished size.
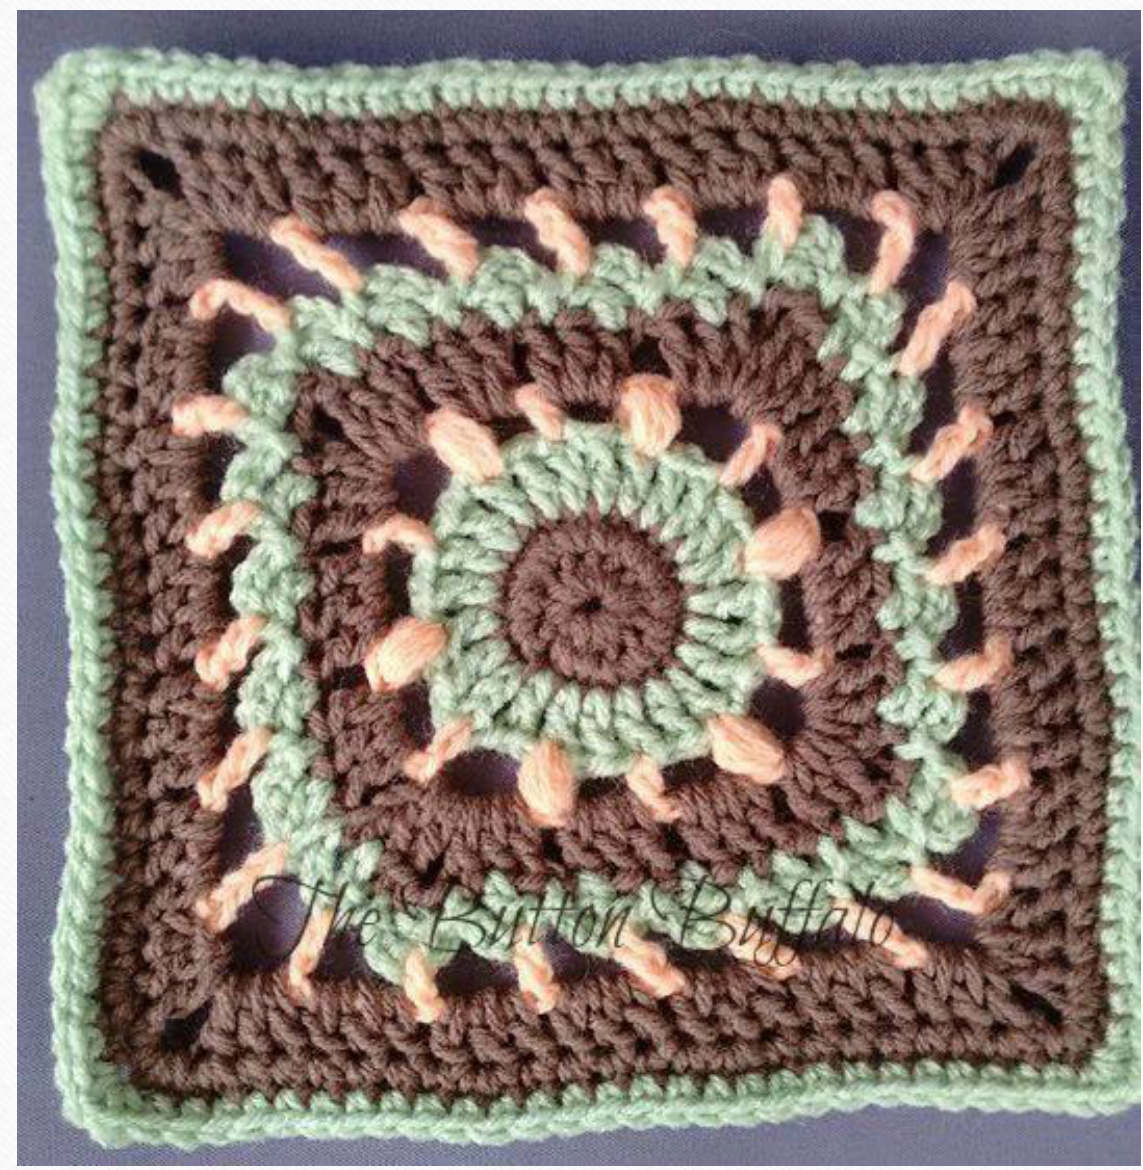
Photo Courtesy of: Darrah Mitchell From The Button Buffalo
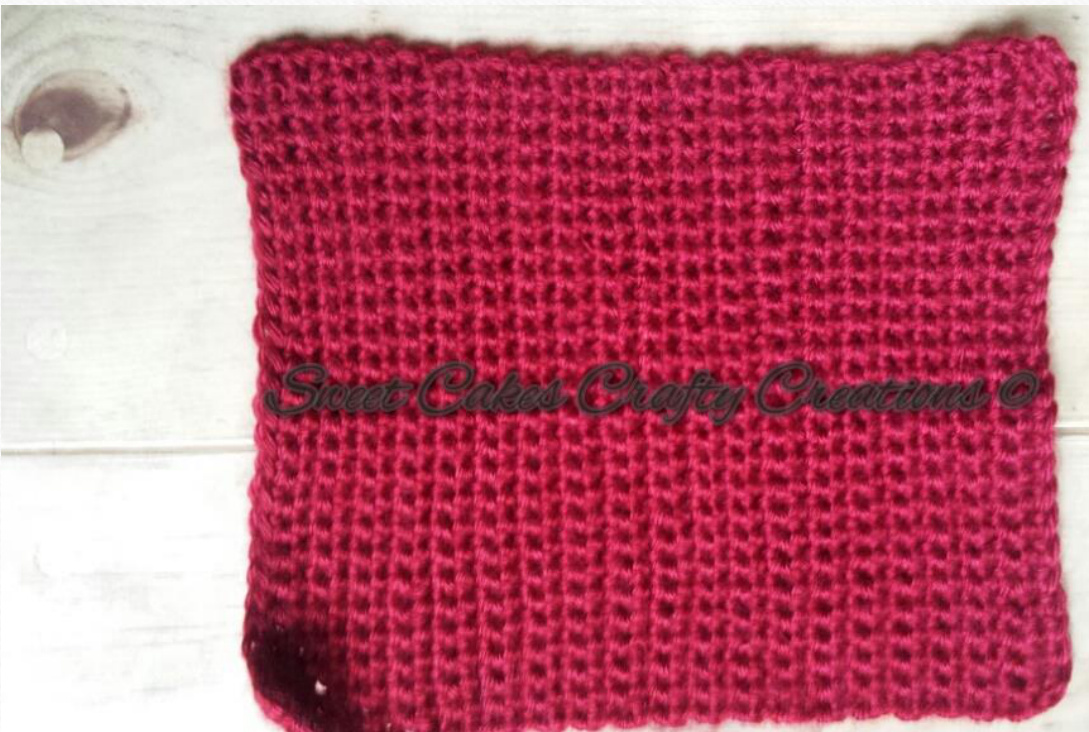
Gauge & Creating a gauge swatch
Pattern:
Double Magic Circle/Ring Rnd 1: Ch 1, 11sc into DMC. Pull ring closed, then join with sl st in beginning ch 1 (12 sts) Rnd 2: ch 1, sc into same st, 2 sc in each st around. Join with sl st into beginning ch 1 (24 sts) Rnd 3: Ch 4 (counts as dc & ch 1); \*sk 1 st, (dc, ch1),\* Repeat 10x Join with sl st into 3rd ch. (12 dc, 12 ch sp) Rnd 4: ch 5 (counts as dc & ch 2) sk next dc; \*(Pst, ch 2) sk next dc (dc, ch 2) in next dc; sk next dc;\*. Repeat from \* to \* 4 times. (Pst, ch 2) in next dc. Join with sl st into 3rd ch. (6 Pst, 6 dc, 12 ch 2 sp) Rnd 5: Ch 3 (counts as dc) (2dc, ch3, 3dc) into same st as ch 3; ch 1 \*(3dc, ch 1) in the next 2 ch 2 sps; (3dc, ch 3, 3dc, ch1) in next ch 2 sp; ch 1;\* Repeat from \* to \* 3 times. (3dc, ch1) in the next 2 ch 2 sps. Join with sl st into top of beginning ch 3. (48 dc, 4 ch 3 sp, 12 ch 1 sp) Rnd 6: \*ch 3; dc in next st; sk st; sl st into next st\*. Repeat from \* to \* around. Join with sl st into bottom of beginning ch 3. (24 ch 3, 24dc, 24 sl st) Rnd 7: ch 6 (counts as dc & ch 3) \*dc into the top of next dc of previous round; ch3\*. Repeat from \* to \* 23 times. Join with sl st into 3rd ch of beginning ch 6. (24 dc, 24 ch 3 sp) Rnd 8: Ch 3 (2dc, ch 2, 3dc) in ch 3 sp. \*3dc in next 5 ch 3 sp; (3dc, ch 2, 3dc)\* repeat from \* to \* 2 times. 3dc in next 5 ch 3 sp. Join with sl st in beginning ch 3. (20 3dc clusters, 4 (3dc, ch 2, 3dc) Continue to edging in same color as rd 8.
Edging
Rnd 1: Sl st to corner; \*3 sc in corner, 2 sc in next st, sc into each of next st, 2 sc in next st, sc in each of next 5 st, 2 sc in next st, 2 sc in next st, rep from \* three times, join with a sl st to beginning sc. (112 sc) Rnd 2: This round will be done using whatever color that is being used to join squares together. Join yarn with sl st in center of any corner 3sc group, ch 1 (does not count), \*3 sc in corner, sc in next 27 sc, rep from \* three times, join with a sl st to beginning sc, finish off and weave in tails. (120 sc)
Steam Blocking Tutorial:
I use a cardboard box to pin mine to. I measure out where my square should sit and pin accordingly. I highly recommend using T-Pins (available at most craft stores). They are rust proof. I do not own a garment steamer. I just use my standard iron with the steam setting. (Mine has a push button, so I can control it) https://www.youtube.com/watch?v=xWy0k1a8fyY If you don't have the option of steam, spray blocking works as well. Just pin square in place, and spritz with a spray bottle filled with water until item is damp all the way through. Let dry before unpinning.


