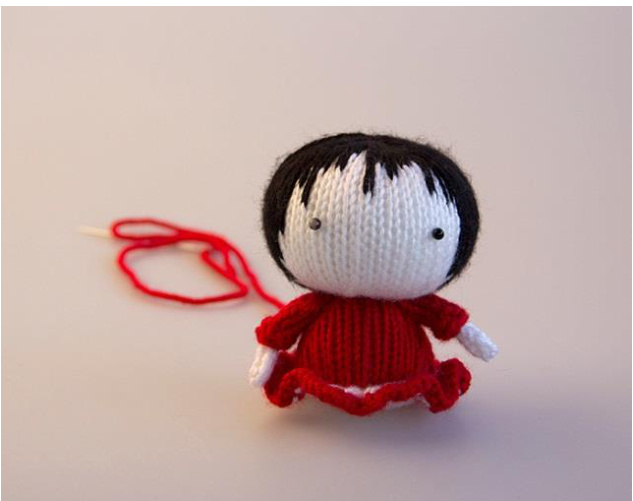
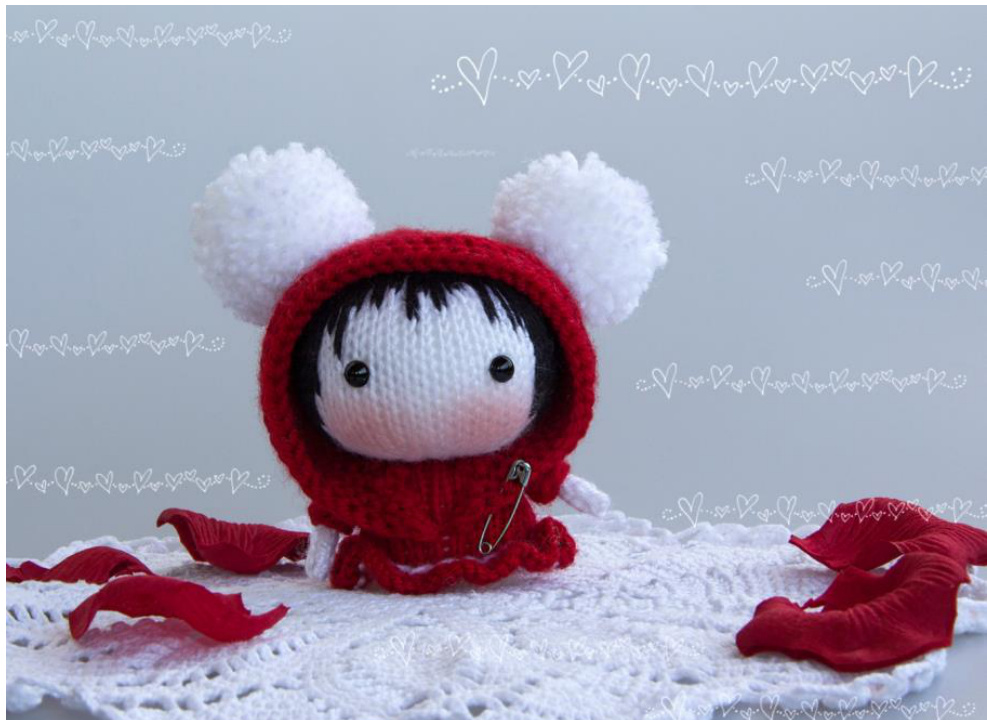
Mari Fet Doll from Tanoshi series - pdf knitting pattern. Designed by Tatyana Korobkova

The toy is knitted in the round and that is why the pattern is recommended for Advanced Beginner Knitters. Toy related knit stitch. The finished lucky doll is approximately 5,12" / 13 cm / tall.
Abbreviations
K = knit P =purl Sts = stitches Kfb = knit into front and back of stitch K2tog = knit 2 sts together K3tog = knit 3 sts together CO = cast on RND = round
Materials needed
4 double-pointed needles in a size suitable for the yarn weight you are using. I recommend using needles a size or two smaller than the yarn calls for, to produce a firm fabric. I used Needles size US 21/2 (3mm). White and red colored yarn for doll. I used Himalaya Super Soft Yarn / 100% acrylic ; 200gr - 328m / Black yarn for hair Toy stuffing Yarn needle Stitch holder · 2 plastic eyes 2 pompoms All rows are worked in the round, this helps avoid ugly seams . For an online tutorial of how I start knitting my toys using a crochet hook cast on from the middle: http://denizastoysjoys.blogspot.com/2013/12/how-i-start-to-knit-my-toys-caston.html
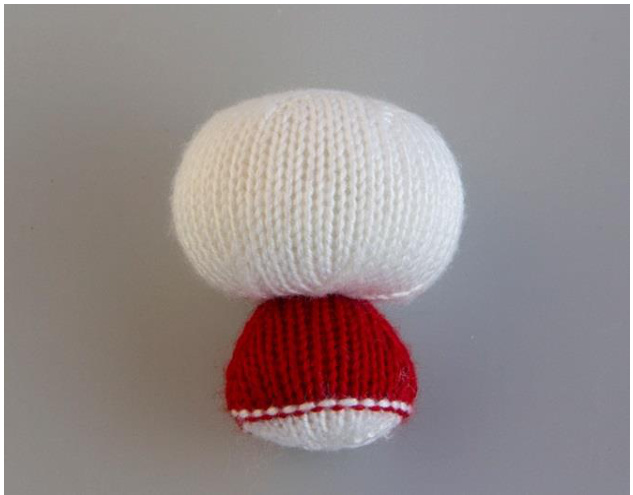
Head
Knitted with white colored yarn. Needles size US 21/2 (3mm).
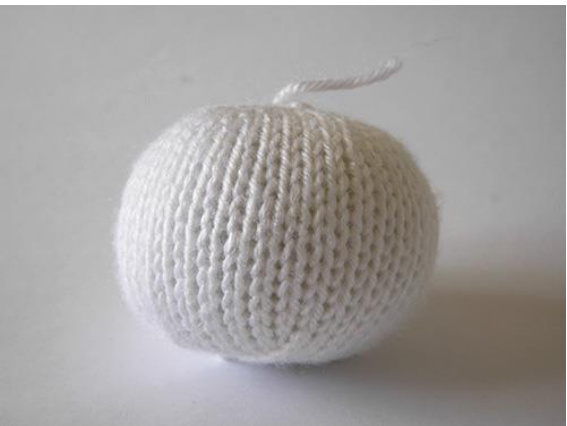
Cast on 6 stitches. Distribute among 3 needles and join to work in the round, being careful not to twist sts. Place marker. RND1: Kfb (6times) (12 sts ) RND2: Kfb, K1 (6times) (18 sts ) RND3: Kfb, K2 (6times) (24 sts ) RND4:Kfb, K3 (6times) (30 sts ) RND5:Kfb, K4 (6times) (36 sts ) RND6:Kfb, K5 (6times) (42 sts ) RND7-19: 13 Rnds K all ( 42 sts ) RND20: K2tog, K5 (6times ) (36 sts ) RND21: K2t0g, K4 (6times ) (30 sts ) RND22: K2tog, K3 (6times ) (24 sts ) Work decrease rounds, adding stuffing as you go RND23: K2tog, K2 (6times ) (18 sts ) RND24: K2tog, K1 (6times ) (12 sts ) RND25: K2tog (6times ) (6 sts ) Cut yarn and thread through six remaining sts (add more stuffing if required). Weaveinends.
Body
Start to knitt with white yarn.
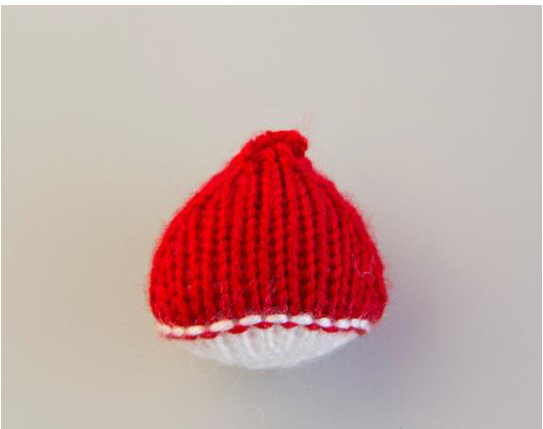
Cast on 6 stitches. Distribute among 3 needles and join to work in the round, being careful not to twist sts. Place marker. RND1: Kfb (6times) (12 sts ) RND2: Kfb, K1 (6times) (18 sts ) RND3: Kfb, K7, Kfb (2times) (22 sts ) RND4: Kfb, K9, Kfb (2times) (26 sts ) RND5: P all (26 sts ) Change yarn over red color RND6-7: K all (26 sts ) RND8: K2tog, K9, K2tog (2times) (22 sts ) RND9-11: 3 Rnds K all (22 sts ) RND12: K2tog, K7, K2tog (2times)(18 sts ) RND13-14: 2 Rnds K all (18 sts ) RND15: K2tog, K5, K2tog (2times)(14 sts ) RND16-17: 2 Rnds K all (14 sts ) Work decrease rounds, adding stuffing as you go RND18: K2tog, K3, K2tog (2times) (10 sts ) RND19: K all (10 sts ) RND20: K2tog, K1, K2tog (2times)(6 sts ) Cut yarn and thread through remaining 6 sts (add more stuffing if required). Weave in ends.
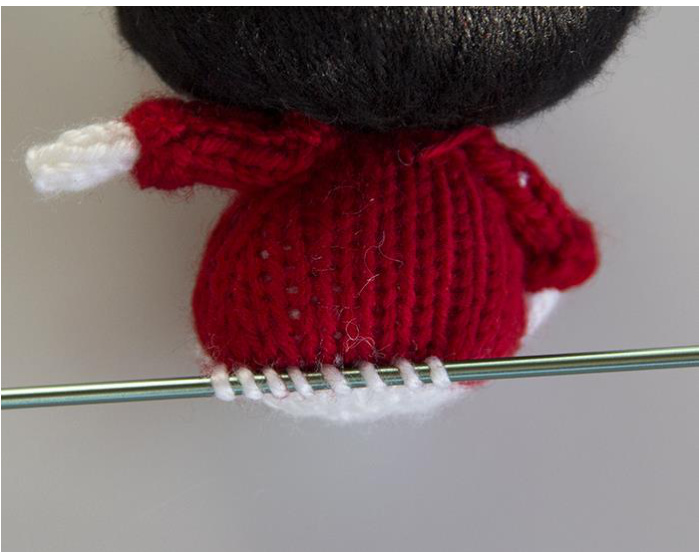
Dress Ruffle.
Cast on 26 sts in purl bumps from rnd 5 of the body. Like this:
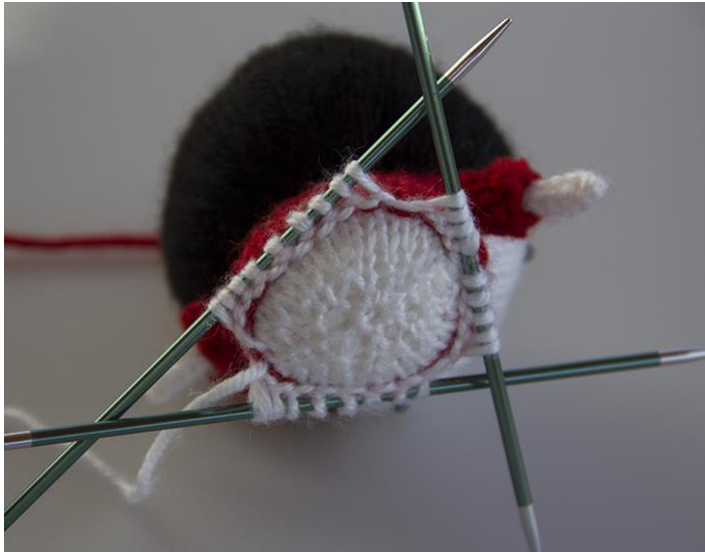
Knit in the round using White yarn RND1: Kfb (26times) (52 sts ) Change yarn over red color RND2: Kfb, K1 (26times) (78 sts )
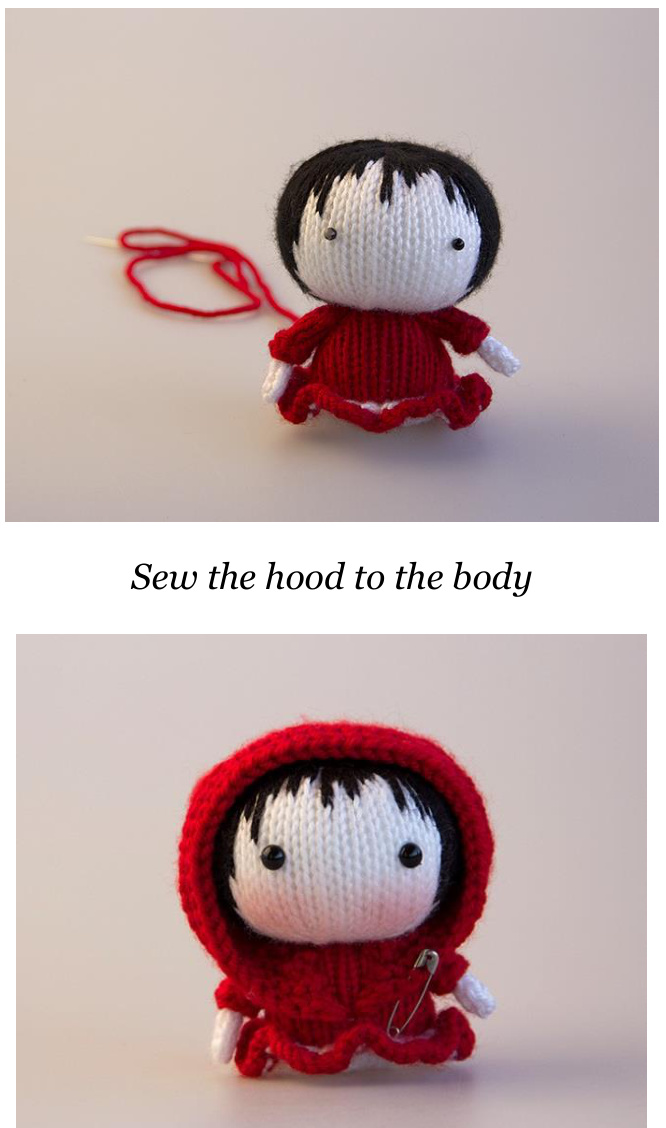
Hood.
Knitted with red colored yarn.

Cast on 6 stitches. Distribute between 3 needles and join to work in the round, being careful not to twist sts. Place marker. RND1: Kfb (6times) (12 sts ) RND2: Kfb, K1 (6times) (18 sts ) RND3: Kfb, K2 (6times) (24 sts ) RND4:Kfb, K3 (6times) (30 sts ) RND5:Kfb, K4 (6times) (36 sts ) RND6:Kfb, K5 (6times) ( 42 sts ) RND7:Kfb, K6 (6times) (48 sts ) RND8-17: 10 Rnds K all ( 48 sts ) Now we starting knit flat Turn your work to wrong side Row18: Pall (48 sts ) Row19: K all (48 sts ) Row20: P all (48 sts ) Row21: K1, Kfb, K44, Kfb, K1 (50 sts ) Row22: K17, K2tog, K12, K2tog, K17 ( 48 sts ) Row23: K1, Kfb, K44, Kfb, K1 (50 sts ) Row24-26: K all (50 sts ) Bind off.
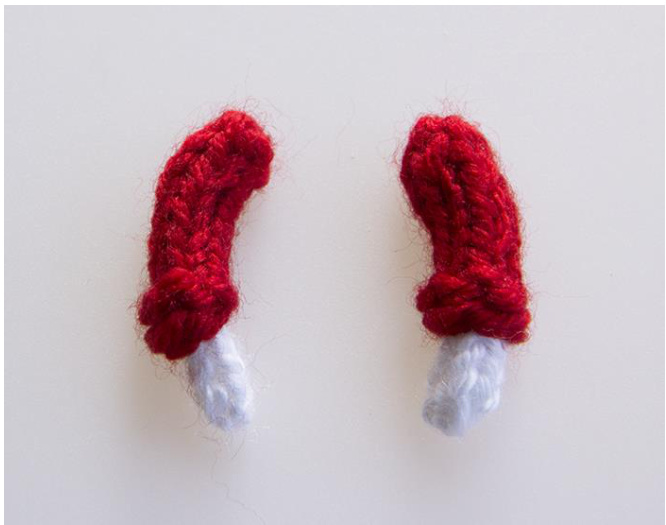
Arms (make2 pieces)
Knitted with white colored yarn.
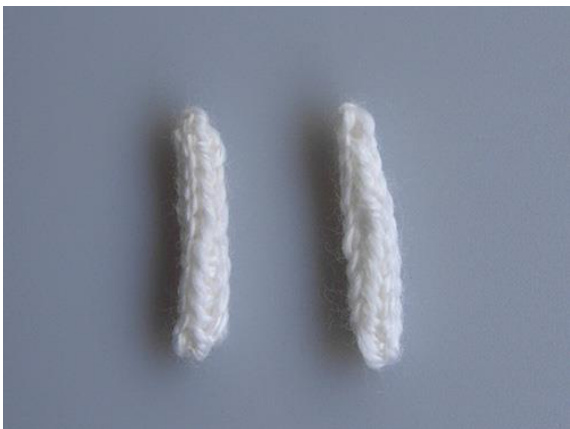
Cast on 3 stitches. Distribute among 3 needles and join to work in the round, being careful not to twist sts. Place marker. Or you can knit it as i-cord ( it will be more easy) RND1-8: 8 Rnds K all (3 sts ) Do not stuff. Cut yarn and thread through 3 remaining sts. Weave in ends.
Sleaves (make2 pieces)
Knitted with red colored yarn.
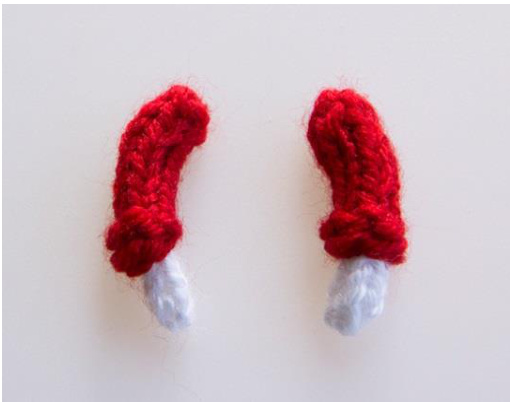
Cast on 5 stitches. Distribute among 3 needles and join to work in the round, being careful not to twist sts. Place marker. Or you can knit it as i-cord ( it will be more easy) RND1-6: 6 Rnds K all (5 sts ) RND7: P all (5 sts )
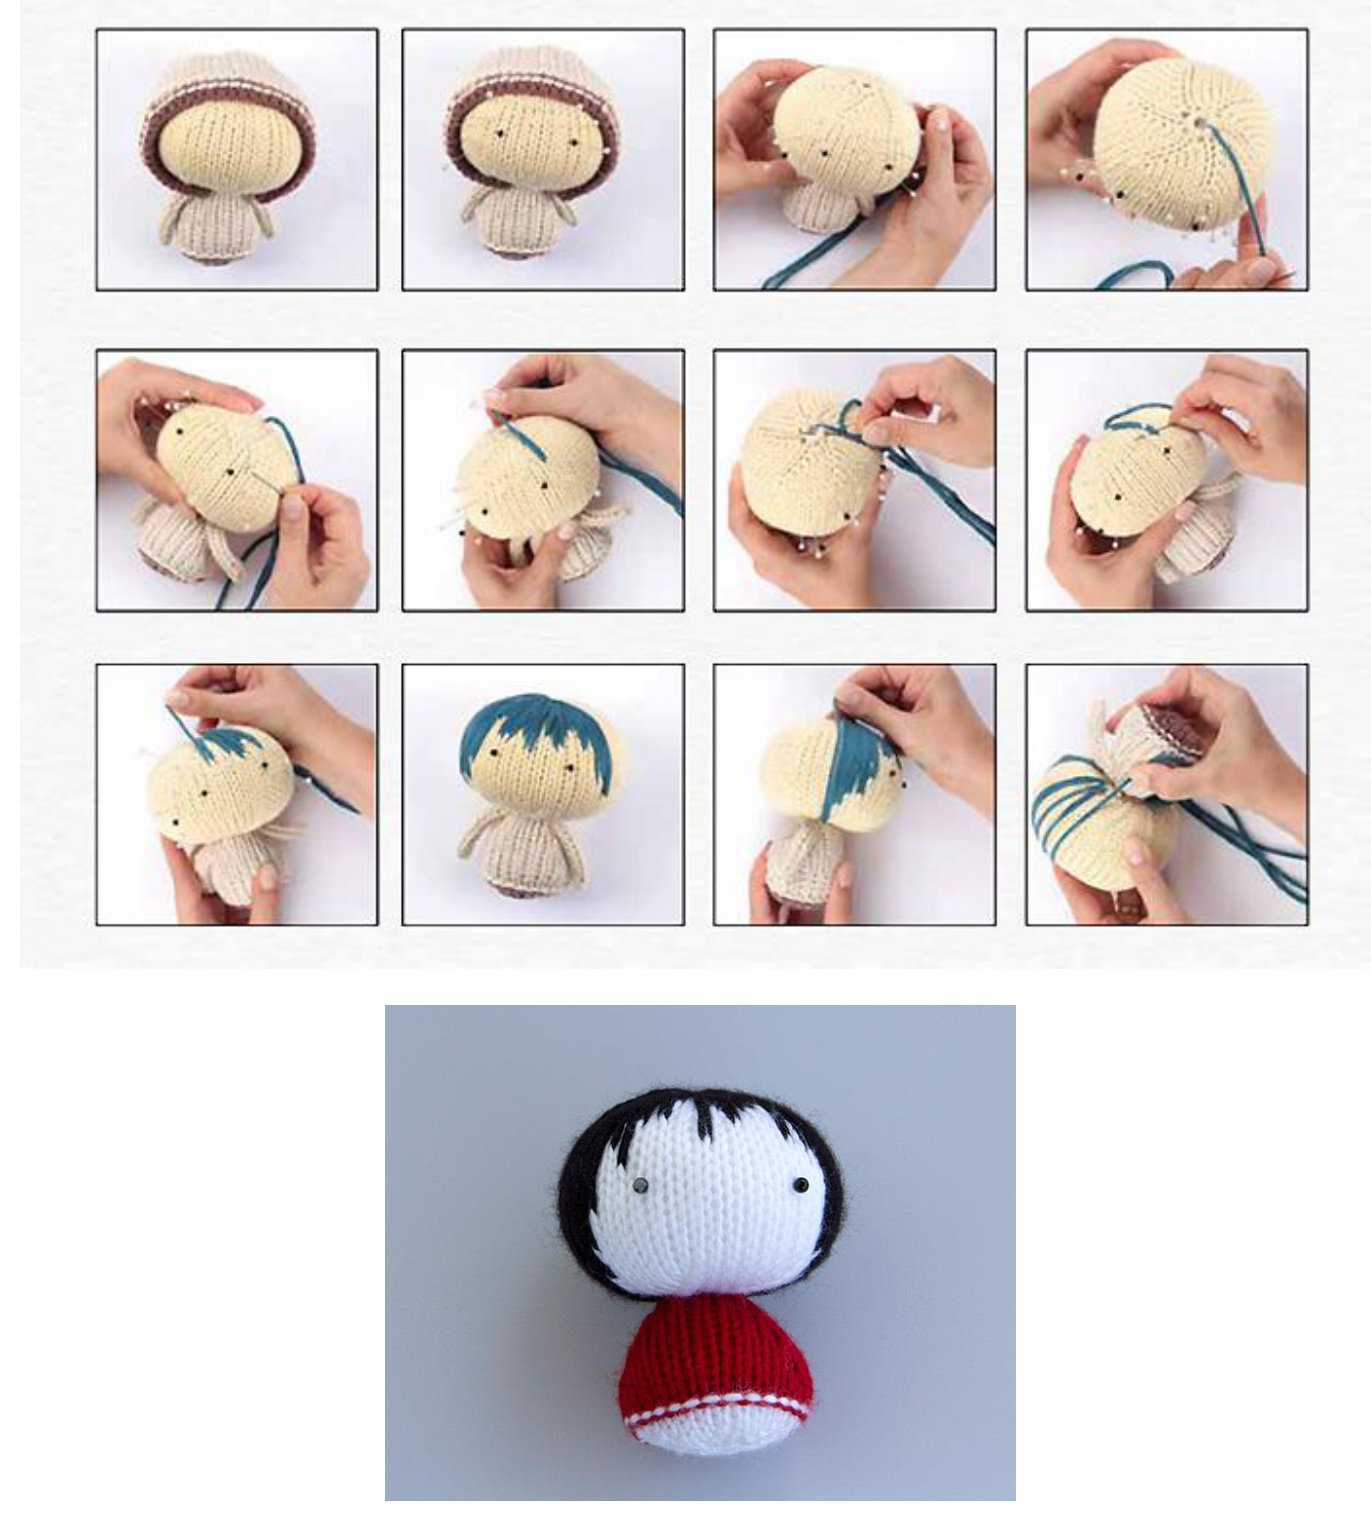
FINISHINGDOLL.
How I am finishing dolls
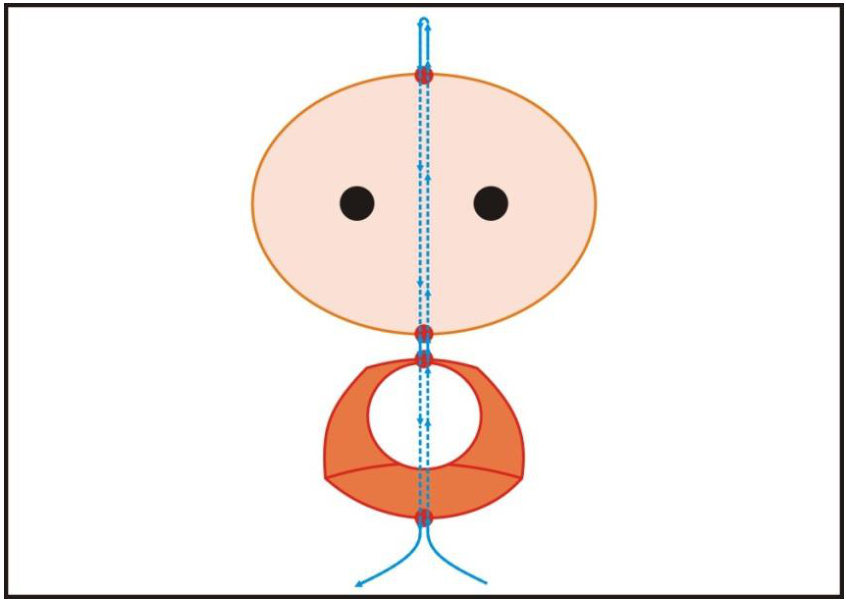
Fixing head and body.
Use a long needle with a yard of strong thread, doubled and knotted at the end. Start at the underside of the body. Push the needle thru to the outside of the torso. Push the needle thru the head and out on the opposite side. Go back thru to the inside of the head taking a small stitch on the outside. Repeat this procedure thru the head and body gently pulling the thread to tighten the joint with each pass thru, one or two more times, but do not indent too deeply. End on the underside of the body. Bury the thread into the body.
Embroider the doll hair like this:
Now put arms into the sleeves. I used crotchet hook for this.
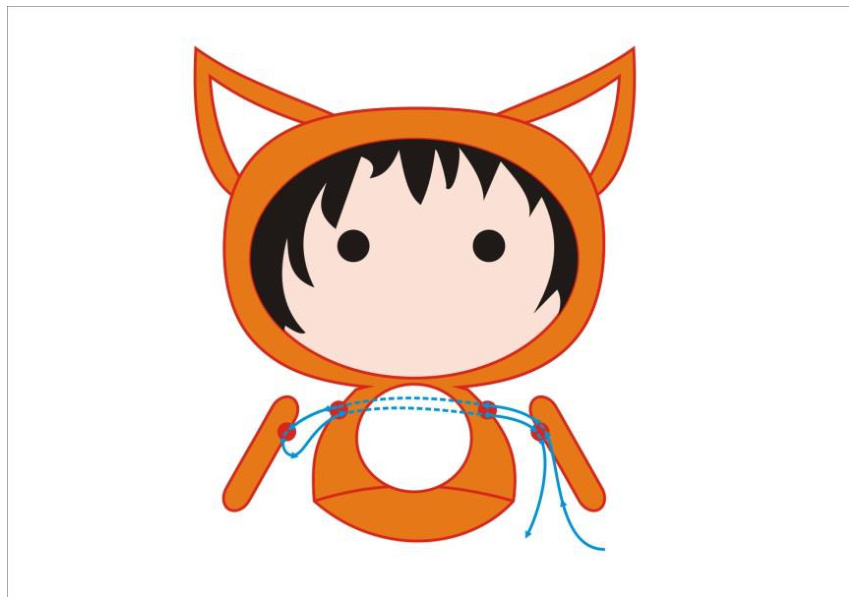
How I am fixing arms.
Sew arms through the body. With doubled thread, start at the underside of one of the limbs, leaving a five or six inch long tail and push the needle thru to the outside of the limb. Go back thru to the inside of the limb taking a small stitch on the outside. Push the needle thru the body and out on the opposite side. Go thru the other limb from the inside to the outside. Taking a small stitch, go back thru the limb to the inside, back thru the body and thru to the outside of the first limb. Repeat this procedure thru the limbs and body gently pulling the thread to tighten the joint with each pass thru, one or two more times, but do not indent too deeply. End on the inside between the body and the first limb. Tie off with the tail of the original thread.
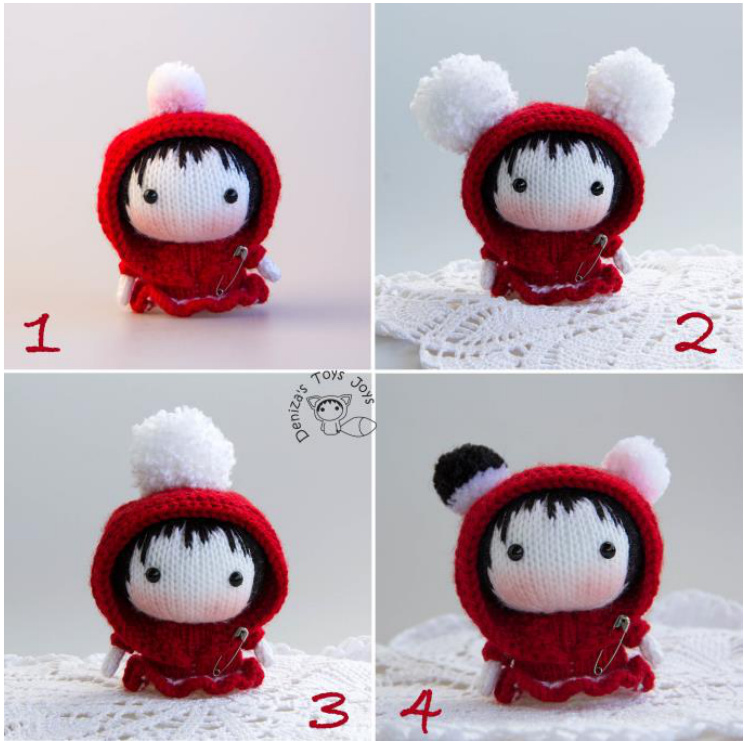
Glue the plastic eyes to the head. Apply red blush. Sew one or two pompoms to the hood.
Copyright: You are welcome to sell your finished items however you like, but please do not copy and/or redistribute this pattern including translations to other languages. Please provide a link to my pattern store if you are selling your finished toys online. Don't forget to show me your finished toys, please! If you have any question or find any mistake in the pattern, please feel free to contact me: My e-mail: deniza17@gmail.com If you share your finished toys by my patterns in instagram you can use this tags #denizastoysioys #denizasdolls #tanoshi #tanoshi toy My instagram page https://instagram.com/denizastoysjoys/
@ 2016 DenizasToysJoys by Tatyana Korobkova


