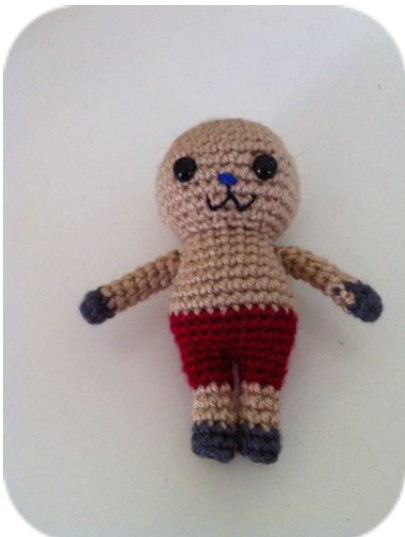
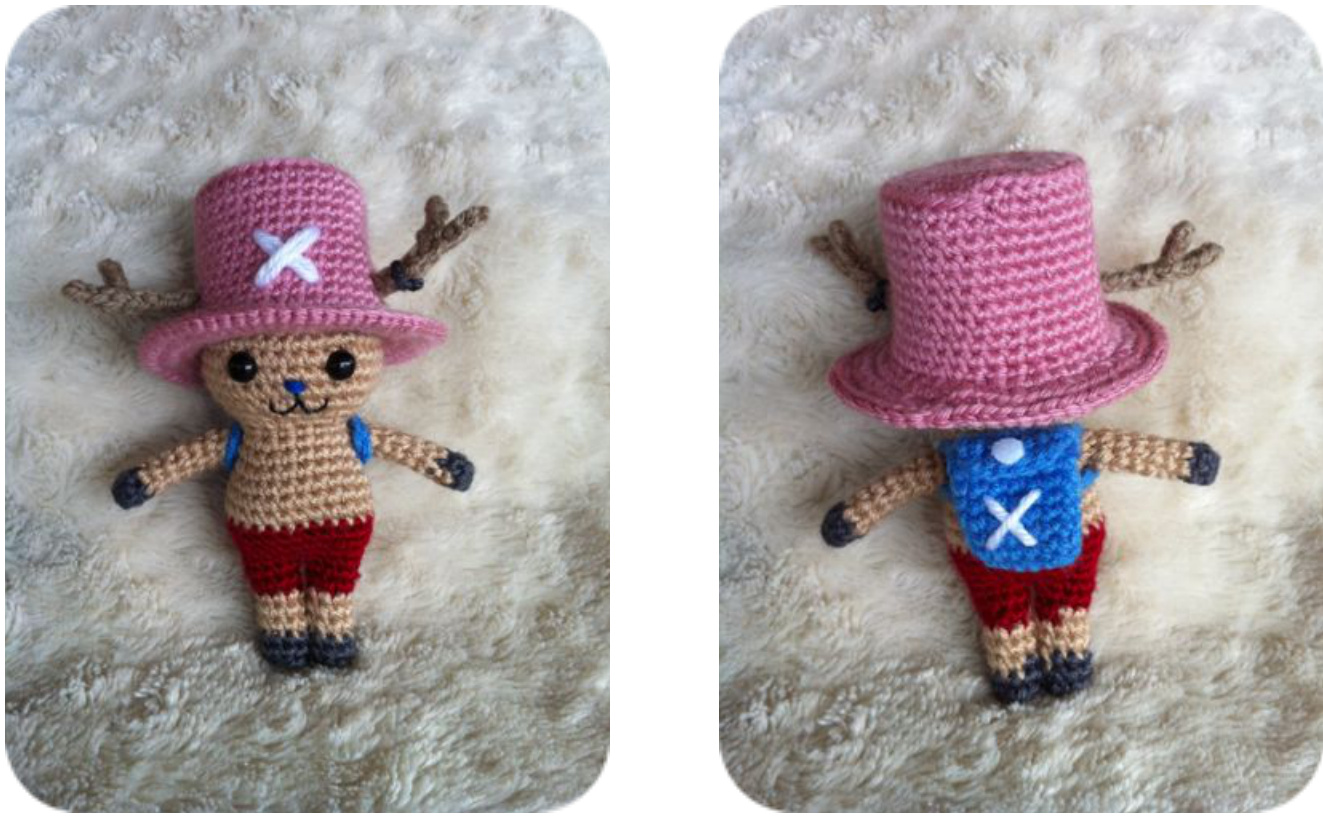
CHOPPER
by Clare Heesh https://www.etsy.com/shop/53Stitches
MATERIALS
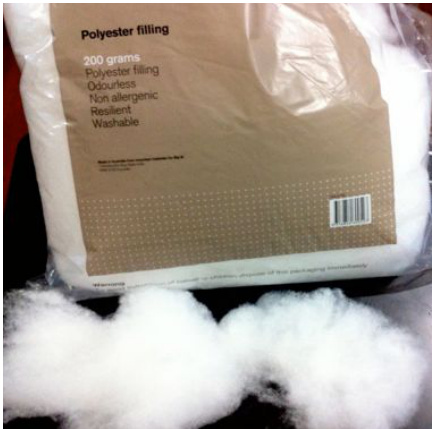
· Beige/Brown Yarn · Pink Yarn · Maroon Yarn · Light Blue Yarn · Grey Yarn ·Brown Yarn · White Yarn · Black Thread · 2x 7.5mm safety eyes · 3.0mm crochet hook · Polyester filling · Threading needle · (Optional) White Felt

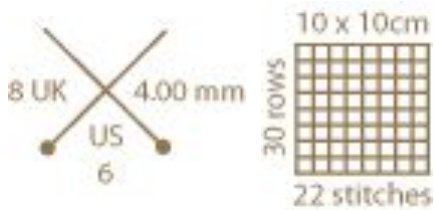
The yarn I use is an 8ply Australian brand with a gauge of 22 stitches x 30 rows. l believe this is equivalent to Double Knit (DK) with the American/UK weighting system.
TECHNIQUESANDABBREVIATIONS
ch = chain st = stitch/stitches sl st = slip stitch sC = Single Crochet MR = Magic Ring inc = Increase, sc 2 in the same stitch dec = Invisible Decrease hdc = half double crochet dc = double crochet 4sc popcorn = Popcorn Stitch with 4 sc worked into it. BLO = Back Loop Only [ sc, inc ]x 2 = repeat 2 times => sc, inc, sc, inc alternative costume suggestions (e.g. New 52 version)
There should be a file available for download with this one that details all of the stitches that I use and other references. If not, it is available for download here: https://dl.dropboxusercontent.com/ u/63637986/Techniques.pdf My patterns are worked in continuous rounds, I recommend using a marker to mark the start of each round. I like to use a bobby pin, since it's easily removed and doesn't fall out or leave fluff as much as a stray piece of yarn does. To finish off each body part, I do a slip stitch for the last stitch of the round, then chain 1 and pull the tail into the next stitch to neaten it off.
HEAD
Beige/Brown, Maroon and Grey
1. (in Beige) MR 6 (6) 2. [ inc ]x 6 (12) 3. [inc, sc ]x 6 (18) 4. sc, inc, [ sc 2, inc Jx 5, sc (24) 5. [inc, sc 3 ]x 6 (30) 6. sc 2, inc, [ sc 4, inc ]x 5, sc 2 (36) 7-12. SC 36 (36) 13. sc 2, dec, [ sc 4, dec ]x 5, sc 2 (30) 14. [ dec, sc 3 ]x 6 (24) 15. sc, dec, [sc 2, dec Jx 5, sc (18)
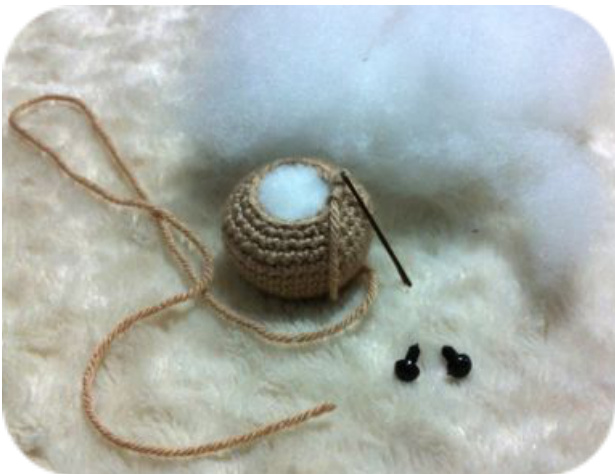
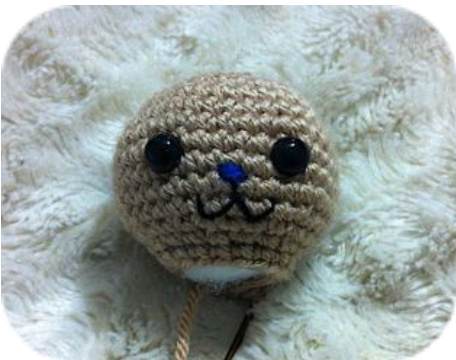
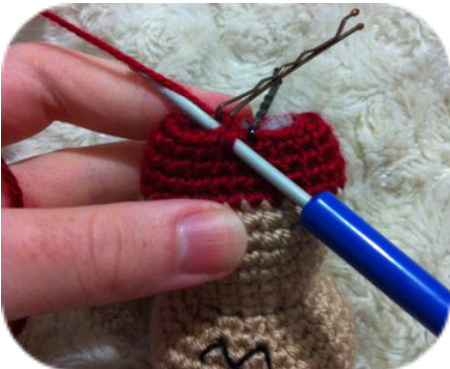
At this point you want to insert the safety eyes, and stitch on the mouth and nose
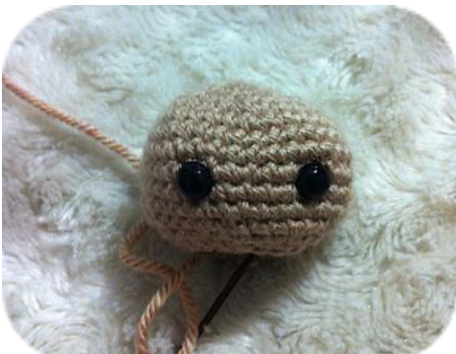
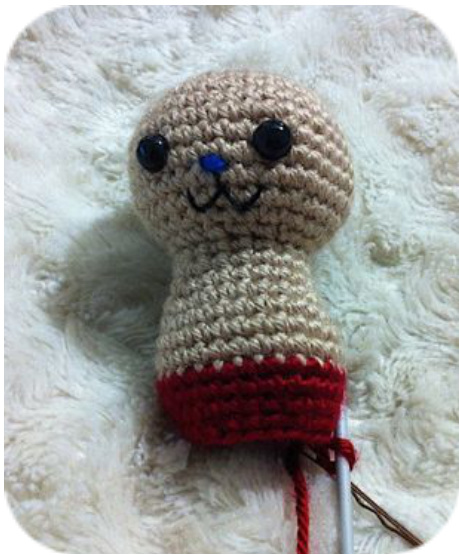
Insert safety eyes, approximately halfway down the head, maybe even one row below that. It depends on personal preference, but also remember the hat will cover a lot of his head :) 16. FLO sC 18 (18) 17. [inc, sc 5 ]x 3 (21) 18. [ inc, sc 6 Jx 3 (24) 19. [inc, Sc 7 ]x 3 (27) 20-22. SC 27 (27) 23. (in Maroon) BLO sC 27 (27) 24. SC 27 (27) 25. [ sc 7, dec ]x 3 (24) 26. [ sc 4, dec ]x 4 (20) At this point you want to stuff the rest of the body. Put in a little more stuffing than you want and try to push it away from your working round, since when the legs are finished there won't be space to put in anymore. The legs on my Chopper dolls have barely any stuffing, but they are so narrow that it still looks fine!
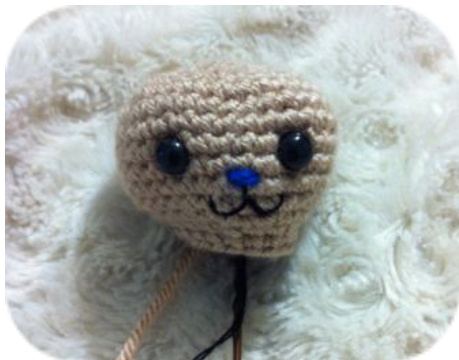
The nose is in line with the bottom of the eyes and is just a scrap piece of dark blue yarn, secured by tying together the stray ends inside the head. The mouth is black thread stitched in.
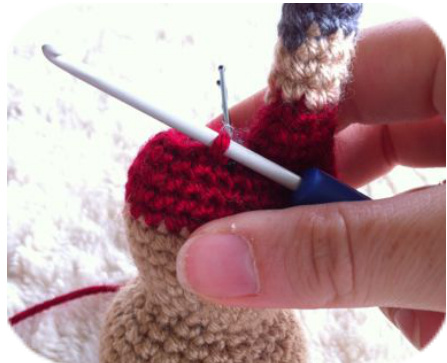
Stuff the head firmly, but since you will continue crocheting, don't fill him yet, complete a few rounds of the body first, otherwise you'll get bits of stuffing pulled through with your yarn.
The next part can be tricky, just make sure to count your stitches in each round :
Stuff the body.
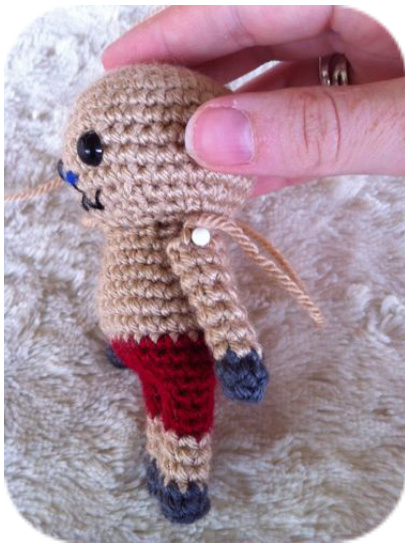
Pinch the opening together. Insert two bobby pins at the point the legs should come out from.
The bobby pins should be in the middle of the body, and there should be 10 st for each leg (including the 2 the bobby pin marks).
Continue sc around until you reach the stitch the bobby pin marks. This will be the last sc on the backside of the doll.
The first stitch on the opposite side will be the one marked by the same bobby pin.
Continue to sc around. There should be 10 st in the leg, and 10st remaining on the half that isn't done yet. On round 26 you want to split the legs. Since we currently have 20 st in our round, each leg should have 10 st. 27. SC 10 (10) 28. SC 10 (10) 29. [ sc 3, dec Jx 2 (8) 30-32. (in Beige/Brown) sc 8 (8) 33-34. (in Grey) sc 8 (8) Finish off one leg. Make a slip knot, insert it into a stitch at the back of the doll for the next leg. and repeat rows 27-34 for the opposite leg.

Make a slip knot, insert hook into any stitch at the back of the doll.
Pull the slip knot through. This is the first stitch in the round, sc as normal.
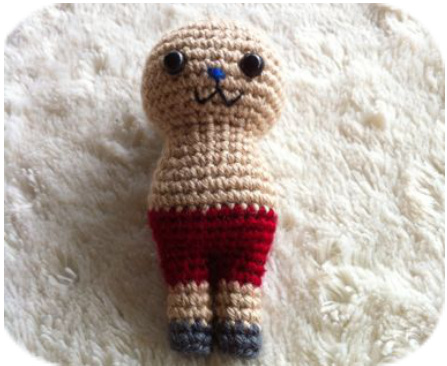
The legs are done!
ARM (make 2)
Grey & Beige/Brown It can be easy for the piece to turn itself inside out, so that the wrong side is facing outwards. Be careful to keep realigning it. 1. (in Grey) MR 6 (6) 2. SC 6 (6) 3-9. (in Beige/Brown) sC 6 (6) Leave tail for sewing, finish off. They don't need any stuffing.

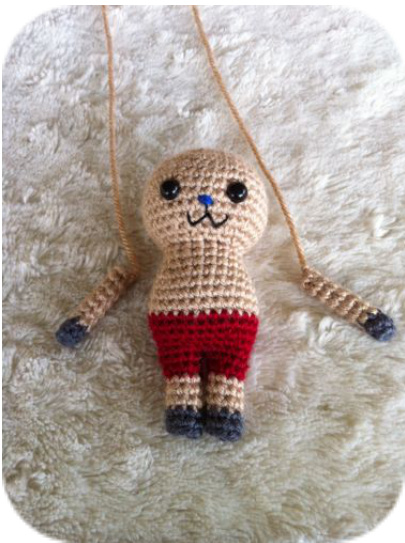
Now you have two arms ready to attach to the body! I like to pin them on to get a look at where to position them. I've heard of some people putting in a soft bendable wire to make arms that are pose-able! You can be a bit messy with the arms as the joint is going to be covered by the straps of the bag anyway.
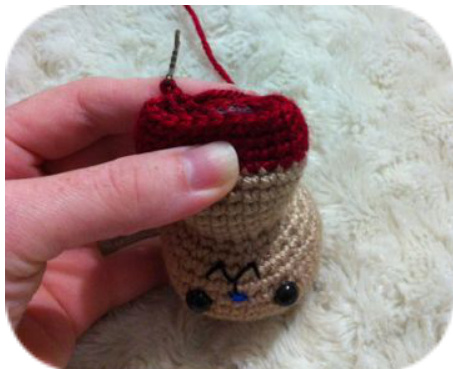
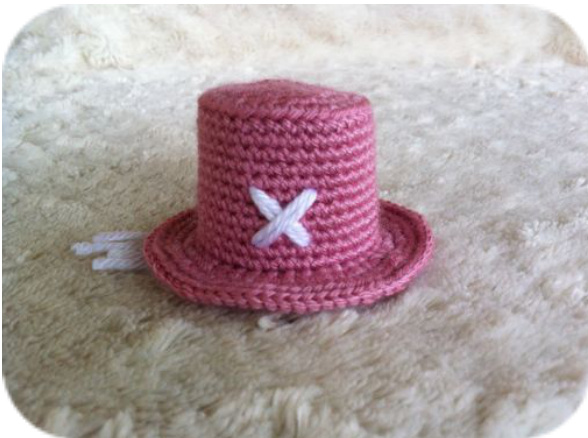
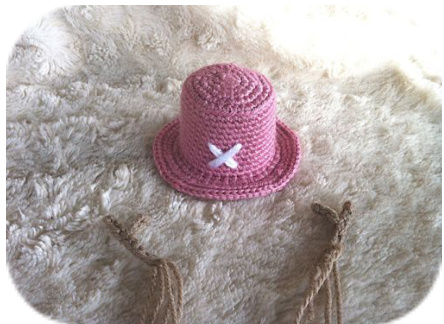
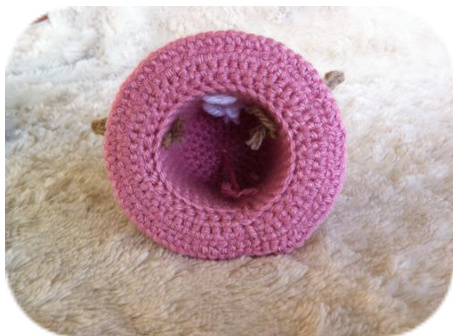
HAT Pink and white
1. (in Pink) MR 6 st (6) 2. [inc ]x6 (12) 3. [ sc, inc ]x6 (18) 4. sc, inc, [ sc 2, inc ]x 5, sc (24) 5. [inc, SC 3 Jx 6 (30) 6. sc 2, inc, [ sc 4, inc ]x 5 sc 2 (36) 7. BLO sC 36 (36) 8. sl st, sc 35 (36) 9-17. sc 36 (36) 18. FLO sC 36 (36) 19. sl st, [ inc, sc ]x (repeat for entire round) () 20. [ inc, sc 3 ]x (repeat for entire round) () 21. BLO sc around ()
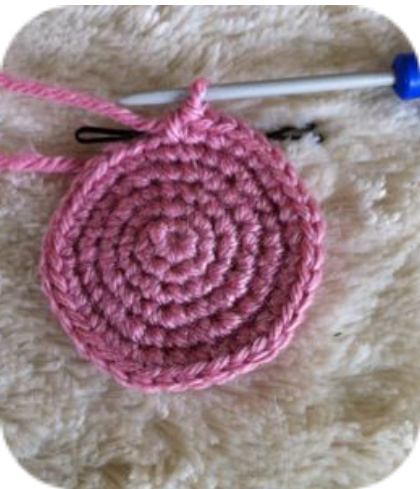
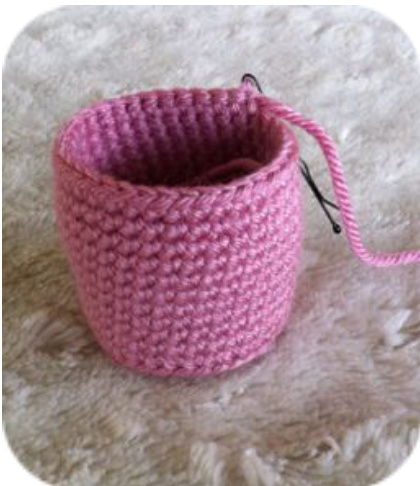
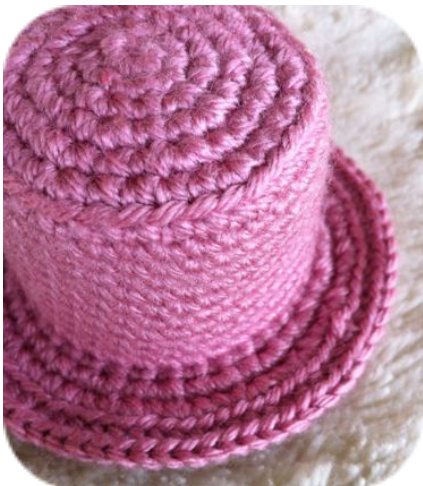
Staggering the increases when making the circle makes it easier to lay the piece flat, which is good for the flat top wewant! If you want to make the hat taller simply add more rows before the FLO! The round worked in the back loop only gives a sharper curve to the top of the hat. The same with the front loop only round at the bottom. And the last BLO round helps to keep the brim flat.
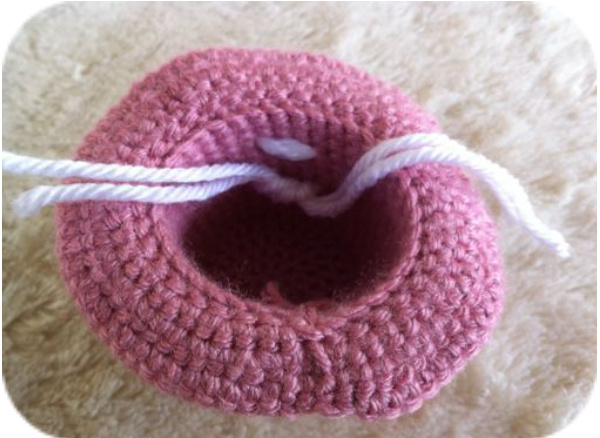
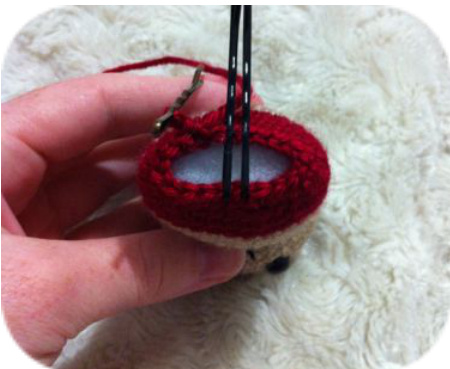
Stitch the cross on in white. I position it so the bottom of the cross is two rounds above the brim, and the top is four rounds above the bottom and four across.
I double knot the loose strands together tightly, and then cut off the ends so nothing pokes out. As a neater alternative, you could glue a white felt cross. :)
ANTLER (make 2) Brown
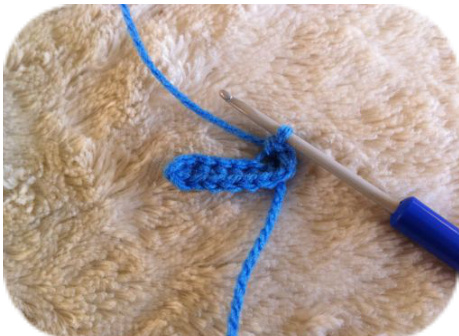
Make 4 chains, leave long tails: 1. ch 8 2. ch 8 3. ch 3 4. ch 3 As an alternative to this method (which is something I just made up so my explanation is quite poor), you can make an i-cord. Planet June (http://planetjune.com/blog/) has a great tutorial for crocheted i-cords. I've recently started using pipe cleaners, since they're much easier to mould and attach, and they come in a bunch of different colours. I've kept these instructions in, since the wire in pipe cleaners may be a hazard for young children.
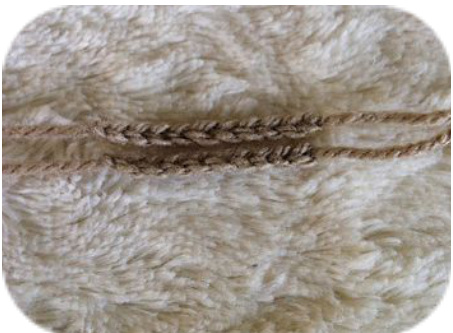
Each antler has two pairs of chains, which are sewn together.
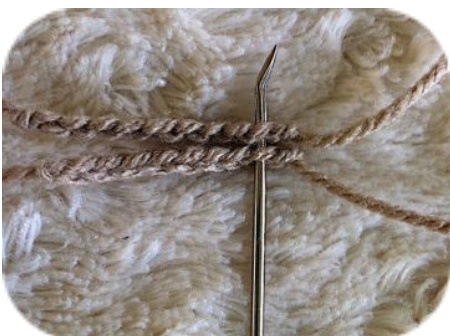
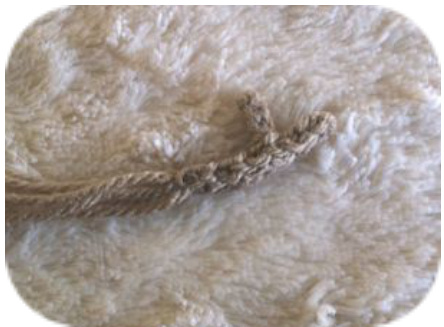
For each chain place them back to back (so the v's are facing outwards) and weave the tail through the chains, this picture demonstrates the first weave.
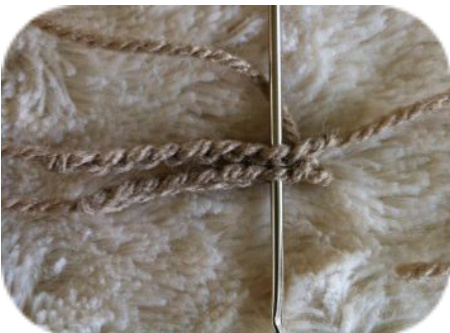
This picture demonstrates the second weave. Continue in this fashion until all v's in the chain are secured to their opposite.
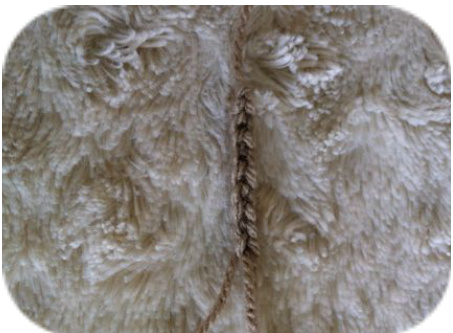
After weaving one tail through, you end up with three tails at one end, and one at the other. Weave the lone tail in the same way as you just did.

You will have all four tails at one end, and a nice solid pipe (if you're like me it's very messy :P). Do the same with the chains of 3.
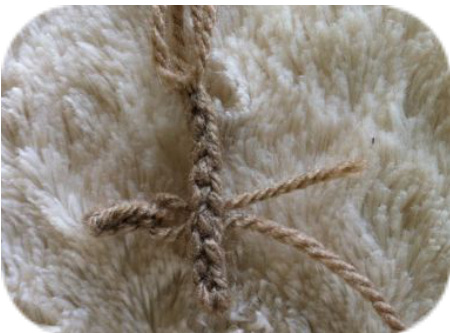
Attach the joined chain of three to the chain of 8 approximately 1/3rd of the way down, and weave the tails through so they are all at the same end.
You should end up with two of these, they have a lot of 'tails' but this is how we will easily attach it to the hat!
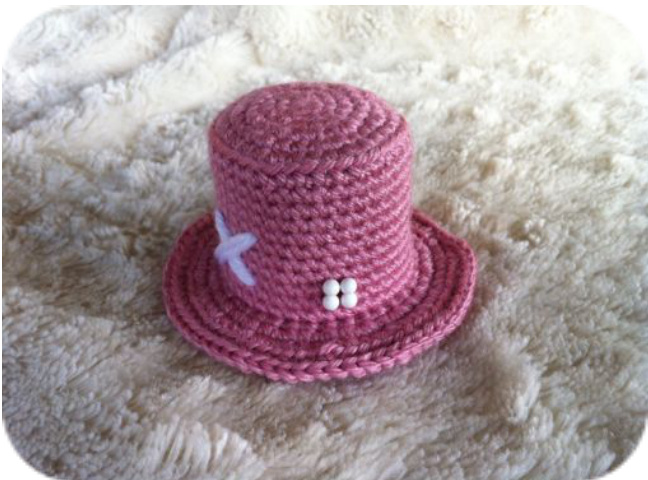
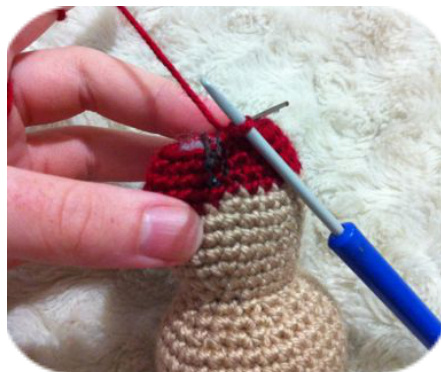
The antler tails will be distributed between four stitches (l mark mine with pins to check they're symmetrical). The top row is in line with the bottom of the cross (2 rows above the brim) and the bottom row is 1 row above the brim. They are usually about 6 across from the cross, and there is a larger distance between them at the back.

Position the antlers so they are pointing in the right direction, then decide which holes the tails belong to in order to keep the antler standing in the correct position. Spreading them out over 4 holes give is more stability in it's position.
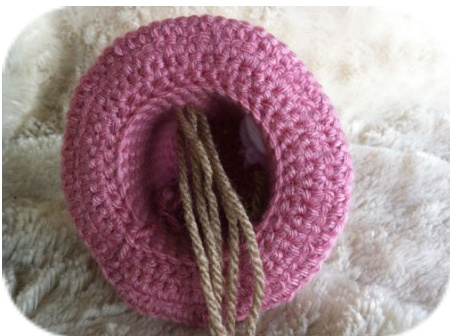
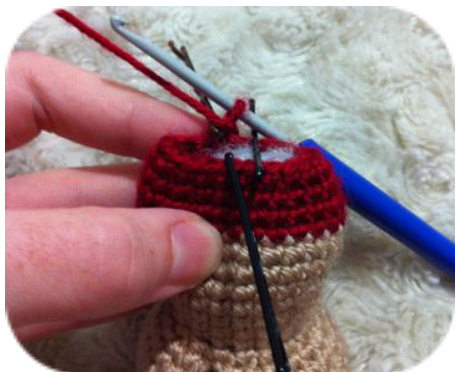
Simply thread all the tails through to the other side and pull them tight. Before you secure them you can check that the antler is sitting properly on the hat.
I go crazy knotting all of the tails tightly together. You end up with a big knot pile, and you may prefer to cover the knots with glue to ensure they don't come apart, but I don't and they never have. :)
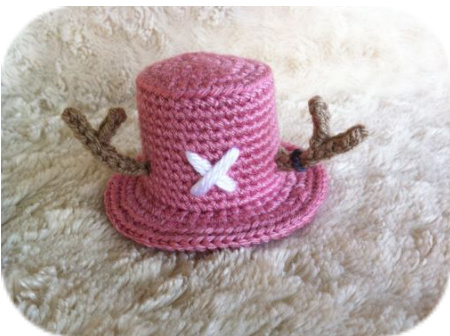
Repeat on the other side and there you are! I tie a piece of grey yarn (but felt would work as well) around the right antler and then the hat is done!
BAG Blue
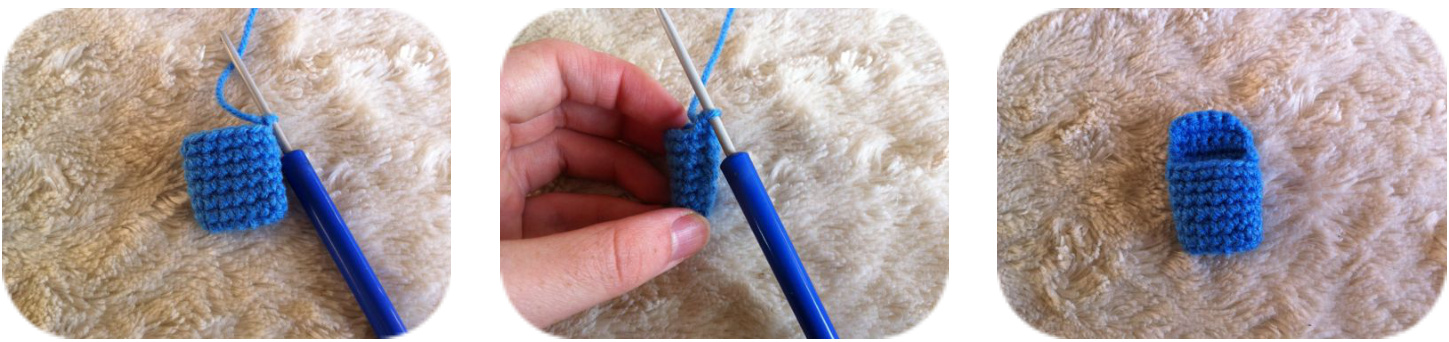
1. (in Blue) ch 9 (9) 2. sc in second ch from hook, then in all the other ch (8) 3. rotate piece and sc in each ch on the other side (8) You now have an oval with 16 stitches. Maybe you lost a couple (l almost always do), what's important is that the oval you're left with is long enough for the doll and the size bag that you want. To make it longer or shorter, increase or decrease the number of chain's in your first row.
In this picture, the second row has already been completed and this is the beginning of the third row. Go back into the stitches you've already sc in and do the same on the other 'v' of the chain.
4-9. sc 16 (16)
10. sc until you reach the edge of the bag, as shown in the pictures above. 11-14. ch 1, turn, sc 7 (8)
Make two straps, leave a long enough tail to tie together: 1. ch 15 (15)
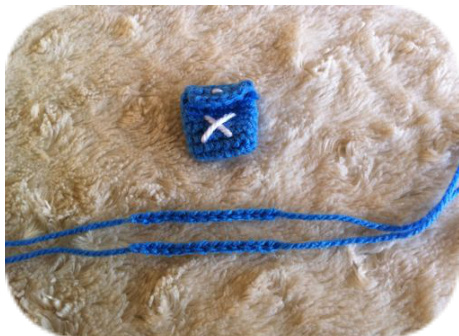
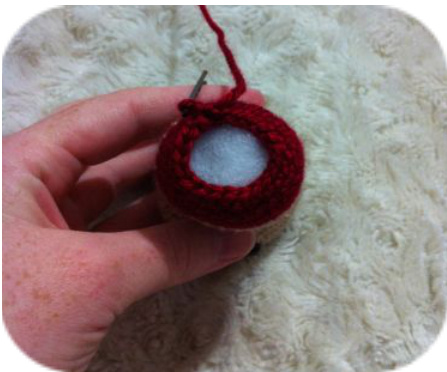
Stitch on a cross like you did with the hat. I use yarn folded over twice for the hat but the bag is smaller so it only needs a single thread. I glue a small felt circle on for the button.
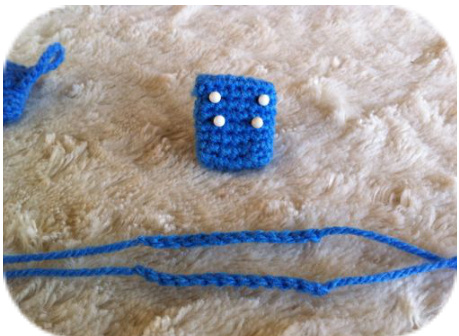
I use pins to mark the position of the bag straps.
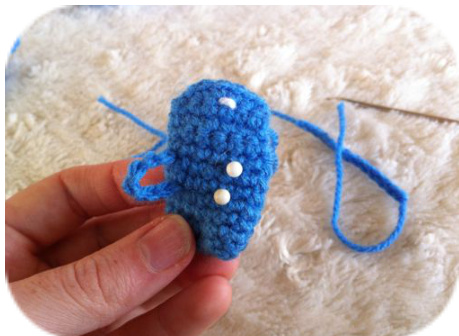
The tails of the straps are pulled through each hole.
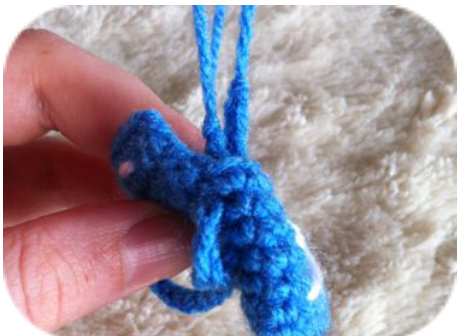
Tie the tails tightly together, then tug on the strap to pull it out properly. Do the same for the other strap and now Chopper can wear it! Dress him in all his finery and you're done! So cute :D He's not happy you finished, you bastard!
Hope you had fun and if there are any questions or problems don't hesitate to contact me through my etsy shop, http://www.etsy.com/shop/53stitches/ or my tumblr http://53stitches.tumblr.com If you have any suggestions or designs you'd like to see in the future, drop a suggestion in my ask and I'll see what I can do! Please don't copy or resell this pattern or the dolls made from it online, but feel free to make as many as you want and distribute them amongst friends or sell at markets. Thank-you! :)


