Dream Mitts
by Tash Barneveld Yarn: Blue Sky Alpaca Sport 100% baby alpaca 100m/50g 1 skein nat light grey 1 skein citron or Zealana Kiwi Fingering 124m / 40g 1 ball Majesty colour14/4 1 ball Papura colour 06/4 Needle: 2.75mm 80cm fixed circular (for magic loop) Gauge: 25 sts x 36 rows = 10cm Abbreviations: K - knit P- purl Kfb - knit into the stitch as normal, without taking the stitch off the left hand needle. Knit into the back of the same stitch, slide stitch off needle I dreamed this mitt. Seriously. And when I started knitting it, I was all concerned that I wouldn't do the stripes justice. (I still feel that I haven't, really). Also, Blue Sky Alpaca Sport is a dream yarn - 100% baby alpaca is beyond words. Feel free to freestyle the stripes: starting them after the thumbhole will make life easier, and allow for nice big chunks of the two colours at opposite ends. The mitts are designed so you can either hide your thumb inside the mitt on super cold days, pulling the mitt up and scrunching it around your wrist, or wear them the usual way, so you have full dexterity for important things such as carrying your coffee on a brisk morning walk to work. They can be scrunched at the wrist or pulled up to theelbows.
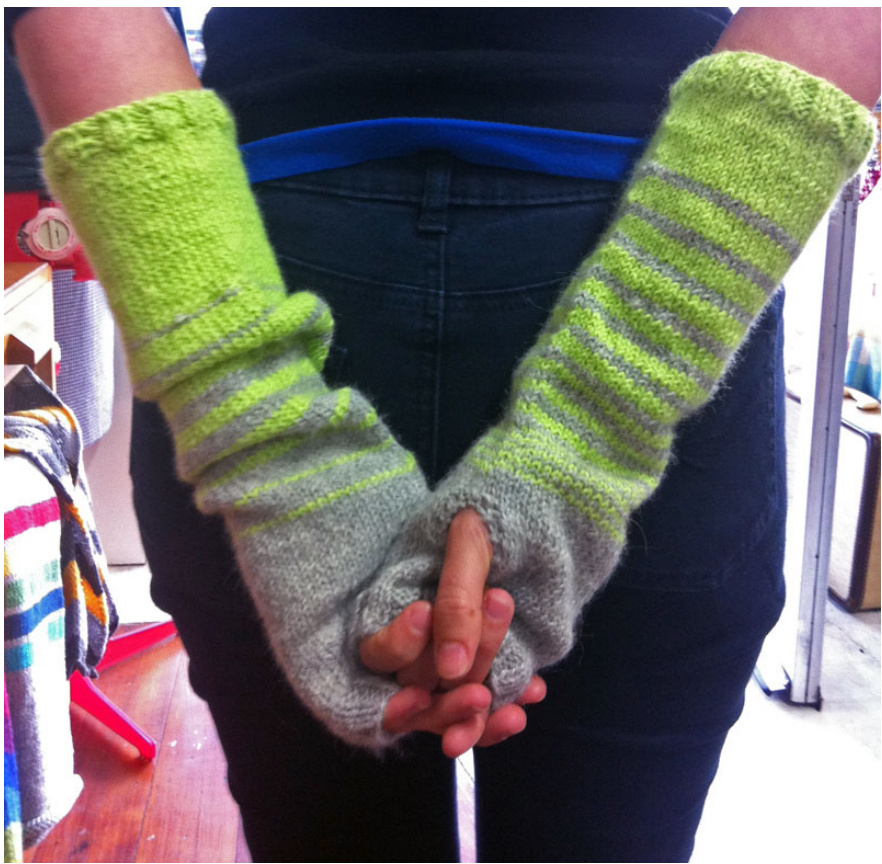

Thanks ever so much to Shelley for being our model, and Barbara for the use of her Zealana 4ply version in the photos. leveld for Holland Road Yarn Company. For personal use only. hollandroadyarn.co.1
Pattern:
CO52sts Join in round, being careful not to twist. Place marker at beginning of round. Work using the magic loopmethod. Next row: \*k2 p2 repeat from \* to end Work in rib pattern for 2.5cm Next row: knit for 3.5 cm Next 2 rows: p2, k 46, p2 From here you will be working the mitt as if it were flat - turning your work when you reach the end of the row. When the thumbhole is completed, you will join your work in the round again. Work back and forth for the next 12 rows row 1: k2, p 46 to last 2 sts, k2 row 2: k all sts repeat rows 1 & 2 four times more (12 rows) next row: knit to last 2 sts, p2 re-join in round, p2, k to end next row: k to last 2 sts, p2 next row: p2, k to end
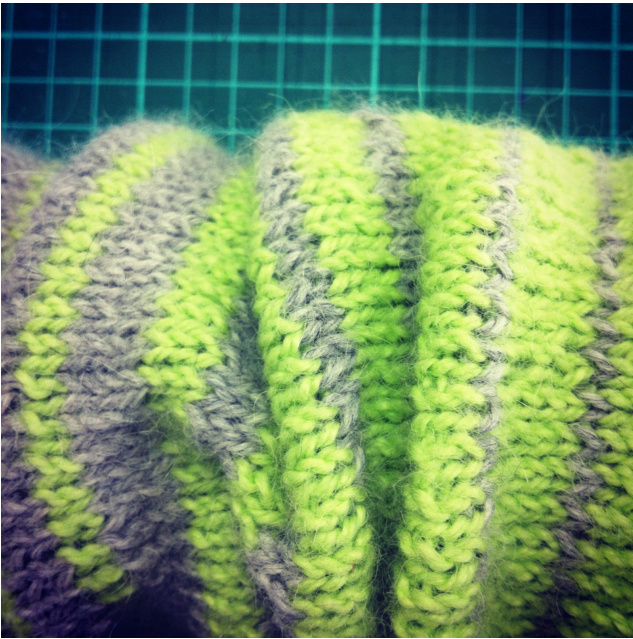
Knit 14cm in stripe pattern (carry ends to you don't have to weave lots in). Continue stripe pattern, and: k1, kfb, k to last st, kfb, k1 (54sts) repeat increase row every 4th row four more times (62 sts) Knit until the arm is as long as you'd like (the mit I knit is 21cm from the last row of the thumb hole to the beginning of the ribbing) Next row: \*k2, p2 repeat from \* to end Continue in rib pattern for 2.5cm Cast off using a stretchy bind off - I like Elizabeth Zimmerman's sewn bind off he stripe patterns we used, however feel free to have fun with them @
| First stripe pattern: | secondstripepattern: |
| afterthumbhole | afterthumbhole |
| 1 row grey | 4rowsgrey |
| 1 row citron, 5 rows grey x 2 | 1 row citron, 1 row grey x 4 |
| 2 rows citron, 4 rows grey x 2 | 1 row citron |
| 3 rows citron, 3 rows grey x 2 | 2 rows grey, 2 rows citron x 3 |
| 4 rows citron, 2 rows grey x 2 | 2 rowsgrey |
| 5 rows citron, 1 x grey x 2 continue in citron | 3 rows citron, 2 rows grey x 3 |
| 4 rows citron, 2 rows grey x 2 | |
| 5 rows citron, 2 rows grey | |
| continue in citron |


