Pint Sized No Sew Felted Bag 50% of the full sized bag Designer: Courtney Daley Invisible Insanity
Supplies:
#6 32" circular knitting needle F crochet hook 3 feet of wasteyarn Fingering weight 100% wool. (Yardage will vary based on gauge) 4 stitch markers Creating a swatch is important in this project so you will know how your wool felts. Using your crochet hook and waste yarn chain 7o. Cast on 20 stitches using the knit on technique. Pick up 60 stitches from your provisional cast on chain. Cast on another 20 stitches using the knit on technique.

You now have 100 stitches on your needle. (20 stitches on each side are not going to be unzipped so they are not on your provisional cast on.) Work in Stockinette Stitch for 58 rows. On row 59 bind off the first 20 stitches and knit the remaining row. On row 60 bind off the first 20 stitches and stop knitting. Your yarn is now in position to pick up the stitches to create the base. Copyright 2007-2012, www.invisibleinsanity.info Looking at your project you should have a rectangle. 60 stitches live on your needle and two flaps on each side of them. Place a point protector on your needle to prevent stitches from falling off while you are picking up the stitches for the rest of the base. Going clockwise around the bag pick up 30 stitches from the inner part of the rectangle leaving the flap on the side. (90 stitches on your needle)
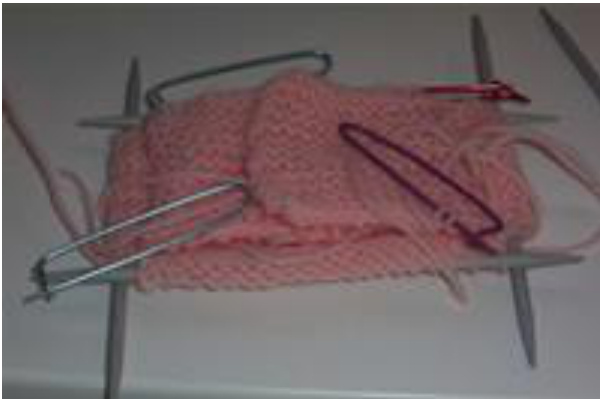
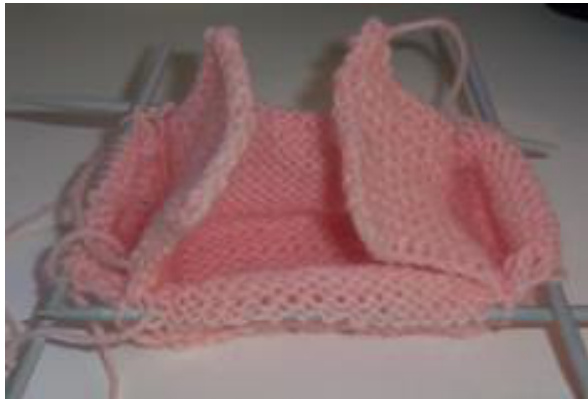
Remove your provisional cast on and pick up those stitches, (150 stitches on your needle) on the other side pick up another 30 stitches from the inner part of the rectangle leaving a flap on this side as well. (180 stitches on the needle) The tips of your needles should be in the ready to knit position. Round 1: Knit down the side of the bag (31 stitches) and place a stitch marker. Knit across the back of the project (58 stitches) and place another stitch marker. Knit down the side of the bag (32 stitches) and place another stitch marker. Knit your next side (58 stitches) Place your "different" marker here to show the beginning of a round. [You should have the following set up. Beginning round marker-32 stitches-marker-58 stitches-marker-32 stitches-marker-58 stitches.l
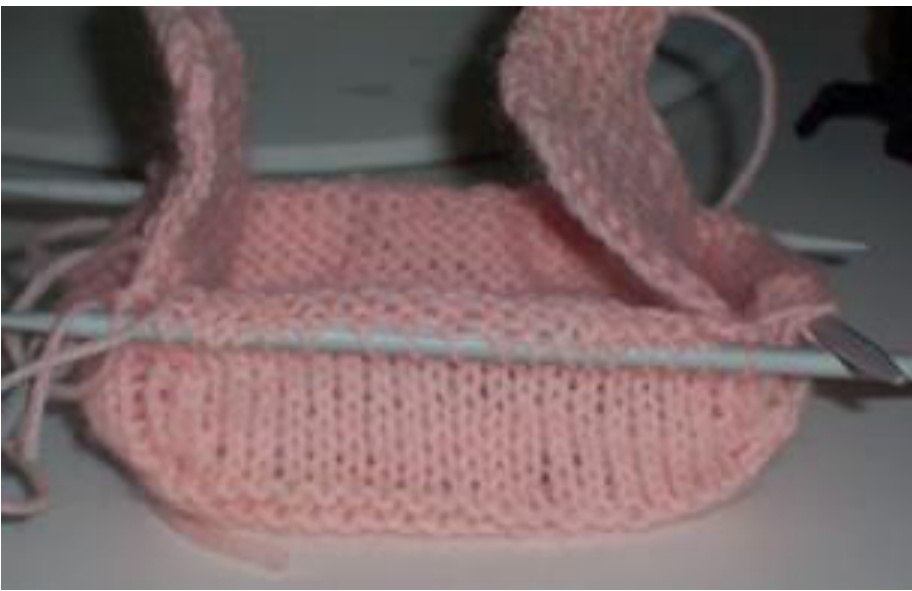
Your stitch markers show you where you are going to be attaching the pockets to the sides of your bag. You will be picking up one stitch and attaching it by knitting two stitches together. (Remember: you are always going to pick up and knit together with the stitch FOLLOwING the stitch marker. This will attach the pockets to the side of the bag and allow them larger openings.) You have completed one row and are ready to pick up the first stitch from the pocket. Round 2: On the side of the pocket using the cast off edge pick up the lowest stitch being sure to get the entire "v" stitch. Knit this and your next stitch together. (Picking up the "v" will make it look like you are knitting three stitches together; this will add extra strength to this seam.) Continue in the round picking up one pocket stitch after each stitch marker and knitting it together with the following stitch. Round 3 and all odd rows: Knit without picking up any stitches. Round 4 and all even rows: Repeat row 2. Continue in this pattern until you have picked up all pocket stitches and they are attached to the sides of your bag.
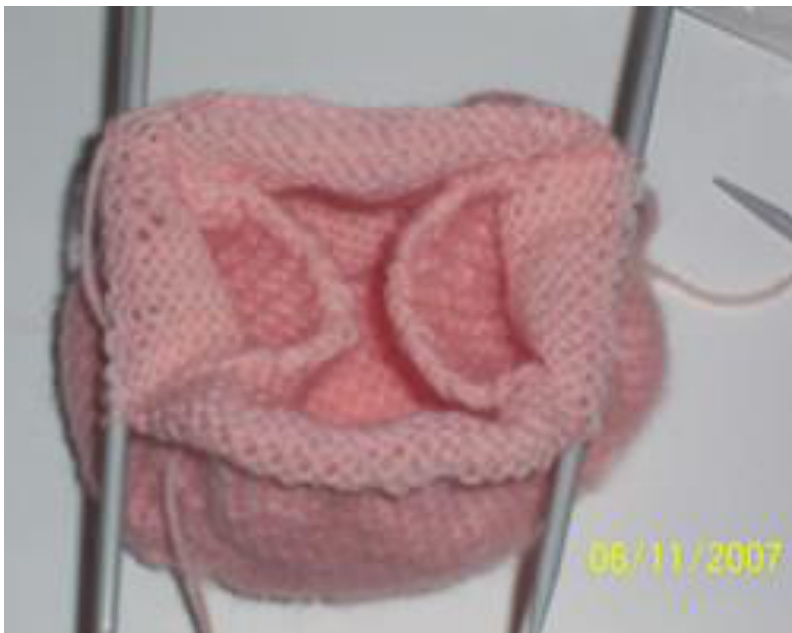
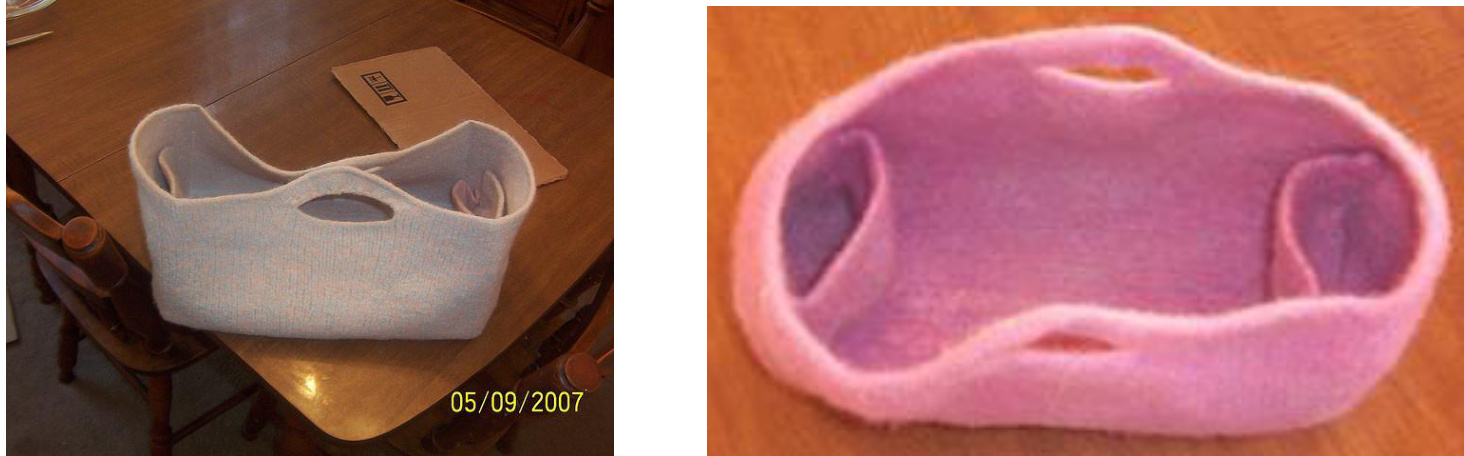
Knit in the round for another 15 rows (or more if you would like a taller bag) At the beginning of a round knit as follows knit 52 bind off 20 knit 72 bind off 20 knit 72 knit on 20 stitches knit 72 knit on 20 stitches and work in the round for another 5 rows. This creates the handles. Bind off.
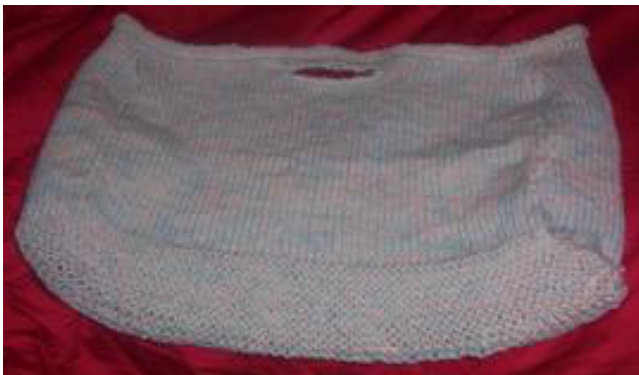
Your bag is complete and ready to be felted. Once felted, block and allow to dry, and your bag is ready for use!
Copyright 2007-2012, www.invisibleinsanity.info


