monty
www.clairemontgomerie.com
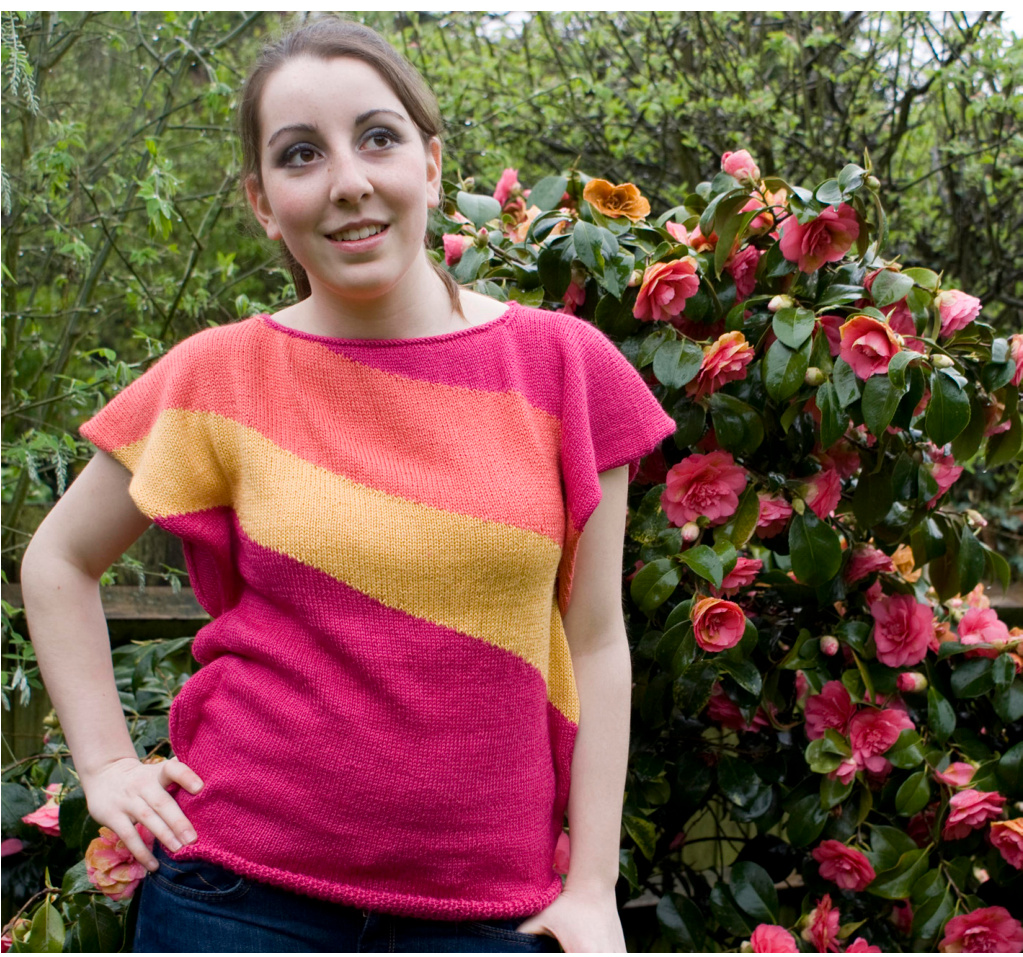
spring/summer 2009 collection
angel top
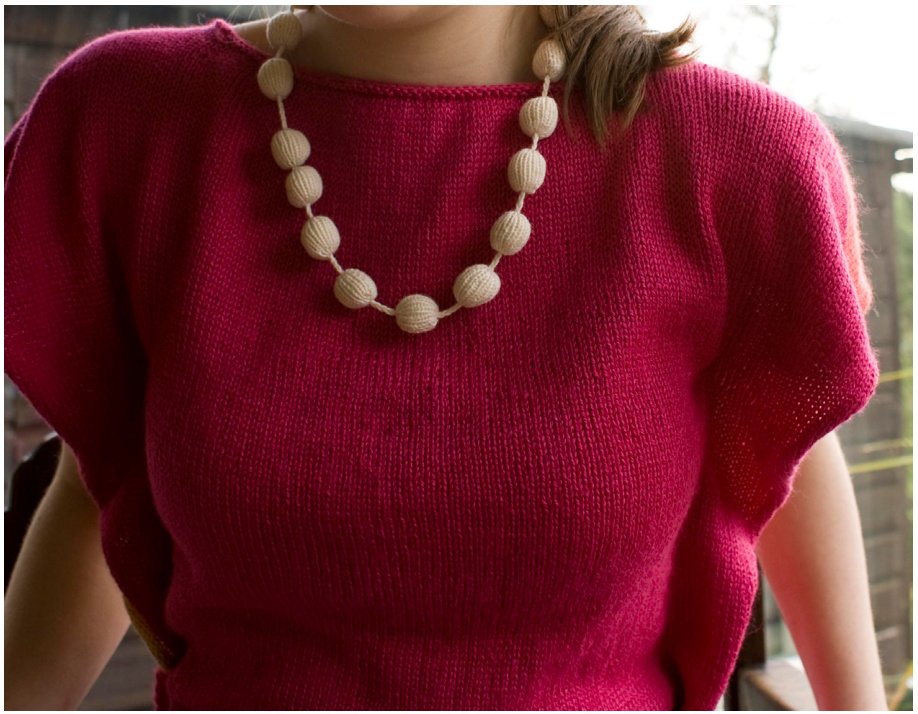
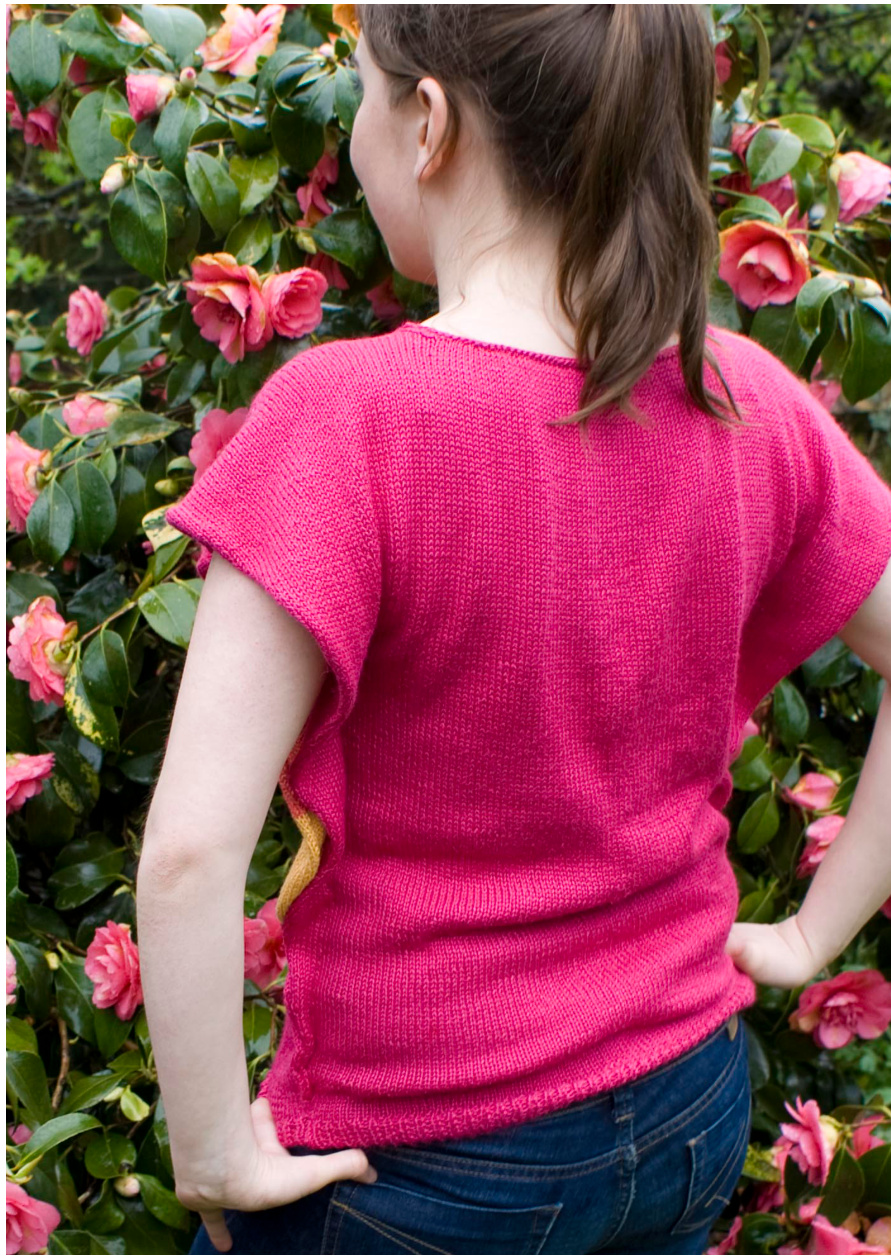
This sweet top is inspired by three themes from the Spring/Summer 2009 catwalk collections; ruffles, acid brights and the eighties style. It is incredibly simple to knit, with most of the interesting shape deriving from how the sweater is sewn up once the front and back pieces are knitted. If you have never tried intarsia before, it isa great pattern to try it out on, as there are onlyafew yarn changes across a row and big blocks of colour. If you don't fancy the intarsia stripes, you can also knit the sweater in one solid colour, making the ruffled sleeve detail become the most important feature.
Materials
Blue Sky Alpaca and Silk, $50\%$ alpaca, $50\%$ silk, $50\mathrm{g},$ 133 m/146 yds, For striped sweater: 5(5:6:7:8:9:9:10) balls of shade 145, Guava, (yarn A) and 1(1:1:1:1:2:2:2) balls each of shade 143, Papaya (yarn B) and 144, Mango (yarn C). For Plain sweater: 6(7:7:8:9:10:10:11) balls of shade 145, Guava, (yarn A) 3 and $3.25\;\mathrm{mm}$ (US #2.5 and #3) needles Stitch holders Darning needle
Tension
24 sts and $30\mathrm{~rows}\mathrm{~=~}10\mathrm{~cm/4^{\prime\prime}}$ in st st using $3.25\ \mathrm{mm}$ (US #3) needles or size required to obtain correct gauge
Measurements
Actual chest size (with a 81.5 (86.5:91.5:96.5:101.5:106.5:112:117) cm little positive ease) 32(34:36:38:40:42:44:46) inches Actual length 58(59.5:62:64.5:67:68.5:69.5:71) cm 22%(23%:24%:25%:26%:27:27%:28) inches
Pattern
Back
\*\*Using 3 mm (US #2.5) needles and yarn A, cast 0n 99(105:111:117:123:129:135:141) sts and work in 1 x 1 rib as folls: Row 1: k1, $\boldsymbol{^*}\boldsymbol{\ p}1$ , k1, rep from \* to end of row Row 2: p1, $\ast_{\mathsf{k}1}$ , p1, rep from \* to end of row Last 2 rows complete rib patt, rep for $3\mathsf{c m}/1\%$ inches.\*\* Change to $3.25\,\mathsf{m m}$ (US #3) needles and cont in st st, beg with a k row, inc 1 st at either end of next and every foll 5th row until there are 159(159:159:159:159:169:179:189) sts.
angel top
Now inc 1 st at either end of every foll 0(8:8:8:8:8:8:8)th row until there are 159(165:171:177:183:193:201:209)sts
Neck shaping
Cont to increase in this way until work measures 55(56.5:59:61.5:64:65.5:66.5:68) cm/21%(22%:23%:24% $:25\%:25\%:26\%:26\%$ inches from cast on edge, ending with a p row, then shape for neck as foll, while still increasing at outside edges if necessary: Next row (RS): k48(51:54:56:59:63:66:70), cast off 63(63:63:65:65:67:69:69) sts, leaving first 48(51:54:56:59:63:66:70)sts on holder, k to end of row. Dec at neck edge as folls: Row 1(Ws): p to last 3 sts, p2tog tbl, p1 nUw . KI, sIl, KI, μssu, K Lu elIu uIIUw Rep last two rows 0nce more. 44(47:50:52:55:59:62:66) sts Work straight in st st on these sts until work measures 58(59.5:62:64.5:67:68.5:69.5:71) cm/ 22%(23%:24%:25%:26%:27:27:28) inches from cast on edge. Do not cast off, but leave sts on a holder for shoulder. With ws facing, rejoin yarn to sts on first holder for unworked shoulder. Row 2: k to last 3 sts, k2tog, k1 Rep last two rows 0nce more. 44(47:50:52:55:59:62:66) sts Work straight in st st on these sts until work measures 58(59.5:62:64.5:67:68.5:69.5:71) cm/22%(231:24%: 25%:26%:27:27%:28) inches from cast on edge. Do not cast off but leave sts on a holder for shoulder.
Front
Fora plain sweater work one more piece exactlylike back. For striped sweater, follw instructions for front as folls: Work as back between between \*\* and \*\* Change to $3.25\;\mathrm{mm}$ (US#3) needles and cont in st st. Beg with a k row, inc 1 st at either end of next and every foll 5th row. When work measures 22(23.5:25:27.5:30:31.5:32.5:33) cm/ $8\%3\%:10\cdot10\%:11\%:12\%:12\%:13)$ inches from cast on edge ending with a p row, begin intarsia pattern as chart, continuing to increase at either end of row at planned intervals, bringing these extra sts into correct colour for pattern. Working in Intarsia pattern, cont until there are 159(159:159:159:159:165:171:177) sts. Now inc 1 st at either end of every foll 0(8:8:8:8:8:8:8)th row until there are 159(165:171:177:183:193:201:209)sts Continuing in intarsia pattern, when work measures 55(56.5:59:61.5:64:65.5:66.5:68) cm/21%(22%:23%:24 $\%\!:\!25\%\!:\!25\%\!:\!26\%\!:\!26\%)$ inches, ending with a p row, work neck shaping section exactly as back neck shaping, cont to inc at outside edges if necessary.
Finishing (both styles)
Block both pieces to shape lightly Graft right shoulder seam together using yarn A.
angel top
Using 3.25 mm (Us #3) needles, join yarn A to left front neck and pick up and knit 6 sts down side of neck, 63(63:63:65:65:67:69:69) sts across centre front neck, 6 sts up right front neck, 6 sts down right back neck, 63(63:63:65:65:67:69:69) sts from centre back neck and 6 sts up back left neck. 150(150:150:154:154:158:162:162) sts Knit 1 row then cast off all sts. Graft left shoulder seam using yarn A and sew up neck edge seam. Fold sweater at shoulders so that front and back pieces match exactly, with wrong sides facing in. Beginning from the bottom of sweater, sew up bottom ribbed cuff of right side using mattresst and yarn A,then mark and pin front and backtogether using marking pins up in a straight line from cuffto 22(23:24.5:25.5:27:28:29.5:30) cm/ 8%(9%:9%:10:10%:11:11%:11%) inches down from right shoulder. Taking yarn from inside the sweater, sew back and front together very carefully and neatly using a running or back st, taking the yarn up through the centre of the two pieces rather than on the outside to get to the next stitch. Tip: It really doesn't matter which stitch you use for this sewing up, or how you adapt it to get it neat, so long as the seam is very straight (use the pins and the 'V's of one vertical line of the st st to guide you) and very neat - so long as you use the same colour yarn, you should not be able to see the sewing stitches too much. You may even want to use a thinner yarn, which will be more invisible, so long as it is a similar shade to the yarn. Fasten off yarn well so that the seam will not unravel and rep for rem side seam. Weave in all ends.
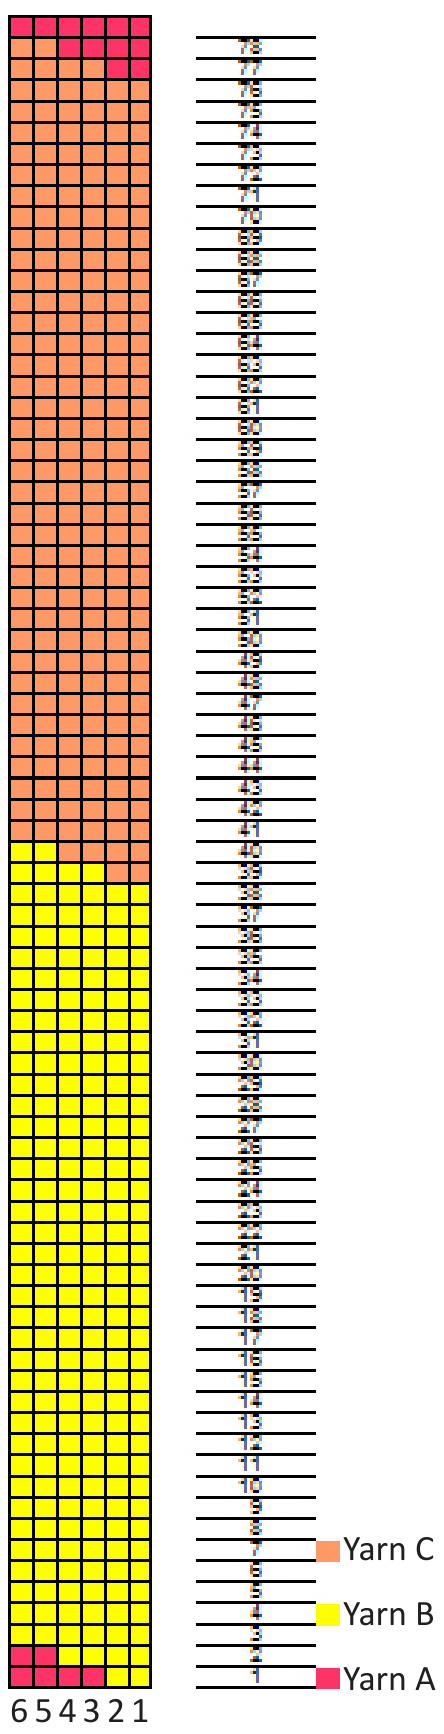
Following the Intarsia Chart
As just part of the chart is given here, these are a few gudelines to clarify the colour changes. When changing colour for intarsia pattern, begin adding yarn B from first two stitches of the row on a RS, or knit, row. Work the colours in a diagonal line across the sweater by adding new yarn 2 sts at a time every row, as chart shows for first 6 sts of front. When the stripe is 38 rows high from first intarsia row at right edge, begin adding in the next colour in the same way, but beginning from the new, increased sts at the edge (not shown on chart). When stripe two is 38 rows high from its first 2 stitches at right edge, begin to return to original colour in same way.