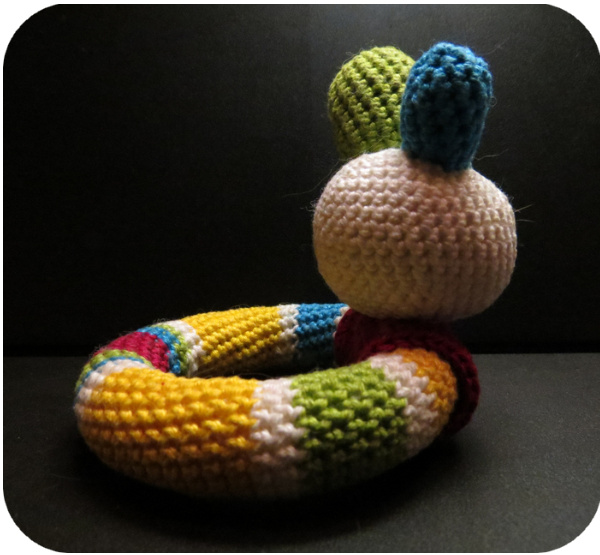
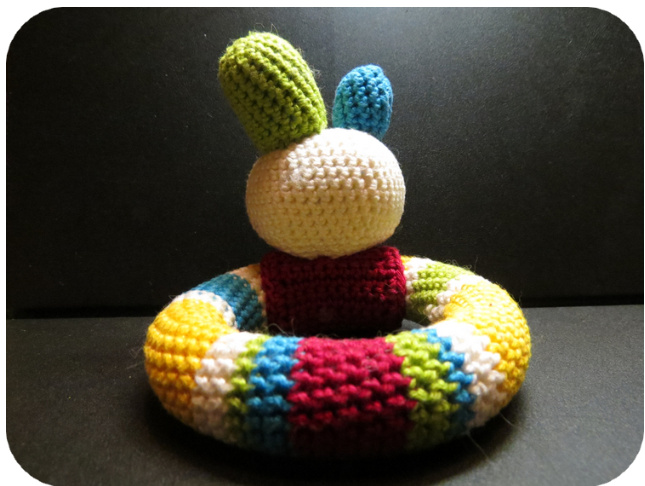
Playful Baby Loop Rattle lvana Lorincova, February 2012
I made this loop rattle for my little daugher so I hope you like the pattern :) It's quick and really easy to do. You can use left over yarns and make it colorful and even more fun. Feel free to use the pattern in any way you like. Please, just give me the credit if you use it, or make a reference to where you found it :)
What I used
●3.5mmhook ● 100% cotton yarn in 5 colors (white. yellow, green, blue, red) · 2 jingle bells (1cm diameter) ·stuffing material ·needle
Abbreviations
·ch-chain ·st-stitch ·sc - single crochet · sc2tog - single crochet 2 stitches together · sl st - slip stitch ● capital letters as codes for colors (W-white, Y-yellow, G-green, B-blue, R-red)
Head (white)
Round 1: magic loop with 6 sc, then sl st into the first sc Round 2: 2sc in each st (12 sc ) Round 3: [sc in next st, 2sc in next st] repeat 6 times (18 sc) Round 4: [sc in next 2 st, 2sc in next st] repeat 6 times (24 sc) Round 5: [sc in next 3 st, 2sc in next st] repeat 6 times (30 sc) Round 6: [sc in next 4 st, 2sc in next st] repeat 6 times (36 sc) Round 7: [sc in next 5 st, 2sc in next st] repeat 6 times (42 sc) Round 8-13: sc in each st (42 sc) Round 14: [sc2tog in next st, sc in next 5 st] repeat 6 times (36 sc) Round 15: [sc2tog in next st, sc in next 4 st] repeat 6 times (30 sc) Round 16: [sc2tog in next st, sc in next 3 st] repeat 6 times (24 sc) Round 17: [sc2tog in next st, sc in next 2 st] repeat 6 times (18 sc) Round 18: [sc2tog in next st, sc in next st] repeat 6 times (12 sc) Round 19: sc2tog in next st (6 sc), fasten off. Leave a long tail, you can use it to sew the head to the neck-tube later

Ear (bigger - green)
Round 1: magic loop with 6 sc, then sl st into the first sc Round 2: 2sc in each st (12 sc) Round 3: [sc in next st, 2sc in next st] repeat 6 times (18 sc) Round 4-13: sc in each st (18 sc), fasten off. Leave a long tail, you can use it to sew the head to the neck-tube later
Ear (smaller - blue)
Round 1: magic loop with 4 sc, then sl st into the first sc Round 2: 2sc in each st (8 sc) Round 3: [sc in next st, 2sc in next st] repeat 4 times (12 sc) Round 4-9: sc in each st (12 sc), fasten off. Leave a long tail, you can use it to sew the head to the neck-tube later Stuff the ears and the head and sew them together. When stuffing the head insert 2 jingle bells.
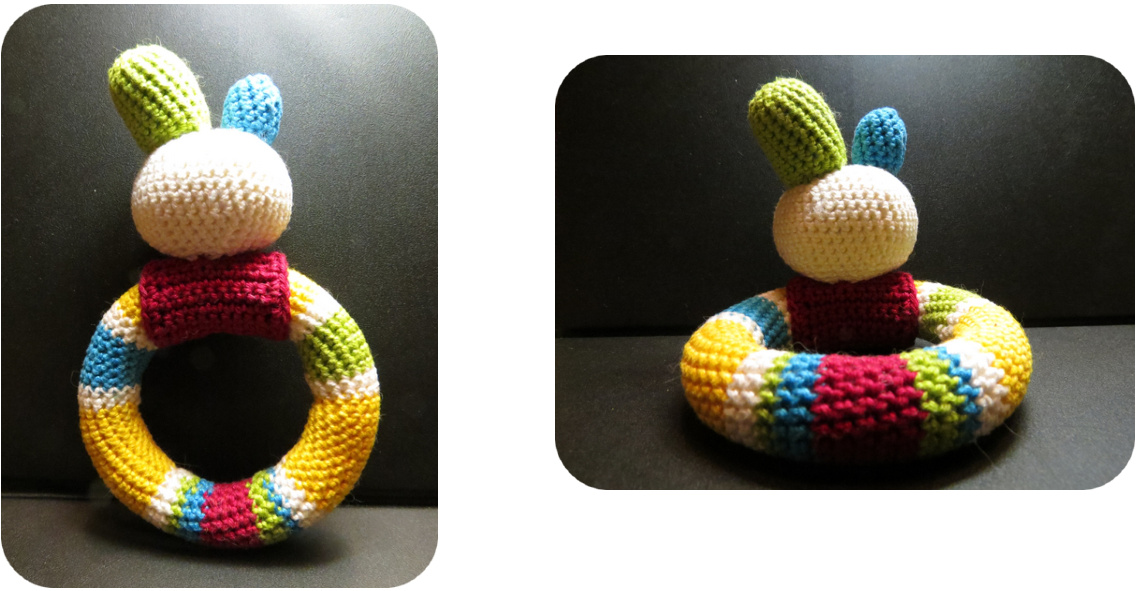
Main Ring
Here you can see the pattern, if you wan to use the same color arrangement.

Round 1: chain 15 with yarn Y, sl st in the first st to form a ring Round 2-8: sc in each st (15 sc) with yarn Y Round 9: sc in each st (14 sc), and change the color in the last stitch to yarn W (bellow I describe how did it, but feel free to use any other method @)
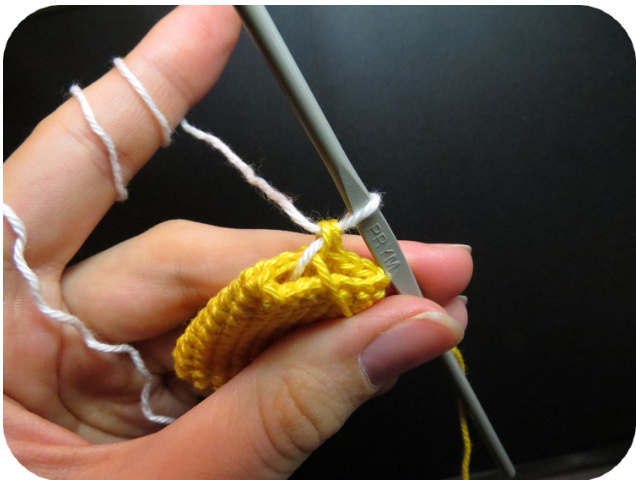
Changing the color I inserted the new yarn B (white on the picture) into the tube. I left a tail at the bottom, so that I could hold it. When making the last sc in Round 9, insert hook in the stitch, yarn over the hook with yarn A (yellow in the picture), pull yarn A through the stitch, yarn over the hook with yarn B, pull yarn B through 2 loops on the hook. When you look at the picture, you can see I am holding yarn A under yarn B when making the sc. This way, yarn A stays inside the tube, and you can use it in the future rounds. Round 10: sc in each st (14 st) with yarn W Round 11: sc in each st (14 sc), and change the collor in the last stitch to yarn B Round 12-15: sc in each st (14 st) with yarn B Round 16: sc in each st (14 sc), and change the collor in the last stitch to yarn W Round 17: .. Continue until you have competed the whole tube. You can use the the pattern above for inspiration. My tube was 25cm (9.4 inches) long and 2cm (0.8 inches) in diameter. Sew the 2 ends together, so that the places where you changed the color are on the inner side of the ring (less visible) My ring had a 9.5cm (3.7 inches) outer and 5.5cm (2.2 inches) inner diameter
Neck - Tube
Basically it's a 10 sc \* 20 rows rectangle. Round 1: chain 11 with yarn R Round 2: sc in in the back loop of the 10th st, 9sc in next 9 st (10 sc) Round 3-21: chain 1, turn work, sc in each stich (10sc) Round 22: Continue to sc around the whole rectangle to make nice and even edges. Depending on your tension, the neck tube should be longer or shorter(more orless rows). Thetube should wrap tightly around the ring,but you should be able the turn and move it.
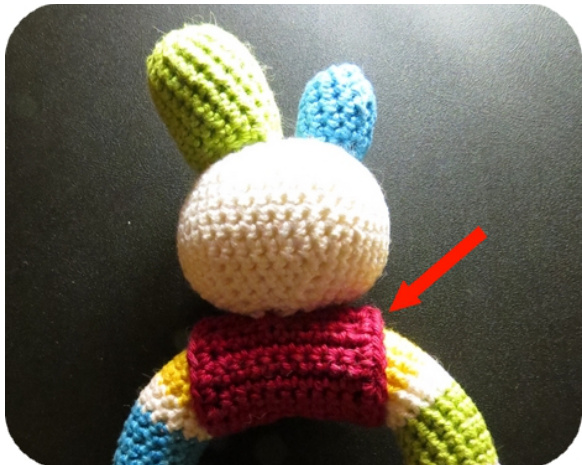
When the rectangle is ready, sew the head tightly to the middle. I didn't sew it at the last row, because the head waggled too much, so again, depending on the shape of your head, choose a row (maybe the second or third to last) to sew the head to the rectangle.,so that it's nice and steady. Sew the 2 ends of the rectangle around the ring to form a tube. TA - DAAA ... and you baby loop rattle is finished