Rosebud Debriefing Tutorial by DeviousRose
This is an accompaniment tutorial for the rosebuds as made in my Rosewood Cowl. It is separate because it would create a massive bulk when printing if I packaged it along with the actual pattern. The written instructions make the rosebuds look finicky and difficult, but they're ridiculously easy- communicating the instructions in text-only form is what's difficult. So, here goes nothing!
These flowers are crocheted in two parts, the rosebud (flat) and the leaves, which are then joined together. Trust me, it's not as annoying as it sounds- and this is coming from someone who hates weaving in ends and finishing with a passion. The leaves are not included in this tutorial, because they're a little more straightforward than the rosebuds. If you have never done fsc (foundation single crochet), good tutorials with clean photos can be found at The Purl Bee and Future Girl.
Materials:
- 3.75 mm/ Us F hook, or whatever works for you - DK or worsted weight yarn for the rosebud (l used Caron Country, 75% acrylic and 25% merino, in Claret) - Worsted weight yarn for the leaves (l used Caron Simply Soft in Pistachio for these Gauge: Doesn't particularly matter and really depends what you're going for. I've used a bulky brown for the leaves for a more gothic look, and I've made smaller, more dainty flowers with sport weight yam.
Rosebud Pattern:
Row 1: Fsc 10 loosely, turn. To make the next step easier, you may wish to place stitch markers in the 3rd, 5th, 9th sts to mark the sts you will need to crochet the petals into.
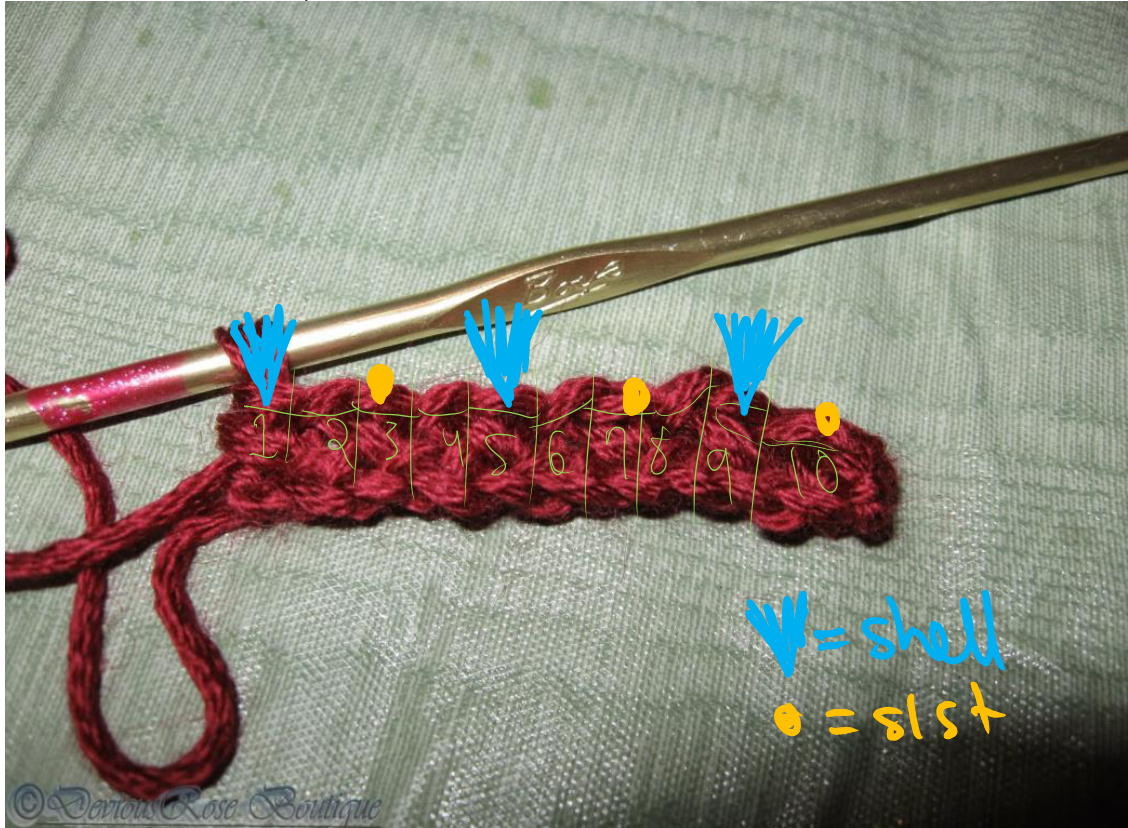
That there is what your 10 fsc's will look like. Row 2: Ch 3, 3 dc in first sc, sk 1 sc, sl st in next sc, sk 1 sc, 5 dc in next sc, sk 1 sc, sl st in next sc, sk next sc, 6 dc in next sc, sl st in last sc. Do not fasten off.
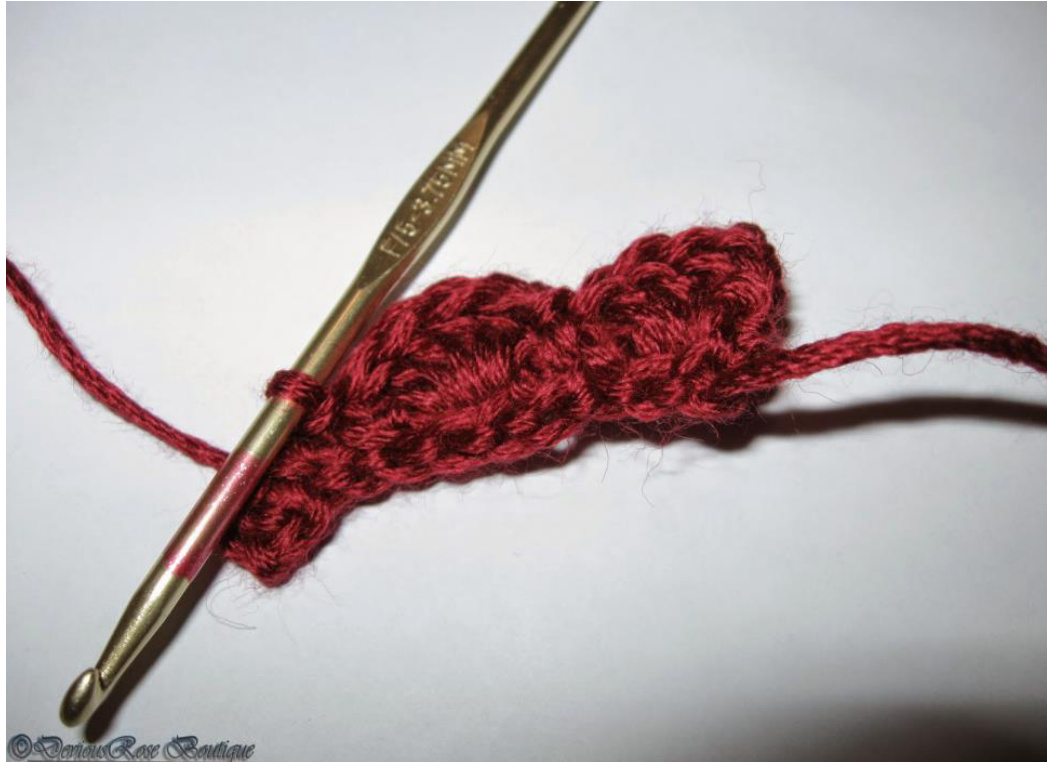
First two petals made. The stunted first shell (on the right) will form the innermost petal. Don't worry, your rosebud won't look like it has a mere three petals, but like a fully formed blossom.
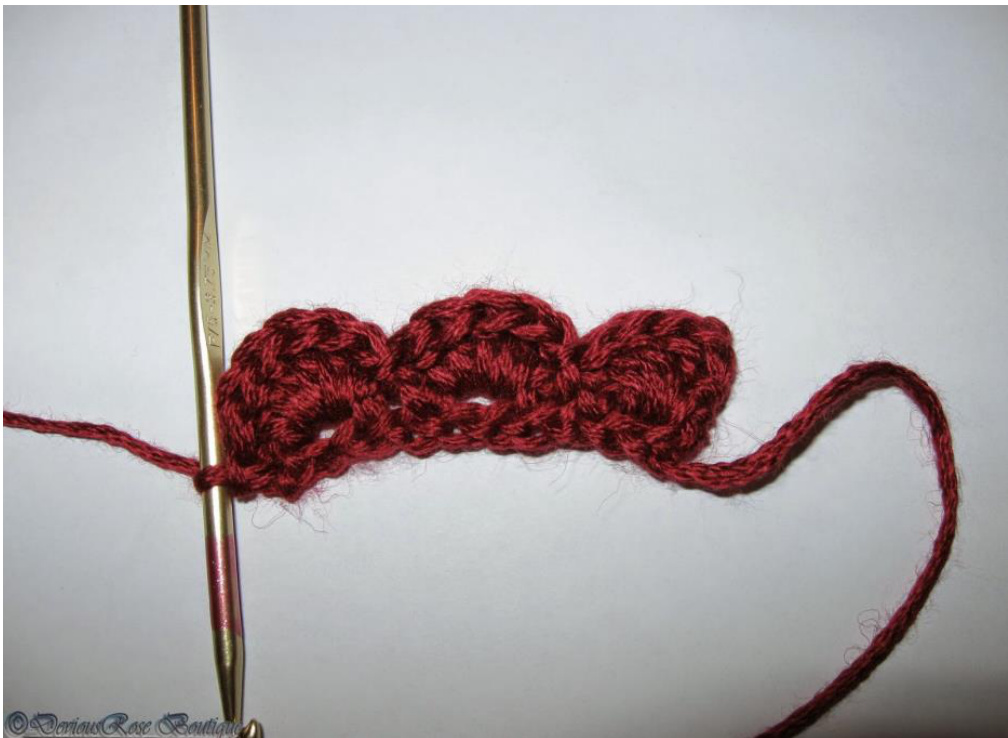
This is what your rosebud will look like before finishing. You can also see the increasing petal size here, from left to right. For this rose, I slip stitched in the side of the first fsc, then anchored it completely by slip stitching to the bottom of the stitch as well, resulting in a curl of the rose that was easier to roll up for the finishing step:
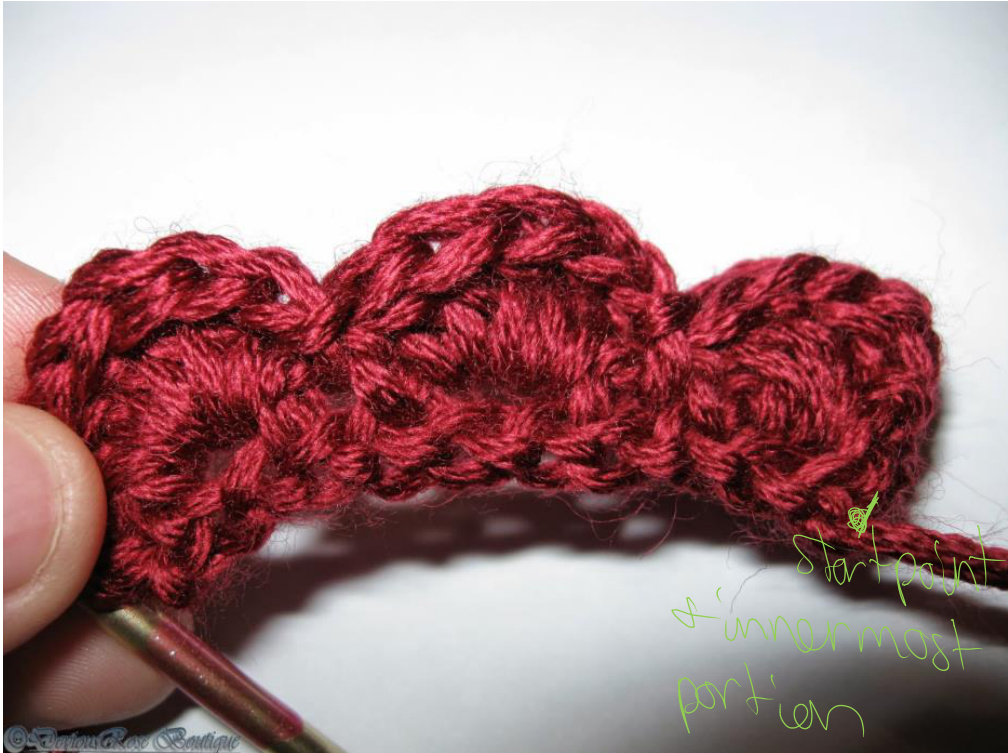
Pick up your rose and gather it up, smallest petal inward (far left here). You willstart rolling from the smallest petal. Finishing: Keeping hook within the rose, roll rose up, starting from first, smallest dc shell and going outward to the largest shell, with ws facing outward._Arrange to liking, then pinch flat...

The hook remains in the rose, for ease in the next finishing step. The blossom should be easy to pinch in place. ...and insert hook from one side to the other through the center, making sure to go through the fsc's of every layer of the rose (Exhibit A).
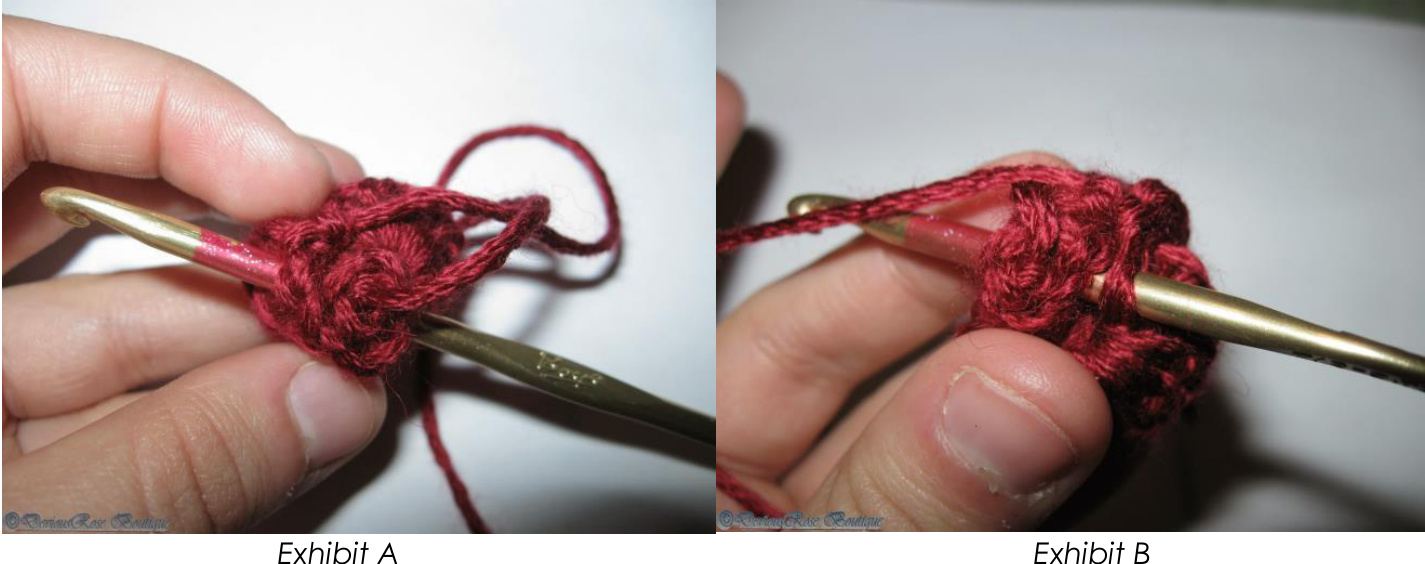
It may take some fiddling to go through all the layers of the rose, depending on your yarn. Pull up a loop, then draw yarn through both loops on hook (Exhibit B). Fasten off, leaving a long tail for sewing, or repeat again if desired for stability- this wil depend on your yarn.
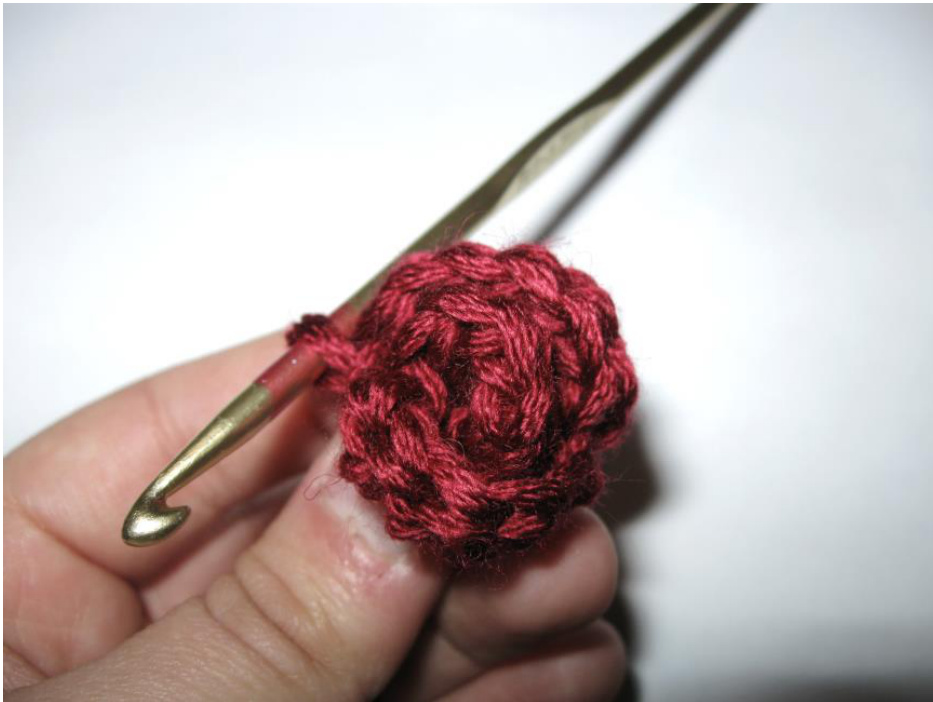
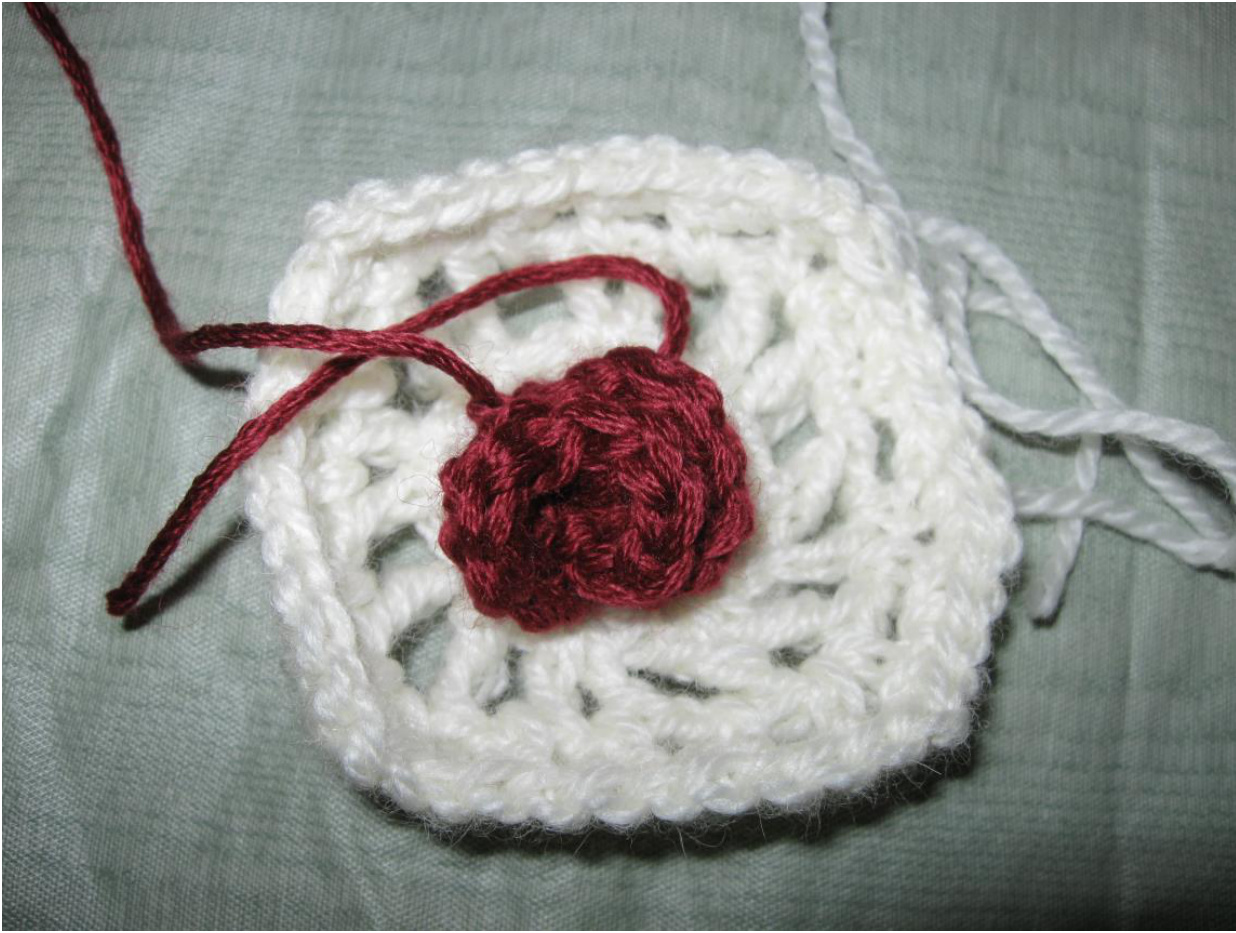
Aaand it's done! Now you can make the leaf and attach!
Abbreviations:
ch-chain fsc-foundation single crochet sc-single crochet sl st-slip stitch st- stitc


