Frankie's Knitted Stuff


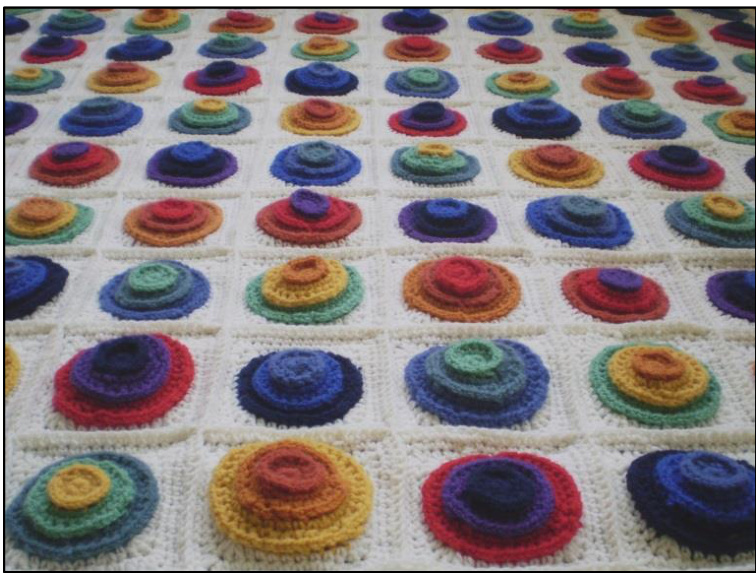
Celebrate colour with this rainbow blanket with its piles of bright circles set against a cream background. The circles are rather like the counters in tiddlywinks, hence the name (thank-you Jane). Each tiddlywink is worked in three colours and is a lovely, tactile dome - just crying out to be pressed by little fingers.
Colours and other stuff
First of all, those colours ... I chose ten shades of Sirdar Country Style DK (155m / 50g), to match the colours of the rainbow. 1. Red 402 Cherry 2. Orange 613 Autumn 3. Light Orange 394 Amber 4. Yellow 612 Maple 5. Green 617 Kensington Gardens 6. Green / Blue 470 Smokey Green 7. Blue 620 Powder Blue 8. Bright Blue 476 Cobalt 9. Indigo 441 Light Navy 10. Violet 471 Pansy I used one 50g ball of each colour and eight balls of Cream (411) for the background and the border. This gave me a blanket with 100 squares, measuring about 112 cm / 44"2. I crocheted with a 4.5 mm hook and my finished squares were about 10 cm / 4"2. Each tiddlywink is roughly 7.5 cm / 3" across. This pattern uses British crochet terms: dc = US sc htr = US hdc tr= US dc
The Tiddlywinks
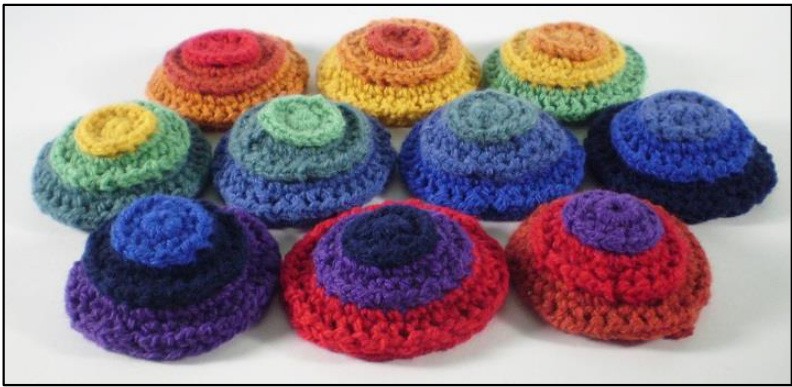
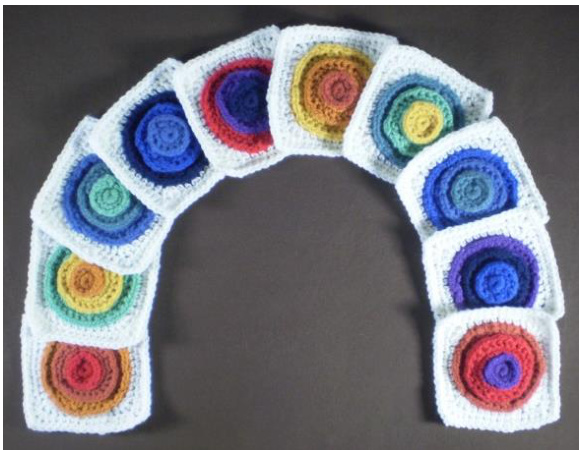
These are made in three layers, each one worked in a different colour. Arrange your colours in order and then start each tiddlywink with the next colour in the line. So, the first one will be crocheted with colours 1, 2 and 3 and the second with 2, 3 and 4 and so on. This will give you ten different tiddlywinks, the last one using colours 10, 1 and 2. I hope that makes sense.
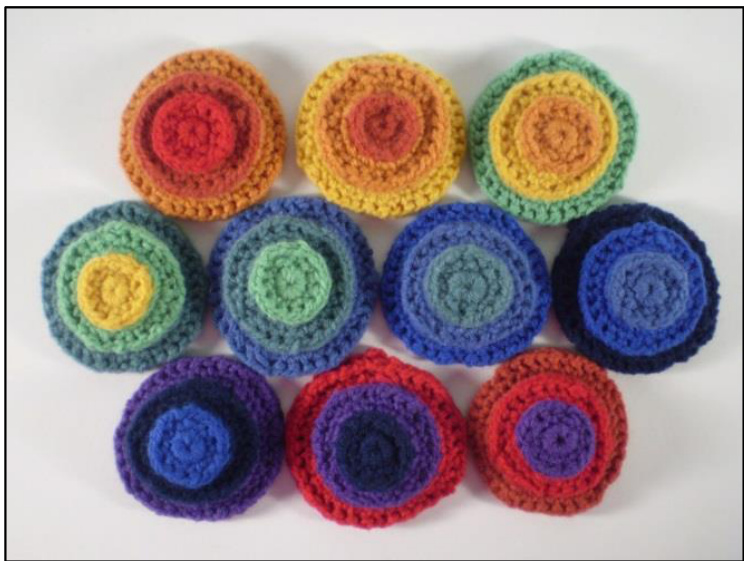
The ten different tiddlywinks in order, row by row and reading from left to right
First Layer
Make 4ch and join with a ss to make a ring. Round 1: 1ch, 12dc into ring, join with ss to first dc (12 sts). Round 2: 3ch, (dc, 1ch) in every st, join with ss to 2"d of 3ch (12 sts). Round 3: brdc round the post of every st, join to first st and fasten off.

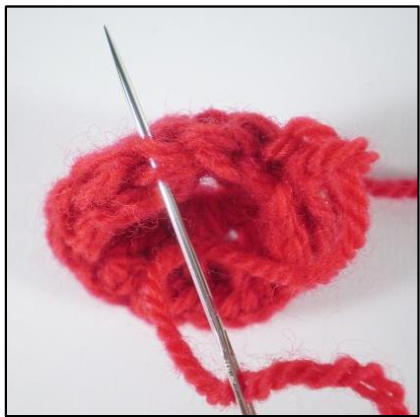
Darn in the cast on tail, tightening the hole in the middle. For a smooth finish, try this method of fastening off: 1. Cut the yarn and pull the end through the loop on the hook but don't tighten it. 2. Thread the yarn on to a needle and put the needle through the second stitch of the round. 3. Put the needle back down through the loop at the end of the round, pull tight and fasten off.
It can be difficult to count stitches around a join so I would suggest you start each new layer a few stitches after the join. That way, you'll nearly have finished the first round when you get to the join and so can make sure you work the right number of stitches.
Second Layer
Join the next colour to any stitch from the last round; these stitches will lie at the back of the circle.
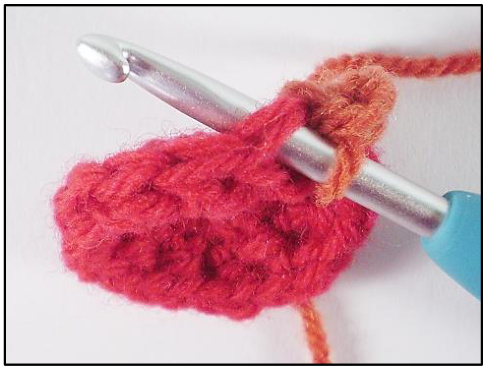
Round 1: 1ch, 2dc in same st and every st of the round, join with ss to first dc (24 sts). Round 2: 3ch, (dc, 1ch) in every st, join with ss to 2"d of 3ch (24 sts). Round 3: brdc round the post of every st, join to first st and fasten off.
As you can see, Rounds 2 and 3 are the same as for the first layer. This is true for all three layers; it is only the first round that changes.
Third Layer
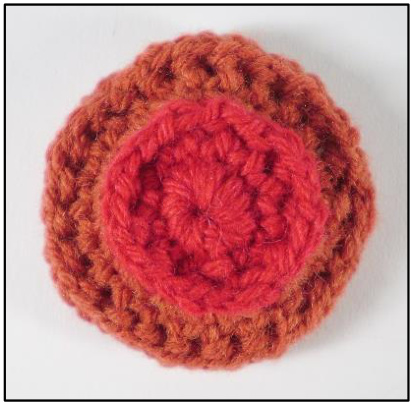
Join the new colour to any stitch from the last round. Round 1: 1ch, dc in same st, 2dc in next st, \*dc, 2dc, repeat from \* to end, join with ss to first dc (36 sts). Round 2: 3ch, (dc, 1ch) in every st, join with ss to 2"d of 3ch (36 sts). Round 3: brdc round the post of every st, join to first st and fasten off. That's one tiddlywink finished. Now you can carry on working through the colours until you have a set of ten.

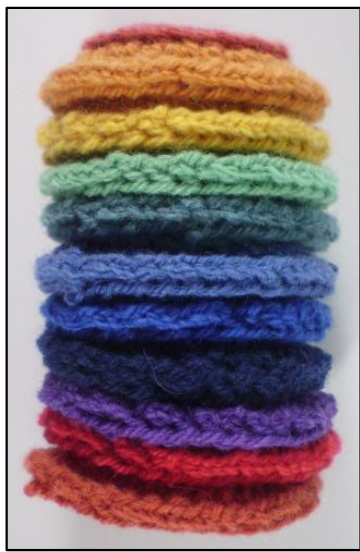
This is when you get distracted by playing with the tiddlywinks, look ... they stack!
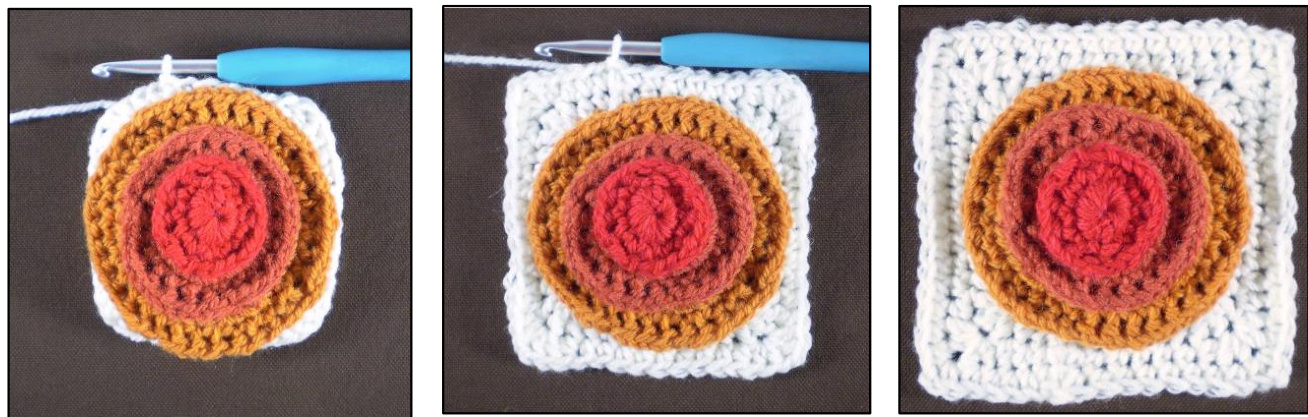
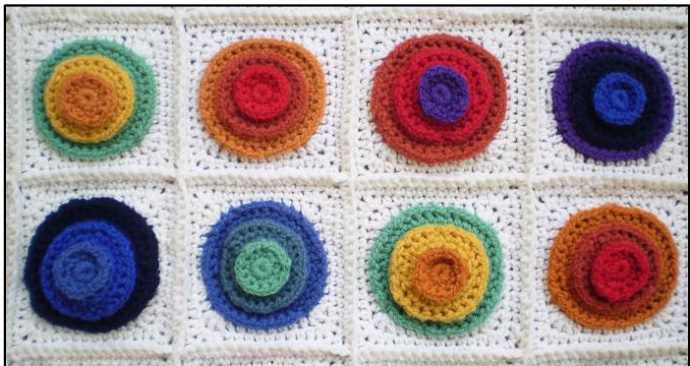
Turning Circles into Squares
The background to all the tiddlywinks is worked in cream and consists of three rounds. Join the yarn to any stitch from the last round. Round 1: 1ch, dc in same st, htr, 3tr, htr, (6dc, htr, 3tr, htr) three times, 5dc, join with ss to first dc. Round 2: 1ch, dc in same st, dc, htr, (2htr, 1ch, 2htr) in next st, htr, \*8dc, htr, (2htr, 1ch, 2htr) in next st, htr, repeat from \* twice, 6dc, join with ss to first dc. Round 3: 1ch, dc in same st, 4dc, (dc, 2ch, dc) in next st, \*13dc (dc, 2ch, dc) in next st, repeat from \* twice, 8dc, join to start of round and fasten off.
Joining All Those Squares
First lay out your 100 squares in ten rows of ten, in whatever order pleases you. I sorted each of my sets of ten squares into colour order, from colour 1 to colour 10, counting the colours used for the top layers.
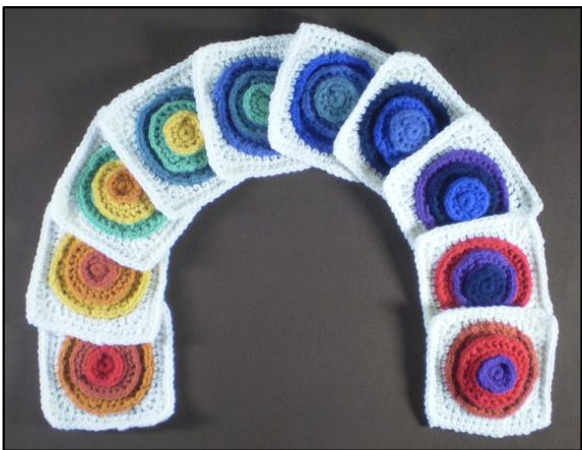
Then I alternated the colours so that the colours of the top layers were in this 0rder: 1, 3, 5, 7, 9, 2, 4, 6, 8, 10.
This balanced the colours out so that I didn't have big patches of one shade on the finished blanket. I followed this order when laying the squares out in rows, offsetting each row by two squares. This meant that the second row of squares started under the third square in the first row, the third row started under the fifth square and so on ... Join the cream yarn to the corner spaces of the pair of squares at the start of the row and work double crochet in each pair of stitches across the square. There should be 17 stitches for each square, 15 along the side and two for the corners. After joining the corners at the end of the squares, work 1ch before beginning to join the next pair of squares. When you have worked all the horizontal joins, turn the blanket and repeat the process for the vertical joins.
The Border
This is again worked in cream yarn and is made up of three rounds. Join the yarn to a corner space at the start of any square. Round 1: 2ch, \*15htr along side of square, htr in corner space, tr in first st of join, htr in next corner space, repeat from \* all round, working 2htr into the blanket corners and joining to 2ch at the end. Round 2: Work frhtr into every stitch all round the blanket and then join yarn to the first st and fasten off. Round 3: Re-join the yarn to any st from Round 1 (left unworked in Round 2) and ss in every stitch, working 1ch between the two corner sts. The border has a raised edge which matches the joins between the squares.

The finished blanket will benefit from blocking to straighten it out and then it's all done.
Abbreviations
st / sts stitch / stitches ch chain SS slip stitch dc double crochet (US single crochet) htr half treble (US half double crochet) tr treble (US double crochet) brdc back raised double crochet: work a dc in the normal way but insert the hook from the back to the front and then to the back again, round the stem of the next stitch frhtr front raised half treble: work a htr in the normal way but insert the hook from the front to the back and then to the front again, round the stem of the next stitch Frankie Brown, 2015. My patterns are for personal use only and should not be used to knit items for sale. Please do not use them for teaching purposes without my permission.


