Loopsi by Rocky Moreno
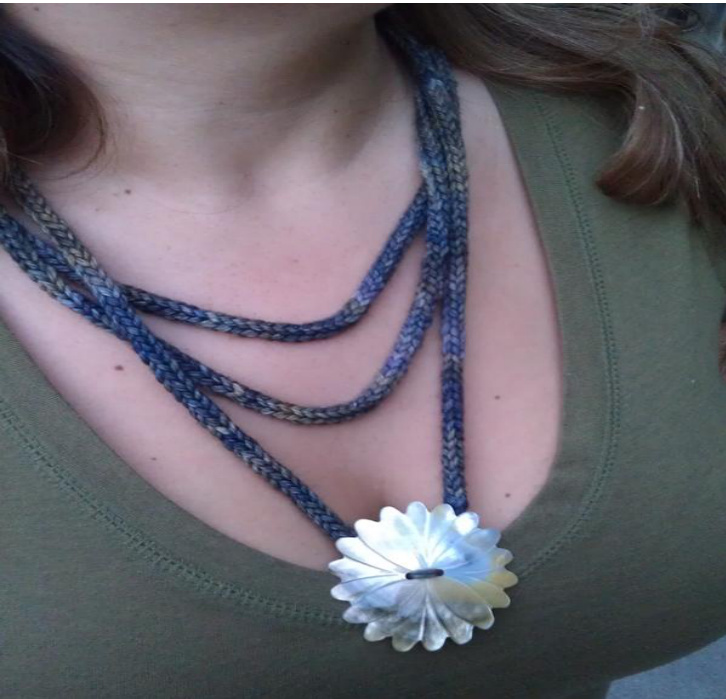
Figure 1 - Model knit with Malabrigo Rios Finished Measurements: 20-21 inches of the inner ring (around neck). Yarn: Worsted Weight, scarp yarn, at least 50 yards. Needles: US 7 DPNs Gauge: 18.0 to 22.0 sts = 4" in garter stitch For this project, gauge isn't critical. Notions: Darning needle, 2 buttons (5/8" inch), removal stitch markers, decorative pendant Notes: The pattern starts with the base for the button band, and then each I-cord is knit individually while live stitches for the remaining 2 I-cords are left on removable stitch markers.
Cast On 6 stitches.
Round 1. Work in Garter stitch for a length of 1 inch 3/8. This is the base for the buttons to be sewn to.

Round 2. KFB1 K2 KFB1 K1 KBF (9 st[s] on needle) Round 3. Knit 1 row Round 4. Slip 3 st[s] to right needle Round 5. Slip next 3 st[s] to 1 removable marker Round 6. Slip last remaining 3 st[s] to another removable marker Round 7. Pass the 3 st[s] from right needle back to the left needle and start knitting I-cord. Round 8. To knit I-cord, knit one row (do not turn work) Round 9. Slide stitches to the other end of the needle Round 10. Knit a second row by bringing the yarn behind the work and starting with the first stitch. Tug the work from the bottom after each first stitch to help it to take shape and to even out the tension. Round 11. Repeat steps 9 and 10 until length is achieved. Round 12. The I-cord should be approximately 27 inches in length. This is the outer ring of the necklace. You can adjust the length of each ring to your preference, I suggest as your knitting to lay the I-cord around your neck to see how it will hang around your neck, thereby ensuring a comfortable fit. Round 13. Once the 1st outer ring I-cord is at 27 inches, do not bind off the 3 st[s] slip to a removable marker and cut working yarn, leaving a tail of 6 inches. 1 | P a g e All text, photos, illusrations, charts Copyright @ designs by Rocky Moreno 2012 Round 14. Next slip the 3 middle st[s] from the middle removable marker to your needle. Round 15. This is the middle ring I-cord. Start knitting the I-cord for approximately 25 inches. (Follow I-cord instructions above) Round 16. Once the 2nd middle ring I-cord is at 25 inches, do not bind off the 3 st[s], slip to a removable marker, and cut working yarn, leaving a tail of 6 inches. Round 17. Next slip the last 3 st[s] from the last removable marker to your needle. Round 18. This is the inner ring I-cord. Start knitting the I-cord for approximately 23 inches. (Follow I-cord instructions above) Round 19. Once the 3rd inner ring I-cord is at 23 inches, do not bind off the 3 st[s]. NOTE: It is important that when slipping the stitches from the removable markers back to the needle, that you don't twist the Icords, make sure the I-cords are straight and not twisted. At last row of I-cord slide the stitches as normal to start a new row for the I-cord, but don't knit, instead knit only the 1st stitch and slip the 2 remaining stitches to your right needle. Round 20. Next take the 3 st[s] from the middle marker I-cord and slip to your right needle. Round 21. Repeat for the 3rd inner ring. Round 22. You should now have 9 st[s] on your right needle. Round 23. Now pass the 8 stitches back from right needle to the left needle. Round 24. Finish knitting this row. Round 25. Knit next row Round 26. Now K2T0G K2 K2T0G K1 K2T0G (6 st[s] on needle) Round 27. Knit next row Round 28. Knit 2 more rows Round 29. Knit 3, bind off next 2 stitches, K1 (4st[s], 1st button hole) Round 30. Knit 2, Cast on 2 st[s], Knit 2 (6 st[s] on needle) Round 31. Knit next 2 rows Round 32. Repeat steps 26 - 28 to make 2nd button hole Round 33. Bind off all stitches

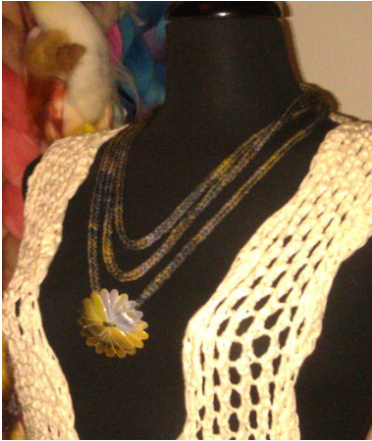
Figure 2 - Side view
Finishing
Weave in ends. Sew buttons to button band base, making sure the buttons will line up with the button holes on the button hole band. Sew pendant or jewel to Outer ring, or any ring based on your preference. Lightly block necklace. For pattern support please visit http://www.rockinknit.com Pattern is for personal use only and may not be reproduced or used for commercial or monetary purposes. 2| P a g e All text, photos,illusrations, charts Copyright @ designs by Rocky Moreno 2012


