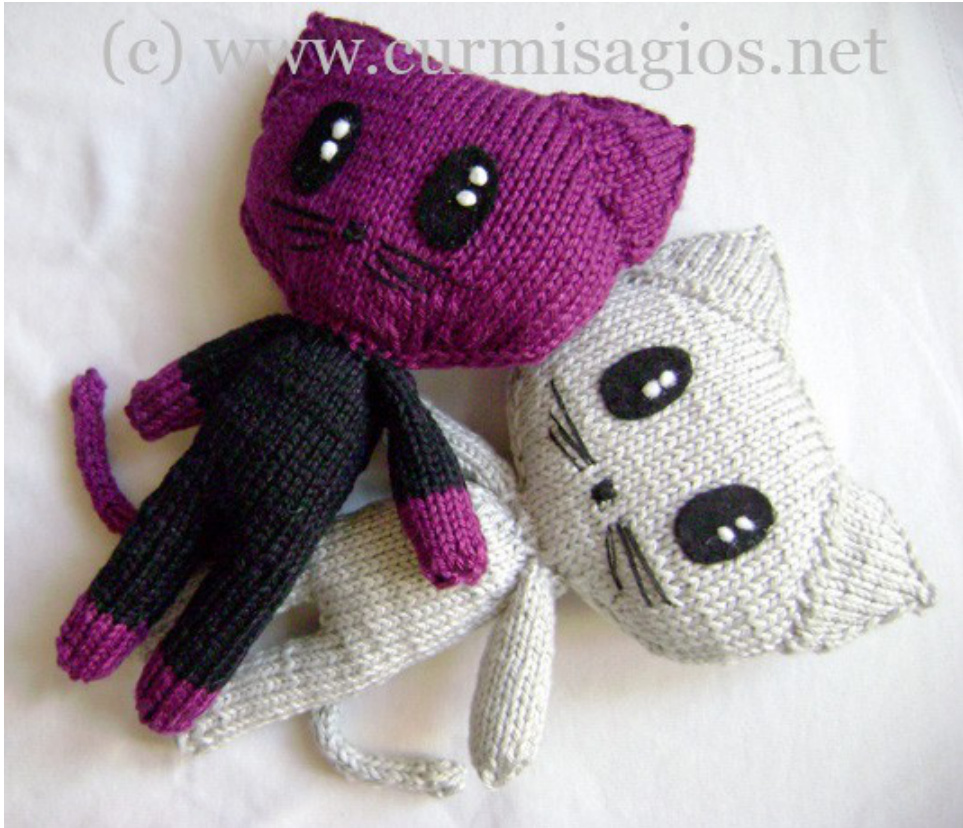
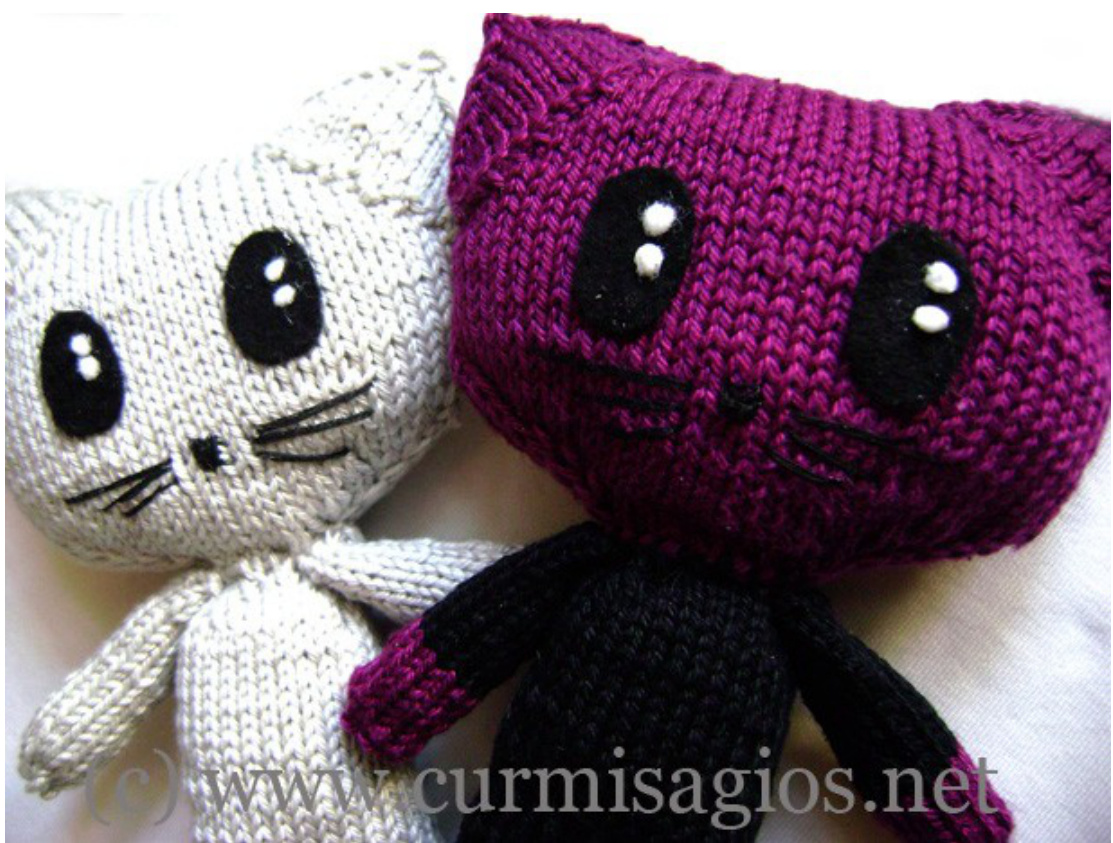
grisig the cat
www.curmisagios.net \~
Materials:
Any type of yarn will do, about 1 skein. Gauge is not important. I knit most of my toys with simplecotton. Stitch markers A set of dpn (easier with 2 sets, but 1 will do) Tapestry needle Stuffing (I use polyester filling) Knit tightly, or else the stuffing will show. The legs and body are knit in one piece. Head, ears, arms and tail are knit separately and then sewn together.
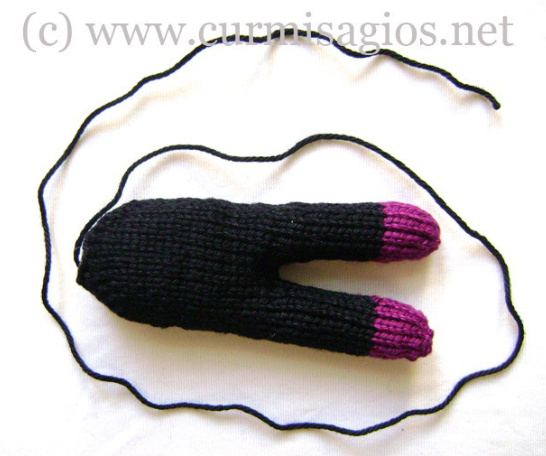
Legs and body:
Leg1
CO 6, join in round 1: kbf in every sts 2-20: k all, put sts on hold (2-colour-version: change colour in row 8)
Leg2
CO 6, join in round 1: kbf in every st 2-20: k all, put sts on hold Make sure that the legs are exactly the same length.
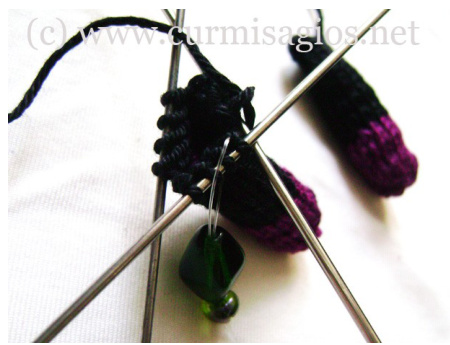
Body
Divide sts from legs on 4 needles. Add 2 sts between legs at the front and 2 sts at the back (7 sts on every needle, the start of the round should be between the 2 stitches on the front between the legs. yes, I know). 1: Set up row:
n1: m1, k6 n2: k6, m1 n3: m1, k6 n4: k6, m1 Actually, it is easier to m2, k6, k6, m2, k6, k6 and distribute the stitches the right way later. Join in round and knit as follows: 2-20: k all (=28 sts) (Shoulder shaping) 21: n1+n3: k4, ssk, k1 n2+n4: k1, k2tog, k4 (=24 sts) 22: n1+n3: k3, ssk, k1 n2+n4: k1, k2tog, k3 (=20 sts) 23: n1+n3: k2, ssk, k1 n2+n4: k1, k2tog, k2 (=16 sts) 24: n1+n3: k1, ssk, k1 n2+n4: k1, k2tog, k1 (=12 sts) BO all sts and stuff legs and body.
Arms (make 2)
CO 6 sts, join in round 1: kbf in every sts (=12sts) 2-20: k all Stuff lightly, divide sts on 2 needles and graft together (kitchener stitch). Leave enough yarn attached to sew arms onto body later on. (2-colour-version: change colour in row 8) Ears (make 2) CO 28 sts, leaving enough yarn to sew onto head later on.
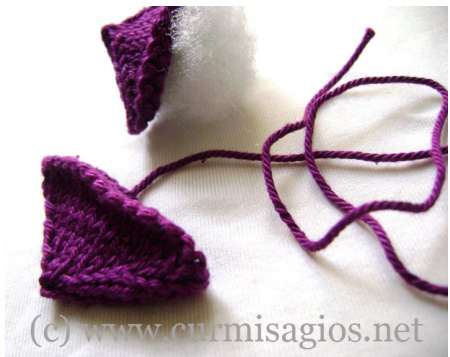
2: k2tog at end of n1 and n3 4: katog at end of n1 and n3 5: k2tog at end of n1 and n3, ssk at begining of n2 and n4 6: k2tog at end of n1 and n3 7: k2tog at end of n1 and n3, ssk at begining of n2 and n4 8: k2tog on n1 and n3 9: k2tog last sts of round 8 with first sts of round 9, ssk at begining of n2, k2tog last sts on n2 with sts on n3, ssk at beginning of n4 10: k2tog to end, break yarn, draw through remaining sts and pull tight.
Head
CO 16 (you may use a provisional cast on method, if you want to graft them together later. I didn't get the hang of it, I just sew the edges together). Divide evenly on 4 needles and join in round.
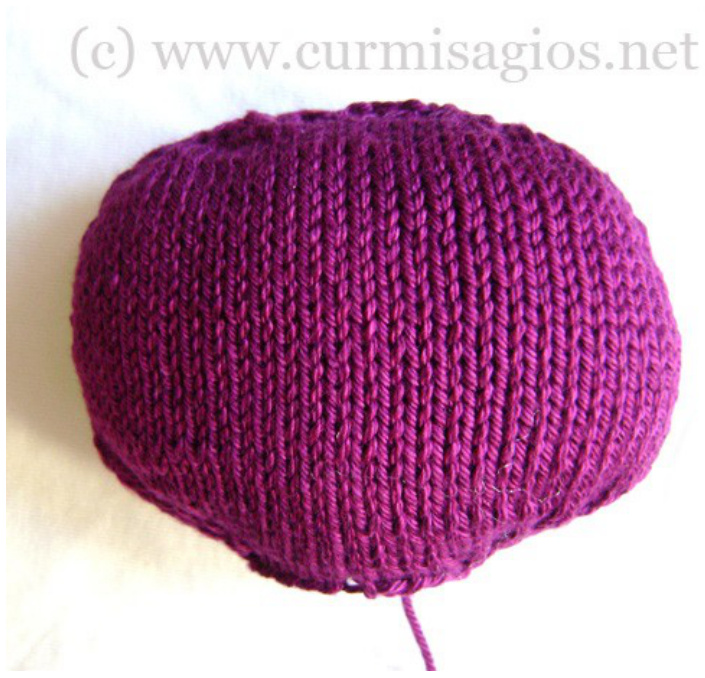
1: n1+n3: k2, kbf, kbf n2+n4: kbf, kbf, k2 (=inc 8) 2: n1+n3: k4, kbf, kbf n2+n4: kbf, kbf, k4 (=inc 8) 3: n1+n3: k6, kbf, kbf n2+n4: kbf, kbf, k6 (=inc 8) 4: n1+n3: k8, kbf, kbf n2+n4: kbf, kbf, k8 (=inc 8) 5: n1+n3: k11, kbf n2+n4: kbf, k11 (=inc 4) 6: k all 7: n1+n3: k12, kbf n2+n4: kbf, k12 (=inc 4) 8-9: k all 10: n1+n3: k13, kbf n2+n4: kbf, k13 (=inc 4) 11-25: k all (=60 sts, 26: n1+n3: k13, k2tog n2+n4: ssk, k13 (=dec 4) 27: n1+n3: k12, k2tog n2+n4: k2tog, k12 (=dec 4) 28: n1+n3: k11, k2tog n2+n4: ssk, k11 (=dec 4) 29: n1+n3: k8, k2tog, k2tog n2+n4: ssk, ssk, k8 (=dec 8) 30: n1+n3: k6, k2tog, k2tog n2+n4: ssk, ssk, k6 (=dec 8) 31: n1+n3: k4, k2tog, k2tog n2+n4: ssk, ssk, k4 (=dec 8) 32: n1+n3: k4, k2tog n2+n4: ssk, k4 (=dec 4, 20 sts) 33: BO all sts, leave tail to sew head onto body. Sew cast on stitches shut. this is the top of the head.
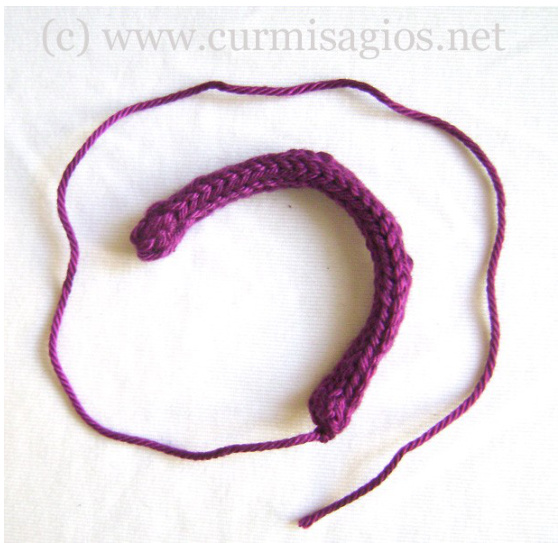
Tail
CO 5, knit icord until desired length. 2nd-to-last row: kbf 5 times last row: k2tog 5 times Break yarn, pull yarn through remaining sts and pull tightly.
Finishing
Stuff head, stuff ears and sew onto head. Sew head on to body. If working the 2-colourversion, take extra care to sew evenly, because the stitches will be more visible. Sew arms between head and body, sew on tail. Embroider nose and whiskers. Either embroider eyes, cut them from felt and glue them on or use your imagination (remember, buttons or glued on eyes may not be suitable for small children, because they can be a choking hazard). If you are good with colourwork, you can let your creativity run wild: Put grisig in jeans and T-shirt, a bathing suit, a pirate costume, a tuxedo. Or give it a punk hairdo with some novelty yarns. Or make accessories out of scraps of cloth or paper, like shawls, hats, college diplomas, whatever. I would be delighted if you'd send me a picture of your finished grisg.
This pattern is for personal use only (reprinting, selling, or any kind of commercial use of the pattern or the product is prohibited). But feel free to distribute it among your friends. Abbreviations: kknit st(s) stitch(es) CO cast on m1 make one additional stitch kbf knit into the back of the stitch, leave it on the left needle, knit into the front (increase) k2tog knit 2 together (decrease) ssk slip stitch, knit next, pull slipped stitch over the one just knitted (decrease) nneedle (n1=needle 1) BO bind off


