Sock Knitting Bag By Stephanie Etting
So someone on Ravelry asked me to post the pattern for my little Sock Knitting Bag, which kind of makes me feel like I should have made it a bit more ornate (even a button would have been nice), but maybe next time. This is the basic pattern, but feel free to embellish yours all you want.
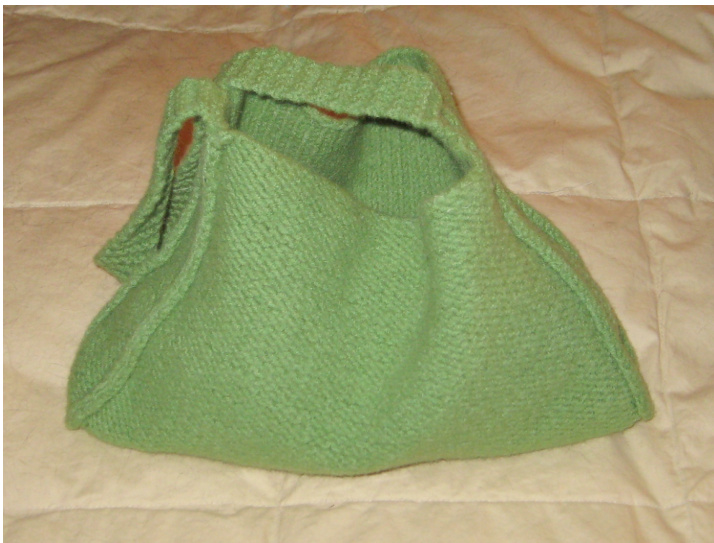
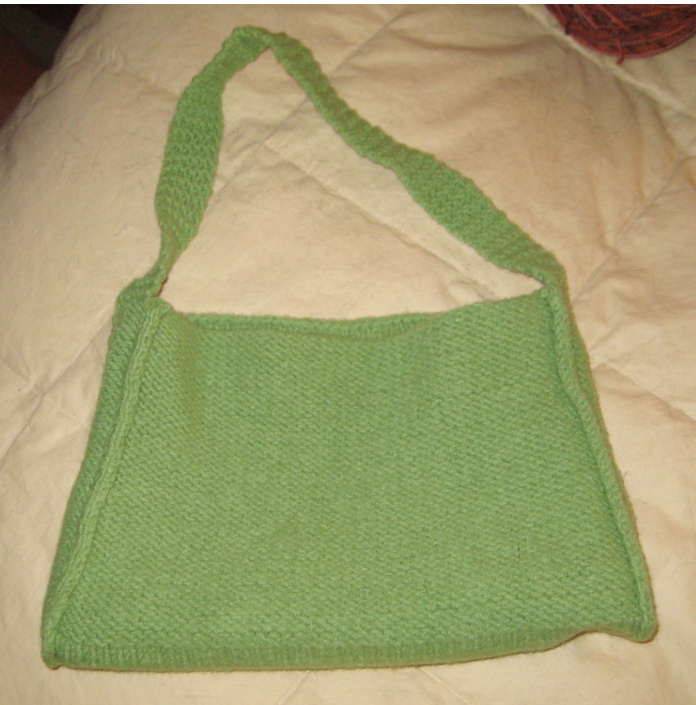
Sock Knitting Bag
Gauge - Not really important (just make sure the needle size is at least 1 or 2 sizes bigger than the yarn calls for) Yardage - I would guess between 150 and 200 yards of a worsted weight 100% wool (it is a felted project so any feltable yarn will do). 1 think this used less than half of a 284 yard skein of Joann's Kashmira, which is not the greatest yarn but I had it lying around NOTE: I only lightly felted mine giving me the following dimensions: 10" wide, 6" tall and 1.5" deep at the base. If you want to felt it more, I suggest adding two rows in between each increase/decrease on the body of the bag and the handle sides to accommodate the vertical shrinkage associated with greater felting
Stitches used
Stockinette - Knit all right side rows, purl all wrong side rows Reverse stockinette - purl all right side rows, knit all wrong side rows Garter - Knit all rows M1 - Make one stitch by using right needle to lift and twist the strand connecting two stiches from previous row. Lifted strand is twisted (half turn) and placed on left need and then knit. ssk - slip one stitch knitwise, knit next stitch, then bring slipped stitch over newly knitted stitch (decrease one stitch)
Body of the bag
This is worked all in one piece. Cast on 40 stitches and work in stockinette for five rows (end after WS) (RS) \*\*\*k1, M1, knit to second to last stitch, M1, k1 Work in stockinette for five rows (end after ws)\*\*\* Repeat \*\*\*to\*\*\* until 50 stitches are on the needles (end after RS) (This makes up one side of the body of the bag) (WS) knit all stitches (this is your first row of reverse stockinette) Work in reverse stockinette for a total of 15 rows (ending on ws - a knit row) (This makes up the bottom of the bag) (RS) \*\*\*k1, ssk, knit to before last three stitches, k2 together, k1
Sock Knitting Bag By Stephanie Etting
Work in stockinette for five rows (end after Ws)\*\*\* Repeat until 40 stitches remain on needles (make sure to work the five rows of stockinette after you decrease down to 40 stitches to match the other side of the bag) BO using a needle one size larger than the one used for knitting this bag (this ensures a nice even, loose bind-off)
Strap/Sides of the bag
This is also worked all in one piece Cast on 10 stitches \*\*Work in stockinette for 19 rows (end after WS) (RS)k1, ssk, knit to second to last stitch, k2 together,k1\*\*\* Repeat \*\*\*to\*\*\* one more time (6 stitches remain) Knit in stockinette for five rows. You will now begin the garter stitch handle. Knit all rows until the strap is the length that you want. (l will note that the garter stitch did not felt as much as the stockinette, so keep this in mind when determining length. My strap is about 100 rows [long) When strap is the desired length, switch back to stockinette and work for 5 rows (ending Ws row). (RS)\*\*\*k1, M1, knit to second to last stitch, M1, k1 Knit 19 rows (ending after Ws)\*\* Repeat \*\*\*to\*\*\* one more time (10 stitches total). Bind off using needle one size larger than that used for knitting the bag.
Finishing and Felting
The parts of the strap that make up the side of the bag should be fairly easy to line up with the body (stockinette portions). I just mattress stitches them to the body with right sides together starting at one side top, working my way down to the bottom of the bag and back up the other side. The selvage stitches will stick out on the wrong side. I hand felted mine in a tub of soapy water because I was too lazy to dig up quarters for the washing machine, but machine washing would work as well. When it was felted to my liking I let it dry. The bag actually looks good with both the right side out or the wrong side so take your pick. Also, feel free to add a button if you want or adjust the depth/width to your liking. Enjoy! Let me know if there are any problems/unclear portions of this pattern.


