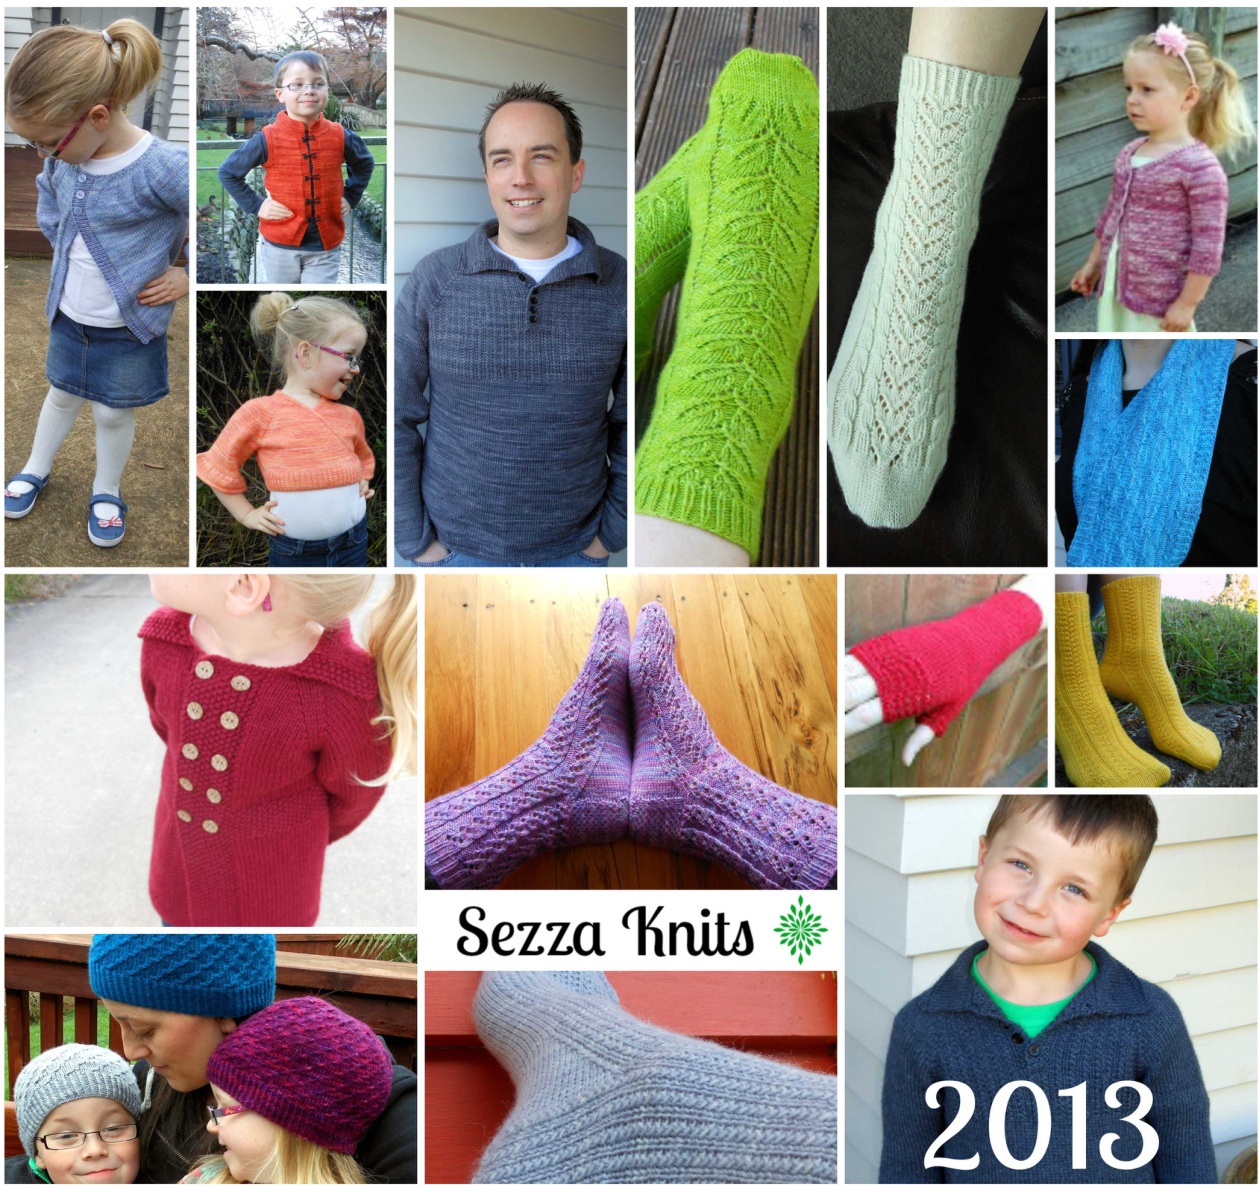
Tiny Amy
Free version of Premature and Newborn size only. Designed by Sarah Ronchetti www.sezzaknits.blogspot.com
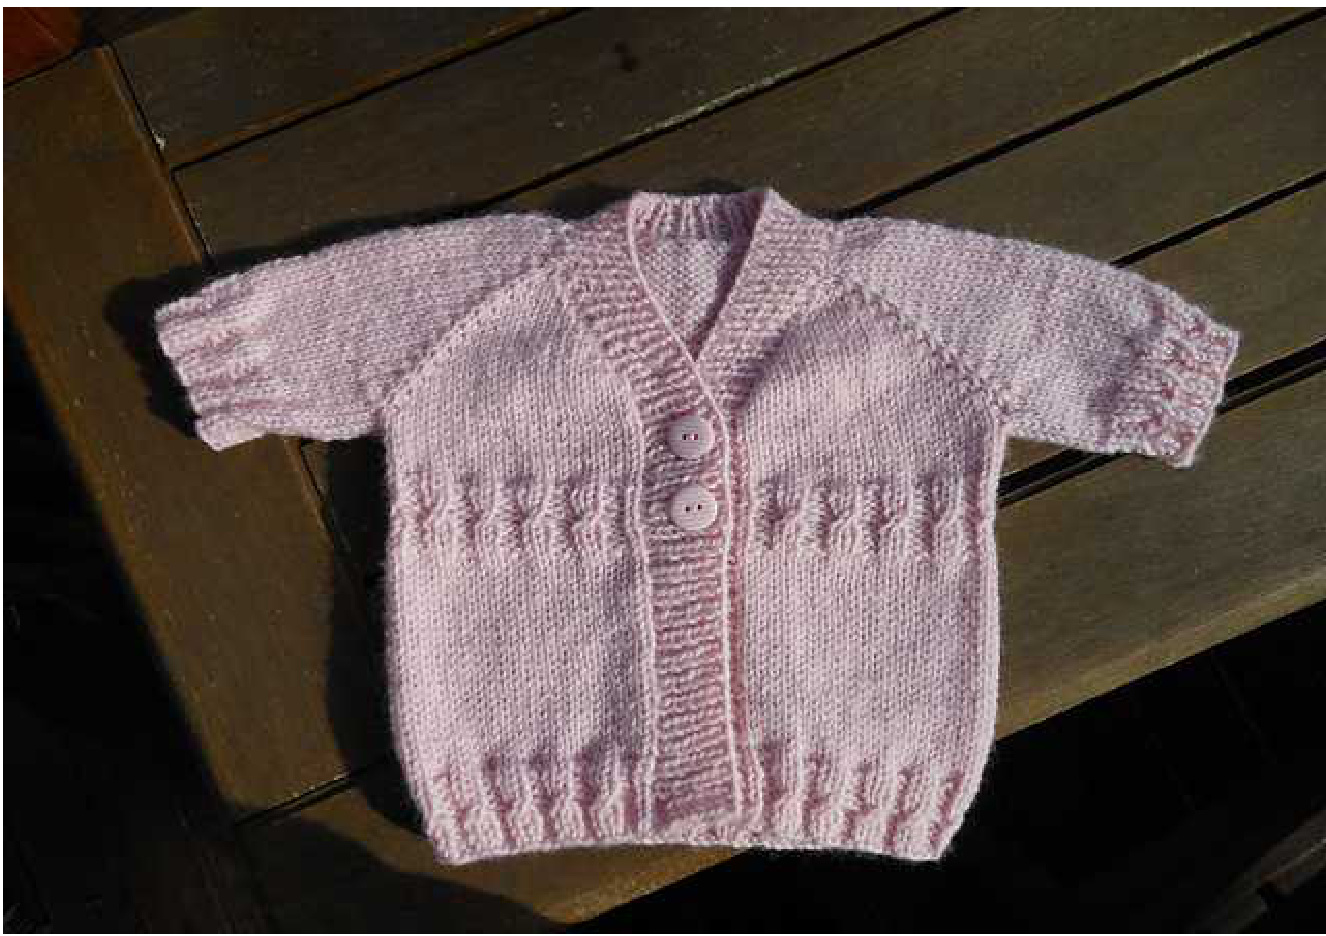
A pretty, yet simple to knit, cardigan, perfect for any occasion. The cable detail is worked easily without a cable needle. This pattern allows approximately 1.5"/4cm of ease; please select the size to knit by choosing the size closest to the actual chest size of the child.
Chest sizes and yardage
Premature 13.5inches/34.5cm 220/200 Newborn 16 inches/40.5cm 240/220 yards/ms
Materials
DK or light worsted weight yarn. Samples shown in Skeinz Urban in Aqua.
Gauge
22 stitches and 28 rows in 4"/10cm of stocking stitch. Please check your gauge to ensure a good fit.
Recommended needle sizes
4mm/6Us circular needles, 80cm or longer; or size required to match gauge.
Notions
2 spare circulars, or scrap yarn. 4 stitch markers Darning needle Buttons
Abbreviations
k knit k1tbl knit 1 stitch through the back loop. K2twist k2tog, leave stitches on the left needle and k into the first stitch again, slip both stitches off together. kfb knit into front and back of st. p purl pm place marker WS wrong side rs right side st(s) stitch(es) sm stitch marker m1R lift the stitch below the stitch on the left needle and knit it. m1L lift the loop 2 rows below the stitch you just knit on the right needle, and knit it.
INSTRUCTIONS
Cast on 45[51]stitches, do not join in the round. Row 1 - Purl across, placing stitch markers as follows Premature: p3, pm, p8, pm, p23, pm, p8, pm, p3. Newborn: p3, pm, p9, pm, p27, pm, p9, pm, p3. Row 2 - k1, m1R; \*k to 1 st before sm, kfb, sm, kfb, repeat from \*3 more times, k to last st, m1L, k1. (10 sts increased) Row 3 - purl, slipping markers as you come to them. Repeat Rows 2 and 3, ending with a row 3, until your stitch count is Premature 15/20/35/20/15 Newborn 19/25/43/25/19 We will now continue increasing for the raglan sleeves, without further increases to the front V. Row 4 - \*k to 1st before marker, kfb, sm, kfb; repeat from \*3 more times, k to end of row. (8 sts increased) Row 5 - purl, slipping markers as you come to them. Repeat Rows 4 and 5, ending with a Row 5, until your stitch count is Premature 18/26/41/26/18 Newborn 22/31/49/31/22 Row 6 - You will now be separating the sleeves from the body. Knit to sm, remove sm, slip stitches up to next marker onto waste yarn, remove sm, knit across back stitches, remove sm, slip next set of arm stitches onto a new piece of waste yarn, remove sm. Knit to end of row. 77[93]stitches. Continue to work your piece in stocking stitch until it measures 3.75[4]inches or 9.5[10] cm from the top of the shoulder, ending with a ws row.
Waist Detail
Row 1 - Knitting across the row, increase the following number of stitches evenly across. 1[1]stitches Row 2 - Purl. Row 3 -\*k2, p2; repeat from \*to end of row, k2. Row 4 - \*p2, k2; repeat from \*to end of row, p2. Repeat row 3 and 4 one further time (4 rows rib) Row 5 - k2, p2; \*k2twist, p2, repeat from \* to Iast 2 sts, k2. Repeat Rows 3 and 4, 4 more times, starting with a Row 4. Row 6 - Purl. Row 7 - Knit. Continue to work piece in stocking stitch until it measures9[10]inches or23[25.5]cmfrom the top of the shoulder, ending with a ws row. Tiny Amy v2 @ Sarah Ronchetti 2012 3
Hem
Row 1 -\*k2, p2; repeat from \*to last 2sts, k2. Row 2 - \*p2, k2; repeat from \*to last 2sts, p2. Repeat Row 1 and 2 one further time (4 rows rib) Row 3 - k2, p2, \*k2twist, p2; repeat from \* to last 2 sts, k2. Row 4 - \*p2, k2; repeat from \*to last 2sts, p2. Row 5 -\*k2, p2; repeat from \*to last 2sts, k2. Repeat row 4 one more time. Cast off loosely in rib pattern.
Sleeves
Using 4mm circular needle and magic loop (or your preferred method of small diameter knitting) transfer stitches for one armhole from waste yarn, pm, and pick up 2[5]extra stitches in the gap. 28[36]sts Round 1 - Knit round. Continue to knit the sleeve in stocking stitch until it measures approximately 1.75[2]inches or 4.5[5]cm, from the underarm. Rounds 2-5 -\*k2, p2; repeat from \*to end of round. Round 6 - \*k2twist, p2; repeat from \*to end of round. Row 7-9 - \*K2, p2; repeat from \*to end of round. Cast off loosely in rib pattern. Repeat for 2nd sleeve.
Button Bands
Using 4 mm circular needle pick up and knit 3 stitches out of every 4 starting at the right bottom edge. You will pick up along the front, around the back of the neck, and down the other front. As you pick up stitches along the V neckline, I recommend picking up for every stitch/loop. Ensure that your stitches are the same for each front, and that your total number is an odd number Row 1(Ws) - \*p1, k1, repeat from \*to last st, p1. Row 2 - \*k1, p1, repeat from \*to last st, k1. Repeat Row 1 once more. Decide on the placement of your buttons -1 recommend placing one on the waist band, the spacing suggested is approx 1.5"
Button holes
Row 3 - Knit in rib till you reach the first button placement. Cast off 2 stitches in rib, rib 5 stitches. Repeat for the number of buttonholes you need. Continue in rib till end of row. If you would like more spacing between buttons, work more stitches between cast-off stitches. Row 4 - Knit in rib until you reach the first buttonhole placement, using a backwards loop cast on, cast on 2 stitches, rib 5, and continue in this way past all button holes. Rib to the end of therow. Work Row 1 and 2, one more time. Cast off loosely in rib. Tiny Amy v2 @ Sarah Ronchetti 2012 4
Finishing
Wet block finished item. Sew in all ends. Sew on buttons - take care to line up the bottom and waist ribbing, on each side, before sewing these in place. If you like this pattern, you can purchase a full version of this pattern, Amy, from newborn to 12years old (30"chest).

Useful Links
Magic Looping http://www.knittinghelp.com/video/play/magic loop Cable Cast on http://www.knittinghelp.com/video/play/cable cast-on Picking up stitches http://www.knittinghelp.com/video/play/pick up- and-knit-stitches Pattern Support is available from my Ravelry Group, or via email. Sezzaknits@gmail.com Come and join my Facebook Group!
Acknowledgements
Thank you so much to my wonderful test knitters, an ever enthusiastic bunch of lovely ladies! Sarah, Kristie, Rebecca, Ange, Megan, Pia, Ali, Zaviera, Jo, Kelly, Donna, Cathy, Nova, Eva, and Sheree.
Copyright
The copyright of this pattern remains with the author - Sarah Ronchetti. It is intended for personal use only and is nottobe shared with others. If you are personally hand knitting items, you are welcome to do what you wish with your finished items, whether that be sell, gift or donate. Please do not claim the design to be your own. @2012 Sarah Ronchetti, all rights reserved. Also Available from Sezza Knits.